:strip_icc()/pic530611.jpg)
Travelling long distances is the constant lot of the adventurer. This time, their quest will take them across the sea, and deep into the interior of a country they know little about, to retrieve an artefact stolen by one bunch of clerics from another. Now, we all know that meddling in the affairs of the Gods can be a hazardous affair, but this time the Gods haven't been worshipped for hundreds of years, and their clerics slaughtered each other in a great battle back in the distant past. Maybe this is that adventure we've all been waiting for, where the treasure is just sort of sitting there, and all we have to do is go and get it... A complete 40-page adventure, with stats for the D&D/AD&D games, and background information to use with the Pelinore campaign.

The final confrontation with the giant, King Snurre, and the entry of mighty adventurers into the caverns under his stronghold (DUNGEON MODULE G3, HALL OF THE FIRE GIANT KING) discovered the Dark Elves, the Drow, had instigated the giant alliance and its warfare upon mankind and its allied races. This module contains background information, a large-scale referee's map with a matching partial map for players, referee's notes, special exploration and encounter pieces, a large map detailing a cavern area, encounter and map matrix keys, and an additional section pertaining to a unique new creature for use with this module and the game as a whole. A complete setting for play of ADVANCED DUNGEONS & DRAGONS is contained herein. This module can be played alone, as the first part of a series of three modules (with SHRINE OF THE KUO-TOA, D2, and VAULT OF THE DROW, D3), or as the fourth part of a continuing series of modules which form a special progressive campaign scenario (DUNGEON MODULES G1, G2, G3, D1, D2, D3, and Q1, (QUEEN OF THE DEMONWEB PITS). TSR 9019

The wizard Kavorquian is dead. But certain items belonging to his adopted son were in the wizard's keeping at the time of his demise. Now someone must venture into the silent vaults of Kavorquian's stronghold and recover the missing property. Queen's Harvest picks up its story where B11, King's Festival, left off. It can be played as a sequel to that adventure or as a complete adventure in itself. It is tailored for beginning Dungeon Masters and players and contains helpful hints on adventuring and the land of Karameikos. The story develops simply, but ultimately leads the player characters into the nether reaches of Penhaligon's politics to confront Ilyana Penhaligon, mad pretender to the throne! TSR 9261

Tomb at the Dragon's Spine is a companion adventure made to go along with the events unfolding during the middle sections of Folio #14 (WS1 Isle of Jade). It contains the information needed to run a side adventure during the Isle of Jade. Many centuries ago, in an age forgotten, the last of the great sea dwarf masons died on the Isle of Jade after helping construct some of the final Corsair structures the world will ever see. Now, his tomb rests on the heights of the Dragon's Back, and evil has crept into the tomb. Only the brave few might now pass the threshold for the treasures that certainly lay within. While crossing the deadly 'Dragon's Spine' of the island's interior, the party encounters a darkness at the heights. Within the ancient stones the tomb of one of the last sea dwarf master masons rests. Has the corruption of the island reached the tomb? Only exploration will reveal the truth, and the treasure. This adventure is formatted to both 1E & 5E gaming rules.
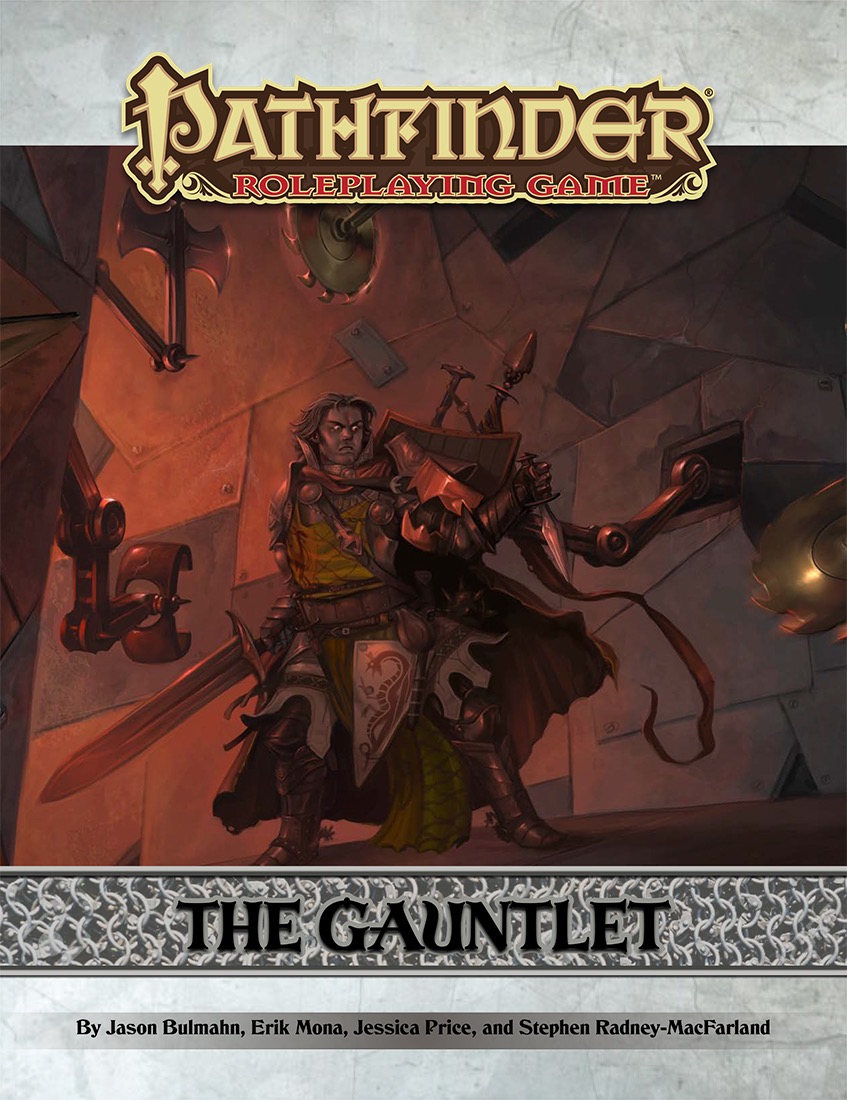
While the lives of most Pathfinder Society field agents is brutal and short, some rise to prominence, drawing the attention of the Decemvirate. These lucky agents are invited to a little known siege castle outside Absalom where they are asked to test their mettle. Those who succeed get their choice of prestigious missions, whereas those who fail are rarely heard from again. The players are run through an arena-style dungeon, faced with monsters, traps, and puzzles.

Deep within the Kraken's Maw, a brutal maelstrom of ocean that devours ships, lies the mysterious Isle of Jade. Long forgotten in the memory of men, the island has served as a bastion for an ancient sect of female Corsairs, but their power is waning, and the threat of the outside world is at their shores in the form of a necromancer from Roslof Keep. Now a party has set out from Taux seeking the necromancer. Their course will take them directly into a conflict of high magic, ancient warrior religions, marauding fern goblins, and primordial dinosaurs. Will you take up the challenges presented by the Isle of Jade? This adventure is formatted to both 1E & 5E gaming rules. Also available in PDF.
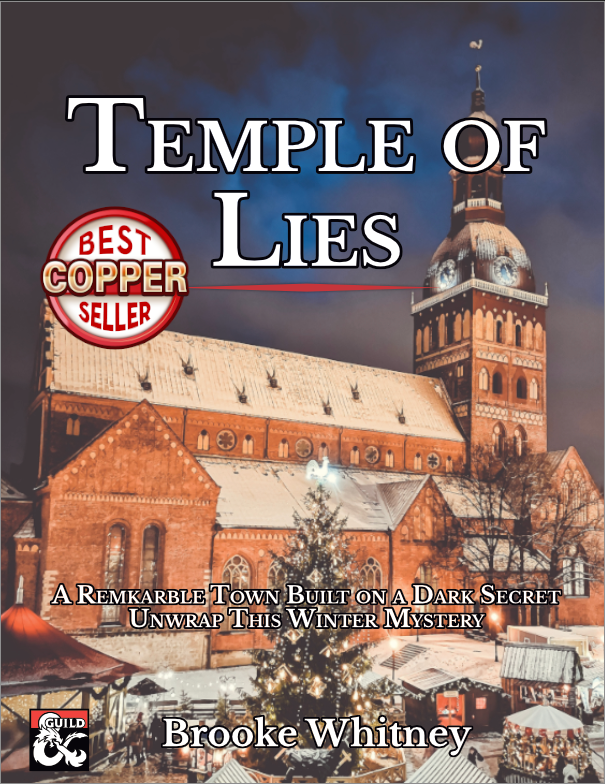
Unwrap this player-driven winter mystery for four to five characters of 5th level. No more railroads. Every decision matters and changes how the story unfolds. Branching paths, multiple dungeon entrances, and a myriad of potential conclusions—this adventure provides endless fun with rewarding choices and a range of challenges for any character. This product includes: - 4 to 6 hours of play packed into 15 pages - High-resolution VTT maps of the temple - 6 new monsters, including Brain in a Jar and Workshop Devils - 7 stand-out NPCs with clear motivations players will love or love to hate - The perfect adventure for the holiday season, including a Midwinter festival with two classic games reimagined using D&D rules—snowball fight and charades - All magic items and stat blocks detailed in the appendices for easy reference Content Warning: Animal mutation, blood, enslaved devils, undead, torture,
Into the shadows. You must brave the perils of the Shadow World to keep a tighmaevril weapon from the wicked clutches of the Gorgon. PCs are recruited to help a noble and his halfling friend find a weapon with immense power, called bloodsilver. Includes a sidebar for adapting the adventure to another setting, an overland map, and a map of the ruins Pgs. 8-31 & 69

A Kiss to Build a Dream On is a 5e-compatible dream-delve for four level 7 characters. It plays for 3-4 hours. Queen Aisling, newly free of insomnia (see The Trouble with Dreams), has become an avid dreamer. A little too avid in the eyes of some. Under ducal questioning, her Majesty confessed there was something more going on; She’s fallen in love with a man she has seen in her dreams. The adventurers have been assembled to mount an expedition into the Realms of Slumber. With the aid of an uneasy Somnomancer, a magic spell, and an ice pick, a rift to the Realms of Slumber is opened! Warning: die in the Realms of Slumber and you’ll be damned to sleepwalk the rest of your life - a fate worse than death! The heroes are entrusted with an Interdimensional Valise. It functions as a Bag of Holding, except that it can also carry Dream Creatures into the real world. To appease the Queen, the adventurers must get the Man of Her Dreams into the Valise and then return with him to the Waking World. The adventurers will be rewarded with a Knighthood and an Estate in the Vinelands (10,000gp value) if they succeed.

Smoke still rises from the shattered buildings and ruined streets of the troubled town of Cauldron, yet if not for the actions of a band of heroes, it would not exist at all. A sinister cabal of cultists bent on plunging Cauldron into the prison plane of Carceri had awakened the volcano below the town, and amidst the attacks of dragons and fiends from the outer planes, these heroes were able to evacuate the city and then strike at the cultists in their lair near the volcano's heart. Now, this cult, the Cagewrights, lies shattered, their members put on the defensive for the first time. All that remains is to finish the job, but the surviving Cagewrights still have some surprises left in their mysterious stronghold under the snake-haunted ruins of Shatterhorn. "Strike on Shatterhorn" is a Dungeons & Dragons adventure designed for four 18tth-level characters. This adventure is part of the Shackled City Adventure Path that began with "Life Bazaar" (Dungeon #97) and continued with "Flood Season" (Dungeon #98), "Zenith Trajectory" (Dungeon #102), "The Demonskar Legacy" (Dungeon #104), "Test of the Smoking Eye" (Dungeon #107), "Secrets of the Soul Pillars" (Dungeon #109), "Lords of Oblivion" (Dungeon #111), "Foundation of Flame" (Dungeon #113), and "Thirteen Cages" (Dungeon #114). The Adventure Path concludes in Dungeon #116 with "Asylum." Pgs. 56-82

Madness in Freeport, the final part of the Freeport Trilogy, details the final confrontation between the PCs, the Brotherhood of the Yellow Sign, and Sea Lord Milton Drac. In Part One, the Drac invites the PCs to the Grand Lighthouse Ball. Careful investigation can reveal the secret purpose of the lighthouse. In Parts Two and Three, the PCs must recover a powerful artifact to thwart the Brotherhood's plans. They must pass through an infamous pirate's hidden caves, then search a sunken temple of the serpent god Yig. In Part Four, the heroes must enter the Grand Lighthouse, AKA Milton's Folly, in a race against time to stop the Brotherhood's world-shaking master plan from coming to fruition. (Bibliographic note: This adventure was originally written for v.3.0, and later updated to the v.3.5 rules. The revised versions of Death, Terror, and Madness in Freeport were reprinted in an omnibus edition, along with two shorter filler adventures, as The Freeport Edition: Five Year Anniversary Edition.)

Having put down a rising of giants, it was discovered that the motivating force behind their depredations was that of long-forgotten evil - the Dark Elves. Determined to seek out these creatures, a body of doughty adventurers mounted an expedition to learn the strength of the Drow and bring retribution to them (DUNGEON MODULE D1, DESCENT INTO THE DEPTHS OF THE EARTH). This module contains background information, a large-scale referee's map with a matching partial map for players, referee's notes, special exploration and encounter pieces, a large map detailing a temple complex area, encounter and map matrix keys, and an additional section pertaining to a pair of unique new creatures for use with this module and the game as a whole. A complete setting for play of ADVANCED DUNGEONS & DRAGONS is contained herein. This module can be played alone, as the second part of a series of three modules (with DESCENT INTO THE DEPTHS OF THE EARTH, D1, and VAULT OF THE DROW, D3), or as the fourth part of a continuing scenario (DUNGEON MODULES G1, G2, G3, D1, D2, D3, and Q1, QUEEN OF THE DEMONWEB PITS). TSR 9020, From 1978

When Fort Iron was taken from the duergar who inhabited it, much of their subterranean quarters were never fully explored. An ancient oubliette has been discovered and its contents have disturbed the miners. Can the mine and the miners be saved from the dangers of the Oubliette of Fort Iron?
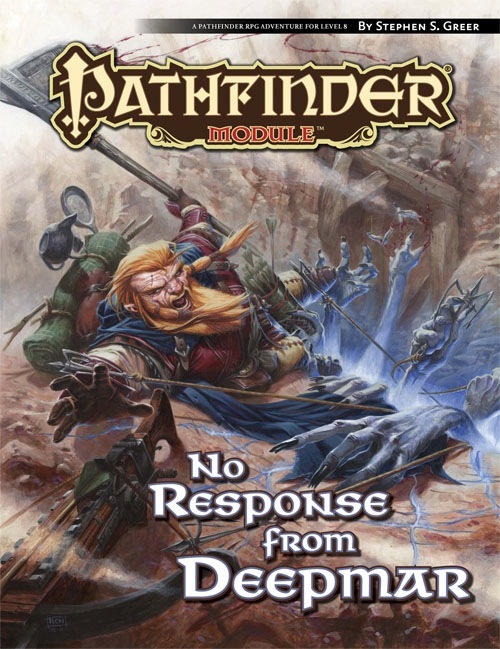
A hundred miles off the Chelish coast lies the remote island of Deepmar, where the House of Thrune sends prisoners to work in crystal mines, wresting valuable spell components from the depths of the earth. A month ago, all contact with the penal colony ceased, and now someone must discover what mysterious fate has befallen the prisoners and guards of this isolated mining operation.

It's a horrible time to have a curse! Each wielding a powerful item to a family legacy, your players are a group of young adventurers who barely survive an attack on their order of vampire-hunters by agents of Dracula. After escaping, they discover Dracula has placed a curse upon the land which makes restful sleep difficult outside of hallowed areas. Dracula, "alive" on another plane but dead on this one, must be resurrected so they can kill him, end the curse, and avenge their dead. To accomplish this goal, the player characters must journey through forest, marsh, hill, and underground paths to retrieve relics of Dracula's last life from keeps and fortresses overrun by monsters and the undead. If they can resurrect him, he will be weak and easy to kill... but the adventurers aren't the only ones who want Dracula on the Material Plane, and Dracula is not the only vampire in the world. Gameplay overview This adventure takes the players from 2nd through 9th or 10th level on a milestone basis as they choose where to travel in what order to retrieve what they need. Starting at a happy gathering at the Belmonte Order, which the characters are hereditary members of, the campaign kicks off with a bang as the group retrieves their chosen legacy items, salvages what other gear they can in a race against time and a growing number of foes, and then escapes to begin their quest. In addition to the six main "dungeons," there are two optional regional lairs, traveling vampires, and many foes along the way. Most of the towns in the area have managed to survive, providing points of light at which the party may stop, long rest safely, acquire supplies, and socialize. Travel is hazardous! 5e classes are balanced for resource management across a 5-8 encounter adventuring day. The campaign is designed to have a semi-variable flow of encounters as the party traels around the area. Encounters grow progressively more difficult as time passes and the party spends more time within a region. These are not random encounters rolled on a table, but encounters designed to be unique to each area's geography, combat terrain, and mix of foes. As the party spends more time in a region or revisits it, the encounter difficulty increases. Dracula's curse requires a Constitution saving throw to successfully long rest outside of Hallowed areas (towns). The difficulty scales up over time, forcing the party to balance speed and safety as they try to accomplish their goals without pushing beyond the limits of what they can handle. The game concept, general map layout, and some enemy distributions are loosely inspired by Castlevania II for the NES, one of the forerunners of the "Metroidvania" genre. Dracula's Curse is indeed a game in which the forests are dark and full of monsters, and every night is a horrible one to have a curse. Includes 15 Legacy items, from weapons like whips and swords to a shield, a belt, or a decanter of holy water 60+ enemy statblocks 8 unique dungeons with unique layouts & challenges 5 inhabited towns with multiple named NPCs 100+ travel encounters (expect to use 30-50%) The module is printer-friendly with no artwork and straightforward grid maps for location-based encounters which require one.

Vampires in service to Shar, the Mistress of Night, are somewhere in Vanrakdoom. You must locate them without drawing the attention of the other residents of this dangerous place. Part Two of the Undying Threat trilogy. A 4-6 Hour Adventure for Tier 3 Characters. Optimized For: APL 13

Halfling thief, Alton Lightheart, awakens to discover his shadow is gone! A child's doll kills its victims in a cruel and unexpected way. A sound-stealing sword is lost in a ruined volcanic temple. Among the witch’s valley mist, The Murk, sinister fey shadows terrorize the forest, demon spirits haunt old ruins, and undead howl from the volcanic shrine. Can the adventurer’s purge the vale of evil to gain its lost magic and riches? A three part adventure: 1. Alton’s Shadow: Delirious, bloodstained, alone. Halfing thief, Alton Lightheart, awakens to discover his shadow is gone! Will the adventurers help him to confront the unknown dread that awaits him? 2. The Vanishing at Rhu: Long Ago, the folk of Rhu made an agreement with a witch to save the thorp from destruction. She honored the agreement, but the folk broke their promise. One year later the village was razed. How? What wickedness lurks among the ruins of the fallen-tree village? 3. Stillness: A temple suffers a volcanic eruption. Believing it is the will of an angry god, all of its shaman are ritually slain. After years of disuse, the temple awakens as the zealots are reborn . . . as undead. Meanwhile, a magic sound-stealing sword is lost by explorers. Should an expedition seek the weapon and uncover the secrets of the lost shrine? Published by Wicked Cool Games
/pic3143465.png)
Once a powerful proponent of Law, the Archmage Tazimack the Red was eventually driven mad by a fear of mortality. As he slipped into insanity his retirement home began to reflect the chaotic bent of his mind. Long after Tazimack’s unnaturally animated body has disintegrated, his manor house remains as a shadow cast by a twisted intellect. Can the characters bring order to this chaos?

Part 1 of an Expert-level quest into a hostile wilderness. This adventure takes place in the Known World of the D&D game, as outlined throughout the D&D game rule books and modules. The DM may find it useful to consult the Companion and Masters Sets, as well as most of the X-series of Expert Set modules. D&D Expert Set module X9, The Savage Coast, would be especially helpful, as Tortles of the Purple Sage could easily serve and continue that module's direction and plot like, adding a previously undescribed area (the Great Northway) to the Known World. The DM may also place the areas and events of this adventure within an existing campaign setting, as long as the geographical areas of the campaign match those set forth here. Pgs. 40-62
:strip_icc()/pic775603.jpg)
A routine recovery job, bread and butter work for any party of sell-respecting adventurers. What could go wrong? A few bugbears aren't going to cause any difficulty, are they?