
A short adventuring interlude focusing more on encountering something unusual, rather than fighting anything. The PCs come across a tree and a pool inhabited by elves. The nearby brook fizzes with "energy gas" that grants a temporary HP boost. The players can explore, but there are no real "answers" just a weird thing they found on the way from somewhere to somewhere else. Rated for between 1 and 4 characters, this could easily be run for solo play, but it is short and a little weird. There are roleplaying opportunities with the elves, but there's scant data here, the elves are flighty and capricious. Pgs. 38-41

Gazing down from the pinnacle of Hardway Mountain, who would not be drawn by the far-off glint of the Serpent's Eye? The descent will be hard, the mountains know neither mercy nor compassion. Many are the lessons to be learned, but fate has left you little choice - are you equal to the challenge? "Eye of the Serpent" is a one-on-one wilderness adventure module for one player and one Dungeon Master, and has been designed to develop the specialist skills of a 1st-level druid, ranger, or monk character. It can also be used for a normal party of four to six 1st-level player characters. The perils of Hardway Mountain are unchanging, but the routes between them are not. This module includes a unique route planning system with different of routes linking the encounters to challenge the abilities of druids, rangers, or monks. TSR 9125
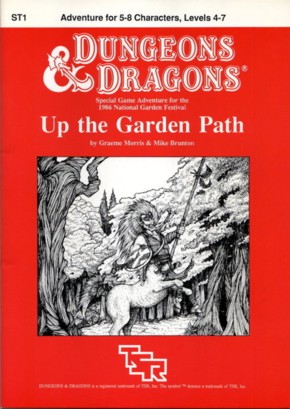
The day has been long and hard and, as night falls, you gratefully surrender to the soft, silent blackness of well-earned sleep. Then the dream comes. You are seated on a throne in a cavern where the sun has never shone; where no voice has ever spoken. Yet you are not alone. Through the darkness, silent figures are moving. Blacker than black... formless yet menacing... advancing towards you from every side... You fell their touch; icy claws plucking at your skin and hair, lifting the throne and carrying you helpless on a journey from darkness into further darkness, from silence into deeper silence. You scream, and a million anguished, reedy voices answer your call. Suddenly you awake... ... and the dream is real. A module printed exclusively in the United Kingdom by TSR UK. Using the 1986 National Garden Festival as its theme, this module was sold both at that festival, and at the 1986 Games Day RPG convention at the Royal Horticultural Society Hall in London (hosted by Games Workshop that Saturday, September 27th). It was briefly mentioned in White Dwarf magazine 82, page 49.

The wizard Kavorquian is dead. But certain items belonging to his adopted son were in the wizard's keeping at the time of his demise. Now someone must venture into the silent vaults of Kavorquian's stronghold and recover the missing property. Queen's Harvest picks up its story where B11, King's Festival, left off. It can be played as a sequel to that adventure or as a complete adventure in itself. It is tailored for beginning Dungeon Masters and players and contains helpful hints on adventuring and the land of Karameikos. The story develops simply, but ultimately leads the player characters into the nether reaches of Penhaligon's politics to confront Ilyana Penhaligon, mad pretender to the throne! TSR 9261

Who could know what is hidden within the secluded mansion of the crazed mage? Well, now, when nobody has seen him here for more than a year, it’s the best time to find out! A 4-hour adventure for two 1st–2nd level characters. Small Party Adventure: Though the party size of 3–5 characters is considered optimal in D&D, there are times when you can only gather one or two players at most. This adventure is designed exactly for such occasions.

The final fate of Roslof Keep and the Company of the Ivory Scimitar hangs in the balance. With five levels conquered, the party must finally face the ultimate challenge of the sixth and final floor. Can the stalward adventures overcome the last defense of the Infernal Machine? Will Roslof Keep be freed from the violet corruption? What unforeseen plot twists still await those willing to brave the challenges presented in The Realms of Madness and Despair? This adventure is formatted to both 1E & 5E gaming rules. Also available in PDF.

The heroes’ journey is finally at its climax. The evil god Tunkorl has just been freed from his prison and only the strongest and bravest mortals of the realm can defeat him before he regains full strength and throws the world in another dark age. However, the ultimate final fight will not be as straightforward as it seems when the party becomes trapped in a time dilated cross section of Carceri, struggling to get back to the real world and finish the job. Escape the Labyrinth is D&D 5e mini adventure for 3-7 characters of 20th level. This adventure is designed for a single 3-hour session which can be part of a special event, the end, or beginning of a campaign. The heroes go between fighting the big bad evil god (round by round) and trying to escape the mutliple layers of the Labyrinth of Futility a space-time dilated cross section of Carceri.

A malicious and virulent force possesses the Vermyr Woods. The local wild-life has fled; known paths have mysteriously vanished or shifted; and locals have been found hanging dead from trees yet their eyes watch... they always watch. The hopes of the people are dwindling quickly. Believing that evil harpies have afflicted the woods, brave Captain Harkin set forth to serve them righteous justice! Even the mighty druid Algalor is nowhere to be found. Time passes and their worries compound. Why have the harpies attacked? What is the fate of Algalor and Captain Harkin? What is this mysterious evil that plagues the Vermyr woods? Who is Cartman's dad? The heroes will stumble into this mystery as they travel to Homid. They will discover the truth of the harpies as well as the fate of the heroes who safeguarded this region by delving deep into a forest labyrinth that feels alive! Will it consume them or will they be strong enough to defeat the evil at its core!

The mine has been known as Tessount’s Folly for years, due to it producing nothing of value. Now Valmour, the youngest son of the mine’s late owner, has inherited the mine...and found something he should have left buried. Pgs. 56-81

*THIS IS A D&D NEXT/5E PLAYTEST ADVENTURE* Imani, a Turmishan wizard and former adventurer, seeks the aid of heroes to infiltrate Dretchroyaster’s lair and recover the Diamond Staff of Chomylla—the key to powerful magic and wisdom locked away for thousands of years. In addition to his own sagely interest in the lore of lost Uvaeren, Imani recognizes the dangers of such powerful magic falling into evil hands. The dracolich has secured the staff in his lair’s cen- tral chamber, using ancient wards of protection that can be bypassed only by four artifact-idols once belong- ing to a cult of Bhaal. Each group of adventurers enters the dungeon through a different section of the dun- geon—a forgotten temple of Bhaal, a vast underground lake, a troglodyte village, or Dretchroyaster’s vaults. Dretchroyaster’s lair is no simple set of caverns and ancient ruins. It sits atop a source of great power and energy, which the dracolich and his Cult of the Dragon allies hope to use to unlock the secrets of the staff. Only by undertaking a unified assault against Dretchroyas- ter’s lair can the adventurers hope to recover the Diamond Staff and survive the dracolich’s fury. The adventurers must make their way through the lair and recover the Bhaalite idols that will help unlock the Diamond Staff, all the while dealing with the lair’s creatures and avoiding the dracolich as he pur- sues intruders. Entering the Chamber of the Diamond Staff, the heroes must overcome its magical wards and claim the staff before being slain by the dracolich and his servants.

Chapter 2: The Sinister Secret of Saltmarsh In this version of the adventure, the characters find navigational charts and logs aboard the Sea Ghost that implicate its crew as slavers. Ned Shakeshaft is a Scarlet Brotherhood agent. He makes an attempt to foil the characters, but his true intent is to surrender and implicate Gellan Primewater as a key villain. The distraction afforded by the lizardfolk and the looming sahuagin threat gives the Scarlet Brotherhood the opportunity to bring more agents into town. posing as mercenaries brought in by Anders to protect the town. If Gellan can be removed from the council, Solmor might ask one of the characters to take his place.
Two hundred years ago, the great dwarf smith Durgeddin the Black built Khundrukar, a hidden stronghold for his war of vengeance against all orckind. For years Durgeddin labored, until the orcs discovered Khundrukar and stormed the citadel, slaying all within. Legends say that Durgeddin's masterful blades and glittering treasures were never found.

The valley of Haven was a peaceful land. Its crops were abundant, its citizens prosperous. Elves, Dwarves, Halflings, and Humans lived together in harmony. Hidden away in the heart of the Thunder Mountains, Haven was a safe place to live. The rivers were sweet and pure; the weather was pleasant and warm. Something terrible has come to pass in Haven - terrified refugees speak of a fabulous ruby uncovered in the mountains and a catastrophe that befell the palace. Whatever the cause, Haven now lies in chaos. Raiding bands of orcs, goblins, and hobgoblins terrorize the countryside. The disaster happened so suddenly that the citizens are confused and helpless. Without their leaders, who are trapped in the palace, they have no courage to fight back. The situation has become desperate. TSR 9044

The heroes arrive at the eponymous Keep on the Borderlands, a fortress on the edge of civilization built to stave off the chaos and evil of the wilderness. Using it as a home base, a party can make forays into the surrounding wilderness, encountering monster and marauder alike. The centerpiece of the adventure is certainly the CAVES OF CHAOS, a network of tunnels and caverns found in the walls of a nearby but isolated ravine. It is here that hordes of evil humanoids have made their home. Through combat and negotiation, the players can try to explore and map out these caves, perhaps with the aim of accumulating valuable treasure or even cleansing the land of evil creatures. However, even the Caves are not all they seem. Beyond the goblins and kobolds lurk dark horrors: cults dedicated to fiendish chaos and a Minotaur's enchanted labyrinth await the unprepared adventurer. But for the hero who is brave, clever, and fortunate in equal and sufficient measure, great treasures and glory await in the Caves of Chaos that lie beyond the Keep on the Borderlands! TSR 9034

A hunt for a missing key leads the heroes from the streets of the city of Greyhawk to the Tomb of Blood Everflowing in the treacherous Cairn Hills. Pgs. 18-20, 22 & 24-39

"Gnolls have captured the heroes! After stripping the characters of all equipment except their armor and clothing, the gnolls drag them to an expansive briar maze known as the Twisted Thickets and set them loose. Then, armed to the teeth, the gnolls hunt down their prey. The characters must survive the hunt and outwit their pursuers. After dealing with the gnoll hunters, the heroes can try to reclaim their lost equipment and exact revenge on the tribe, which lairs in the caves beneath Dead Gnoll’s Eye Socket."

Restore an Abandoned Temple Enter the catacombs near the desecrated Temple of Muir, Goddess of Paladins, and search for the lost tomb of Abysthor. Will your party be able to cleanse the evil that now inhabits these once-sacred halls, and recover the Stone of Tircople? Can your characters survive the traps of an undead sorcerer? Will your players discover the chamber of Living Rock and the secret power it holds? Adventure awaits! Gold and Glory! A fantasy adventure published for the D20 system, The Tomb of Abysthor is the first module in Necromancer Games Dungeon series and can be played as a stand-alone story or in conjunction with The Crucible of Freya and the forthcoming city supplement Bards Gate. What secrets lie hidden in the tomb of Abysthor?
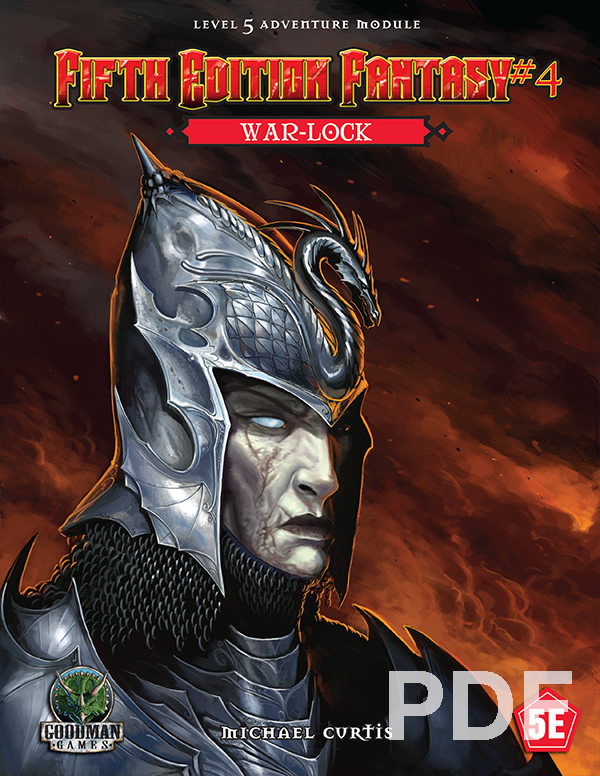
Devilish sorcery and ancient steel merge in the form of a reborn menace rising in the wild hills on civilization's verge. As the badlands burn with wildfire, an arcane warlord gathers his monstrous troops under his tattered banner. He is rumored to be immortal, and it will take tremendous bravery, immense cunning, and more than a little luck for stalwart adventurers to end his campaign of malice. Can your mighty heroes locate the War-lock's one weakness before his forces drown the realm in blood and fire?
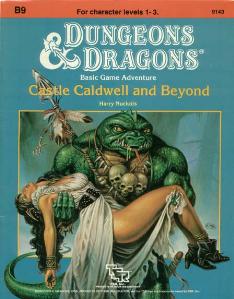
Five exciting short adventures to make your Basic campaign come alive! The Clearing of Castle Caldwell - A local merchant has recently purchased a small castle... but when he tried to move in, he discovered that the castle was already inhabited! Dungeons of Terror - A strange trapdoor in the floor of Castle Caldwell leads to a terrifying challenge! The Abduction of Princess Sylvia - On the eve of her wedding, the beautiful princess has been kidnapped! Can you save her in time? The Great Escape - Imprisoned in an enemy fortress, without armor or weapons, your situation seems hopeless. Yet there may be a way to freedom... The Sanctuary of Elwyn the Ardent - A mystical chime of great power has been stolen - but by whom? In the wrong hands, the chime can cause untold harm! But can you find and defeat this mysterious and powerful creature? TSR 9143
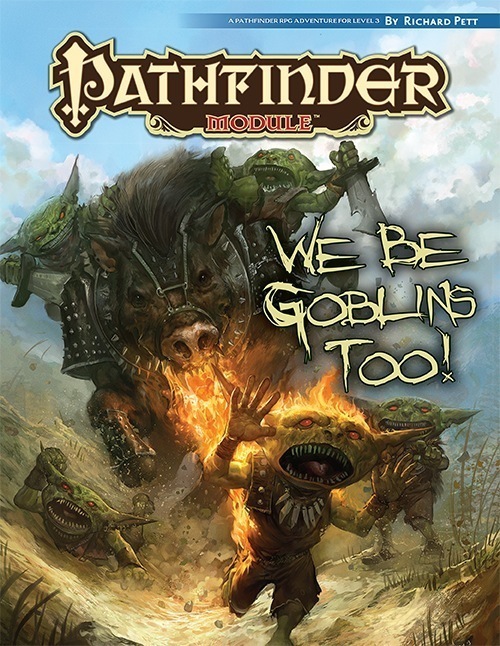
The Licktoads, once the great and fierce goblin tribe in Brinestump Marsh, were defeated by human adventurers! All that remains of the tribe are its four goblin "heroes". Homeless and bored, they left their swampy homeland to join the neighboring goblin tribe, the Birdcrunchers. The good news is that the Birdcrunchers are willing to let the goblin heroes join their tribe. The better news is that the Birdcrunchers have heard of these four, and want one of them to become their new chieftain. The bad news is that before the goblins can join, they'll need to endure a series of dangerous and humiliating tests. Very dangerous. Very humiliating. The worse news is that lately Birdcruncher chieftains have had really short lifespans—they're being killed by the pet fire-breathing boar of a local ogre who wants the Birdcruncher land as his own. Part 2 of the We Be Goblins series.