
The Boneyard is a 3- to 4-hour adventure for characters levels 1st to 4th. It features a flavorful setting, memorable roleplaying, oddball and depraved NPCs, interwoven storylines, and macabre combat encounters! The adventure also includes 3 new NPC stat blocks. When darkness falls and the iron gates close behind you, the dead come out to play!
Sewers of the Underguild is an adventure designed for characters of at least 11th level, and characters up to 15th level will find plenty of challenges. Hidden within these narrow passages and filth-filled channels is a guild of vampiric rogues, led by their master Sangre and his aide, a nycaloth called Ankoz. Deadly traps abound, so a skillful rogue will be a lifesaver. Because of the high likelihood of desperate combat with numerous vampiric and monstrous opponents, it is suggested that a cleric and at least two fighters be prepared to beat back the many watchdog monsters the guild employs. You can hide the locales in Sewers of the Underguild in any ruin or location that fits your campaign purposes. A thriving metropolis that just happens to have a large crime and vampire problem would fit the bill nicely. In the Lost Lands campaign setting of Frog God Games, the Underguild is located in the sewers beneath the ruins of Curgantium, the ancient imperial capital of lost Hyperboria. Located at the edge of the modern Kingdom of Foere, the Underguild still finds itself located centrally enough to pull the strings of its weblike network running throughout the former lands of the Hyperborian Empire.

The Baronies of Erlkazar, once a prosperous region of pastoral tranquility, is now a land of nightmares and dread. Bandit armies plague the region, terrorizing the populace and surrounding countries of Calimshan, Tethyr, Amn, and Turmish. Though these threats are terrifying enough, it is nothing compared to what awaits the people of Erlkazar at night. In caves, tombs, and subterranean communities beneath the seemingly pastoral villages of Erlkazar live the secretive Night Barony. Ruled by the vampire Saestra and her legions of darkness, these monstrous denizens of the Five Baronies are the real power in the region. The country’s only hope of liberation is you.
/pic2655077.jpg)
Introduction No frills, here. No fancy charts and tables. No art to dazzle your eyes. Just a crawl; that happens to have a bit of a background, and a (group)death-dealing Bad Ass! waiting for the characters. How you run it is your business. What you delete, exchange out/in or modify is up to you. You can be as kind and patient with the players as you like, or let the chips fall (dice roll) where they may. You can allow pre-rolled characters, provide pre-gens yourself, or let the players bring their own, favorite character they have worked hard to get to the levels indicated; remind them, if the latter, that character-death is part of the game! I issue only the following comment: if run as it is laid out , it is nearly certain that at least one character, and as many as all of them, might die during the adventure.

"The creatures are just too intelligent, too crafty, and too strategy-minded to "rampage." Rampaging brings the wrath of oath-bound knights, powerful mages, and divinely-protected priests. Why would a dragon want such attention, unless it had some special secret, or unless it was insane? Or both. The northern reaches of the Derideth Swamp were once plagued by a rampaging dragon. This black dragon, named Storamere, took a mad glee in attacking human villages, wiping out orc camps, driving off the lizardfolk, and decimating farmland. He met his untimely end, though, in an ambush devised by the monks of the Order of St. Chausle. Storamere died with a curse upon his draconic tongue: "you could not have defeated me in my lair," he told his slayers. "I am forever invincible in my lair." Now Storamere is back, with a horde of his misshapen half-dragon offspring, to have his vengeance. All that remains of the once-heroic monks are two old men driven mad by their last encounter with the black dragon, so it falls to a band of adventurers to again defeat the mighty dragon -- this time in his palace, where the boastful Storamere claims he is at his strongest." Includes maps and damage rules for navigating Storamere's lair, a semi-solid palace made of a dangerous, corrosive liquid five feet thick and located on the ethereal plane. Most of the monsters in the lair have the Half-Dragon template applied. Published by Atlas Games

Under raging stormclouds, a lone figure stands silhouetted against the ancient walls of castle Ravenloft. Count Strahd von Zarovich stares down a sheer cliff at the village below. A cold, bitter wind spins dead leaves around him, billowing his cape in the darkness. Lightning splits the clouds overhead, casting stark white light across him. Strahd turns to the sky, revealing the angular muscles of his face and hands. He has a look of power - and of madness. His once-handsome face is contorted by a tragedy darker than the night itself. Rumbling thunder pounds the castle spires. The wind's howling increases as Strahd turns his gaze back to the village. Fas below, yet not beyond his keen eyesight, a party of adventurers has just entered his domain. Strahd's face forms a twisted smile as his dark plan unfolds. He knew they were coming, and he knows why they came, all according to his plan. He, the master of Ravenloft, will attend to them. Another lightning flash rips through the darkness, its thunder echoing through the castle's towers. But Strahd is gone. Only the howling of the wind - or perhaps a lone wolf - fills the midnight air. The master of Ravenloft is having guests for dinner. And you are invited. TSR 9075

60 years ago, a wizard's tower was encased in a magical glacier. Now a crack has appeared, exposing the tower for adventures. Inside, a magic artifact turns any who did in the tower to undead, including the PCs.
Slain in disgrace, reborn in fury, armed to the teeth: Flame returns! Flame is back - and is he mad! The sequel to "Into the Fire" from Dungeon 1. Pgs. 42-63

Having put down a rising of giants, it was discovered that the motivating force behind their depredations was that of long-forgotten evil - the Dark Elves. Determined to seek out these creatures, a body of doughty adventurers mounted an expedition to learn the strength of the Drow and bring retribution to them (DUNGEON MODULE D1, DESCENT INTO THE DEPTHS OF THE EARTH). This module contains background information, a large-scale referee's map with a matching partial map for players, referee's notes, special exploration and encounter pieces, a large map detailing a temple complex area, encounter and map matrix keys, and an additional section pertaining to a pair of unique new creatures for use with this module and the game as a whole. A complete setting for play of ADVANCED DUNGEONS & DRAGONS is contained herein. This module can be played alone, as the second part of a series of three modules (with DESCENT INTO THE DEPTHS OF THE EARTH, D1, and VAULT OF THE DROW, D3), or as the fourth part of a continuing scenario (DUNGEON MODULES G1, G2, G3, D1, D2, D3, and Q1, QUEEN OF THE DEMONWEB PITS). TSR 9020, From 1978

A Welcome Scourge is a murder investigation for a party of 8th level characters. It takes place in an outpost town called Newfort, but you can easily adapt the adventure to your own setting. "There have been several high-profile vampire murders in Newfort, but the locals seem to be fine with them - probably because all of the victims have been infamous and despicable. It is up to your heroes to glean clues from around town, track down the vile creature, reveal a foul conspiracy, and beat out competitors hunting for the same bounty."
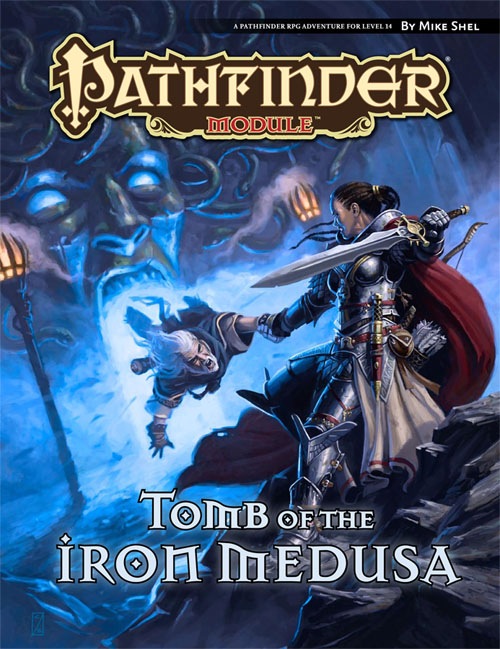
Hidden in the remote southern range of the World’s Edge Mountains lies a mysterious necropolis known in legend as the Tomb of the Iron Medusa. When the last heir of the dungeon’s long-dead noble builders hires the PCs to explore the forlorn and deadly site in search of evidence that may clear his family name, the intrepid heroes soon find themselves in over their heads. For the Tomb of the Iron Medusa does not give up its secrets lightly, and the dangerous truths that lie within its ancient, trap-laden crypts may have been hidden for very good reasons indeed.
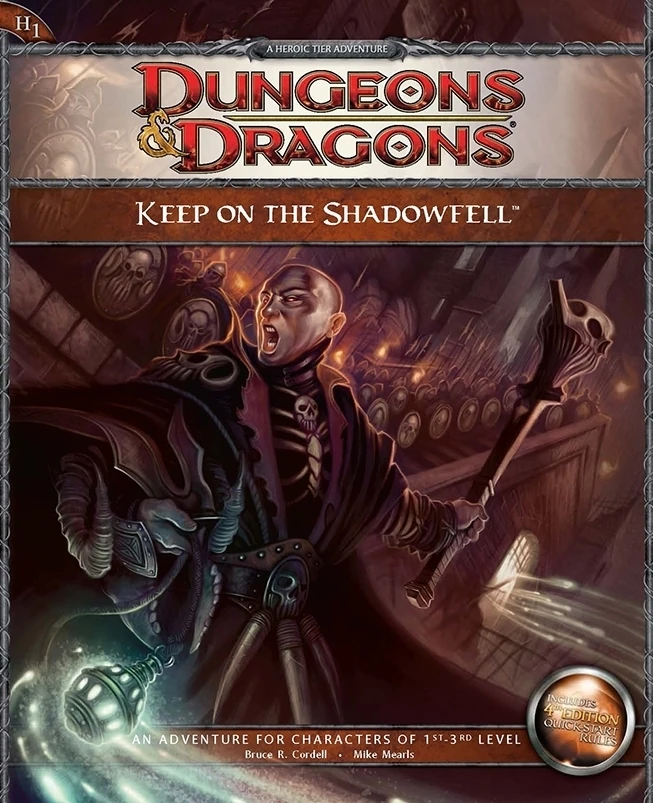
Darkness looms near Winterhaven! Kobold brigands have grown ever bolder in their attacks, marauding the once peaceful town, and a known explorer has been missing ever since their departure to the excavation site of a dragon burial site. When the party investigates, they will discover that the kobold's leader, Irontooth, bears a tattoo of a ram-headed demon. This is a troubling portent, for the townsfolk will report that this can only mean the dread god Orcus, master of death, has an active cult in that ruined keep! It is up to the party to enter the Keep on the Shadowfell and put a stop to the cult's fell machinations before it threatens all the realm. There they will fight the evil priest Kalarel, Scion of Orcus and seal off the vile portal to the dark realms he is master of. Should the heroes seize victory, glory and treasure are sure to be theirs. But first they must endure the challenges of that dreaded KEEP ON THE SHADOWFELL!
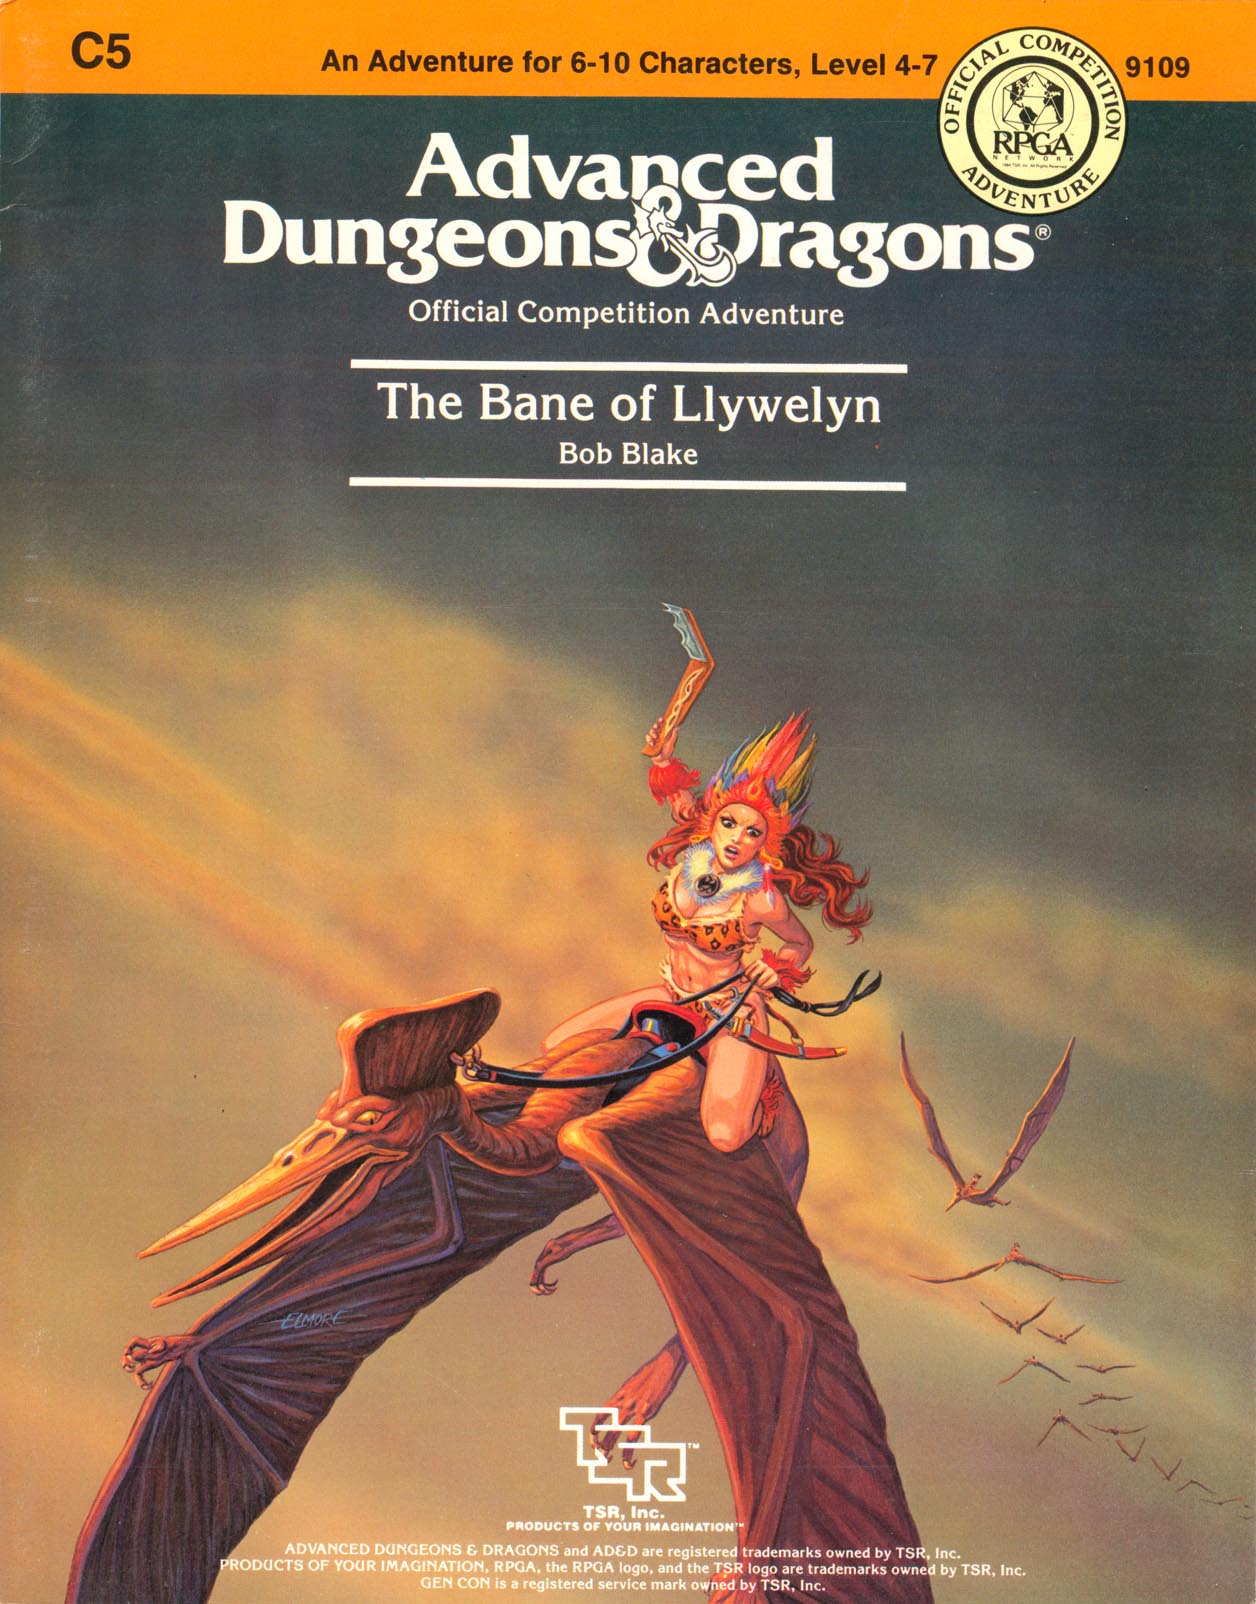
Excitement and unrest grip the land of Pellham. Two hundred years ago, the royal line of kings was deposed and replaced by a High Council. The current council is well-meaning but hopelessly incompetent. Everyone agrees that a drastic change is needed for the kingdom to survive. The ancient Prophecy of Brie foretells that in Pellham's darkest hour, a king from the past will return to restore the kingdom. The time of the prophecy is now. All is in readiness: the symbols of the ancient kings have been recovered, the keys to the royal tomb are in hand, powerful magics to revive the long-dead king have been secured at great cost. Only one problem remains... no one knows where the king is buried! The Bane of Llywelyn concludes the epic adventure of the Prophecy of Brie -- can YOU insure that the quest will be a success? The adventure can be played as a separate adventure or as the second part of the Prophecy of Brie series. TSR 9109

Dracula, the Lord of Shadow and Darkness, has covered the land in shadow and dispatched armies of monsters and undead from his magical castle. His armies threaten to overrun major cities and plunge the world into a literal Dark Age. The last of the vampire-hunting clan that traditionally opposed him has disappeared, and still the armies advance. He must be stopped. If that's not enough motivation, it is well-known that his castle is full of magical items and great riches... but also great danger. If you've ever wanted D&D and Castlevania to meet, look no further. This adventure is exactly what you wanted. Every area of the castle poses different and unique challenges to keep the party engaged and on their toes. Written for the DM as a ready-to-run adventure, it is designed for four to six characters. The adventure starts at level 3 at the outer defenses of the castle, and ends with the party advancing to level 13 after defeating Dracula in an epic battle. The adventure includes documentation to help even a new DM succed, including suggestions for how to run each of the area "boss" monsters in combat. There are approximately 50 new enemies and over 3 dozen new magical items. It also comes with a list of suggested music for many areas of the castle, and a 25-page campaign log recounting an actual tabletop play-through of this adventure from the DM's perspective.

To Kill A King Death to King Ovar the tyrant! Life to law and order! Four characters are charged with a mission so insane, so daring, that terming it an assassination does not do it justice. Are the four volunteers who would lay low King Ovar killers or heroes? If murderers, how are they better than the madman theyre assigned to kill? And even if they are mere assassins, are they determined enough to overcome the Maze of Zayene? Snared in the Wizards Web

Synopsis: A swamp village is plagued by swarms of insects; several villagers have died from it. It turns out that the local herbalist is actually a vampire who takes the form of a swarm of mosquitoes. Talk to villagers and get rumors, visit the herbalist, suffer through some dreams, get ambushed by the herbalists minions, chase him into the basement to kill him and rescue the villagers. The mosquito vampire and, maybe, the role play involved in convincing the villagers to dig up the graveyard (to find empty coffins filled with sand!) should be fun. The rest of this is pretty simple.
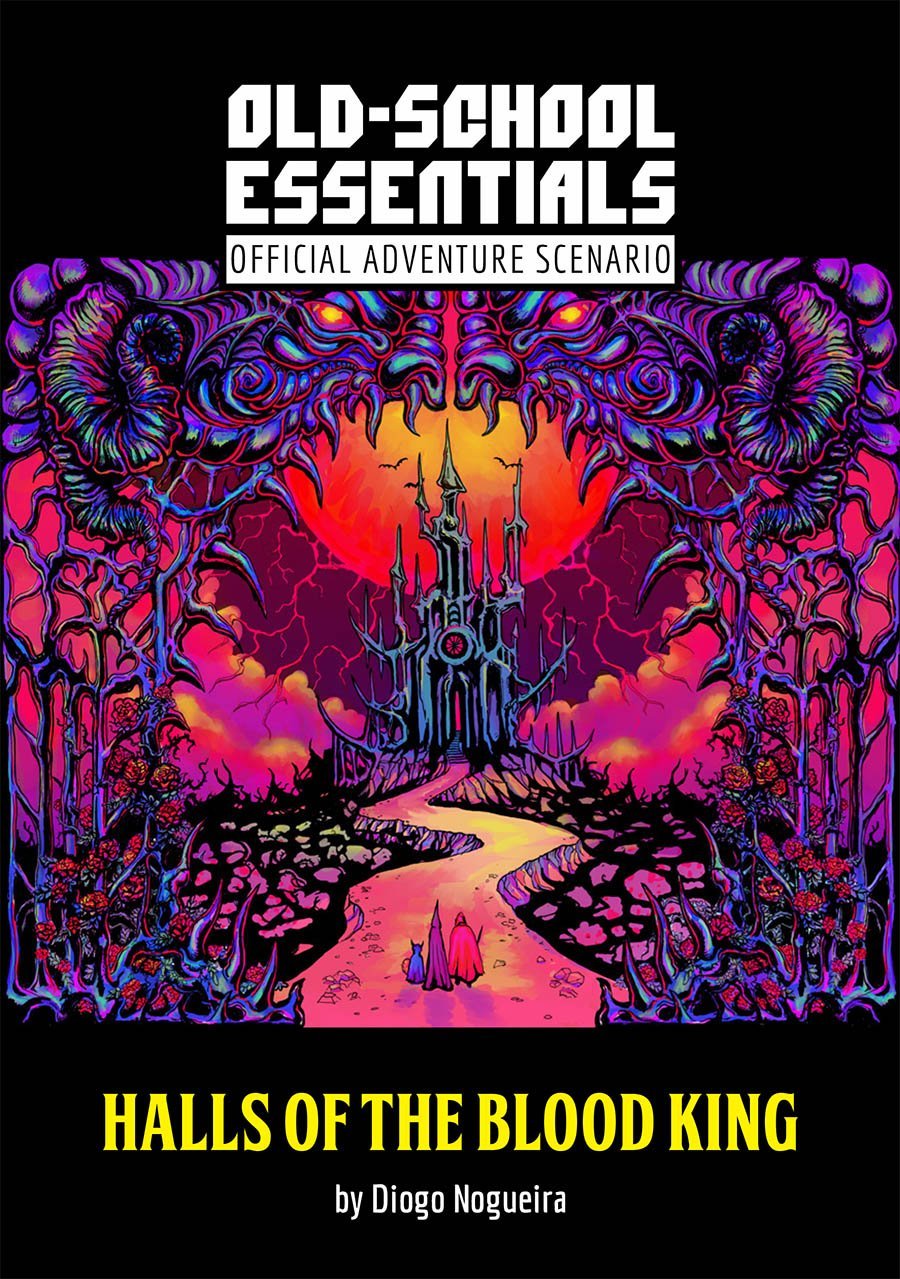
With the rising of the Blood Moon, the accursed abode of the Blood King returns to this world. The lord of all vampires comes to claim the blood that is owed to him. His halls contain treasures and secrets that would make any ambitious adventurer abandon reason and caution to seek them out. Will you risk your soul for gold and glory in the Halls of the Blood King?

The End of the World Is at Hand! A hideous death cult has seized control of an ancient artifact-monument known as Tovag Baragu. The power behind the cult is the Old One himself, Iuz the Evil, demonic master of an empire. He's on an all-or-nothing quest for supremacy over the world—and the heavens beyond. To stop him, heroes must face horrors never dreamed of, journeying to a shadowed city where Death rules and the living cower. Here, Iuz will achieve his mad dream by destroying the imprisoned master of that alien citadel: Vecna, the mightiest lich, an immortal demigod. Two items exist with the power to stop Iuz—the Eye and the Hand of Vecna—but using them carries fantastic risks. Not even the gods know what will be unleashed when these items are fully activated. Die Vecna Die! takes the heroes from the Greyhawk campaign to the demiplane of Ravenloft and then to the Planescape city of Sigil. However, none of the material from those settings is required for play. TSR 11662

The final confrontation with the giant, King Snurre, and the entry of mighty adventurers into the caverns under his stronghold (DUNGEON MODULE G3, HALL OF THE FIRE GIANT KING) discovered the Dark Elves, the Drow, had instigated the giant alliance and its warfare upon mankind and its allied races. This module contains background information, a large-scale referee's map with a matching partial map for players, referee's notes, special exploration and encounter pieces, a large map detailing a cavern area, encounter and map matrix keys, and an additional section pertaining to a unique new creature for use with this module and the game as a whole. A complete setting for play of ADVANCED DUNGEONS & DRAGONS is contained herein. This module can be played alone, as the first part of a series of three modules (with SHRINE OF THE KUO-TOA, D2, and VAULT OF THE DROW, D3), or as the fourth part of a continuing series of modules which form a special progressive campaign scenario (DUNGEON MODULES G1, G2, G3, D1, D2, D3, and Q1, (QUEEN OF THE DEMONWEB PITS). TSR 9019

"What could happen if Santa became a vampire?" There’s Something Wrong with Santa is a 2- to 4-hour adventure for four to five characters of 5th level. Scaling Suggestions are included, allowing you to run the adventure for lower or higher-level characters. This adventure is designed to be neatly dropped into any campaign. It features a small village named Hollypocket, which is hosting a Christmas celebration, with Santa as the special guest. However, a nearby vampire learned of Santa’s plans to attend the festival, and intercepted the jolly, white-bearded man while he traveled to Hollypocket. Now, Santa is cursed with vampirism and is on a mission for the vampire: gather the tasty villagers and bring them to the devil’s lair. "Santa's a vampire?" Yes! While the characters may not know this at the start, there are several descriptive clues that should lead them to believe Santa is now a vampire. This fact becomes more evident the closer they get to vampire Santa. "What will they do?" Will your heroes kill vampire Santa, or will they find a way to cure him? Product Overview — ♦ 2 to 4 hour adventure for four to five characters. ♦ Designed for 5th level characters. ♦ Scalable for lower or higher level characters. ♦ Downloadable maps. ♦ VTT Tokens.