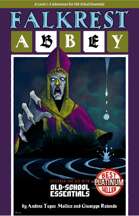
The forlorn Falkrest Abbey in the icy Lune Mountains is where the Queens and Kings of Yore used to be crowned and buried, along with their treasures. According to legends, the Fountain of St. Brynedd still pours its miraculous water somewhere inside. But what caused the fall of the blessed Abbey? Falkrest Abbey is a level 1–3 dungeon adventure for Old-School Essentials. Written by Andrea Tupac Mollica and Giuseppe Rotondo, with original art by Zaira Diana. Content: A 19 room dungeon with exploration, combat, mystery, puzzles and NPCs Encounters and events along the way on the icy Lune Mountains Several hooks and alternate outcomes with possible repercussions on your campaign 3 new monsters 2 new magic items, plus one almighty magic vial of miraculous water Original art by Zaira Diana Map drawn with dungeonscrawl Utility: Treasure & monsters overview sorted by room Interactive hyperlinked map and index Interactive hyperlinked map snippets accompanying room descriptions Printable hand-outs (optional) Extra files: VTT friendly maps without room numbers, monsters, secrets doors etc
What angers the spirits? You don't have long to find out. An angry spirit can even steal the rain. The characters must appease a spirit that has brought drought to the area. Before they can summon him, however, they'll need to collect magical water from three shrines. Pgs. 35-43

Gifts for Him is a short, challenging, open-ended, gothic-horror, 5E-compatible Christmas adventure for tier 1 characters to be run in about three sessions, but it can be easily adapted as a one-shot. It contains over 25 pages with original artwork, three original battle maps, three unique monsters, stat blocks for five NPCs, three magic items, and a partridge in a pear tree. ----- The village of Bargrave has a secret. Every year, on Christmas Eve, the villagers cower in their homes while a savage beast prowls the streets, wreaking bloody doom on whomever has not left it a suitable gift on their doorstep. But Elias Buhl has had enough. This year, the old farmer won’t be buying the beast a gift, hoping instead to bait it into attacking him at his homestead, where he will trap and kill it once and for all. But he can’t do it alone. Buhl has hired a band of adventures to help him fortify his home, set traps, and slay the creature. They have three days to prepare, gather allies and equipment, and plan their defense. Or… They can dig a little deeper and uncover what Bargrave has been hiding all these years. Will they slay the beast, as agreed? Might they capture it to use it for their own ends? Can it be redeemed? Or will they die — their blood melting the snow — just the latest victims of the creature’s reign of terror? --- Gifts for Him is a complete, playtested, illustrated adventure that is currently pay what you want.
"A legend has circulated through the Barony of Loup-Montagne for hundreds of years concerning the order of inheritance for the title of baron. The legend holds that if the title is passed to someone who is not the eldest heir, the spirits of the forest will lash out against the people of the barony." Players will find themselves investigating a mystery in the small, superstitious town of Roulune. "As is normal in a gothic horror tale, the true situation in Roulune is different from what it seems. Figuring out the real story and the real connections between people will be key to the player characters’ success in this adventure." "This adventure is meant for characters of levels 4 to 6. The default setting is the Barony of Loup-Montagne, but any remote, heavily wooded principality with highly superstitious residents will do."
Who is the dying woman? Where is the lake that can save her? Even ladies in distress aren't all that they seem. Ideally, there should be at least a cleric, a magic-user, and a ranger in the party. Pgs. 11-18
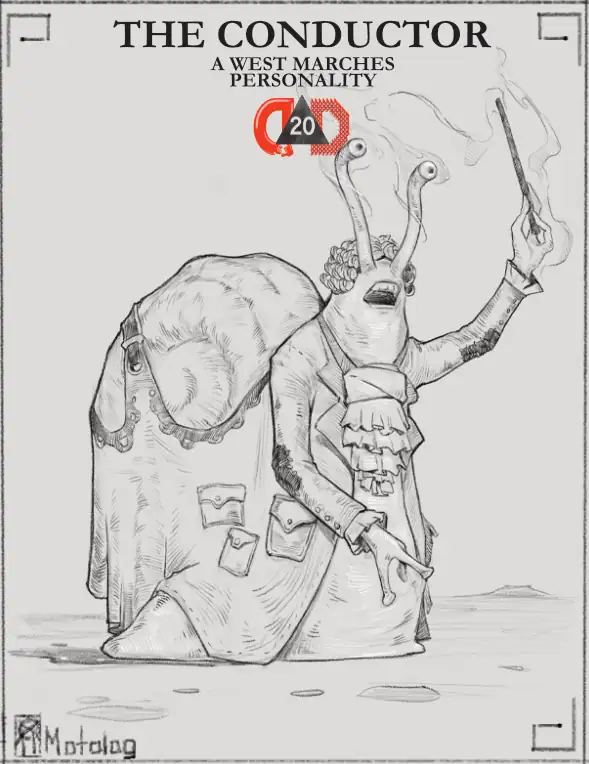
An oblivious villain or a strange Fey for your party to interact with, The Conductor is a snail humiform who can be a hex feature in your West Marches Sandbox Hexcrawls.

Zhentish soldiers, Maerimydran drow, and Sharran cultists have forged a dark alliance to subjugate the peaceful land of Shadowdale. Elminster's tower lies in ruins, Lord Amcathra governs at the sufferance of the dale's conquerors, and the very Weave of magic in this embattled land seems to fray with each passing day. The Zhentish yoke lies heavy over Shadowdale—but the Dalesfolk are ready to fight for their freedom, if only they can find true heroes to lead the way!
The Dungeon of Graves, is nothing more and nothing less than a good, old–fashioned, First Edition dungeon crawl updated for the 5th Edition Roleplaying Game. Very difficult, it should strike fear into the hearts of the most stalwart adventurers. It offers an abundance of traps, tricks, and monsters. We hope that you find this module as fun and exciting as those thousands of players who have ventured into (and not as often out of) the endless caverns and mazes of Rappan Athuk—The Dungeon of Graves. Rappan Athuk is a difficult dungeon. Even the upper dungeon levels should not be attempted by a party of less than six mid-level characters.

A simple hunt for a werewolf, or so we thought. Find its lair and slay the beast. No use for wolfsbane or other superstitions. Silver and magic would win the day. A worthy challenge, but nothing horrific, surely. Yet we never expected what we found in the Graenseskov, and our hubris cost us dearly... 𝐓𝐡𝐞 𝐁𝐞𝐚𝐬𝐭 𝐨𝐟 𝐆𝐫𝐚𝐞𝐧𝐬𝐞𝐬𝐤𝐨𝐯 is an 80-page bookmarked Ravenloft® adventure for characters of 1st-4th levels focused on mystery and exploration. It can be used in conjunction with 𝐂𝐮𝐫𝐬𝐞 𝐨𝐟 𝐒𝐭𝐫𝐚𝐡𝐝, either as an introduction to Barovia or adapted as a side quest, as part of the original expanded Ravenloft setting, or it can be used as a stand-alone horror adventure-setting. 𝐓𝐡𝐞 𝐚𝐝𝐯𝐞𝐧𝐭𝐮𝐫𝐞 𝐡𝐨𝐥𝐝𝐬 𝐚𝐩𝐩𝐫𝐨𝐱𝐢𝐦𝐚𝐭𝐞𝐥𝐲 𝟏𝟔 𝐭𝐨 𝟐𝟒 𝐡𝐨𝐮𝐫𝐬 𝐨𝐟 𝐠𝐚𝐦𝐢𝐧𝐠 𝐰𝐢𝐭𝐡𝐢𝐧 𝐢𝐭𝐬 𝐩𝐚𝐠𝐞𝐬, and potentially much more for groups embracing an investigative style of play. In the mists at the edge of Count Strahd von Zarovich’s realm lies the Graenseskov, a land of deep woods and bleak hills overrun with wolves. A Beast haunts these misty lands, leaving bloody corpses and terror in its wake, the product of a hag’s curse placed upon the boyar’s manor. But the Beast is no arbitrary killer. The PCs find themselves drawn into the mystery of uncovering the Beast’s identity and breaking the hag’s curse before the Beast’s final victim gurgles their last breath and the Beast is beyond any hope of redemption. Requires the 𝐃𝐮𝐧𝐠𝐞𝐨𝐧 𝐌𝐚𝐬𝐭𝐞𝐫'𝐬 𝐆𝐮𝐢𝐝𝐞 and the 𝐌𝐨𝐧𝐬𝐭𝐞𝐫 𝐌𝐚𝐧𝐮𝐚𝐥. This is a 63 Mb ZIP file containing a watermarked PDF of the updated adventure, a PDF with handouts, a PDF DM's cheat sheet, and PNG files of the Graenseskov region map for the DM and players. 𝐅𝐞𝐚𝐭𝐮𝐫𝐞𝐬: • The DM (or the Tarokka) determines the guilty suspect and their motives, offering a different experience for each group’s play-through. • A vivid cast of characters with a NPC index. • Escalating random encounters, special events, and techniques for DMing a mystery. • New monsters: black annis hag & loup du noir. • All units given in SI & metric. • Handouts and maps for DMs and players. • DM's cheat sheet with quick prep notes, clue checklist, handy Tarokka tables, tips on running the Beast, and a decision point flowchart. 𝐓𝐡𝐞 𝐓𝐨𝐦𝐞 𝐒𝐡𝐨𝐰 May 16, 2016 DM's Guild Pick of the Episode! Thanks James! http://www.thetomeshow.com/e/round-table-119-giants-and-the-talented-bestiary/ 𝐂𝐇𝐀𝐍𝐆𝐄 𝐋𝐎𝐆 𝐉𝐮𝐥𝐲 𝟐, 𝟐𝟎𝟏𝟔 𝐔𝐩𝐝𝐚𝐭𝐞: The big update! Fixed several editing and grammar errors, including an error in Appendix D, and the repeated paragraph on page 12 (page 13 in new document). Added a new special event - Hanging the Vistani - to Chapter 1 which ties together several dangling plot threads. Clarified "Adjusting the Adventure" & added Werewolves in the Mist to the "Adventure Hooks" in the Introduction. Added two pieces of thematic filler art. 𝐀𝐩𝐫𝐢𝐥 𝟏𝟖, 𝟐𝟎𝟏𝟔 𝐔𝐩𝐝𝐚𝐭𝐞: Added a DM's cheat sheet PDF to the zip file.

The party is caught between warring goblin and kobold gangs, occupying an abandoned dwarven mine. Will the heroes ally with one of the sides in this quarrel, try to make peace between old enemies, attempt to eliminate both sides, or achieve their goal stealthily and unnoticed? The choice is completely theirs! Small Party Adventure: Though the party size of 3–5 characters is considered optimal in D&D, there are times when you can only gather one or two players at most. This adventure is designed exactly for such occasions.

Ill winds blow over Wayward. The men drink apart from their wives, while a mysterious traveler sows discontent between married couples. The Wayward wives have had enough and are plotting revenge. Part 2 of the Evenflow Saga.
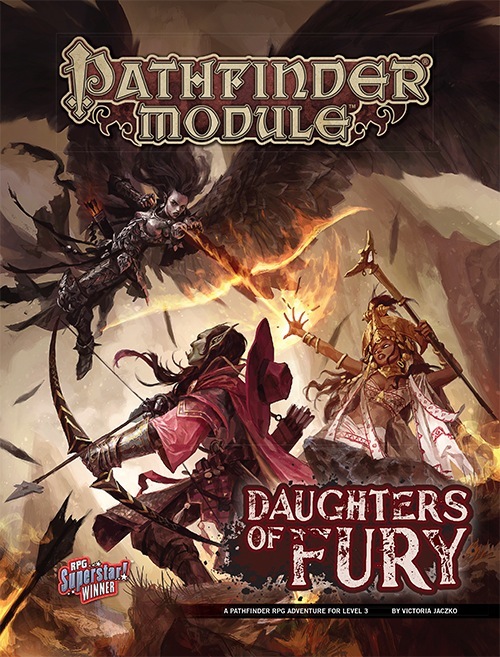
When devils slay the knightly leader of Arwyll Stead and orcs from the Hell's Fury tribe attack the town, all hope seems lost for the brave people living on Lastwall's border. The coincidental arrival of the mysterious half-orc Vegazi also raises unsettling questions, and it's up to the heroes to make sense of these events and end the Hell's Fury tribe's threat to Arwyll Stead once and for all. What does Vegazi have to do with the raiders' diabolical plot? Who will rally Arwyll Stead now that the town's icon has been cut down? And who is the mastermind orchestrating the orc tribe's alliance with devils from beyond?

*THIS IS A D&D NEXT/5E PLAYTEST ADVENTURE* Imani, a Turmishan wizard and former adventurer, seeks the aid of heroes to infiltrate Dretchroyaster’s lair and recover the Diamond Staff of Chomylla—the key to powerful magic and wisdom locked away for thousands of years. In addition to his own sagely interest in the lore of lost Uvaeren, Imani recognizes the dangers of such powerful magic falling into evil hands. The dracolich has secured the staff in his lair’s cen- tral chamber, using ancient wards of protection that can be bypassed only by four artifact-idols once belong- ing to a cult of Bhaal. Each group of adventurers enters the dungeon through a different section of the dun- geon—a forgotten temple of Bhaal, a vast underground lake, a troglodyte village, or Dretchroyaster’s vaults. Dretchroyaster’s lair is no simple set of caverns and ancient ruins. It sits atop a source of great power and energy, which the dracolich and his Cult of the Dragon allies hope to use to unlock the secrets of the staff. Only by undertaking a unified assault against Dretchroyas- ter’s lair can the adventurers hope to recover the Diamond Staff and survive the dracolich’s fury. The adventurers must make their way through the lair and recover the Bhaalite idols that will help unlock the Diamond Staff, all the while dealing with the lair’s creatures and avoiding the dracolich as he pur- sues intruders. Entering the Chamber of the Diamond Staff, the heroes must overcome its magical wards and claim the staff before being slain by the dracolich and his servants.

Come and wolf down the adventure! It’s been a long time since the people of Welton have worried about anything but sheep ticks and late frosts, but now a pack of strangely determined wolves are spiriting away entire flocks at a time and driving farmers from their fields. With food running low and their sorcerer-in-residence nowhere to be found, the village council send out a desperate plea for brave adventurers to destroy the beasts. Is the job as easy as a walk in the woods, or is there more to the Wolves of Welton than mere animal cunning? There’s only one way to find out… A fresh take on the ancient 'kill ten wolves' quest that RPG fans will be so familiar with, The Wolves of Welton is designed to be played from start to finish in just one 3-6 hour session with limited preparation from the DM. All major characters have roleplaying notes included and full-size environment maps are included.
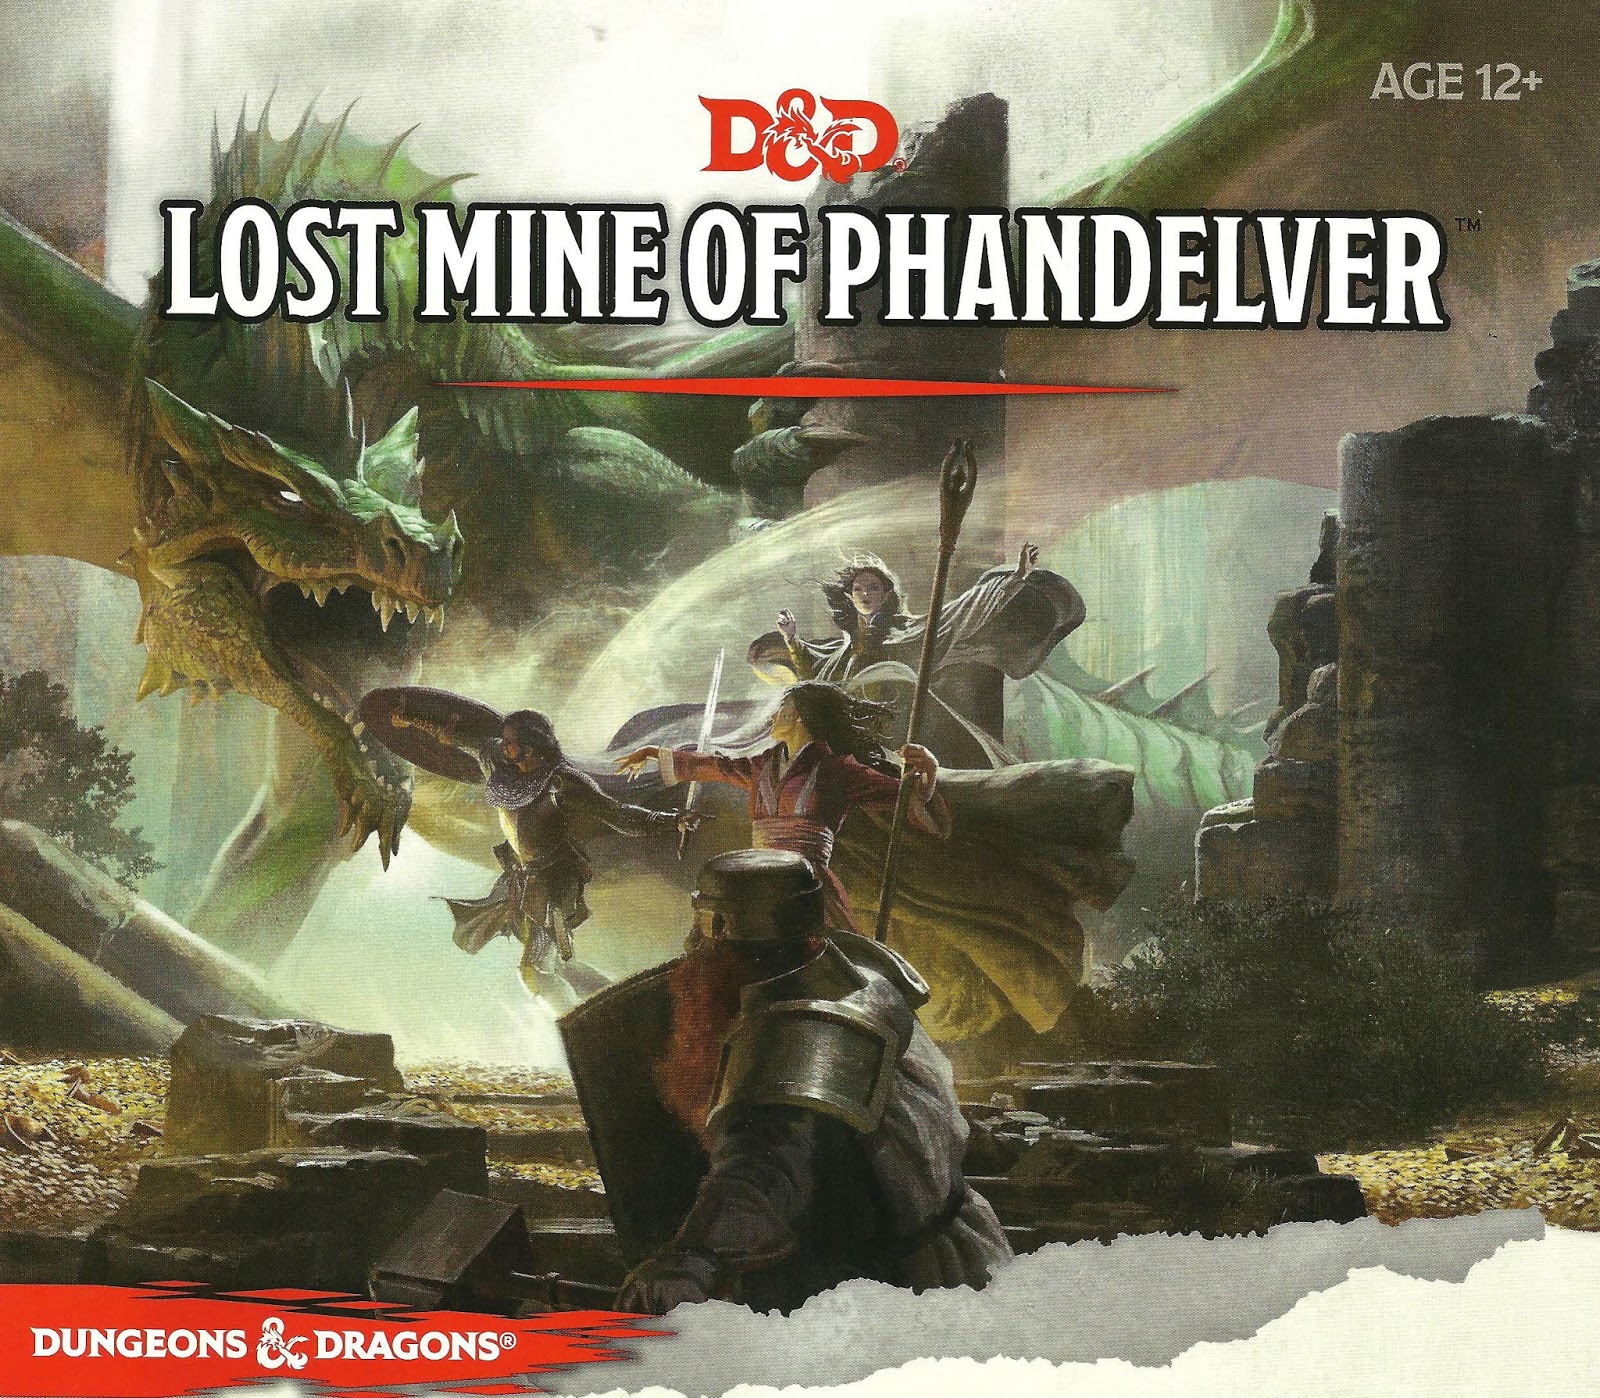
"More than five hundred years ago, clans of dwarves and gnomes made an agreement known as the Phandelver’s Pact, by which they would share a rich mine in a wondrous cavern known as Wave Echo Cave. In addition to its mineral wealth, the mine contained great magical power. Human spellcasters allied themselves with the dwarves and gnomes to channel and bind that energy into a great forge (called the Forge of Spells), where magic items could be crafted. Times were good, and the nearby human town of Phandalin (pronounced fan-duh-lin) prospered as well. But then disaster struck when orcs swept through the North and laid waste to all in their path. A powerful force of orcs reinforced by evil mercenary wizards attacked wave echo cave to seize its riches and magic treasures. Human wizards fought alongside their dwarf and gnome allies to defend the Forge of Spells, and the ensuing spell battle destroyed much of the cavern. Few survived the cave-ins and tremors, and the location of Wave Echo Cave was lost. For centuries, rumours of buried riches have attracted treasure seekers and opportunists to the area around Phandalin, but no one has ever succeeded in locating the lost mine. In recent years, people have resettled the area. Phandalin is now a rough-and-tumble frontier town. More important, the Rockseeker brothers - a trio of dwarves - have discovered the entrance to Wave Echo Cave, and they intend to reopen the mines. Unfortunately for the Rockseekers, they are not the only ones interested in Wave Echo Cave. A mysterious villain known as the Black Spider controls a network of bandit gangs and goblin tribes in the area, and his agents have followed the Rockseekers to their prize. Now the Black Spider wants Wave Echo Cave for himself, and he is taking steps to make sure no one else knows where it is." Extra Info from AL.com users: by @marcellarius. "There are a variety of locations in this adventure: the town of Phandalin, a gang hideout, a ruined keep in the forest, a destroyed village, and Wave Echo Cave (a dungeon crawl). The adventure is written in a sandbox style and relies on the players to choose their path. Phandalin offers several side-quests which could serve as hooks for continuing adventures. The premade characters have ties in their backgrounds to NPCs and locations. If you're not using these you'll need to consider other ways to introduce key NPCs."

The valley of Haven was a peaceful land. Its crops were abundant, its citizens prosperous. Elves, Dwarves, Halflings, and Humans lived together in harmony. Hidden away in the heart of the Thunder Mountains, Haven was a safe place to live. The rivers were sweet and pure; the weather was pleasant and warm. Something terrible has come to pass in Haven - terrified refugees speak of a fabulous ruby uncovered in the mountains and a catastrophe that befell the palace. Whatever the cause, Haven now lies in chaos. Raiding bands of orcs, goblins, and hobgoblins terrorize the countryside. The disaster happened so suddenly that the citizens are confused and helpless. Without their leaders, who are trapped in the palace, they have no courage to fight back. The situation has become desperate. TSR 9044

Traveling the space lanes is risky and mysterious, and danger comes in many forms. The rescue of a tiny ship from pirate attackers leads to the discovery of a monumental, supernatural evil. Nothing is ever routine in space. Crystal Spheres takes player characters through four unique crystal spheres to battle a powerful force of darkness. Player Characters will find themselves fighting not just for their lives, but the fate of an entire solar system and its millions of inhabitants. TSR 9299

A handful of would-be adventurers gathers to explore an ancient tomb, eager to trade their discoveries for a ticket to a better life. What they find within presages the advent of the Age of Worms, an era of darkness, decay, and writhing doom. "The Whispering Cairn" is the first installment of the Age of Worms Adventure Path, a complete campaign consisting of 12 adventures, several "Backdrop" articles to help Dungeon masters run the series, and a handful of poster maps of key locations. For additional aid in running this campaign, check out Dragon's monthly "Worm Food" articles, a series that provides additional materials to help players survive this campaign. Pgs. 14-47
Pursued by wolves and worse, the party must fight a running battle to take refuge at the relative safety of the Bittermoon Inn, a decrepit old inn high in the mountains. But night is falling, can they uncover the secrets of the inn and use them to survive the night? This adventure can be played as a stand alone one-shot, or can be used as a drop-in side quest to almost any campaign. It is suitable for a party of about 5 characters at the First Tier (Levels 1-4). The players must fight a running battle with wolves to reach Bittermoon, then they must discover the secrets of the inn before escaping through a smuggler's tunnel. Finally they must face off against their unseen opponent at Skull Cavern. There are four encounter maps included with this title.

Devastated in a war with a nearby wizards' school, the Fighters' Academy has since been surrounded by a foul and dank swamp - the Gloomfens. Since the climatctic battle between the wizards and fighters, the tower has decayed. The spirit of the head of the academy haunts the building, eternally plotting his revenge on the wizards who killed him. his loyal sutdents remain faithful to him even in death. Other foul undead have made their home in the rotting, spacious academy. From their lair, they make forays into farmsteads near the swamp in search of victims to feed their unspeakable appetites. The Problem of these terrible attacks by the savage undead will not stop until the evil that has found a home at the tower is burned from the face of the land forever. Will your party heed the call and help the town of Melinir? Will they be able to clear the former Academy of its undead? Towers of Evil is the second in a three part adventure, The Haunted Tower. Or, it can be ran as a stand alone adventure. The choice is up to you. Part of TSR 1081 The Haunted Tower