
A far realms themed delve into a twisted dungeon complex, filled with unique hazards, creatures and items. This adventure is designed for 4 level 6 characters and should take one or two sessions. Player and GM maps included.
Create your own Critical Role campaigns with this sourcebook for the world's greatest roleplaying game! Explorer’s Guide to Wildemount provides everything you need to play Dungeons & Dragons on the continent of Wildemount (set within the world of Exandria)—a land of war, betrayal, and swashbuckling adventure. Comprised of four regions, Wildemount provides endless potential for adventure in a land of brewing conflict and incredible magic. Rising tensions boil over into all-out war between the politically dubious Dwendalian Empire and the light-worshiping wastefolk of Xhorhas, supplying a vibrant backdrop for any D&D campaign to explore. Uncover a trove of new options usable in any D&D game, featuring subclasses, spells, magic items, monsters, and more, rooted in the adventures of Critical Role—such as Vestiges of Divergence and the possibility manipulating magic of dunamancy. Start a campaign in any of Wildemount’s regions using a variety of introductory adventures, dozens of regional plot seeds, and the heroic chronicle system—a way to create character backstories rooted in Wildemount. Explore every corner of Wildemount and discover mysteries revealed for the first time by Critical Role Dungeon Master, Matthew Mercer. Includes: Frozen Sick: https://www.adventurelookup.com/adventures/frozen-sick Unwelcome Spirits: https://www.adventurelookup.com/adventures/unwelcome-spirits Tide of Retribution: https://www.adventurelookup.com/adventures/tide-of-retribution Dangerous Designs: https://www.adventurelookup.com/adventures/dangerous-designs

Today we bring out a scenario for a pair of budding first level adventurers. Originally used to teach D&D to a novice, this fleshed out into a trio of adventures set on the northern island of Esaq off the coast of the ancient Greyloch Kingdom. Home to a Halfling population, the adventure takes two young people on a thrilling adventure after the duo’s home is raided by slavers. The novice delvers head east to rescue their family and fellow villagers!

An evil oracular being has taken up residence in a lonely valley. The only access to the valley is through a thick, dead wood whose shadows draw out foul memories from those who travel there. The oracle, Lurinax, has recently divined the season in which the world will end. This knowledge is greatly prized by many, so the evil fortune teller hides in his lair, protected by maddening winds and the souls of those he slew to obtain his knowledge. In this grim and dark adventure for tenth- and eleventh-level PCs, the party must travel the trail of shadows, face the manifestations of Lurinax’s victims, and finally the evil oracle himself.

5e Solo Gamebooks presents The Tortured Land, the fourth in our series of solo adventures set in the Forgotten Realms. With this adventure, we take off the gloves and throw your PC into the thick of some serious danger in the frigid north of Faerun. Only the most hardened adventurers will make it through this adventure in one piece, and with several different paths available, replayability is assured. The Tortured Land will provide you with hours of enjoyable, challenging play time. Arriving in a lonely village in the middle of the northern plain known as The Ride, your hero is soon drawn into a quest to retrieve a precious artifact. From there they will journey even further north, towards the barren waste known as the Tortured Land, in search of an unknown enemy. There are items to collect, codewords to activate and perils to avoid. And of course, many combat encounters! As always, hyperlinks are included in the text to facilitate easy navigation, removing the need for scrolling between entries.

Brand new variations and components for spells in the Player’s Handbook. Discover the notes of a meticulous nothic, driven to answer this question (at all costs) for every spell that calls for material components! Designed for both players and dungeon masters, this supplement expands the possibilities of the spells you know by using strange and unusual alternative components. What would you promise a mermaid in exchange for a pearl that doubled your speed when walking on water and also let you walk on fog? How far would you go to obtain glass globes crafted by a storm giant that let your lightning bolt bend or fork? Increase player agency and demonstrate character interest through the variety of magical ingredients (including both narrative and literal seeds) and the use of customized magic. Spell lists are organized by class and level, making it simple to find the incantation you need. 195 New component options with one or more for each of the spells in the Player’s Handbook that call for material components Enhanced and extraordinary spell effects for each spell cast with alternate components. 34 quest options for learning these new spell variations Bonus side quests to encourage characters to follow their own interests Easy-to-use linked appendices for spells organized by class and by level Notes from the anonymous nothic and inspiring art included throughout the entire codex

A city deep in the woods is plagued by a series of beheadings of the leadership. A twisted bargain and a dark secret are threatening to destroy this town forever. Your adventuring party finds themselves brought in to help stop the Dullahan who has been summoned against her will to enact political revenge.

Do you want your players to feel like they are in a zombie movie, struggling against a deadly horde that tries to surround them, overpower them, and bear them down to the ground to be devoured? This is an adventure that can threaten even the stoutest of characters, and is not recommended for parties of levels 12 or below unless they are larger than normal. This module is designed to take 4-8 hours of play and cover a single day, depending on the party’s speed of play and how thoroughly they decide to explore. It includes suggestions and some plot hooks that can be used to tie this easily into a variety of long-running campaigns, or it can be run as an indepdent adventure. The players will come upon a sacked town, figure out what happened, track an item whose theft has ominious implications for the region, and explore a partly-flooded old temple to end the threat. It's primarily combat-focused, but there are a few areas where exploration and route choice makes a difference, as well as traps if the party goes for the optional temple treasury. The antagonists in this module are mostly ghasts and ghouls, but the module title and cover page are deliberately selected to not spoil this. These are greater ghouls and ghasts that can challenge higher-level characters, backed up by mobs of lesser ghouls that can surround, paralyze, and devour the weak and unlucky, led by a Warlord whose aura can drive even the stout-hearted into forgetting their plans in a moment of madness.

The time has come to fight back against Hillsfar. Elanil Elassidil tasks you with uncovering valuable information to be used in a strike against the leader of Hillsfar, First Lord Torin Nomerthal himself. The only problem is that what you need is protected within the walls of the city.

Delve into the depths of the tomb of the long forgotten elven king to bring the eternal peace onto its disturbed dwellers. A 4-hour adventure for two 4th level characters. Small Party Adventure: Though the party size of 3–5 characters is considered optimal in D&D, there are times when you can only gather one or two players at most. This adventure is designed exactly for such occasions.

Veil Down Conquered is a free preview of the full-length adventure KOBOLDS VS. OGRES, coming in 2018! Veil Down is an affluent halfling village known for its vintners and farmers. Recent kobold incursions into the region around Veil Down have forced gangs of monsters closer and closer to civilized land...and this has brought a gang of ogres to the idyllic village! After driving the halflings out, the ogres have attempted to make the best of their situation and turn the village into their new home, but in a village built for halflings, these ogres are going to have a hard time fitting in... This adventure site contains a chapter from the forthcoming adventure Kobolds vs. Ogres, coming in 2018. Fully presented as a standalone site, expanded gameplay content includes a much more in-depth look at the gnome town of Hardbuckler, briefly touched in Volo's Guide to the Sword Coast and Sword Coast Adventurer's Guide. Additionally, extensive random encounter tables round out the book, steeped in historical lore from the Forgotten Realms campaign setting, presenting stunning mysteries, interesting sites to explore, and evocative NPCs and monsters. This chapter only begins the trials and tribulations players will face in Kobolds vs. Ogres!

"Bloodwood of the Cruor Circle" is an alseid and blood hag lair suitable for four or five 10th-level characters. This adventure can be completed in a single session. The Cruor Circle, a coven of dark druids led by a blood hag, has taken over control of the local alseid herd with the power of the blood. Within the forest, those who do not make proper sacrifices are stalked by the alseids and taken to the Bloodwood. Within the Bloodwood, captives become blood sacrifices, empowering the creation of sap demons, blood ponds, and other twisted products of the dark druids.
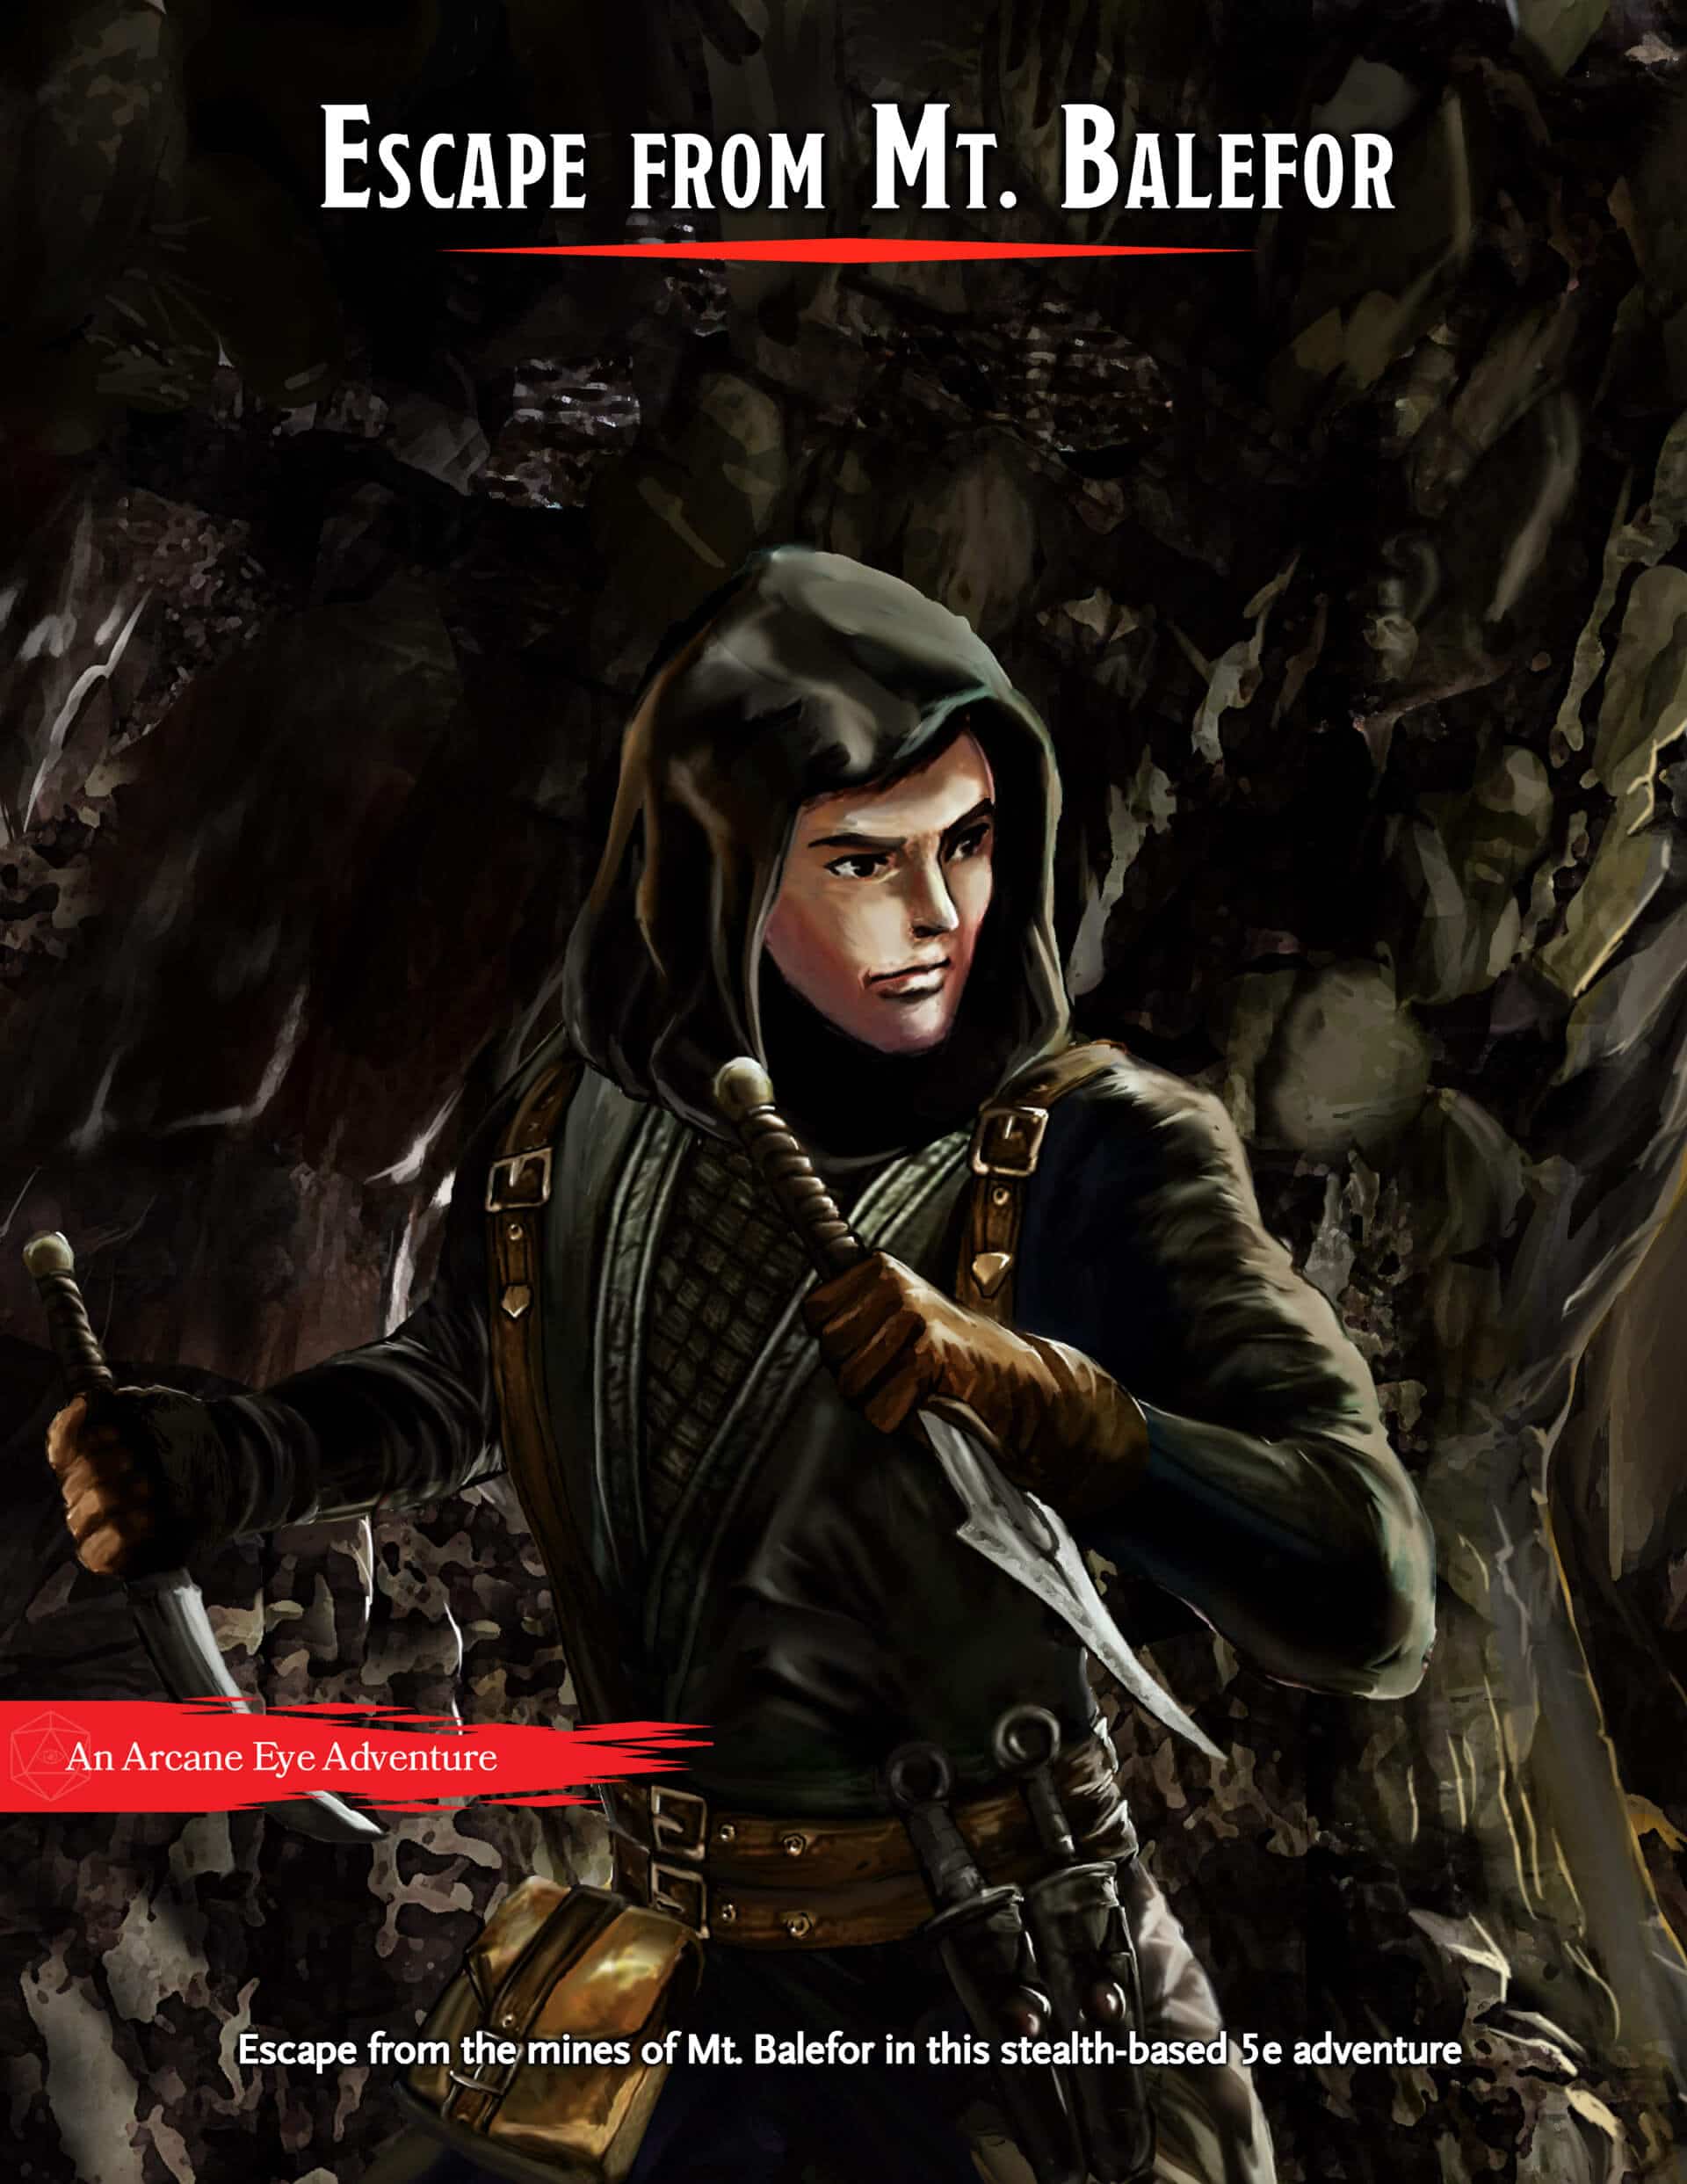
What’s Included Escape from Mt. Balefor is a self-contained 8-10 hour adventure for three to five 5th level characters. This premium module contains a full three-part story, battle maps, and NPC stat blocks. Your Mission Your party of Wood Elves will start in the mines and have to sneak and backstab their way to freedom. There are a number of chances to choose your path, whether you plan to avoid fighting or want to kill every last High Elf in the mines. There will also be a number of ways to affect the world around you if you choose to continue the story after the party escapes from the mines.
Launching the Unlock the Vault-series, this first installment sees the party search the royal crypt in the ruins of Wellsing for the fabled Shield of Ralfour - An artifact that, initially unknown to the party, also acts as one of the eight keys to break the seal on Aizendore's Vault of Tragic Treasure.

The lands that lie west, across the great sea, are uncharted. The West March Company has spent a fortune on an expedition to loot and tame it. You are part of that expedition. You are the desperate, the outcast, the destitute. This new world is weird and dangerous. Rumours abound of a city of tombs. A cursed dwarven fortress in the mountain. Mist-covered swamps that howl in the night. Pass that treasure map around the table. Drink deeply from your cups and imagine what awaits in the wilderness: gold, glory, death. Inside West Marches Company: A Grim Promise you'll find: Twelve new monsters to surprise and terrify your players. A cult of worms, a city of tombs, centaur khans and a twenty-page dwarven fortress dungeon crawl with over forty rooms. Loaded with art, evocative descriptions, weird NPC's and 2 new magic items. High resolution maps of both dungeons: Kazad Mor The Cursed Dwarfhome and Tunnels Beneath Fort Bramble This module can be run as a standalone adventure or as a west marches style game.

You are aromantic, and your best friend is aromantic. There’s only one thing to do: go and fight a dragon. Two Aromantics Spend an Entire Day Doing Everything Except Experiencing Romantic Attraction is an unapologetically no-romo single-player adventure for a level 4 character. It should run for approximately 3-5 hours. This adventure requires at least some knowledge as to what it means to be aromantic. There are many useful resources available online for those unfamiliar with this term.

A fiend lurks among the Black Blade goblins. A shapeshifting barghest fashioned by the General of Gehenna to exact revenge on all goblin-kind. It’s aim: to kill as many goblin leaders as possible… A masked goblin approaches the party asking for help. Two tribe leaders are dead. But a rival for chief has control of the crime scene. Will the party discover the barghest among the goblin ranks? Can they stop this imposter before it strikes again? Adventure Overview The adventure’s story is spread over 4 parts and takes approximately 4 hours to play. The adventure begins with a Call to Action scene. Part 1: Goblin Politics. Krill sends his emissaries to implore help from any strong intermediary. The party is asked to investigate the murder of Thrawn in Dringly’s lair. This is Story Objective A. Part 2: The Opposition. Gain entry into Dringly’s lair and investigate the murder of Thrawn. Gather enough evidence to find the killer. This is Story Objective B. Part 3: To The Lair! Now that the players have determined the barghest (Yeep) is to blame, they need to get to Krill’s lair quickly as he is in imminent danger. This is Story Objective C. Part 4: The Barghest.When the players arrive at the lair, they need to get to Krill and expose and defeat the barghest. This is Story Objective D. Adventure Background A barghest named Yeep has begun its onslaught of attacks against the Black Blade goblins. Starting with Chief Gnar, then his second in command Thrawn, the barghest is moving methodically down the line of command. Krill is now chief. But he has some problems: Two leaders of the Black Blades are dead. Who killed them and why? Is he next? Dringly, the next in command, has decided to take his lair for himself, declaring himself Chief of the Black Blades. Who are the Black Blades? The Black Blades are a tribe of goblins in the local area. They are known for dipping their blades in a dark black substance. It is rumored these blades are poisonous. The Black Blades regularly attack passersby on the road to rob them. The Black Blades have two lairs, one run by a chief who leads the whole tribe, and another overseen by a boss lieutenant. The Black Blades have a well-established pecking order which is how Krill stands to become chief. The next in line is Dringly, who has also declared himself chief and wants Krill dead. Krill suspects that there is something suspicious about two leaders being killed within a day of each other, but he has already burned Gnar’s body without any investigation. He needs to investigate the body of Thrawn, but it is in Dringly’s lair. Krill wishes to avoid direct confrontation with Dringly at the present for three reasons: 1) Any violence would only kill his own tribe members and further divide the lairs. 2) He believes there is still hope for negotiation to reunite the Black Blades. 3) He believes that if he were to attempt negotiations himself, Dringly would kill him. This adventure features: Two maps. Ready for your favorite Virtual Tabletop. A full color pdf. A black and white pdf. One custom monster, a reprint of barghest, all others available in the Monster Manual. Four hours of entertainment involving: roll playing a goblin bard, investigating a murder scene, tracking down a barghest before it strikes again. Applicable to any setting.

Deep in these caverns overrun with all sorts of foul creatures are two sister hags. Once of the same coven, they now have a bitter rivalry but both refuse to the leave these caverns they call home. The cave received its name thanks to the terrifying sounds that echo through it. Some say it is just the wind brushing against the stone but the rumors all speak of two horrifying sisters casting curses and performing diabolic rituals with human sacrifices in a never-ending hatred. Heroes will face goblin, hag, bat, hook horror, and other terrifying monstrosities deep within the tunnels of The Shrieking Caverns. This dungeon does not contain any of the puzzles from the puzzle section, though there are a few situations the players will find themselves in that will require more than phsyical strength. That being said, this dungeon contains many combat encounters and is expected to take multiple nights to complete.

OP5 – Corsair Cove is a short scenario involving the recently discovered lair of a pirate ship. With raids becoming a huge problem, the local magistrate has enlisted your group’s assistance to resolve the issue. The hidden lair has been found and you are being sent directly into this hidden cave along the cliffside to deal with them. Only a lightning raid stands the best chance of solving the problem.

While searching for a series of missing people in the Galago Hills, the party comes across a cave decorated with disturbingly life-like statues. What lurks in the cave isn’t anything as simple as a monstrous basilisk, however. After all, what evil could possibly be as dark and dangerous as that which lurks in the heart of mortal men?