
In this prelude to the full Princes of the Apocalypse campaign book, adventurers face off against the influence of Elemental Cultists in the hills and canyons of the Dessarin Valley. The four mini-adventures within are only tangentially related to each-other, and instead serve as starting points and hooks for the plots of the complete Princes of the Apocalypse Campaign. Players start in the well-described town of Red Larch; first investigating a local necromancer, then uncovering cult influences within the town, and finally heading off to infiltrate or do battle with two small elemental cultist strongholds. All parts of this adventure can serve as great places to seed hooks for other campaigns.

Hanging out in the city of Acre has gotten mundane and the old adventuring itch is flaring up. Your fruitless search for jobs quickly changes as a farmer locates you. He indicates that he has a minor farming problem with a land shark that the party can deal with. Once this job is completed, the party is approached by more opportunities!
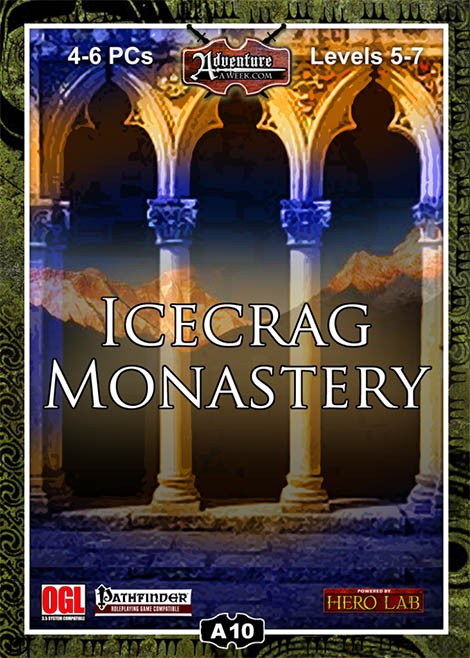
Icecrag Monastery is located atop a towering mountain peak and has long been a haven for those that choose a peaceful and meditative way of life. After receiving a dire plea for help from the Icecrag monks the PCs make the long and dangerous journey to the isolated monastery. Upon arrival they discover a once stable relationship between neighbors has been shattered, though the catalyst is not readily known. Strangely enough an orc shaman, a lesson in herbalism from the old monks, and an old legend may help the PCs resolve the conflict and once again bring peace to the region. Also included in ""Icecrag Monastery"": The new ""Herbalism"" Feat introduced in the Apothecary of Icecrag Monastery A new magical plant form to go with the new feat Two new magical items; one used for good, the other: evil An exciting location to use in future games complete with maps by three time ENnie Award winning cartographer Todd Gamble Different ways to complete the primary quest
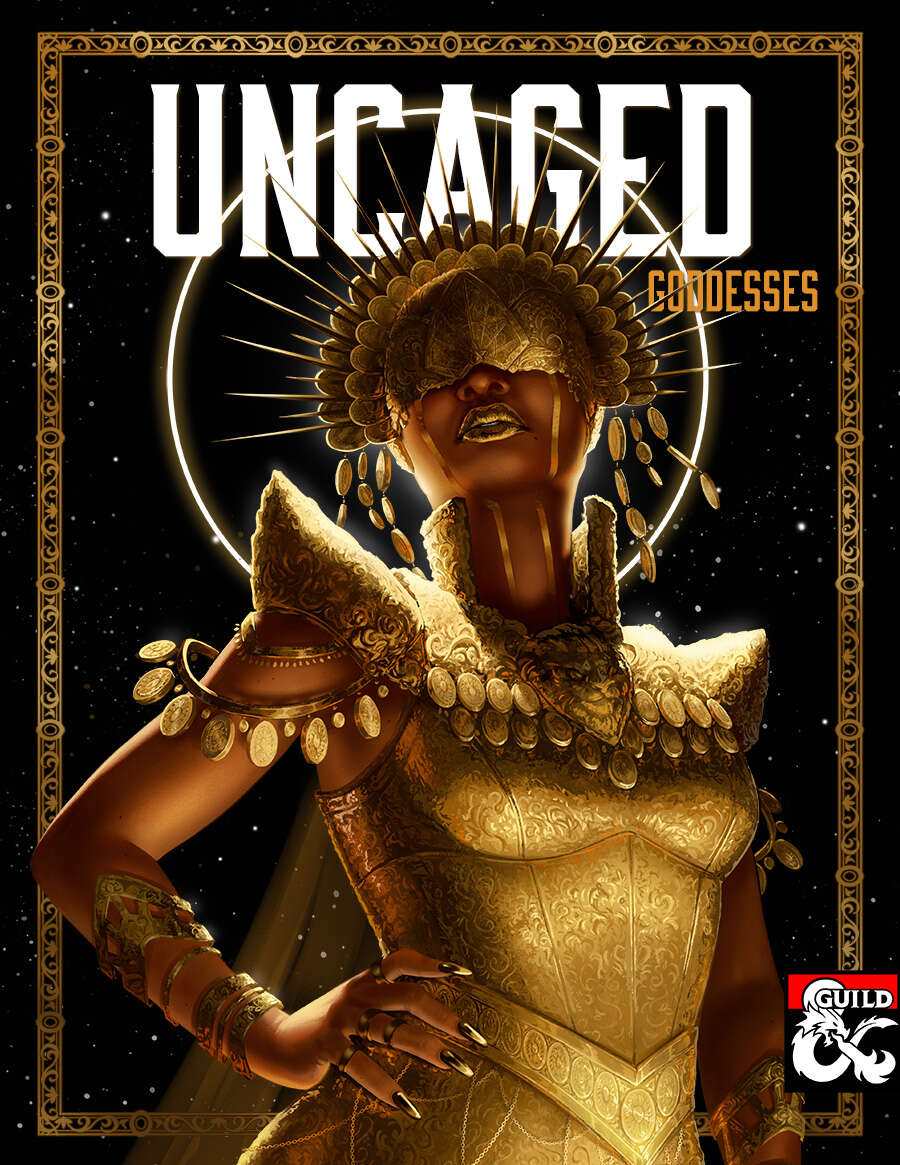
The kuo-toa are a piscine race with a psychic affliction that makes them behave erratically and invent gods when feeling threatened. That same affliction gives them the power to bring those gods to life. Blibdoolpoolp is the most widely worshipped, and thus most powerful, of their gods. Blibdoolpoolp views the kuo-toa as her children despite having been born after them. Like all good mothers, she nurtures and protects. One of her chief concerns is understanding the kuo-toa’s psychic affliction, which causes them to undermine themselves whenever they strive for greatness. She discovers that a corrupted elder brain deep in the Underdark has a connection to the race; though the connection gives them psychic powers, it also turns them into powerless thralls, explaining their self destructive behaviors. Constrained by the same leash on her children, Blibdoolpoolp seeks adventurers to destroy the elder brain. Its death would free the kuo-toa, but potentially at great cost: if the kuo-toa lose their powers, will Blibdoolpoolp die?
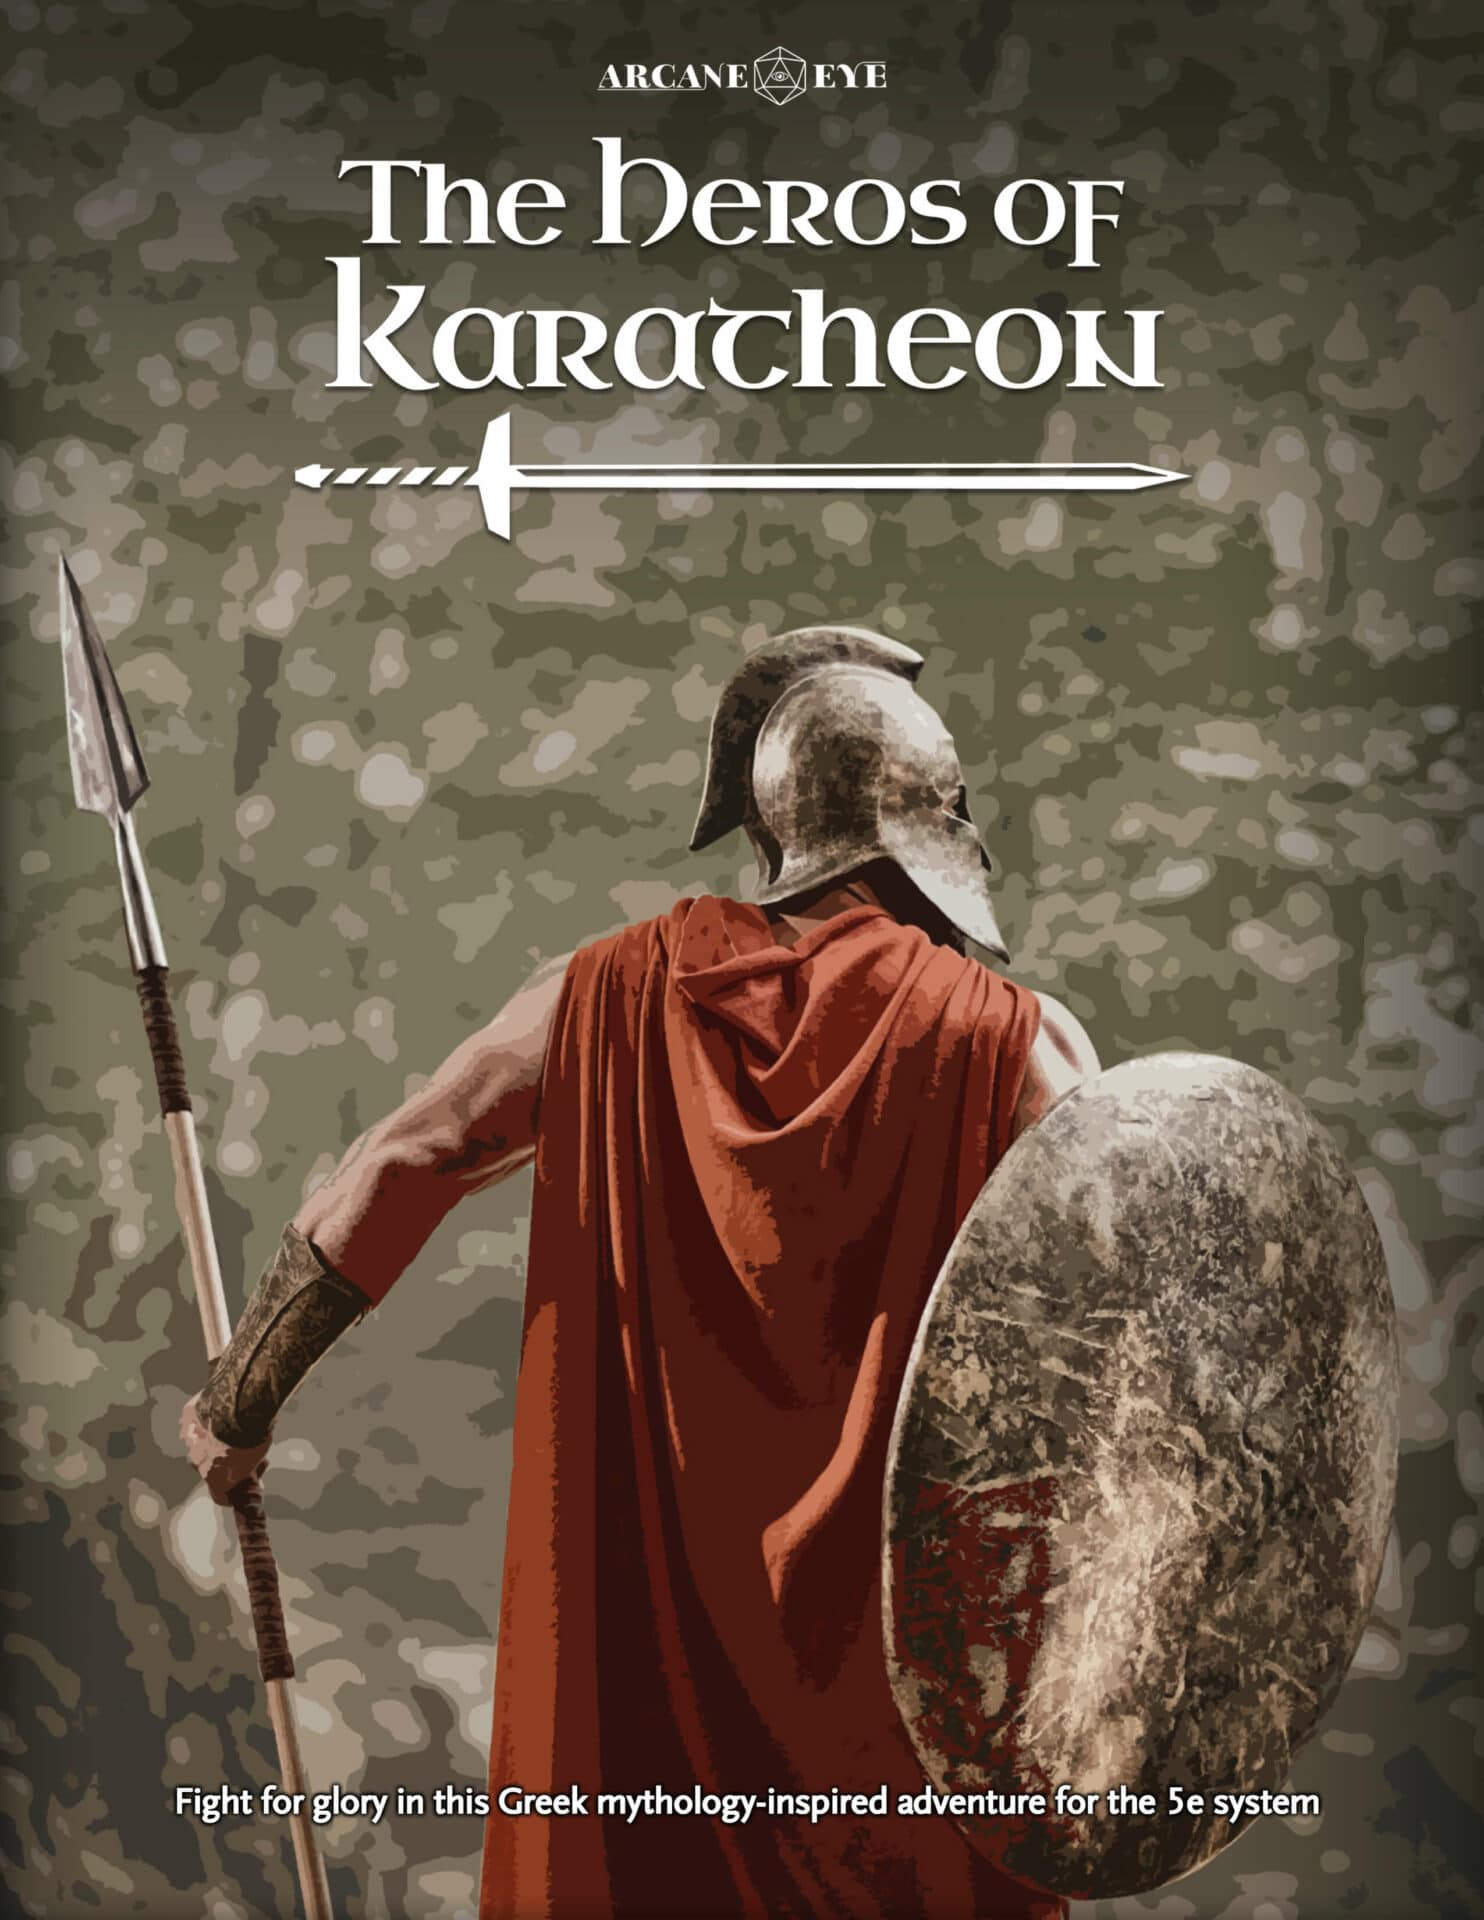
What’s Included Heroes of Karatheon is a self-contained 6-7 hour 5e adventure for three to five 5th-level characters. This premium module includes: A full three-part story that evolves based on the players’ performance and choices Battle maps and custom NPC stat blocks New rules for chariot racing, a 4-stage relay race, and a “capture the flag” encounter A random table for 6 fleshed out Greek mythology-style encounters Your Mission A terrifying beast stalks the surrounding area of the port polis of Karatheon, destroying crops and endangering the lives of its citizens. The ruler of Karatheon, Archelaos Cirillo, has organized a tournament to crown a champion, bestowing upon them his blessing to slay the beast. Face off against other adventuring parties in the Colosseum, traverse the dangerous wilderness of the world of Korinthos, and hunt the beast in the mountains it calls home to claim eternal glory.

The party is enlisted to assist the Righteous Host, an army formed as a last resort to defend the world against the monsters of Elemental Evil. The host is greatly outnumbered. Its leaders send the party on a series of missions, each of which will give the Righteous Host an edge in the great battle to come. This epic adventure ends with the final push against the forces of Elemental Evil in the Meadows, and the outcome is informed by how effective the party is in their missions... and whether they are willing to risk putting themselves in the front lines. If the Righteous Host loses, players may decide to travel to Hommlet or other nearby towns to defend them. Whether the host is successful or not, players can decide to follow many different plot threads: exploring the Temple of Elemental Evil, finding the lich Kell the Eldest's lair and destroying his phylactory, or following the will of Bitbaern's Shield and discovering historical sites that were previously lost. Pgs. 44-69

The Five Cities are dying. Their water sources are drying up, and the brightest of their youth are leaving, lured out into the desert by an unknown power. Enaxi, the unifier of the Five Cities, now a lamia, is weary of watching their descendants ruin their great works. The Council won’t let young people restore the Five Cities to their former glory, so Enaxi is gathering them. They’ll start their own paradise and doom the Five Cities… unless the heroes can convince them otherwise.

There are many legends of the Vengeful Tempest and its supernatural crew. Few have seen that pirate ship and lived to tell the tale, and fewer still dare to seek it out. To hunt down that fabled vessel, you must lead a group of makeshift mariners and set sail upon the Kraken's Wake.

A galvanice weird has torn apart an Izzet laboratory in the Blistercoils. The weird’s path of destruction leads to Tin Street where the weird was spotted being subdued and taken aboard the notorious Palace of Pain’s Pleasures, a mobile Cult of Rakdos performance stage. To return the weird to its proper owner and discover the mystery behind its bizarre behavior the party must brave The Palace of Pain’s Pleasures! The Palace of Pain’s Pleasures is a 2-hour Guildmasters' Guide to Ravnica adventure for 2nd - 3rd level characters. Picking up where Off to a Weird Start left off, this adventure is designed to be part of an ongoing campaign. For Dungeon Masters who wish to incorporate The Palace of Pain’s Pleasures independently from the ongoing story, 20 Adventure Hooks (two for each guild) are included, giving The Palace of Pain’s Pleasures flexibility for one-shot play or for inclusion in your own campaign! The Palace of Pain’s Pleasures contains: A new location that is also a magical construct. New trinket tables for the Cult of Rakdos. A new NPC antagonist (or contact), Ophyira, the star performer of the Palace! Two new magic items. One new spell. Discover the secrets of The Palace of Pain’s Pleasures TODAY!
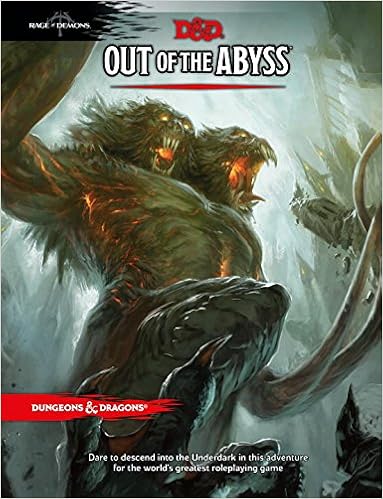
The Underdark is a subterranean wonderland, a vast and twisted labyrinth where fear reigns. It is the home of horrific monsters that have never seen the light of day. It is here that the dark elf Gromph Baenre, Archmage of Menzoberranzan, casts a foul spell meant to ignite a magical energy that suffuses the Underdark and tears open portals to the demonic Abyss. What steps through surprises even him, and from that moment on, the insanity that pervades the Underdark escalates and threatens to shake the Forgotten Realms to its foundations. Stop the madness before it consumes you! Note for DMs: This adventure is not for the faint of hearted, to run or to play. The module starts with 10 NPCs traveling with the party through the grueling Underdark. This number can grow. The encounters within the book are often incredibly deadly for the characters that would be going through it. This is because the module expects them to run or talk their way through the events, or, in some cases, the module expects them to lose. If your players aren't the kind of party to run, talk, or surrender, do not get this adventure. The module almost requires that you use milestone leveling because the experience provided does not commonly get players to the levels they should be once they get to certain milestones in the story (7th when they leave the underdark, 15th when they face the demon lords.) Good luck and happy questing.

An unceasing rain has settled over the hamlet of Holmford and with it a darkness has fallen. Minister Scrim is dead, livestock and crops wither and rot and now a child is missing. Whispers of an old hate returning feed fear and paranoia. All the while the Hornwood looms hiding it’s vile secret. Light must return to Holmford before history repeats and more innocents perish.

This couldn’t get worse. The key you are searching for has fallen into the hands of the eye tyrant of Skullport himself. Now you just need to rob Xanathar without getting disintegrated. Part Three of the Skullport Shakedown trilogy. A 2-4 Hour Adventure for Tier 2 Characters. Optimized For: APL 8
Provost Nigel Faurious’s research has revealed the location of an icy spire near the eastern side of Icewhite Island. The Provost needs the Hoarfrost Flower, an artifact found inside this spire, to make his Convergence Manifesto a reality. Eager to complete his work as quickly as possible, the Provost previously paid for an expedition from the Deathsgate Guild to explore the icy spire at the same time the Clifftop Guild surveyed the Shining Valley in the last adventure. The Deathsgate expedition’s ship, the Nightwood Cask, was destroyed by the cold of the Risia manifest zone. They made it to the island on lifeboats and headed to the spire, hoping to use it as shelter until someone from the Deathsgate Guild comes to rescue them. The spire’s builders are long gone and forgotten, but their traps and magic remain. Mror archeologists once found this place while in search of their ancestors that many believe hailed from the Frostfell. Only their camp remains in the foyer of the spire, where the party from Deathsgate waits. While the Deathsgaters’ supplies dwindle, they argue among themselves on their next steps. Should they try and make it to shore and hope their ship somehow survived, continue to wait, or delve deeper into the spire to complete the task they were hired for?

In this level 6 adventure for 4-6 players the party comes across a man named Johann Dhomm who was transporting animals in cages to his private island where he has a menagerie (a kind of zoo) that he eventually wants to open to the public. But the animals have escaped and he asks the party to try and catch them alive for him. However, the animals are actually quite dangerous and range from Gazers to a Wyvern.
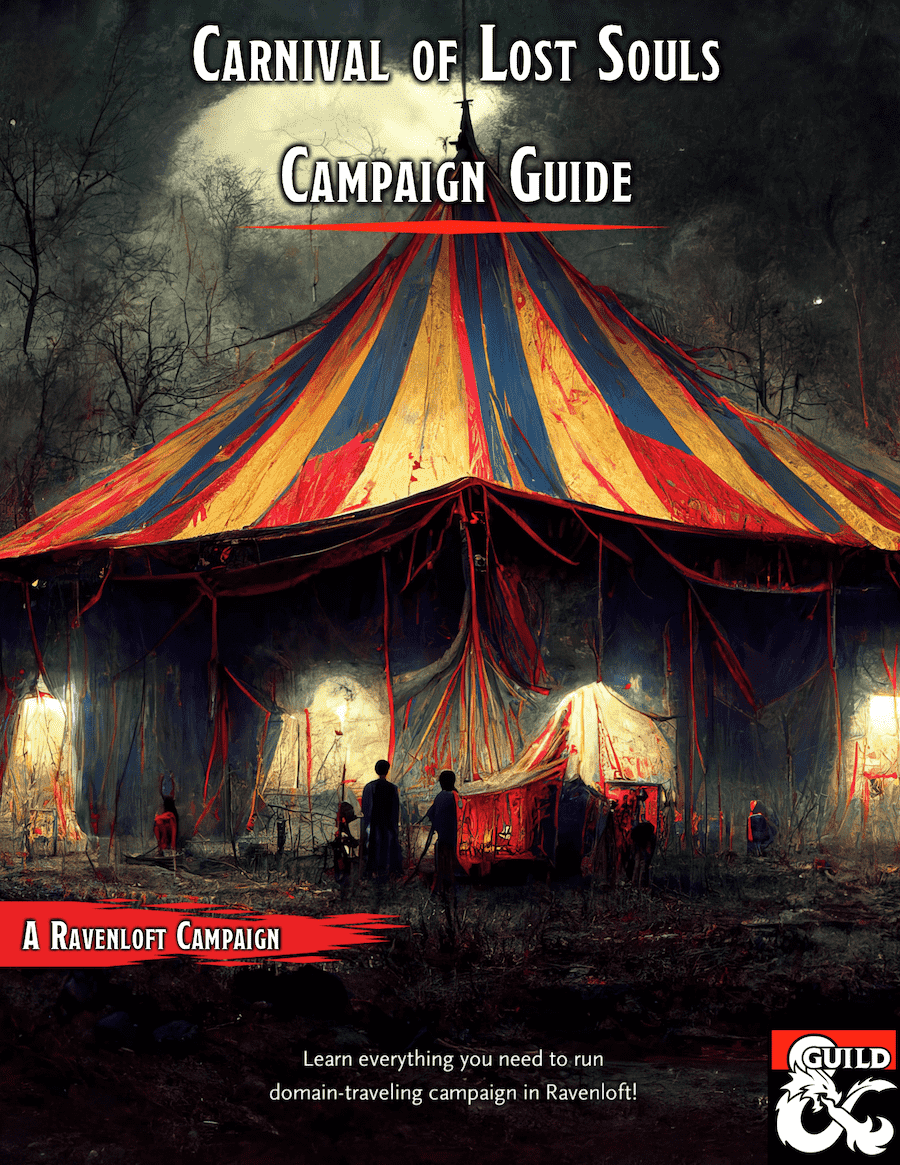
Ravenloft: Carnival of Lost Souls Campaign Guide is a guide for Dungeon Masters who bought our other products from the Carnival of Lost Souls campaign series. It connects together all the modular one-shots we released previously into one grand campaign. It also offers guidance about expanding the scope of the campaign with your own ideas. Ravenloft: Carnival of Lost Souls Campaign Guide features: - Starting adventure to kick the things off and get the characters to know the Carnival - In-between interludes and short encounters, which help to flesh out the Lost Souls NPCs more and add depth to the campaign - Grade Finale - an epic showdown with The Caller in the Mists! - Full description for each of the Lost Souls and what happens to them as a result of players’ actions - Check out the modular adventures of the series: Lamordia: The Hardest of Hearts, Dementlieu: Dance with the Devil, Kalakeri: The Forbidden Temple and Valachan: Hunter’s Moon! Disclaimer: We are a team of writers from Ukraine, so the unprovoked war and senseless aggression of the terrorist state of russia influenced our initial timelines significantly. The release of the Campaign Guide marks also a year since the start of the full-blown war. At the moment, we are as safe as we can ever be under the constant threat of missile strikes, and extremely proud that we managed to finish the whole campaign! We are hopeful that the victory is close at hand, and in the new, whole, and peaceful Ukraine, we will create even more cool adventures! ;) Made in Ukraine

The PCs pass through a fey crossing, arriving in a heap in front of the throne of Princess Daneliean Dandelion. Wherever the PCs were trying to go, and whoever they were trying to chase down, isn’t here. Instead, they are the captive audience of a petulant, semidivine Archfey who demands to know how they came to be in her throne room. She will be lenient with them, provided they can complete a grand collection of quests on her behalf. What follows is all very storybook logic and strange whimsy. This adventure is focused more on roleplay than combat.

Questing through the forest, you will be tested. Which side will you take between a wizard and the Keepers of the Veil? Will you be able to find the materials necessary to help cure your friend of the ancient evil that assails him? And when it comes down to it, what are you willing to sacrifice for your beliefs? Third Time’s the Charm picks up where Second Glance left off and invites the PC to find a wizard who can help heal the Crystalline Curse slowly paralyzing the PC’s friend and protector. As the party grows closer on this adventure, learning to depend on one another, they must also navigate the Veiled Wood’s changing landscape, deciding who they can trust and who they will help as much lies in the balance. Though this was written as the third installment in the Crystalline Curse Trilogy, this adventure can be inserted into any campaign setting and scaled accordingly. Third Time’s the Charm is part of our mission to bring you high-quality, ready-to-play material that supports adventuring parties of 1 Player and 1 DM. This adventure is written for a third-level character in a one-on-one 5th edition D&D campaign. Everything you need for your own two-person game is inside! This product includes: -A 3rd or 4th-level adventure adaptable to any setting -Stat blocks for one new creature and two NPCs -A region map, two sitemaps, and a hand-drawn dungeon map to aid the PC’s investigations -A fully realized forest region with fleshed-out NPCs and places to explore -Detailed backstory for the ancient warrior sheltered inside the PC’s treasured amulet -Four custom magical items And helpful tips for DMing a one-on-one game This adventure is perfect for those looking to begin or continue their duet campaign. Published by D&D Duet.
Thordak, the Cinder King has been destroyed but the city of Emon still reels from his terrible reign. It has been a year and the whole of Tal'dorei thought the threat was over...until the finding of a piece of red leathery, heavy as stone egg is found. A primordial child has survived. Now the council of Tal'dorei seeks help in dealing with this issue in secret before it causes panic. A fan made adventure based on the world of Exandria by Matthew Mercer and seen on Geek & Sundry's Critical Role

Your fame has garnered you more attention than you can handle but a specific job opportunity is one that you cannot pass up on. Two nations have had a peaceful and lucrative trading agreement for years along with the city of Conifestatia. That has recently changed with the appearance of a Green Dragon taking up residence in the area. With your fame on the line, looks like you guys are going Dragon huntin'!

'The Sunken Village of Little Corth' is a 2nd level Dungeons and Dragons adventure centred on a time-paradox puzzle. The PCs travel across a necrotic marsh (the Grey Creeping) to a sunken village where, upon being transported back 2000 years into the past, they must prevent a necromancer freeing Orcus (demon prince of Undeath) from the imprisoning veils of the spirit plane. If only it was as simple as that, for the PCs must also contend with deactivating a giant mechanical orrery, and be sharp enough to realise that the useful items that helped them survive the Grey Creeoing must be found and placed for their 'future-past' selves.