
A SOLO adventure for thieves level 1-3 or Group play level 1-3 The storm sweeps off the mountaintops without warning, as if conjured by some supernatural power. Within minutes, huge drifts of snow have halted the caravan, and the snow falls so hard it is impossible to see more than five feet. You huddle next to the sledge, trying to shelter for you numb face from the icy winds. A dozen half-human forms march into view out of the raging blizzard. The little man-things carry wooden spears or long, unsheathed swords in bony, gnarled hands. Their blood-red eyes quickly fall upon your sledge and the ugly creatures turn toward your hiding place. Will you survive to uncover the secret of Blizzard Pass? This module contains all you need to solve the riddle of Blizzard Pass, including 14 maps, an invisible ink marking pen, a complete solo adventure, a pre-rolled character, and an outline for group play! TSR 9067

The Great Mage Cheiromar, known as Aglahund the Mighty, is said to be buried under the Leaning Stone atop Galzar's Crag. One of his apprentices, Ulthorn, has been discovered dead in an aperture of the Leaning Stone - a doorway that locals swear has never been there before! You must discover how Ulthorn died and the mystery of the Leaning Stone. In the process, you may find yourself at the Endless Stair. Those who never climbed it say is seems to lead nowhere. Those who did never lived to tell of it. Will you dare ascend into the unknown? TSR 9192
The invisible enemy. Rats, cats, and double-drats. Six months ago, the residents of Luskwald heard rumors from passing merchants of a possible goblin incursion into the region. News from the nearest city confirmed speculations that goblin tribes were massing in the distant hills. Worried about the future of his small community, the Laird of Luskwald commissioned a stonemason and several carpenters to rebuild a damaged keep two miles north of the village. The repair crew worked for weeks restoring the keep's fallen walls, while waiting nervously for the first goblin to show its ugly head. For the first several days the restoration proceeded according to schedule, but in the weeks that followed several 'accidents' led many to believe the keep was cursed or haunted. In the past week three of Luskwald's villagers have died, each the victim of a grisly assassin whose identity remains a mystery. Several citizens have heard or seen peculiar things over the last several days, leading them to believe that Luskwald has been cursed, or worse, ravaged by angry spirits--perhaps sent by a greater evil that dwells within the ruined keep! Pgs. 34-52
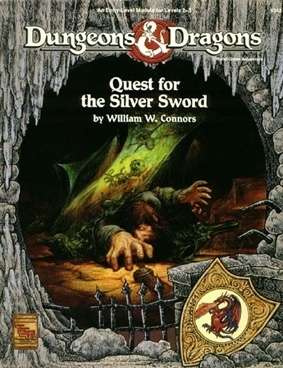
A group of beginning adventurers sets out to help the small town of Torlynn. This village has mysteriously fallen under a dreadful curse, a curse that has locked the area in a terrifying state of perpetual winter. The Burgomaster of Torlynn has discovered that the creature responsible is hiding in the ruins nearby, but he has been unable to do anything about it. Everyone he has sent to investigate has thus far failed to return. TSR #9342
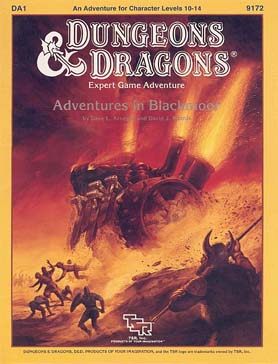
On every side the storm clouds gather. To south and east, the Great Empire of Thonia plots to end Blackmoor's independence and reclaim its lost province. To the west, the implacable Afridhi are on the move. To the north, the evil Egg of Coot prepares to cross the thundering sea and once again bring fire and sword into the heart of the small kingdom. Beyond the realm of the Egg, the hated Skandaharian Raiders are building longships and preparing to fall upon Blackmoor's unprotected coast while its tiny army turns to meet these other threats. Into this time of black despair, there steps a band of adventurers who clutch strange swords and wear the most curious armor?and who claim that Blackmoor sank beneath the ice 3,000 years ago! TSR 9172

Snakes fly, stones walk, and colossal monsters burrow in the world's crust - do these omens fore-tell catastrophe? Perhaps so, for now the dark elves walk in the sunlight, wearing armor that turns the shcaprest blades and strongest spells. They are poised to conquer the fabulous Hollow World. But what is this armor? How does its creation involve the ancient, mile-long Great Annelids, as well as those wondrous creatures, the feathered serpents? The mystery's solution draws your heroes across three thousand miles, from ruins to seaports, through the trackless caverns beneath the World's Spine, and finally to the eternal land of Nithia. There, your heroes discover the true meaning of... NIGHTRAGE! Nightrage is the second part of the far-ranging Blood Brethren Trilogy. You can play these three Hollow World modules in any order, or play this 64-page adventure by itself. You need the D&D Hollow World Campaign set to play. Easily adaptable to the AD&D game! TSR 9310

One of the original D&D classics, "The Isle of Dread" is a hex crawl wilderness adventure. It focuses on surviving primitive beasts, dinosaurs, and pirates while uncovering the mystery of the island's inland city, where a great treasure awaits. From the cover: "This module contains maps and background material for the Isle, fifteen new monsters, and suggestions for further adventures. In addition, The Isle of Dread contains a map and background information for a large continent, and eleven smaller maps for encounters on the island itself. In this module, players will push their way through dark jungles and treacherous swamps to discover the lost plateau, and the final secrets of - the Isle of Dread!" TSR 9043

Years ago the valley was green, and animals ran free through golden fields of grain. The princess Argenta ruled over this peaceful land and the people were secure and happy. Then one day a warrior riding a red dragon appeared in the skies over the princess’ castle and almost overnight the tiny kingdom fell into ruin. Now only ruins and rumors remain, and what legends there are tell of a fabulous ruby still buried somewhere within the Palace of the Silver Princess TSR 9044
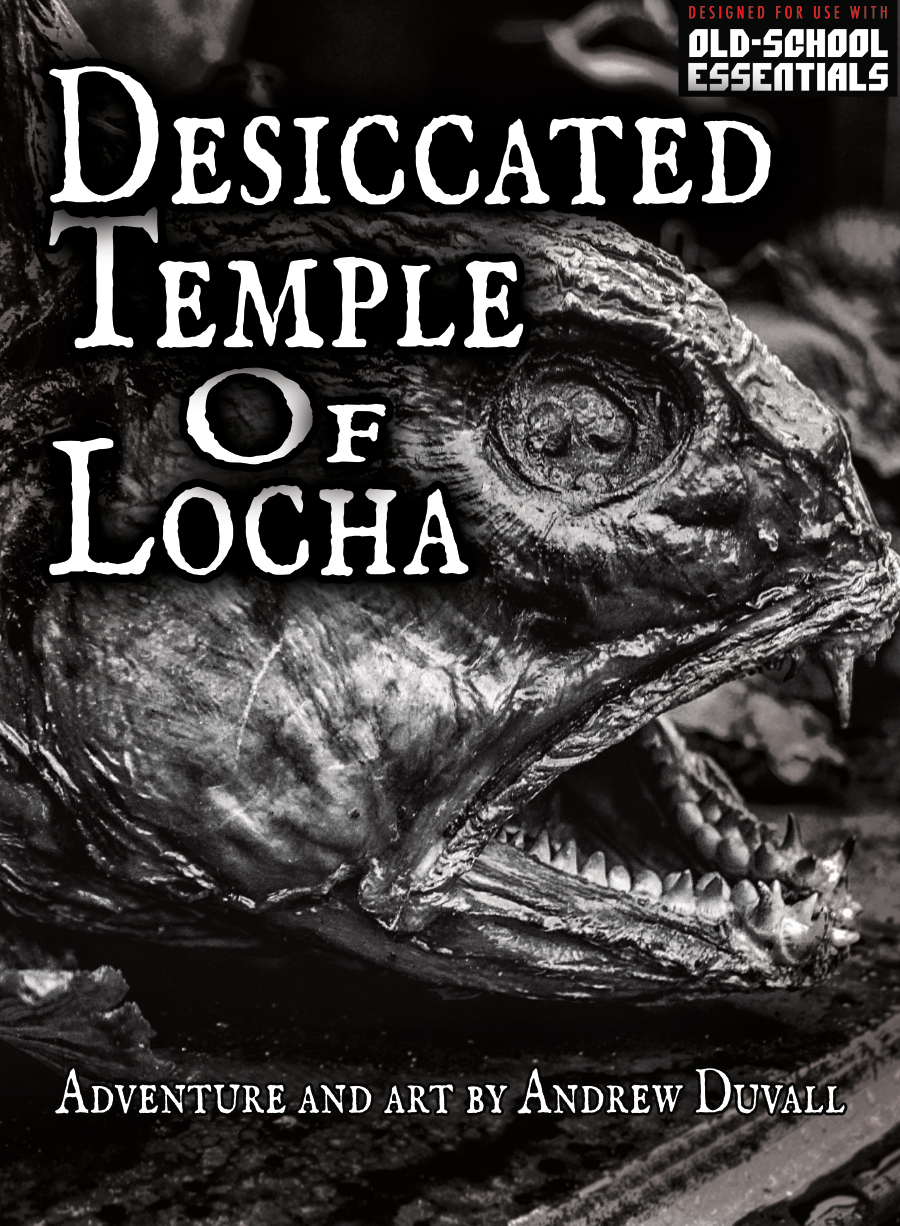
In the parched desert sands, a mirage glistens invitingly on the horizon, but the nearest water is a hard day’s march in the opposite direction. You swear you smell the faint wet smell like coming rain when the wind shifts just right and see the stars reflected off some far lake at night. There’s no water here, just a lone sandblasted pillar, its features smeared by centuries of sand. Smell that? The brine of ocean mist? Here? Is the pillar made of coral polyps and mollusk shells? What is this place? An aquatic temple magically transported to an arid environment. Based on the author’s one-page map that was published in Knock #2 by Merry Mushmen. Published by Duvelman Dice.
Introductory adventure included with the 1991 "Black Box" edition of D&D

Through seven gates lie seven realms. In seven realms stand seven guardians. With seven guardians lie seven symbols. From seven symbols comes one key. Alpahaks the Dark desires that key, by which he plans to release death and chaos into the realms of man. Your party may be all that stands between life and death. Will you heed the lunatic ravings of a dying madman? Travel to the top of Guardian Mesa, and enter the Septahenge. Gather the mystic symbols, create they key, and defeat the Carnifex, before it's too late... TSR 9174

A young black dragon and two hatchling dragons live in an excavated sandstone burrow in the swamp west of Knacker Knob. Connected to the dragon lair is a complex of sandstone tunnels and chambers inhabited by lizard men. Some sandstone tunnels and chambers are partially flooded, and others are filled with nasty things such as slimes, oozes and gelatinous cubes. The lizard men revere the dragons as magical spirit guardians. In small groups the lizard men are easily defeated, but if allowed to prepare a common defense, the lizard men tribe with its spellcasters may present serious threat to the player characters (PCs). Wild Dragon Den is the first dragon's lair to conquer. Part of TSR 1073 The Dragon's Den
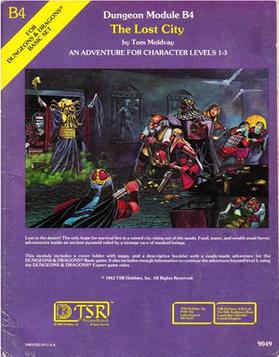
The Lost City is a low-level adventure, in which the only hope of the PCs' survival can be found in a ruined city slowly rising out of the sands. The adventure is set inside a huge step pyramid, with the lower pyramid only sketched out and the city itself described with a list of the major areas and a map. The adventure’s main villain is Zargon, a giant one-eyed monster and his minions. The entire double pyramid, not including the city, contains over 100 rooms. The module is designed to give novice Dungeon Masters experience fleshing out adventures and is only partially complete. Later TSR material hints that this adventure possibly takes place in Mystara, but the material is largely setting-neutral. TSR #9049

Arson, rioting, sabotage, murder - and no suspects. Watchmen are murdered, ships explode and sink in their berths, and savage monsters are summoned in the streets - but no one can catch the killers. The party must navigate the growing tensions between rival factions in the city. After following clues to a tavern, The Flying Hamhock, the party will need to defeat a powerful Hivemind which is behind the attacks. Pgs. 47-64

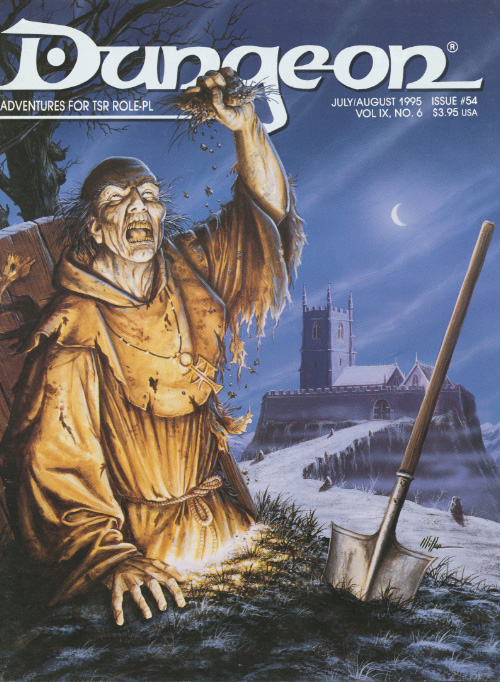
The widow insists there are demons in her house. She hears them at night in her root cellar, and now they call out to her. But she is old and nervous and her mind often plays tricks on her. * * * Two men, their heads fully sheathed in large, black hoods, dig quickly in the darkness of the cellar. The hole grows deeper as their shovels bite into the earth. "This will teach those meddlers their place," laughs the tall, hefty figure. "But it's too bad this was an accident," the shorter, slim figure says haltingly. "But don't you see the advantage?" snapped the tall man. "They will fear us now. They will fear for their lives." Grunting. they heave a sailcloth bundle into the hole. As it falls, a woman's hand dangles lifelessly from the folds. Who is the woman? Why will her death trigger riots and unrest in the city of Specularum? And the assassins: Are they Torenescu, Radu, or Vorloi? Or, curse of curses, the Veiled Society? This special game adventure provides a section of paper buildings and figures to cut out and use, giving you three dimensions to your game play! TSR 9086

Devastated in a war with a nearby wizards' school, the Fighters' Academy has since been surrounded by a foul and dank swamp - the Gloomfens. Since the climatctic battle between the wizards and fighters, the tower has decayed. The spirit of the head of the academy haunts the building, eternally plotting his revenge on the wizards who killed him. his loyal sutdents remain faithful to him even in death. Other foul undead have made their home in the rotting, spacious academy. From their lair, they make forays into farmsteads near the swamp in search of victims to feed their unspeakable appetites. The Problem of these terrible attacks by the savage undead will not stop until the evil that has found a home at the tower is burned from the face of the land forever. Will your party heed the call and help the town of Melinir? Will they be able to clear the former Academy of its undead? Lair of the Vampire Lord is the third in a three part adventure, The Haunted Tower. Or, it can be ran as a stand alone adventure. The choice is up to you. Part of TSR 1081 The Haunted Tower

Adventure in a wizard's highly magical tomb. While still in college, Jennell Jaquays, writing as Paul, started The Dungeoneer fanzine. For the first issue, Jaquays wrote F’Chelrak’s Tomb. The pioneering adventure and its successors proved memorable. Looking back at The Dungeoneer, Jaquays said, “It’s the adventures that stand out, and not simply because no one else was doing mini-adventures in 1976. When I read comments about the magazine or talk to fans (old and new), no one talks about the monsters, or the art, or the magic items and rules variants. It’s always the adventures.”

For a long time you have heard legends about the Island of Vacros; when you were only a child, the stories about evil minotaurs were used to scare you into behaving. Now you are grown, and you no longer believe children's stories. But King Trueon of Cathos is worried: his daughter Princess Lydora has been kidnapped, and he has found clues that she has been taken to the ancient and evil island of Vacros. You have heard rumors that a large and dangerous mazework lies beneath the surface of the island - a mazework that is guarded by minotaurs. Of course many rumors are false, but then again... The Maze of the Riddling Minotaur is the second in a series of invisible ink modules: using the invisible ink pen included in this module, you may play the adventure by yourself. After you have played the solo version, you have not used up the module: instructions are provided as to how you may change the solo version into an exciting group adventure! TSR 9060

As the cream of your crop, your party has been selected to act as diplomats on the Isle of Dawn at a historic meeting between Thyatis and Alphatia, timeless rivals. This could herald the dawning of an age of peace, unknown in the area for years past. However, things are not progressing s smoothly as planned. The powers of Entropy, headed by Alphaks, are out to ensure that this peace treaty is not finalized. Two of the diplomats are kidnaped - and you are framed! It's up to you to prove your innocence. This involves traveling to other dimensions, meeting vampiric spirits, and playing deadly games with the Night Spider. Ultimately, you must find and restore the Peaceful Periapt of Pax to its rightful place. Let the games begin. The events of Talons of Night may be played as a sequel to module M3, The Vengeance of Alphaks, or separately. The D&D Master Set Rules are necessary to run this game. TSR 9214

Sent on a desperate mission into an unknown land, you must seek out the one called "the Master" and his Temple of Death. There is little time to waste, as you must act before the Master's armies destroy your homelands. But to complete your task, you must battle fearsome guardians, travel through a hostile kingdom, and discover the secret of the master. Can you survive his defenses and win? This module contains referee's notes, background, maps and detailed keys. It is the second adventure in the two-part Desert Nomads series begun in X4, Master of the Desert Nomads, but it can stand on its own as a seperate adventure. Wheter you play Temple of Death by itself or as part of a series, the adventure will offer you hours of excitement and fun! TSR 9069