
Four doors of mystery appear in the Cage. They lead to four adventures, if a basher has the dark of them. "These aren't doors in the traditional sense, cutter, but they're portals just the same. They appear for a short time every 500 years, popping up in different parts of Sigil. Each hides a mystery that's waiting to be solved, and together they just might hold the key to a secret of the multiverse. All a body's got to do is tumble to the right keys, open the doors, and face down the Unknown." - Estavan, merchant lord Doors to the Unknown is a collection of four Planescape adventures that can be played separately or as a mini-campaign. When four doors appear in the Cage, the barmies crawl out of the shadows, and the heroes get drawn into events that could have consequences for the entire multiverse. Each door leads to a different plane and a different deadly challenge for the player characters. Together they offer a way to stop an ancient menace before it strikes again.

*THIS IS A D&D NEXT/5E PLAYTEST ADVENTURE* Imani, a Turmishan wizard and former adventurer, seeks the aid of heroes to infiltrate Dretchroyaster’s lair and recover the Diamond Staff of Chomylla—the key to powerful magic and wisdom locked away for thousands of years. In addition to his own sagely interest in the lore of lost Uvaeren, Imani recognizes the dangers of such powerful magic falling into evil hands. The dracolich has secured the staff in his lair’s cen- tral chamber, using ancient wards of protection that can be bypassed only by four artifact-idols once belong- ing to a cult of Bhaal. Each group of adventurers enters the dungeon through a different section of the dun- geon—a forgotten temple of Bhaal, a vast underground lake, a troglodyte village, or Dretchroyaster’s vaults. Dretchroyaster’s lair is no simple set of caverns and ancient ruins. It sits atop a source of great power and energy, which the dracolich and his Cult of the Dragon allies hope to use to unlock the secrets of the staff. Only by undertaking a unified assault against Dretchroyas- ter’s lair can the adventurers hope to recover the Diamond Staff and survive the dracolich’s fury. The adventurers must make their way through the lair and recover the Bhaalite idols that will help unlock the Diamond Staff, all the while dealing with the lair’s creatures and avoiding the dracolich as he pur- sues intruders. Entering the Chamber of the Diamond Staff, the heroes must overcome its magical wards and claim the staff before being slain by the dracolich and his servants.

The Hag's Hexes is a 66 page guide designed by Dungeon Masters Guild luminaries like JVC Parry and Janek Sielicki alongside rising stars and old stalwarts like Matt Butler, Matthew Gravelyn, and Tim Bannock. It was created with one thing in mind: to make hags more than the sum of their (often meager) Challenge ratings, giving them the mechanics, roleplay potential, and weird magic that can inspire campaigns, lay low kings and warlords, and potentially ensnare unwary Player Characters into campaign-changing curses or long-term bargains that force them into terrible moral quandaries! Split into five chapters, the authors have provided everything a DM needs to terrify their players for years to come. The Bestiary features over a dozen monsters; some are new hags, some are their minions or even their mobile lairs, and one of them -- the Shaitan AKA Desert Hag -- was featured in Monsters of the Guild! Bargains & Curses is a chapter filled with ideas that can kick-start campaigns, threaten valued NPCs, or put Player Characters' very existence and morality at stake. Chapter 3 includes two dozen items of wonderment, weirdness, and dread, ranging from fairy tale-inspired items of whimsy to terribly cursed items of horror. Chapter 4 is titled "Filthy, Vile & Downright Dirty" and provides dozens of roleplaying tips to make hags come alive, new mechanics inspired by and expanding on Volo's Guide to Monsters (coven spell lists, aunties, grandmothers, alternative coven members), and ends with useful combat tactics for each of the hags from the Monster Manual and Volo's Guide, as well as tactics for covens. Finally, Chapter 5 presents five encounter groups (with sub-encounters) to give you quick story seeds and monster lists that you can put together in minutes to create a single encounter or to inspire a full campaign, and ends with three full-length adventures -- each with 3-5 encounters -- that showcase many of the new monsters, rules, magic items, and so on that appeared in earlier chapters. Each of these adventures comes with an encounter map meant to act as inspiration for hag lairs, and they include useful mechanical ideas for terrain effects and descriptive keywords listed directly on the map for added inspiration and easy customization! Designed by Tim Bannock. Written by Matt Butler, JVC Parry, Janek Sielicki, and Tim Bannock. Edited by Matthew Gravelyn and Tim Bannock. Cover Art by Elena Naylor. Cartography by Tim Bannock using Inkwell Ideas' Dungeonographer (Dungeonographer is copyright Inkwell Ideas). Layout & Graphic Elements by Elena Naylor with Tim Bannock. Interior Art by Arcana Games, Bruno Balixa, David Lewis Johnson, Dean Spencer, Earl Geier, Filip Gutowski, Jacob E. Blackmon, Joyce Maureira, Petr Kratochvil, Jayaraj Paul, Brian Brinlee, and Wizards of the Coast.

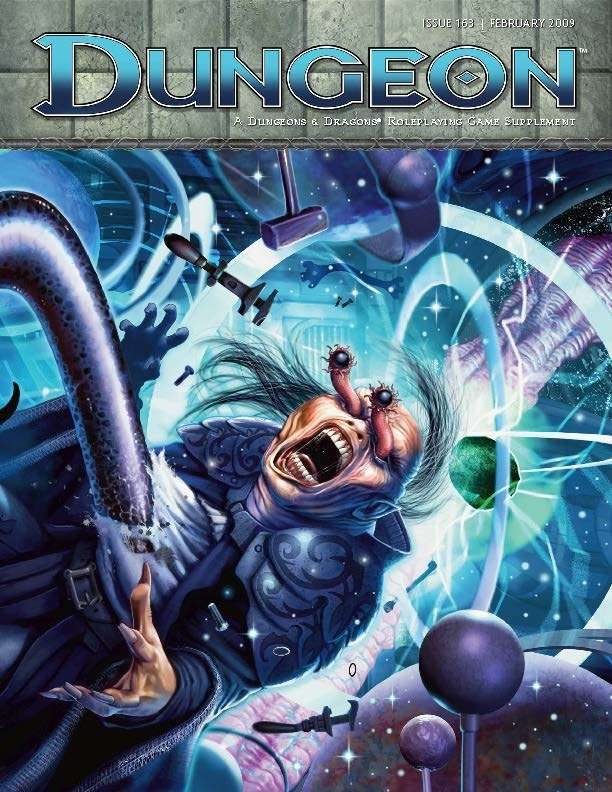
The seaside town of Ashenport has a troubled past and a dark secret. If you spend a night in Ashenport, you just might not wake up the next morning. "The Last Breaths of Ashenport" is an adventure of survival and alien horrors. The adventure is self-contained and can be placed in any setting. Pgs. 70-105

The king has hired adventurers to investigate the sudden rash of giant attacks and strange phenomena around the town of Bywater. Meanwhile the townsfolk believe an evil witch is directing the attacks and only the magic sword of the town's founder can defeat her.

A monastic community of elves and orcs worshipping a divine daughter of both Corellon and Gruumsh tried to bring peace and reconciliation between the two races. For their trouble, they were wiped out by zealots and erased from history. Centuries later, their mountaintop temple is rediscovered -- and rumor has it that two artifacts hearkening back to the very origin of elvenkind and orcdom are concealed within....
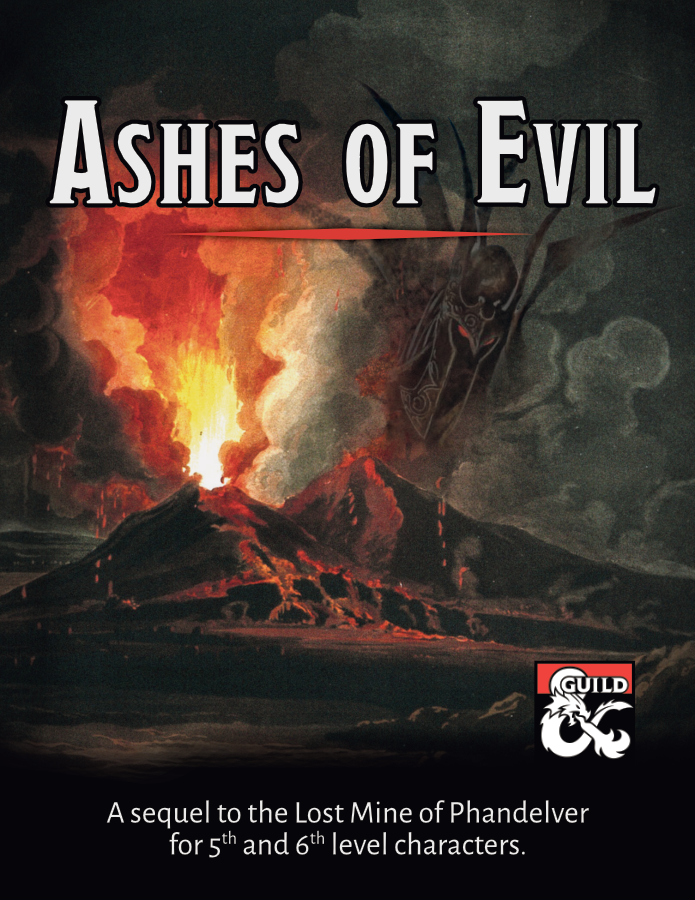
A sequel to the Lost Mine of Phandelver adventure for 5th and 6th level characters. An ancient forgotten evil threatens the Sword Coast once again! Our party of intrepid adventurers returns to Phandalin and Wave Echo Cave for what is at first glance a rescue and exploration mission. Prospectors for the Rockseeker mining concern have disappeared deep inside the flooded caverns that give the cave its name. The peril extends much deeper than mere lost explorers though, as the party stumbles upon an ancient, long-forgotten struggle between good and evil. Inexplicable cultists hide in ambush at every turn. A risky raft ride through treacherous underground waterways leads to an ominous discovery. Ancient ruins tell a story of the terrors of the night and a noble alliance sworn to fight them. A search for a powerful weapon of light leads the party on a mind-blowing, sky-high ascent into the unknown. Then, a whirlwind of danger: A rumbling volcano. Legions of undead. A desperate battle for the survival of the region. This adventure was designed as part of “The Next Adventure” Design Jam at the DMs Guild. It works best for a party that has just completed the Lost Mine of Phandelver adventure, but it can easily be inserted into any campaign. It is designed for a party of four to six 5th or 6th level characters and, based on playtesting, will take an average of about 3 sessions to complete.
A short adventure for the Midnight campaign setting from Fantasy Flight Games. Harried by pursuing Shadow forces, the adventurers take refuge in the fissures of a vast glacier. In these icy caverns they battle the risen remains of an orc tribe and make contact with a powerful potential ally.

When a series of grisly murders and raids on farms and fishing boats come to light, accompanied by a strange fog, the people of Elmwood need heroes to investigate and stop the attacks. There is hardly anyone in the Moonsea who’s life hasn’t been touched by one of the tragedies over the past years, and these attacks may have deeper causes than anyone knows. Part of the Elmwood Adventures Series

The Haunted Hamlet and other hexes details four unique modular locations for your game. Made for old school essentials, but can easily be used with other old-school systems or even 5E. The four locations detailed in the zine focus on gameable content and being easy to use at the table. The locations are not connected to one another and can be sprinkled onto your campaign map however you like, or run as one shots. The PDF is graphic and art heavy and utilizes random tables and other tools to make it easier for GMs to run in a pinch. Details: 40 pages Single column text 8.5 x 5.5 aspect Black & White Bookmarks Four hex locations Random tables A rival NPC party A sky merchant A one page town Two hirelings
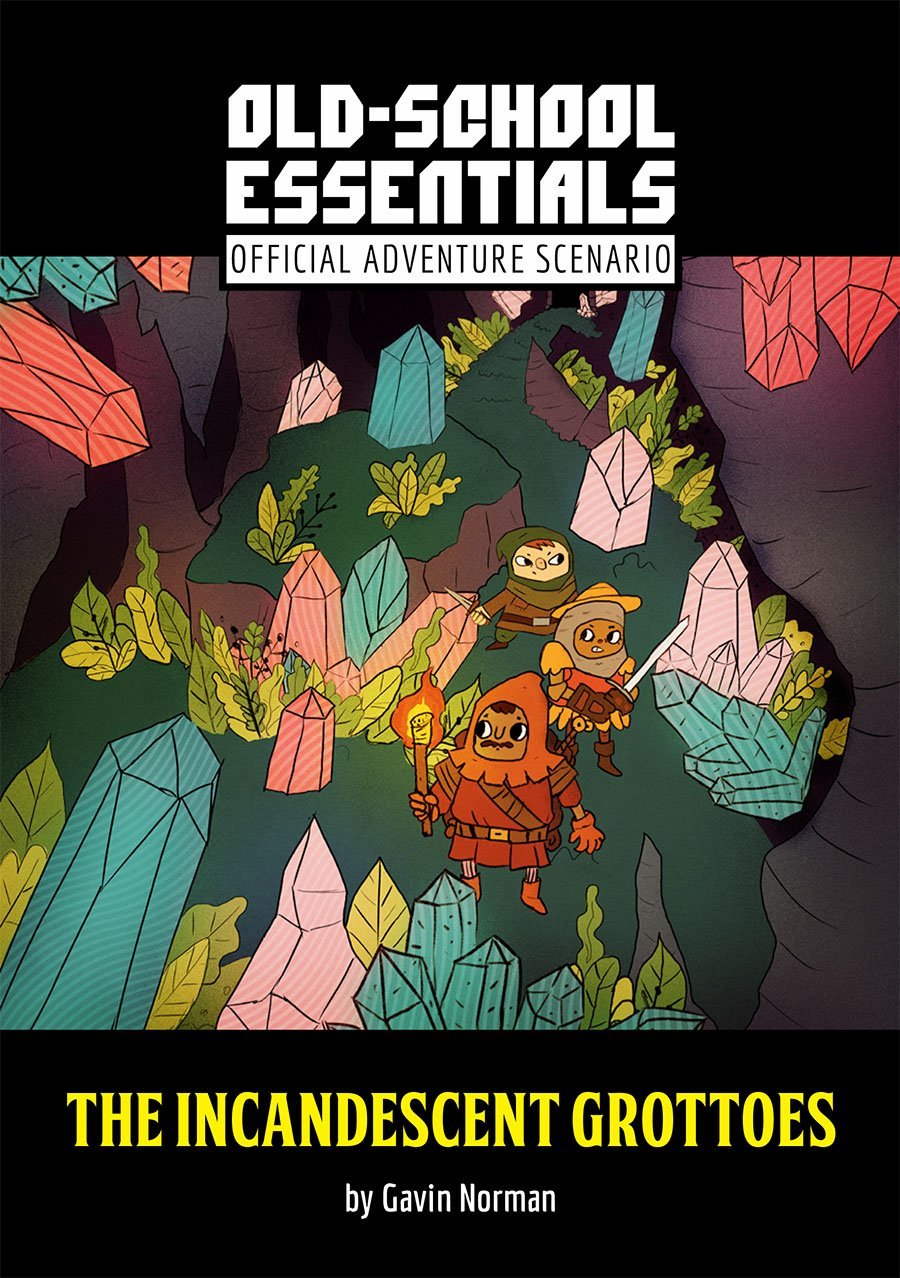
A bubbling stream cascades into a hole in the earth, leading to a series of underground watercourses and scintillating grottoes. Adventurers who delve within may discover odd mosses and fungi, a ruined temple complex, and the lair of a crystal-eating dream dragon.
Your PCs are reaching the upper end of the heroic tier. New worlds are opening up to them—they might have already ventured to the Feywild, for example, and made contacts with inhabitants of that magical plane. Now they are ready to take their first steps into the darkness. The Shadowfell awaits... Vandariel, a shadar-kai witch who calls herself the Voice of Pain, is a fanatic devotee of the Raven Queen. She has founded and become the self-proclaimed high priest of a bizarre cult, the Lords of Pain, whose purpose is to bring more fey into the shadow pact with that goddess of death. Although the original shadar-kai entered this pact voluntarily, and the race breeds true, Vandariel is consumed by what she sees as a divine mission to reveal the mystery to all fey—whether they wish it or not. Those who do not come voluntarily to the truth are brought against their will. Dark stalkers move like the night, seeking out and abducting suitable subjects. This Side Trek can serve as an introduction to the dangers of the shadow realm. It works well for PCs who are approaching the paragon tier, since it presents a reasonable challenge for characters of 10th level. It is suitable as a climactic encounter for lowerlevel adventurers, as well. It consists of only two encounters.

To stop a devastating rampage of giants across the land, the party must venture into the lair of the stone giant thane Arnak to uncover the truth about why he has broken his peace with the neighboring dwarves. In the process, they will have the opportunity to retrieve important symbols of the fight against the giants and uncover a dangerous excavation. The adventure is part of the "Against the Giants" series originally by Gary Gygax, hence the writing credit.
An unusually severe drought in a remote area recently worsened dramatically when three lakes dried up almost simultaneously. The locals suspect foul play, and the foulest player they know is a bugbear named Relgore -- the leader of a highly successful group of humanoid bandits. Could he be seeking revenge for the militia attacks that recently dispersed his band?

After basking in the glory of your accomplishments, you learn of a problem with a caravan attack. A group of possibly Goblins have brazenly attacked the Hamlet of Kako, burning it to the ground. The information comes from a local farmer that witnessed the carnage. Pack your gear…time to go back to work in the Principality of Lockerbie!

A meteorite has crashed into the countryside, and now vicious enemies prowl the night. Can the characters put a stop to the sinister force that is causing savage animal attacks and a growing list of missing people? Watchers in the Dark is a cosmic horror one-shot adventure for 4th-level characters. It takes about 3-4 hour to complete and includes: - A horrifying discovery beneath a meteorite crater - Three new monsters: two variant ankhegs and an alien being, the mind-shard - Combat cards for each monster, PC, and special treasure - Gorgeous, hand-drawn maps by Jake from Beware the Wizard
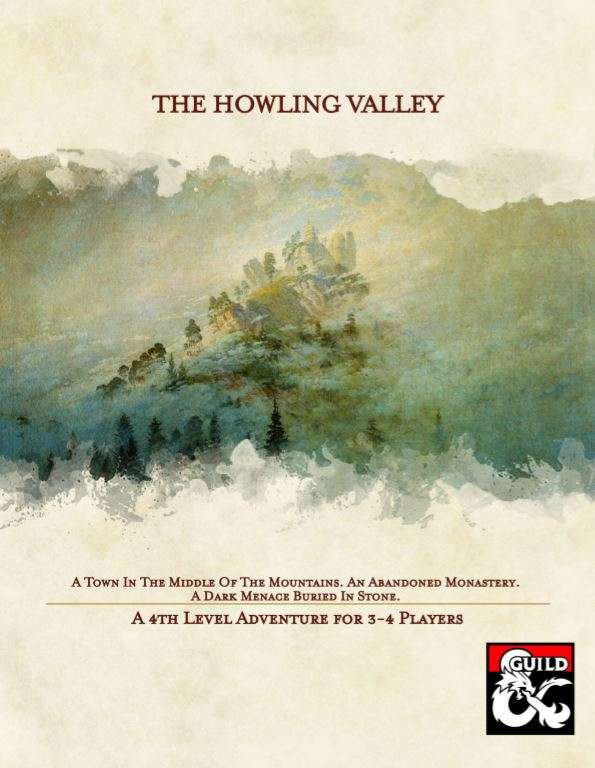
A cry for help by a small village in the Howling Valley. An abandoned monastery on top of the mountain. Hordes of undead pouring into the realms. A mad mage with bad intentions. Will you be able to put an end to the unfortunate events in the valley?

Princess Arelina rushed from the tent as total disorder breaks out across the camp. She descends on your party as you struggle to secure you weapons…. Wonderfully descriptive, isn’t’ it. Well, now you can see for yourself with the 3-D DRAGON™ tiles. Use the DRAGON™ Tiles to bring your DUNGEONS & DRAGONS™ an ADVANCE DUNGEONS & DRAGONS™ adventures to life. This package includes 3-D figures, featuring tents, trees, carts, a waterfall, and characters. A sheet of 2-sided tiles including trails, streams, creatures, and other wilderness features. A wilderness mapping grid is included to help you lay out wilderness encounters quickly. The 3-D DRAGON™ Tiles also comes with a special D&D® adventure, “The Revenge of Rusack.” TSR 9145

South of Tarlac Keep and across Lake Lowe lies a dormant volcano and its set of caverns. This location is currently the home to the powerful Artillus Highwing a massive Black Dragon. Artillus and his mate were responsible for the destruction of Tarlac at the cost of his partner. Artillus lost most of his army that day and has since moved into the caverns and attempted to rebuild the army to set his revenge upon the area.

The town of Innisfall lives in the shadow of dragons, but has managed to broker a peace with them through the years and avoided outright destruction. Now, a dragon has been murdered and the visiting party of adventurers is accused of perpetrating the deed. Can our heroes prove their innocence and restore the uneasy truce the town has lived under for generations?…