A free adventure for the Pathfinder RPG, focusing upon a city ravaged by a natural disaster and besieged on all sides. Party levels 4-5 will face off against a half-dragon, half-demon overlord known as Ymial, a demonic seductress, goblin warbands, and drow slavers beneath the ground all while trying to discover the secrets of the city of Fairhaven. Works well for players who are looking to visit a large town and face off in a high-stakes conflict even at low levels. Includes lots of details on the town, from rumors to residents.

Three months ago the township of Durgon’s Rest exiled Elia Fenfrost for practicing witchcraft. Now as the first harvest approaches there are signs that something is amiss. The crops are failing, local farm animals are becoming sick with disease, and all of the food stores have gone foul. The town’s folk suspect that the accursed blight is the work of Elia - exacting her revenge for casting her out into the wild. The PCs are the villager’s last hope, but can they find Elia and end the evil curse that has been laid upon the town before all comes to ruin?
The kuo-toa are a piscine race with a psychic affliction that makes them behave erratically and invent gods when feeling threatened. That same affliction gives them the power to bring those gods to life. Blibdoolpoolp is the most widely worshipped, and thus most powerful, of their gods. Blibdoolpoolp views the kuo-toa as her children despite having been born after them. Like all good mothers, she nurtures and protects. One of her chief concerns is understanding the kuo-toa’s psychic affliction, which causes them to undermine themselves whenever they strive for greatness. She discovers that a corrupted elder brain deep in the Underdark has a connection to the race; though the connection gives them psychic powers, it also turns them into powerless thralls, explaining their self destructive behaviors. Constrained by the same leash on her children, Blibdoolpoolp seeks adventurers to destroy the elder brain. Its death would free the kuo-toa, but potentially at great cost: if the kuo-toa lose their powers, will Blibdoolpoolp die?

The Cave on Foggy Hook is the first of three connected adventures in the village of Hookholm and is aimed at busy or first time Dungeon Masters. This adventure is designed for 3-5 1st level characters and can be played in a single 3-5 hour session excluding character creation. In this adventure the party will find themselves in Hookholm, a small coastal village rebuilding after a devastating storm almost wiped it off the map. The village is located on the inner curve of the Foggy Hook, a spit of marshy land jutting into the Grey Sea. Beset by the sort of calamities that new adventurers will be able to sink their teeth into and will offer opportunities for roleplaying, puzzle solving, exploration and combat. Includes 5 maps in a number of variations, a brand new monster in the vicious Kuo-toa Feral, and a new chase complications table for chases through swamps or marshes.

With your first set of adventures firmly under your belt you are relaxing and basking in the glory of a job well done. While at the local tavern imbibing in some well-earned spirits, a commotion can be heard outside. As you step outside the villagers are pampering two children who apparently just rode into town on a very sweaty and tired pony. An arrow is sticking out of the mount’s flank. As the animal is removed the townspeople pepper the children with questions as both are obviously afraid. It would appear the drinks will have to wait.

The cries of battle echo in the rustic wilderness, as a pair of fey sisters defend the ancient Briarwood against invaders. When the town of Bur Hollow sends militia men to support their fey allies, they disappear without a trace. The adventurers must enter the Briarwood and save them!

This beginning level adventure pits your PC party against humanoid thugs who have found a nice niche in a narrow pass headed to HAVENDALE. Adorning the pass is a rock formation that appears to be a large skull thereby giving its name to the pass. These humanoids are led by a large Ogre named Roark. The mayor of Feastelburg has placed a bounty on the head of Roark and his evil minions. Is your party strong enough to rid the area of this menace?
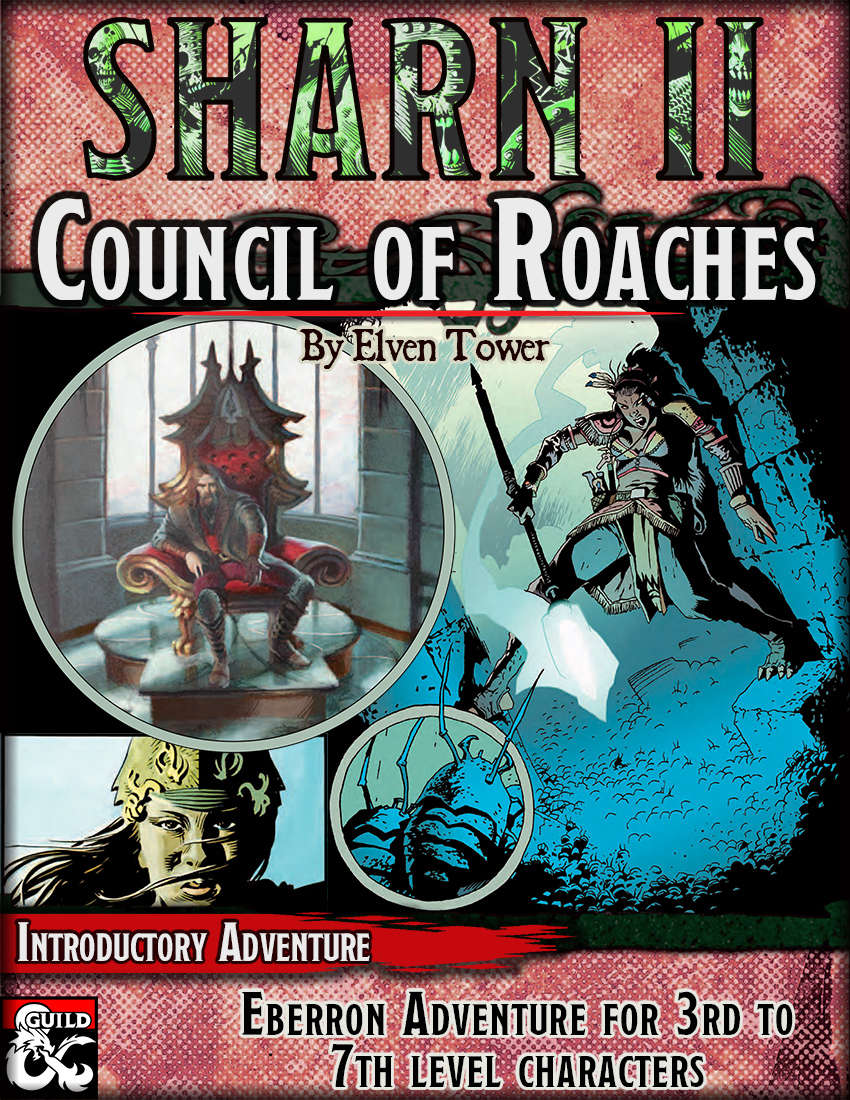
A roach thrall has infiltrated Sharn's highest circle of power, the council, and few have noticed. It's up to our adventurer's, with a little help from a perceptive councilor, to rid Sharn of the growing infestation.

The PCs follow the trail of some particularly competent kobold thieves to the lair of a dragon cult deep in the swamp. There they discover efforts underway to grant sentience to the skeleton of a powerful red dragon once named Flame. Eventually the PCs determine that trouble has returned to the Western Mountains in the form of a band of fire giants ruled by a clone of the original red dragon named Flame.
A Conspiracy of Doors is a Dungeons & Dragons adventure for five player characters of 11th level. It can serve as an introduction to Sigil, the City of Doors, as well as a group of adventurers' first taste of action at the paragon tier.

Trapped in the dungeons of the Slave Lords! The hardy adventurers must find a way out, with only their wits and courage to help them. But can they do it before everything is destroyed by the dreaded Earth Dragon? This module contains a challenging scenario for experienced players, the tournament scoring system, and nine fully-equipped playtested characters. Also included are large-scale referee maps, playing aids, notes, and background information. A4 is a complete adventure in itself, but can also be used in conjunction with A1 (SLAVE PITS OF THE UNDERCITY), A2 (SECRET OF THE SLAVERS' STOCKADE), and A3 (ASSAULT ON THE AERIE OF THE SLAVE LORDS). TSR 9042

This adventure focuses on a Zhentarim attempt to spread terror in Mistledale, although it is suitable for almost any lightly settled area northwest of the Sea of Fallen Stars. "The Raiders of Galath's Roost" is suitable for four 1st-level characters, but PCs should be at least 2nd level before tackling the adventure's second half, the Zhentarim Citadel. Even in the first half of the adventure, many of the encounters are quite formidable for 1st-level characters, and the PCs might find it necessary to withdraw and recover one or more times before completely exploring the ruins.

*THIS IS A D&D NEXT/5E PLAYTEST ADVENTURE* Imani, a Turmishan wizard and former adventurer, seeks the aid of heroes to infiltrate Dretchroyaster’s lair and recover the Diamond Staff of Chomylla—the key to powerful magic and wisdom locked away for thousands of years. In addition to his own sagely interest in the lore of lost Uvaeren, Imani recognizes the dangers of such powerful magic falling into evil hands. The dracolich has secured the staff in his lair’s cen- tral chamber, using ancient wards of protection that can be bypassed only by four artifact-idols once belong- ing to a cult of Bhaal. Each group of adventurers enters the dungeon through a different section of the dun- geon—a forgotten temple of Bhaal, a vast underground lake, a troglodyte village, or Dretchroyaster’s vaults. Dretchroyaster’s lair is no simple set of caverns and ancient ruins. It sits atop a source of great power and energy, which the dracolich and his Cult of the Dragon allies hope to use to unlock the secrets of the staff. Only by undertaking a unified assault against Dretchroyas- ter’s lair can the adventurers hope to recover the Diamond Staff and survive the dracolich’s fury. The adventurers must make their way through the lair and recover the Bhaalite idols that will help unlock the Diamond Staff, all the while dealing with the lair’s creatures and avoiding the dracolich as he pur- sues intruders. Entering the Chamber of the Diamond Staff, the heroes must overcome its magical wards and claim the staff before being slain by the dracolich and his servants.
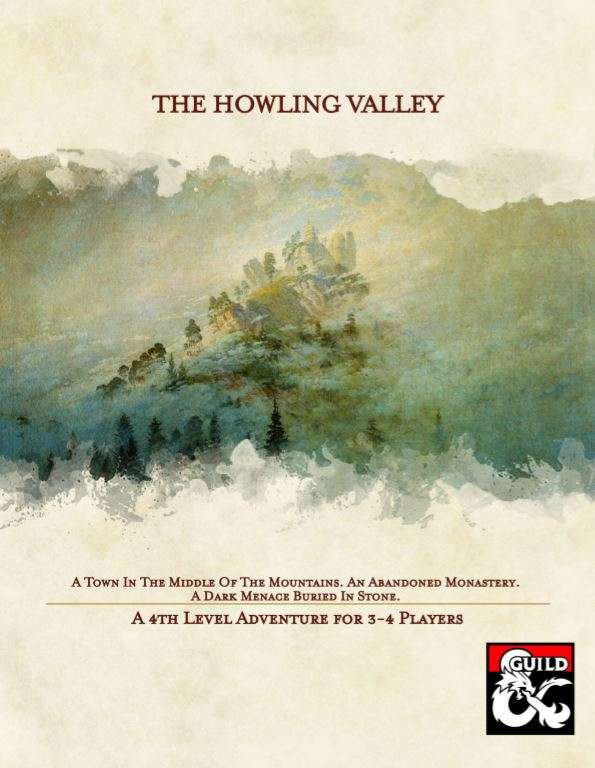
A cry for help by a small village in the Howling Valley. An abandoned monastery on top of the mountain. Hordes of undead pouring into the realms. A mad mage with bad intentions. Will you be able to put an end to the unfortunate events in the valley?

Caverns of the Dorgel Mountains is/was the finale in Filbar series. It features Lexicon Meridius the Ancient Red Dragon and scourge of the Dwarf Lords (F4 & F5). This large adventure represents how I look at the difficulty of taking on the deadliest dragon of the Prime Material plane. Will your party return to the Halls of the Dwarf Lords to help aid them one more time?
In the Tullow Vale of Vasloria, the MacGraw tribe of goblins terrorize the Baron's Road as it passes through the forest north of Ivywatch, plundering caravans and kidnapping merchants and travelers. The heroes arrive upon an ambushed caravan just as the tribe scurries away with their screaming haul into the forest. Can you save the good folk of Tullow Vale before they meet their end at the hands of the goblins and their cruel leader? In This Quest MacGraw Hideaway is a short, not-full-level-length adventure, or in other words, a quest! This quest is about fighting monsters and being heroic. Combat encounters are built to be complex! The heroes will be expected to spin multiple plates at the same time! The quest will reward up to 6 Victories. Depending on your experience running and your table’s experience playing Draw Steel, it could run around 4 to 6 hours of playtime. The quest contains: 2 combat encounters 1 optional negotiation
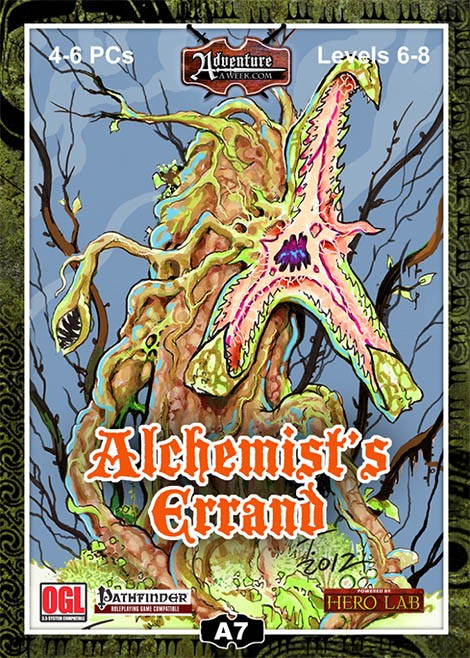
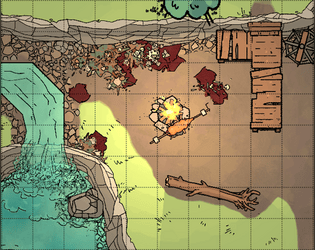
Sometimes it is the simplest of tasks which end up taking much more of time and energy than they should. When the party is asked by the local sage to collect some rare flora, it feels like relatively easy money; a journey into the woods they’ve traveled before, a conversation with someone they’ve met before and then on to gather the crop. The characters can hear the Thirsty Serpent tavern calling them after a brisk afternoon’s work. But the PCs’ plans go awry when it turns out nothing is quite that straightforward. Deals have to be struck, foes defeated, anger and scorn dealt with and then the whole process gone through again. When there is duplicity at every turn and double-crossing is done with relish, the PCs have to keep their wits and weapons equally sharp. Dealing with someone who is prepared to cross the line between humiliation and harm at a moment’s notice is a tough challenge; this quickly becomes about much more than mere mushrooms!

In the Yatil Mountains south of Perrenland there is rumored to be a magical hoard of unsurpassed value, a treasure of such fame that scores of adventurers have perished in search of it. Find the perilous Lost Caverns of Tsojanth and you may gain the hidden wealth of the long-dead arch-mage-- if you live. Module S4, this contains a brief wilderness journey to the caverns, but the bulk is underground. The caverns are noted as a previous lair of the Arch-mage Iggwilv- though she is long gone, her Demonomicon remains. This module marks the first appearance of several monsters and items that would later appear in the Monster Manual 2 and Unearthed Arcana. A labyrinth features in the caves. TSR 9061

The exciting artifact series concludes with AS3 – Peregrination. With a pair of control rods in hand you are guided to an ultimate prize, a Gnomish flying vessel! The rods have directed you to a crashed ship buried in the sandy beach. A check of the debris sheds light on the mystery of the artifact and a description of how to repair the intricate machine. Apparently finding the vessel is just the start!

Uncover the curious tale... When the party are shipwrecked they take shelter in an old forgotten cottage. They soon find themselves uncovering the mysterious death. One thing is for sure, they are not alone... Back to the sea is a 3-5 hour one shot, recommended for Level 3-4 adventurers. It offers a refreshing and different look at Ghosts in D&D. Contains 3 beautiful original digitally illustrated Maps. Unique Monsters and interesting combat scenario. Encourages player creativity and problem solving. Screen reader version.