
"Ribbons of blood dance through the air, tracing wide crimson arcs before fraying into thousands upon thousands of bright red droplets. The cheerful tavern atmosphere evaporates in a moment, rent apart by screams and cries. A woman with grey hair stands near the bar, grasping at the dagger in her throat with fingers made slippery by blood. She sways and collapses. More screams. A man stands before her. He is holding the hilt of the dagger, but lets it slip from a gory hand as the woman falls. He freezes for a moment, then spins and sprints away, knocking aside people as he goes. A young, flaxen-haired woman at the back of the tavern cries out, “Stop him! Stop him!” as he approaches the entrance – the entrance where you and your comrades are standing. What do you do?" A lonely outsider murders a popular village local before a room full of witnesses. But could he be innocent? The Lurker Beneath Red Larch is a 4-6 hour adventure for characters of 3rd-4th level. It is full of roleplaying, problem solving and challenging combat encounters.

The party seeks out Commodore Krux at the Happy Beholder. After speaking with the patrons, the party learns that Krux has disappeared and gets a lead to check out his ship, the Second Wind. At the ship, the party learns from Fel Ardra and Flinch that Krux is being held prisoner by the Amoebros in a cave on the underside of the Rock of Bral. The party infiltrates the Amoebros’ lair, gets past the guards, and learns of the animal experimentation performed by the gang. In a final climactic scene, the party rescues Krux from Ripples, the wicked boss of the plasmoid gang.

The town of Byr is in need of heroes. Residents of the town of Byr have been kidnapped. Some think it was marauding Hobgoblins, but a grizzled and crippled veteran who helped to drive the Chagmat (monstrous spider-people) back many years ago believes that the Chagmat are back. Their forgotten temple is believed to be up on Little Boy Mountain. He argues that the mountain is where answers, and the missing townsfolk, can be found. Pgs. 33-48

With land trade threatened, the city of Melvaunt is relying on sea trade to get goods into and out of the city. An island rises out of the Moonsea just outside of Melvaunt Harbor, and initial exploration indicates the island is a threat. The origins and nature of the island must be ascertained before trade is shut down completely. The characters explore a mysterious island and help 'living souls' disrupt a ritual being performed by cultists of Cyric. Part Three of the Misaligned Trilogy

The heroes arrive at the eponymous Keep on the Borderlands, a fortress on the edge of civilization built to stave off the chaos and evil of the wilderness. Using it as a home base, a party can make forays into the surrounding wilderness, encountering monster and marauder alike. The centerpiece of the adventure is certainly the CAVES OF CHAOS, a network of tunnels and caverns found in the walls of a nearby but isolated ravine. It is here that hordes of evil humanoids have made their home. Through combat and negotiation, the players can try to explore and map out these caves, perhaps with the aim of accumulating valuable treasure or even cleansing the land of evil creatures. However, even the Caves are not all they seem. Beyond the goblins and kobolds lurk dark horrors: cults dedicated to fiendish chaos and a Minotaur's enchanted labyrinth await the unprepared adventurer. But for the hero who is brave, clever, and fortunate in equal and sufficient measure, great treasures and glory await in the Caves of Chaos that lie beyond the Keep on the Borderlands! TSR 9034
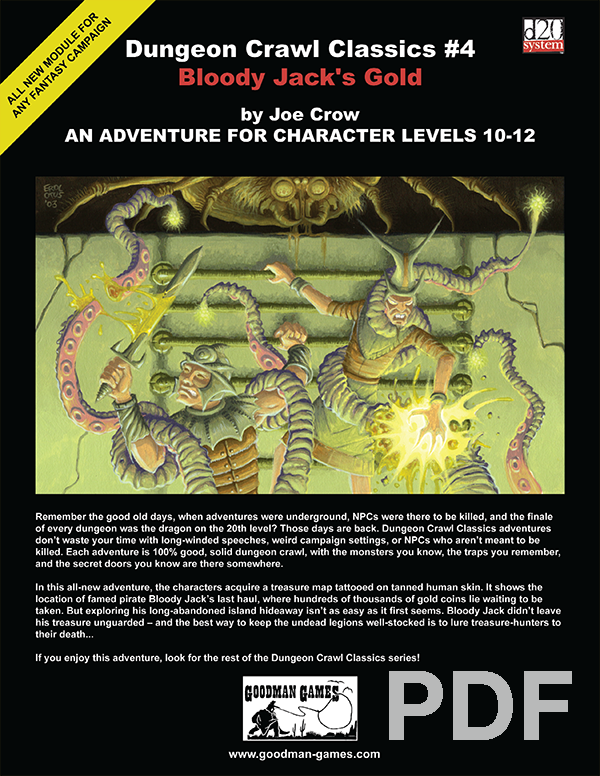
In this all-new adventure, the characters acquire a treasure map tattooed on tanned human skin. It shows the location of famed pirate Bloody Jack’s last haul, where hundreds of thousands of gold coins lie waiting to be taken. But exploring his long-abandoned island hideaway isn’t as easy as it first seems. Bloody Jack didn’t leave his treasure unguarded — and the best way to keep the undead legions well-stocked is to lure treasure-hunters to their death…

In preparation for the Magister's Masquerade, the students of Strixhaven must create and present themed outfits at the Silverquill Fashion Show. A fellow student offers to design truly unique and magical outfits for the characters, but first he will need special materials infused with magic from the snarls. Recover materials to craft magical fashions within the lair of a brand new creature—the Snarlmoth—in this short adventure set during Year 3 of the Strixhaven campaign.
A sickness has come unto the simple mining community of Duvik’s Pass, poisoning their wells and blighting their crops. With the pestilence leaving the strongest men of the town’s guard a few short days away from death, the burden of descending into the mines and purging the wellspring of whatever evil has settled there falls to an intrepid band of adventurers. Can these noble heroes prevail within the depths of Duvik’s Pass, or will they too fall victim to the perils of The Burning Plague? The Burning Plague is a DUNGEONS & DRAGONS adventure designed for a party of four to six characters of 1st level. Dungeon Masters (DMs) should feel free to adjust the adventure as necessary to accommodate groups not falling within this range. However, given the fairly low power level of the inhabitants of the mines at Duvik’s Pass, it should be noted that parties consisting of 20 or more total levels are unlikely to find satisfactory challenge within The Burning Plague.
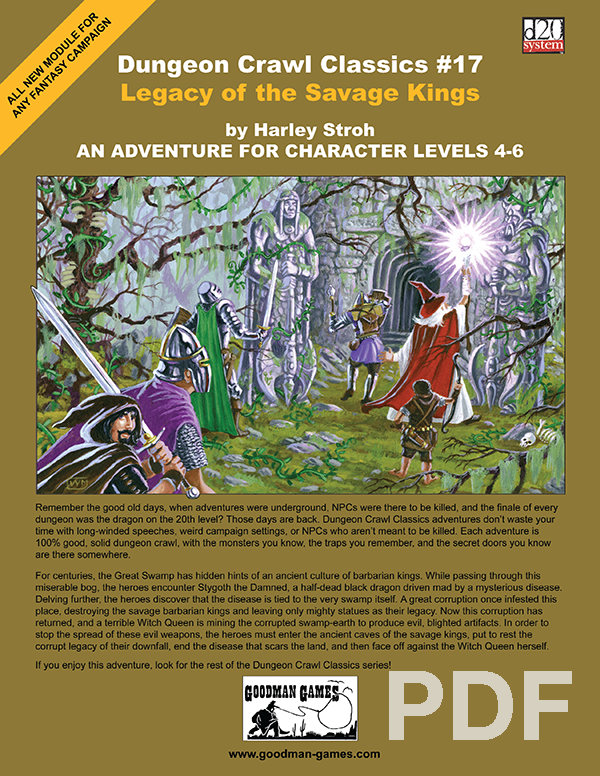
For centuries, the Great Swamp has hidden hints of an ancient culture of barbarian kings. While passing through this miserable bog, the PCs encounter Stygoth the Damned, a half-dead black dragon driven mad by a mysterious disease. Delving further, the heroes discover that the disease is tied to the very swamp itself. A great corruption once infested this place, destroying the savage barbarian kings and leaving only mighty statues as their legacy. Now this corruption has returned, and a terrible Witch Queen is mining the corrupted swamp-earth to produce evil, blighted artifacts. In order to stop the spread of these evil weapons, the heroes must enter the ancient caves of the savage kings, put to rest the corrupt legacy of their downfall, end the disease that scars the land, and then face off against the Witch Queen herself.
A cry for help by a small village in the Howling Valley. An abandoned monastery on top of the mountain. Hordes of undead pouring into the realms. A mad mage with bad intentions. Will you be able to put an end to the unfortunate events in the valley?

Kalzok the Minotaur pirate discovered an old smuggler's hold on a tiny island in the Nelanther Isles, not far from Nemessor. The island sits amid a dangerous archipelago encircled with scores of hidden shoals that is avoided by all but the most daring or foolish navigators. The area's waters are notorious for claiming the ships of unwary sea captains who tried to steer through the gauntlet of hidden reefs. This offering includes an overview of Kalzok's island along with the details of Kalzok's hidden lair.

When one of the Lords of Waterdeep asks you to root out a threat to the city, you respond to the call. Prepare for a foray into Undermountain. Part One of the Vampire Hunt trilogy.
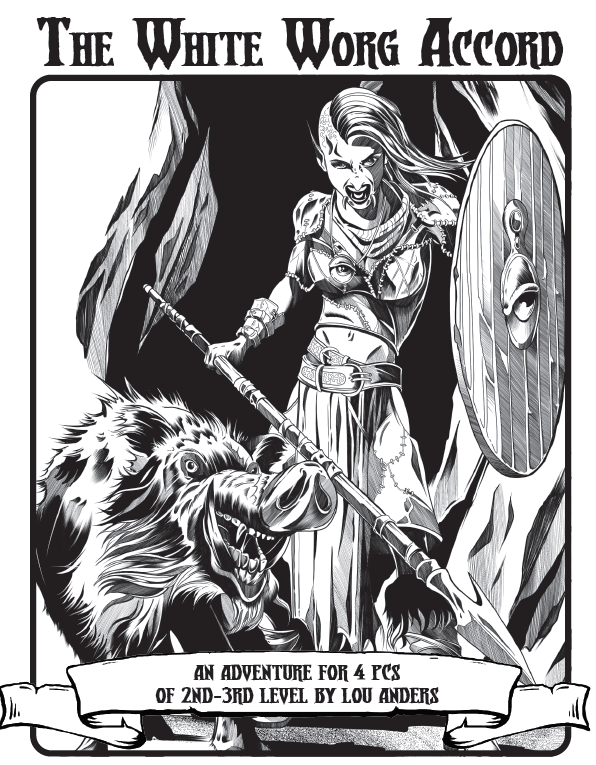
The noble dwarf Wulfstan vom Meer seeks adventurers to travel on his one remaining ship to the clan’s village, and to protect his vessel against any threats at sea. When they meet the White Worg Reavers, he wants the party to negotiate for the loan of two longships and their crew. Vom Meer offers 500 gp to anyone willing to undertake this task. It seems like easy money. However, the Wolfheim clan has troubles of its own—a group of trollkin bandits known as the Mossback Raiders have been competing with the White Worgs for territory west of Wolfheim. Their rivalry is coming to a head. When the PCs arrive at the White Worg homestead, they learn that the reaver dwarves are recovering from a recent attack. Their homestead has been sacked and vom Meer’s kinsman, Knud Stoneson, has been slain. Without a family connection, the clan’s chief will agree to vom Meer’s proposal only if the PCs will help rid them of that troublesome band of trollkin. If the PCs are to succeed in their task and help vom Meer, then a reavin’ they must go! This adventure for the 5th Edition of the world’s first RPG is meant for four 2nd and 3rd-level characters. Designed by Lou Anders, with cartography by Dyson Logos and cover art by Phil Stone.
Inspired by the "Happy Fun Ball" from the web series Critical Role, The Cube of Vanya is a magical adventure through demi-planes created by an ancient wizard, now destabilized by a malevolent dragon. The adventurers find themselves trapped within a series of themed planes with no idea how they got there. Navigating these planes to find a means of escape, they uncover the secrets of the cube while piecing back together their own memory. During the campaign the adventurers may fight shadow demons in an inn which is really a prison, flee a tornado while perched perilously in the sky, forge a weapon within a volcano, and much more. The module is structured in a non linear manner allowing the adventurers to choose their own way, or for the DM to pick and choose their favourite bits to highlight. The adventure was written with four level 5 players in mind but it would be easy to tweak for different sized groups around that level.

While resting in the merchant City of Gurdikar, a merchant approaches the party to investigate the disappearance of his nephew, whom he believes was betrayed by a rival house. The party must go into the into the mountain valley to find the missing nephew, return him if alive and discover any evidence of suspected treachery. Pgs. 43-51

The cries of battle echo in the rustic wilderness, as a pair of fey sisters defend the ancient Briarwood against invaders. When the town of Bur Hollow sends militia men to support their fey allies, they disappear without a trace. The adventurers must enter the Briarwood and save them!
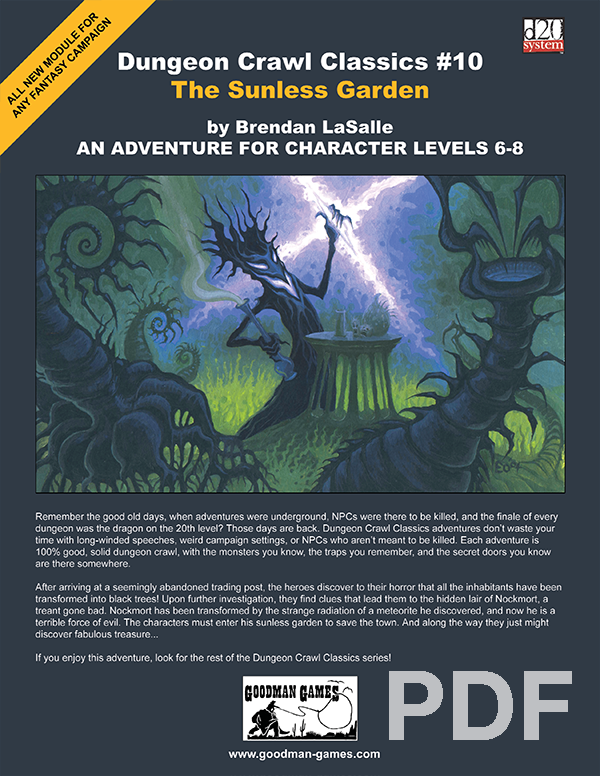
After arriving at a seemingly abandoned trading post, the heroes discover to their horror that all the inhabitants have been transformed into black trees! Upon further investigation, they find clues that lead them to the hidden lair of Nockmort, a treant gone bad. Nockmort has been transformed by the strange radiation of a meteorite he discovered, and now he is a terrible force of evil. The characters must enter his sunless garden to save the town. And along the way they just might discover fabulous treasure...

Madness in Freeport, the final part of the Freeport Trilogy, details the final confrontation between the PCs, the Brotherhood of the Yellow Sign, and Sea Lord Milton Drac. In Part One, the Drac invites the PCs to the Grand Lighthouse Ball. Careful investigation can reveal the secret purpose of the lighthouse. In Parts Two and Three, the PCs must recover a powerful artifact to thwart the Brotherhood's plans. They must pass through an infamous pirate's hidden caves, then search a sunken temple of the serpent god Yig. In Part Four, the heroes must enter the Grand Lighthouse, AKA Milton's Folly, in a race against time to stop the Brotherhood's world-shaking master plan from coming to fruition. (Bibliographic note: This adventure was originally written for v.3.0, and later updated to the v.3.5 rules. The revised versions of Death, Terror, and Madness in Freeport were reprinted in an omnibus edition, along with two shorter filler adventures, as The Freeport Edition: Five Year Anniversary Edition.)

Chapter 1 - When a relative of someone close to the characters goes missing from a nearby village, the players are asked to investigate. The party has to recover stolen goods from a thief before setting out from the City of Ravens Bluff. They travel through the wilds of Vesperin in search of the missing person, finding trouble and helping locals along the way. Chapter 2 - As the journey continues, the party arrives in a small hamlet suffering from a strange blight. The players will need to investigate the situation and choose sides in a longstanding feud between the mayor and a local magic user. Chapter 3 - After clearing a tribe of violent orcs from a nearby mountain pass to protect the residents of a town, the party will have to enter the lair of a long-dead dragon to rescue their quarry from a band of goblinoid slavers, where they discover an entrance into a dwarven city, lost and forgotten centuries ago. Chapter 4 - The party will have to traverse the ruins of the dwarven city, avoiding hazards and battling the horrors that lurk there, to uncover the identity of the slaver's leader. A discovery that will lead them through a treacherous forest to the city of Tsurlagol in search of a pirate ship called the Star Carver, and its drow captain, The Viper's Kiss. Along the way, they meet an unlikely ally. Chapter 5 - Once they arrive in Tsurlagol, the players will have to choose between gaining the assistance of the city council to fight the pirates head on, or making a deal with the Viper's Kiss, herself. The path they choose will either lead to an epic battle on the Sea of Fallen Stars, or into the deadly sewers and tunnels beneath the city to face an enclave of wererats, undead, and a tribe of mad, kraken-worshipping kuo-toa, in search of a fabled relic. The Laughing Horde of Ruin, Part 1 is the first module of an original 5e adventure campaign. It is designed for character level 1-5, and uses material from the Dungeon Master's Guide, Monster Manual, and Volo's Guide.

The Wizardarium of Calabraxis starts off with strangely behaving apemen, but players who start to explore the cave where they reside will soon discover there is a lot going on: ancient civilizations, the mad experiments of a forgotten wizard, and a couple unique magic items are guaranteed to provide a lot of bang for your buck to your players. This module has stats for the DCCRPG, but if one wants to work around the weird dice, this module is probably at home in just about any OSR rules system.