
Dromar is a figure of power all over the realm. He is known as a legendary fighter from centuries ago. He was buried in a tomb along with an artifact of great power. Those who built his tomb were afraid of grave robbers, and so his tomb was created in the frigid, ice-coated lands at the base of a a mountain. The secret of this tomb's location has been passed among a select few people as the years have gone on. Most of the general public do not even believe it exists, but now the ancient relic buried alongside Dromar is needed once again.

Horrors in the Dark The origin of the ShadowGate is lost in antiquity. Some claim it as the work of devils, others cannibal cultists or even demon lords. Not long after its discovery it was boarded up by the priests of the local church, and then fortified by paladins. Of late something has emerged from the portal. It remains trapped within the divine defences, but for how long?

A fiend lurks among the Black Blade goblins. A shapeshifting barghest fashioned by the General of Gehenna to exact revenge on all goblin-kind. It’s aim: to kill as many goblin leaders as possible… A masked goblin approaches the party asking for help. Two tribe leaders are dead. But a rival for chief has control of the crime scene. Will the party discover the barghest among the goblin ranks? Can they stop this imposter before it strikes again? Adventure Overview The adventure’s story is spread over 4 parts and takes approximately 4 hours to play. The adventure begins with a Call to Action scene. Part 1: Goblin Politics. Krill sends his emissaries to implore help from any strong intermediary. The party is asked to investigate the murder of Thrawn in Dringly’s lair. This is Story Objective A. Part 2: The Opposition. Gain entry into Dringly’s lair and investigate the murder of Thrawn. Gather enough evidence to find the killer. This is Story Objective B. Part 3: To The Lair! Now that the players have determined the barghest (Yeep) is to blame, they need to get to Krill’s lair quickly as he is in imminent danger. This is Story Objective C. Part 4: The Barghest.When the players arrive at the lair, they need to get to Krill and expose and defeat the barghest. This is Story Objective D. Adventure Background A barghest named Yeep has begun its onslaught of attacks against the Black Blade goblins. Starting with Chief Gnar, then his second in command Thrawn, the barghest is moving methodically down the line of command. Krill is now chief. But he has some problems: Two leaders of the Black Blades are dead. Who killed them and why? Is he next? Dringly, the next in command, has decided to take his lair for himself, declaring himself Chief of the Black Blades. Who are the Black Blades? The Black Blades are a tribe of goblins in the local area. They are known for dipping their blades in a dark black substance. It is rumored these blades are poisonous. The Black Blades regularly attack passersby on the road to rob them. The Black Blades have two lairs, one run by a chief who leads the whole tribe, and another overseen by a boss lieutenant. The Black Blades have a well-established pecking order which is how Krill stands to become chief. The next in line is Dringly, who has also declared himself chief and wants Krill dead. Krill suspects that there is something suspicious about two leaders being killed within a day of each other, but he has already burned Gnar’s body without any investigation. He needs to investigate the body of Thrawn, but it is in Dringly’s lair. Krill wishes to avoid direct confrontation with Dringly at the present for three reasons: 1) Any violence would only kill his own tribe members and further divide the lairs. 2) He believes there is still hope for negotiation to reunite the Black Blades. 3) He believes that if he were to attempt negotiations himself, Dringly would kill him. This adventure features: Two maps. Ready for your favorite Virtual Tabletop. A full color pdf. A black and white pdf. One custom monster, a reprint of barghest, all others available in the Monster Manual. Four hours of entertainment involving: roll playing a goblin bard, investigating a murder scene, tracking down a barghest before it strikes again. Applicable to any setting.

The Premature Burial is the first in a series of four interconnected stories that recall the themes and atmosphere of Edgar Allan Poe's Tales of Terror. Baldur's Gate, year 1492 DR, a dark and terrifying sect works secretly in the slums with the aim of punishing all those who have long oppressed, marginalized and killed the city's poorest and weakest citizens. The patriars, unaware of anything, are the cult's main targets, and a magical plague is about to fall on them that can cause a veritable slaughter. The characters will find themselves caught up in these dangerous events and will be drawn into a spiral of horror, blood and madness that will strain their bodies and souls. The Prior who leads the mysterious cult has "a special plan" in mind for them and will do anything to achieve his goal. Players will be forced more than once to question their morals and make difficult choices in a scenario of complex social conflicts, personal revenge stories and tremendous machinations. What repercussions would the cult's plan have if it were carried out? And what would happen instead if it were averted and the patriars continued to run the city as they always have? Shadows as black as night once again loom over Baldur's Gate, and this time they may change its face forever. - Adventure: story lasting 4 to 8 hours for characters ranging in level from 4 to 6 - Setting: adventure set in the famous city of Baldur's Gate but easily adaptable to any setting - Narrative: detailed descriptions and an emphasis on story immersiveness - Roleplay: in-depth characterization of NPCs with biographies, descriptions of their personalities and their physical appearance - Bestiary: 3 new customizable opponents with the mechanics "Affixes," which can add an extra degree of complexity to confrontations, and " Weak spots," which grant a strategic advantage to characters who manage to discover them - Magic: obscure and unknown spells used by cultists to carry out their plans - Layout: designed to make it easier for DMs to browse information, featuring special attention to color coding and visual immediacy of text boxes - Maps: 3 maps available in high resolution, VTT and printer-friendly versions - PDF: available in high-quality, interactive, printer-friendly print versions - Playlist: a collection of songs selected by the authors to create the right atmosphere during game sessions

An Adventure for Odysseys & Overlords Standing on a lonely, bare mound in the bottom of a dell full of swirling fog, a castle from the time of the Schism crumbles, forgotten. Inside, treasures—and terror—await. A writ of salvage has been posted in Chandra's Haven: 500 gold coins to the brave adventurers who find Misthollow Castle and secure it for Salamon Castos, a wealthy merchant. Castos claims to be the scion of the noble family which ruled Misthollow and built the castle generations ago. Castos grudgingly agrees to allow the characters to keep whatever they find in securing the castle, though he insists on right of first refusal on anything of value. The Odysseys & Overlords Player’s Guide is available at https://www.drivethrurpg.com/product/275042/Odysseys--Overlords-Players-Guide The Odysseys & Overlords Game Master's Guide is available at https://www.drivethrurpg.com/product/275040/Odysseys--Overlords-Game-Masters-Guide

Yonder lies the Shrine of Lucien Harpell, greatest mage of this or any other age. In the arts of golemancy, artificery and necromancy, his equal has never been known, nor will be again. Cursed are those who enter this tomb. Cursed are those who look upon this statue. Cursed are those who seek his riches. Know that your demise is certain – your lives will be short, and your deaths slow. Read this, fools, and despair! The Shrine of Lucien Harpell is the stuff of legends - full of hideous traps and strange monsters, but guarding fabulous treasures. It was lost for generations beneath the grim and lonely Starmetal Hills, but has now been found again. Will any dare enter? Little Shrine of Horrors contains over 20 encounters and is full of puzzles, tricks, traps, roleplaying and combat. Do your players have what it takes to outwit Lucien Harpell?

In “Rescue at Rivenroar,” the player characters must brave the depths of ancient catacombs in search of prisoners taken from the town of Brindol in a midnight raid. The hobgoblins, bandits that style themselves after an invading horde from long ago, have taken refuge in a dungeon under a ruined mountain fortress, and the PCs must clear them out to find the captive townsfolk and the treasures taken from Brindol. “Rescue at Rivenroar” also marks the first step in a great journey - the Scales of War Adventure Path, which spans 30 levels and put the PCs at the crux of events that shapes the world for centuries to come. While the scope of this adventure isn’t as grand, it represents the seed from which an epic tale will surely grow. Pgs. 4-45

The wizard Allustan requests the party's company on a trip to Blackwall Keep, a militia outpost on the border of a treacherous swamp. But what of the green worms and unkillable zombies plaguing the region, and what fell secret is locked in the keep's forlorn basement? "Encounter at Blackwall Keep" is the third installment of the Age of Worms Adventure Path, a complete campaign consisting of 12 adventures, several "Backdrop" articles to help Dungeon masters run the series, and a handful of poster maps of key locations. For additional aid in running this campaign, check out Dragon's monthly "Worm Food" articles, a series that provides additional materials to help players survive this campaign. Check out issue #335 of Dragon for three sample cohorts that they might want to take on. Pgs. 16-40

When her father goes missing, a young adventurer has no other choice than to gather her friends and head for the city of Loudwater. Soon after she gets swept away in an obscure design threatening to drag the entire region into chaos and war. At the heart of this mystery, lies not only her father, but the long-forgotten history of her once-despised family and a primordial beast influencing events from the shadows, moving her family like pieces on a chess board. Visit www.perfumersdaughter.com for more information. You can also address me directly on The Perfumer's Daughter Q&A on Facebook. All battlemaps and dungeons are free to download for use in digital platforms (such as roll20) on the aforementioned site.

Chapter 1 - Rodents of Unusual Size: The village of Ravenhome is plagued by an army of rats which feast on their supplies and threaten the survival of the village, as winter is approaching. Venture into the deep to stop an onslaught of vile rats on the ravaged village of Ravenhome. Dispose of the cranium rats which escaped from the Underdark or strike a deal with the devilish creatures. Chapter 2 - The Pied Piper: The village's children were abducted by the winged kobold Krubcek and brought to the former temple of Cyric. The kobolds use the children as additional workers to excavate the site in attempts to free their imprisoned god Kurtulmak. The kobolds are willing to bargain, but the terms are cruel!

A series of small earthquakes have brought a sense of disquiet to the town of Daern Kelton and Roslof Keep. Against these strange earthly portents, the members of the Ivory Scimitar have claimed their place as a true Mithel Company, but even greater danger now awaits them in the second level of the Dungeon of the Black Fey Mithelvarn. What lost secrets will be revealed as they journey below? What new threats and adventures can be had in Daern Kelton? The town opens its doors to the brave new heroes of the Company of the Ivory Scimitar. Here continues the Roslof Keep Campaign in the pages of ROS2, The Tremors in the Machine. This adventure is formatted to both 1E & 5E gaming rules. Also available in PDF.
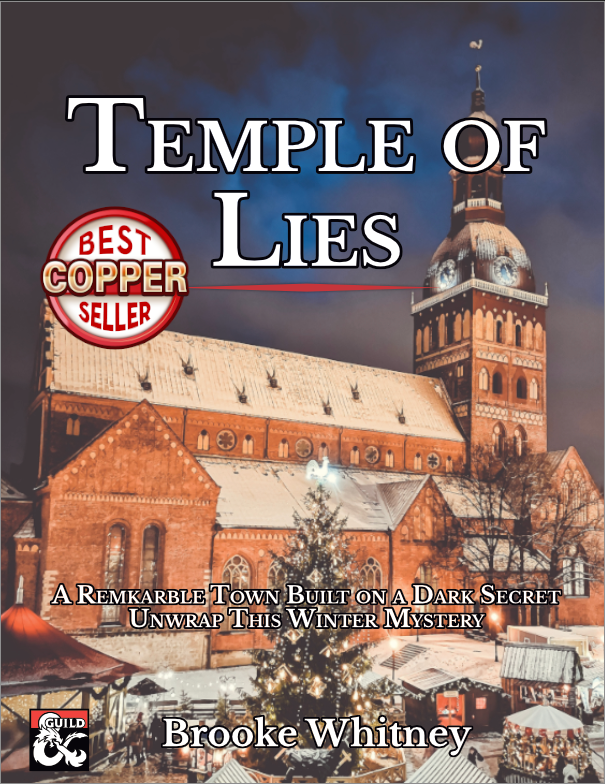
Unwrap this player-driven winter mystery for four to five characters of 5th level. No more railroads. Every decision matters and changes how the story unfolds. Branching paths, multiple dungeon entrances, and a myriad of potential conclusions—this adventure provides endless fun with rewarding choices and a range of challenges for any character. This product includes: - 4 to 6 hours of play packed into 15 pages - High-resolution VTT maps of the temple - 6 new monsters, including Brain in a Jar and Workshop Devils - 7 stand-out NPCs with clear motivations players will love or love to hate - The perfect adventure for the holiday season, including a Midwinter festival with two classic games reimagined using D&D rules—snowball fight and charades - All magic items and stat blocks detailed in the appendices for easy reference Content Warning: Animal mutation, blood, enslaved devils, undead, torture,

Continue the adventure inside the Dwarven Forge world of Mythras with the second part of this new gaming trilogy, The Hidden Valoria Campaign. Now entrenched in the tapestry of The Patina Court, the players must begin unraveling an even greater mystery that lies beneath the streets. Taking the adventure to the sewers, get ready to explore some of the locations that have made Valoria so famous among its players over the years This adventure is formatted to both 1E & 5E gaming rules. Also available in PDF.

"A curse has spread through Darkroot Forest! Plants are attacking people, and the very air seems poisonous once you travel deep within the woods. Your group has decided to investigate this area, and rumors have it that the abandoned town of Faeriewell is where this disease started spreading. Or maybe the people of a nearby settlement asked for your help? or perhaps a noble Lord that just inherited the land hired you to clear out his new forest? This part is really up to you." The Curse of Faeriewell is an adventure for a level 5 party that you can easily drop into a campaign or play as a standalone one-shot. It will last between 3 and 5 hours. It is setting agnostic, but best at home in a Fantasy world. This adventure can serve as an interlude from your main campaign, a sidequest or simply as a one shot.
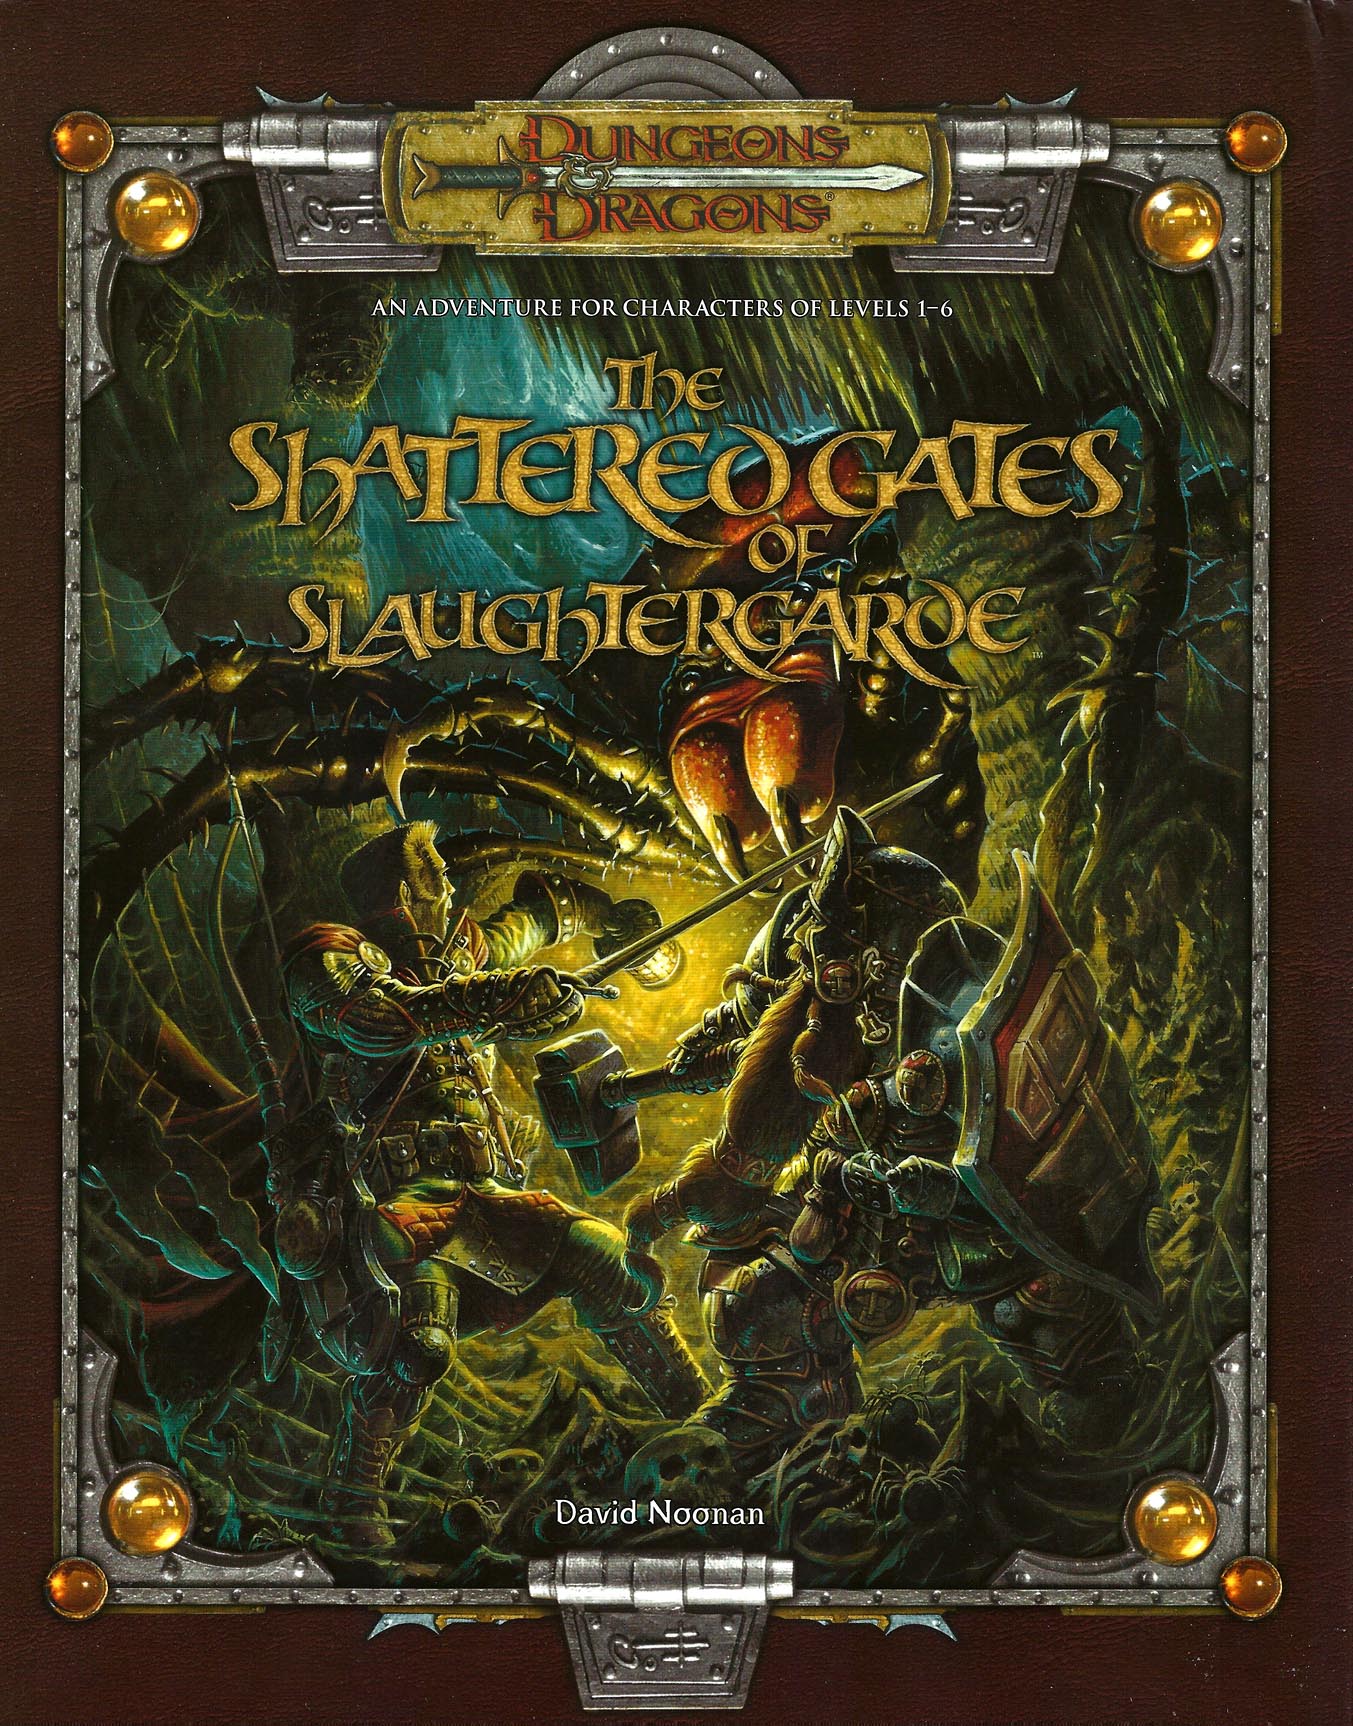
An ancient gate to the abyss lies undisturbed in the Valley of Obelisks. Sinister forces seek to reactivate the gate for their own ends, can the heroes stop them in time?

Dracula, the Lord of Shadow and Darkness, has covered the land in shadow and dispatched armies of monsters and undead from his magical castle. His armies threaten to overrun major cities and plunge the world into a literal Dark Age. The last of the vampire-hunting clan that traditionally opposed him has disappeared, and still the armies advance. He must be stopped. If that's not enough motivation, it is well-known that his castle is full of magical items and great riches... but also great danger. If you've ever wanted D&D and Castlevania to meet, look no further. This adventure is exactly what you wanted. Every area of the castle poses different and unique challenges to keep the party engaged and on their toes. Written for the DM as a ready-to-run adventure, it is designed for four to six characters. The adventure starts at level 3 at the outer defenses of the castle, and ends with the party advancing to level 13 after defeating Dracula in an epic battle. The adventure includes documentation to help even a new DM succed, including suggestions for how to run each of the area "boss" monsters in combat. There are approximately 50 new enemies and over 3 dozen new magical items. It also comes with a list of suggested music for many areas of the castle, and a 25-page campaign log recounting an actual tabletop play-through of this adventure from the DM's perspective.

Omens speak of an old and forgotten power located within a played-out diamond mine in the foothills of Thar, and some believe that might be a solution to the current problems facing Melvaunt—or possibly the cause of them. With danger closing in, someone has to investigate. The adventures converse with a drunken gnome, from a previous installment, and decent the gnome's diamond to rescue his kidnapped family and confront the cultists of Cyric. Part Two of the Misaligned Trilogy
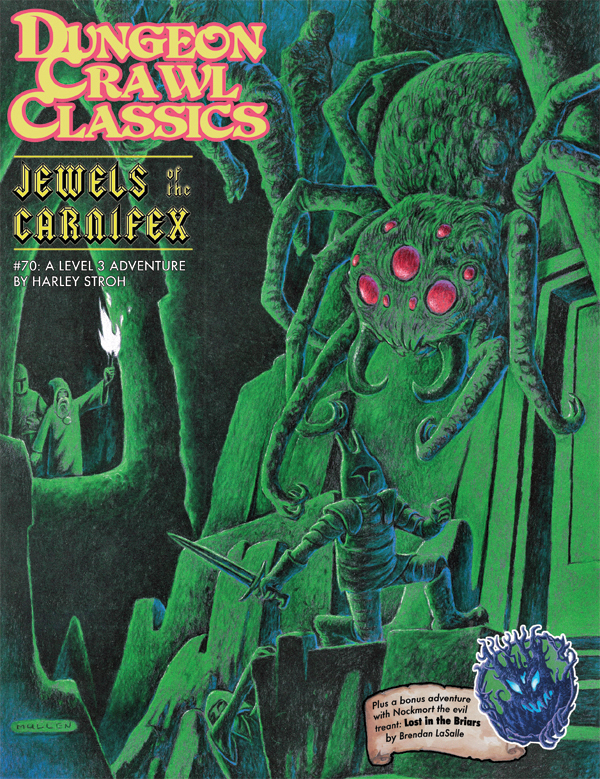
At the end of a forgotten back alley, in the weird and otherworldly marketplace of faiths known as the Bazaar of the Gods, stands the ruins of a forgotten chapel. Once the cult of the Carnifex was celebrated throughout the City of a Thousand Gates. But a band of holy warriors rose against the cult of executioners and torturers, casting down her signs and scattering her devotees to the winds. The fate of the cthonic goddess, and – more importantly – her fabled jewels remains a mystery…until this night. Set amid the sprawling decadence of Punjar, Jewels of the Carnifex offers low-level adventurers a chance to plumb the mysteries beneath the city’s soiled streets, explore forgotten crypts lavished with weird artifacts, and – for the quick and daring – claim the lost Jewels of the Carnifex!

It's the little things that count. Obnoxious little problems can easily become obnoxious big ones. Although designed as a companion to "Grakhirt's Lari" (which appeared in issue#1), a copy of that module is not required to enjoy this one. Pgs. 3-8

At last year's CafCon we put together this little gem. After locating strange golden scrolls on your previous adventure, you have gotten word that the sage has been able to transcribe them. Much to your amazement, you learn that the sheets lead you to the lost scriptorium! What magic & spells will you discover within the ancient temple of learning?