
Twilight at Eventide is a 32-page collection of three short adventures designed for characters of level 1-3. In the village of Eventide, the walls separating the settlement from the Feywild are weak. And strange creatures stalk the surrounding forests. Dark forms worship their demigod in hidden caves. A darkling elder has returned to take what was promised to him. And people enter the woods never to return. The village is in need of heroes. Will you answer the call? In this product, you will find: a description and map of the village of Eventide a vivid cast of characters in the village a variety of detailed location maps, including an old mine, an abandoned farmhouse, a decrepit tower, and a ruin adventures that feature xvarts, darklings, dryads, and hags a combination of roleplay, exploration, and combat encounters
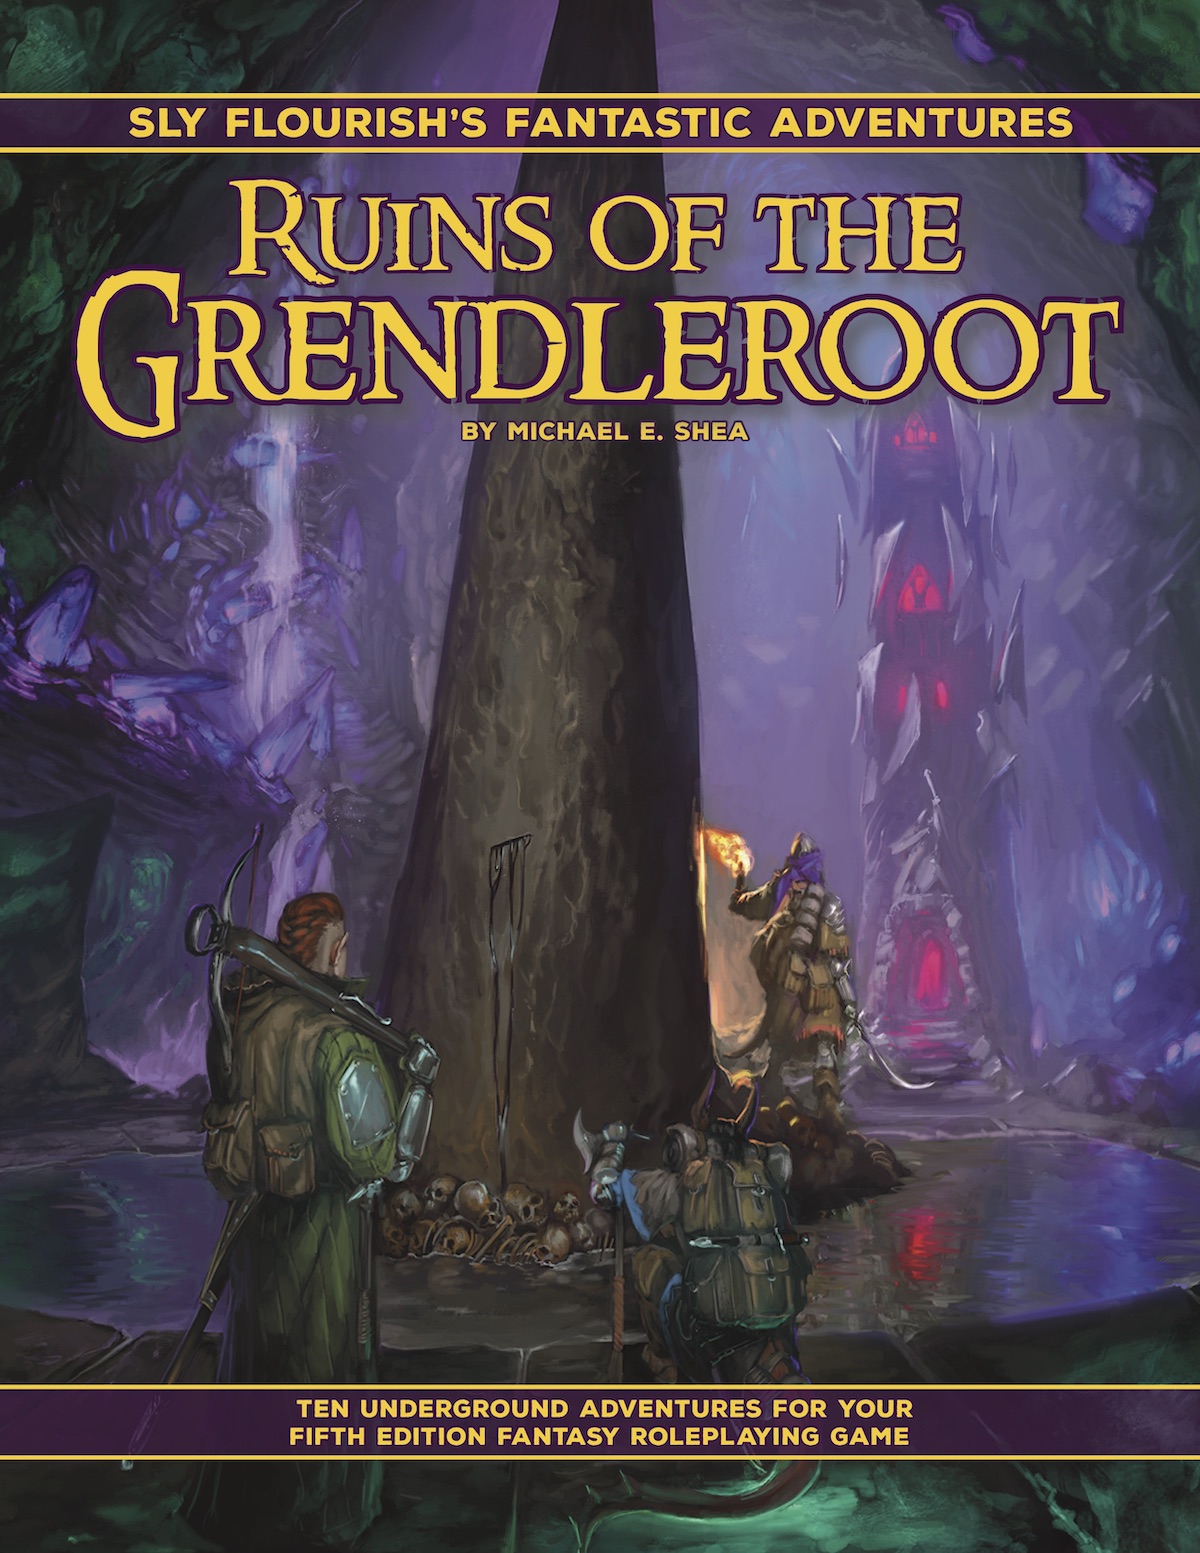
Ruins of the Grendleroot is a book of ten easy-to-prep and easy-to-run adventures for the fifth edition of the world's most popular fantasy roleplaying game. Designed for characters of 1st to 5th level, these adventures take place in the caverns, chambers, tunnels, and ruins of Blackclaw Mountain, within which lurks a strange otherworldly sentience known as the Grendleroot. Ruins of the Grendleroot focuses on the sense of mystery and wonder that comes from exploring ancient ruins and lost chambers. The central hub of these adventures, Deepdelver's Enclave, is a frontier outpost overlooking the ruined city of Shadowreach, set deep within the mountain. In Deepdelver's Enclave, adventurers and explorers recount tales of their explorations, trade treasure and artifacts, and enjoy their shared love of uncovering the mysteries of the mountain.

The first part of the Dreams of Red Wizards adventure path originally published for the D&D NEXT Playtest. Following the events Ghosts of Dragonspear Castle, a new set of adventurer's will see some of the repercussions of that adventure. This adventure is intended to be continued in the Dead in Thay adventure (Note that they Dead in Thay 5e adventure featured in Tales from the Yawning Portal is missing a significant portion of interlude that links Scourge of the Sword Coast to the events within the Doomvault). The adventurers arrive when Daggerford is crowded with refugees from outlying lands. Goblins, gnolls, and orcs have been raiding the countryside. Now, food is scarce and tension is high. Blame for a theft has fallen on the refugees, and the Duke of Daggerford has forbidden more of the displaced from coming into town. After overcoming difficulties to enter Daggerford, the characters learn more about the raids. As they fight against the humanoids and delve deeper in the darkness that encircles Daggerford, the characters learn of Bloodgate Keep. After a final fiendish ambush, they’re ready to confront the real threat to the area. DM Note: This adventure points the adventurers strongly towards Bloodgate Keep but that location does not appear until the Dead in Thay adventure; at several points the party may feel drawn to explore that location rather than continue their investigations around Daggerford. However, since Bloodgate Keep is only eluded to as a source of great evil power, it can serve to easily segue to an entirely different adventure path. As a NEXT Playtest adventure, Scourge of the Sword Coast uses milestone leveling and the included stat blocks for creatures do not necessarily match or even appear in the 5e Monster Manual, nor do they have XP values or challenge ratings. In some places it will reference rules used in the Playtest but dropped or changed in the 5e release, these are unlikely to substantially impact gampley with 5e rules.

Your sleek cloudskate skims across the Skysea. It is midnight. All day long, the glass sea soaked up the scorching desert sunlight. Now, that heat lifts your ship a few inches off the glass and fills its sails. The only sound you hear is the soft swish of the diamond-edged rudder as it cuts a path across the Skysea. One thousand years ago, the wizard Martek knew that you would come to find his Sphere of Power. Now, one of his glowing Star Gems shows you the way. The starlight, reflected in the glass beneath you, flickers peacefully. Suddenly, the Skysea before you bursts up into a thousand shards of splintered glass, showering into the moonlight! A horrible creature is silhouetted against the moon. You strain against the rudder to keep your ship upright. Too late! Your cloudskate tips onto one runner, and then tumbles over, skidding to a stop on the glass. As your companions struggle to right the ship, you turn and face the monster. You must hold the creature back to give them time. Without the ship, none of you can get off the glass before the sun rises in the morning. Martek's prophecy spoke of heroes, tests, and dangers. Are you the heroes? What are the tests? What dangers and riches lie ahead? This adventure can be played by itself, or as the third and final part of the Desert of Desolation series. For character levels 7-9. TSR 9054
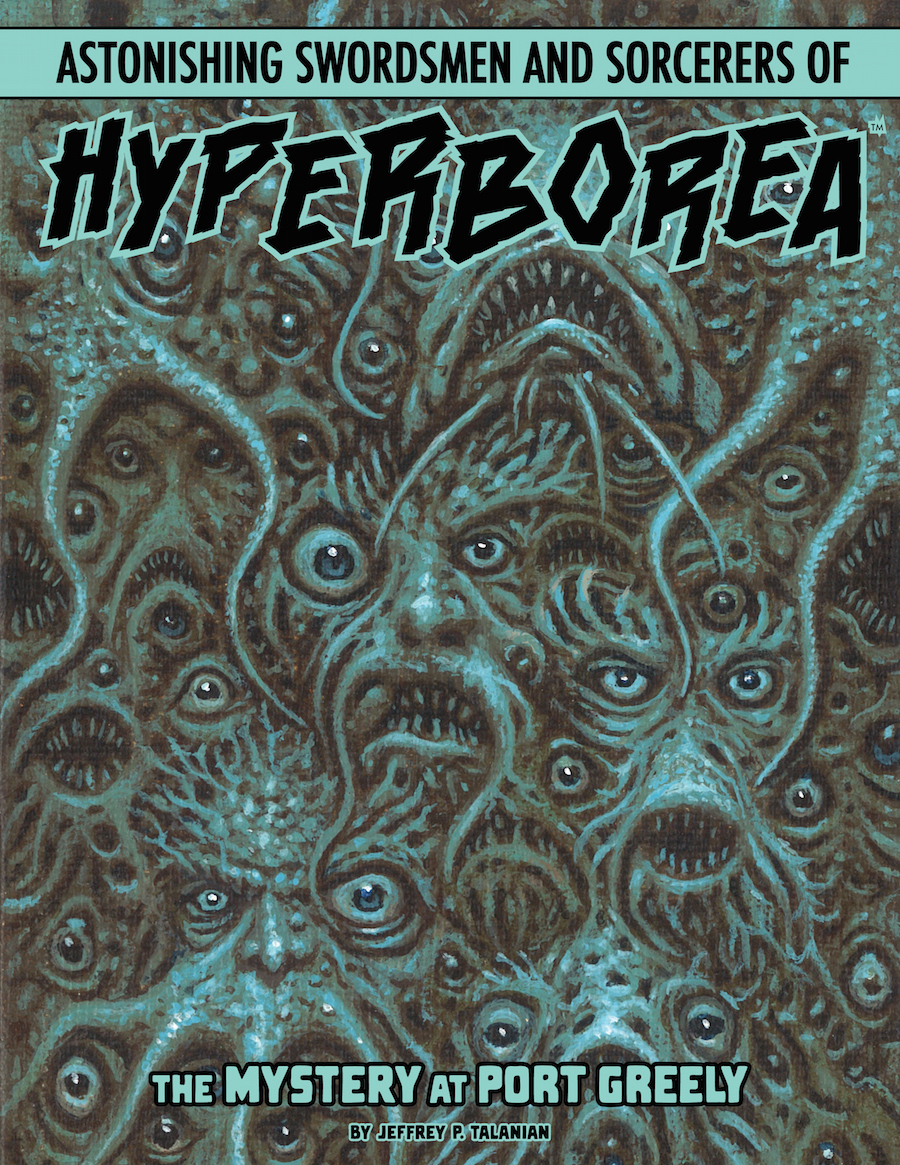
Until about three years ago, the peculiar town of Port Greely was renowned as a prolific exporter of crustaceans. Then the Greely lobstermen severed all ties with outside partners. Subsequent attempts at renegotiation were shunned. More recently, a small group of Fishmongers’ Guild representatives from the City-State of Khromarium has gone missing in Port Greely, and answers have been less than forthcoming. At present, the Guild seeks answers. It wants to know what became of its representatives, and it wishes to re-establish its lucrative partnership with the Port Greely lobstermen. Your party have been contracted to help resolve The Mystery at Port Greely in this swords and sorcery style adventure!
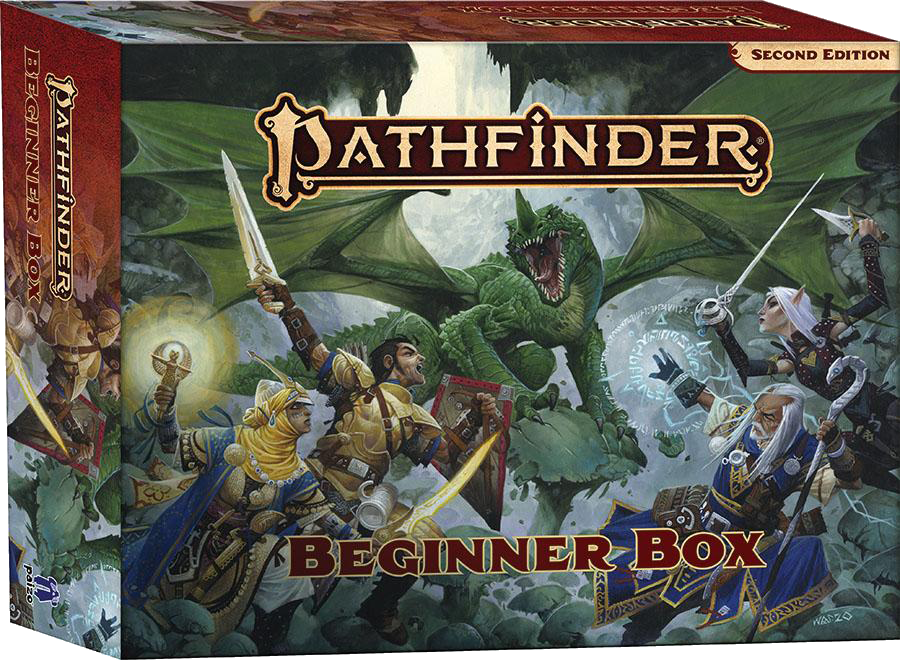
The Pathfinder Beginner Box contains everything you need to learn how to play the Pathfinder roleplaying game, including rules to create your own fantasy hero and tools to make your own amazing stories. Heroes' Handbook This 72-page softcover gets you started as a player with a solo adventure, followed by steps to create your own character. As your hero grows you can level them up through 3rd level! Game Master's Handbook This 88-page softcover opens with an adventure to teach you the rules you need as you go. There are also tools for creating your own adventures and plenty of monsters for the heroes to overcome! Accessories The box also includes everything you need to get playing right away: a full set of color-coded polyhedral dice, four pregenerated character sheets, six blank character sheets, four sets of action tokens, rules reference cards to plan and track a character’s turn, a laminated, two-sided Flip-Mat, and over 100 sturdy cardboard pawns with plastic bases to represent your heroes, friends, and foes. All you need to bring is a pencil, a thirst for adventure, and your imagination!

East of Beregost, nestled in the outskirts of the Wood of Sharp Teeth, Durlag’s Tower has intrigued and yet stymied adventurers for decades. Stuffed full of mechanical traps and arcane wards, and rumored to be inhabited by fiends, very few have managed to extract any REAL treasure from the former home of Durlag Trollkiller. However, a powerful item in the ancient fight against the giants is said to be housed there, and the cloud giant Baron Rajiram has committed significant resources toward recovering it. After a pleasant tea in her garden, Seer calls upon you to beat him there and put a stop to his efforts! Sequel to Durlag's Tower.

The adventures in Dalentown continue in The Darkness Beneath Dalentown. Workers in the town’s sewers have stumbled upon the long abandoned halls of the dwarves that once settled beneath this region. What they’ve found is a haunted library. What they’ve woken is something far more sinister! The Darkness Beneath Dalentown features hordes of oozes, undead, and demons festering for years in an ancient dwarven mining stronghold. Now, they are slowly working their way to the surface, and the folk of Dalentown are in dire peril!
Dreams of the sleeping wizard seep into reality. Manifest familiars war over the fate of a remote islet. An infinite garden houses an escaped experiment. The god of purity is fooled for his blessings. Into the nightmare we go. 16 pages contain 3000+ words describing 10+ keyed areas to explore (complete the wandering monsters table), 10+ friends and foes to talk to, 10 magic items to use, and thousands of gold worth of treasure to plunder. The adventure is designed for B/X, or like-systems. It is suitable for 4 to 6 characters of levels 1 to 3. It is heavily inspired by the dungeon synth album The Sleeping Wizard by Umbría, which may serve as a soundtrack.

About: This encounter was cooked up in the Write your First Encounter workshop by the Storytelling Collective. It CAN be slid in as a side quest in any urban or sub-urban context, or be adapted to add confusion to any rescue mission you are presently running. Synopsis: Through the doorway a young woman shackled to the wall matching the description of Helena can be seen. Though disheveled and looking to be in great discomfort, her beauty is remarkable. But on closer inspection, there are other people here — three identical Helenas! Noble woman Elize Cleron has hired the party to infiltrate the catacombs under the Schaefer Estate and free her twin sister Helena. Helena is being held captive by the Schaefer family, trade rivals rumored to have ties to the underworld. Elize has been unable to free her sister herself because of her identical appearance. Rather than pay an unrealistic ransom, Elize has provided the party with what they need to break her out. This encounter is intended for 3rd level characters.

"Lost Halls of Everforge" is a flame dragon wyrmling lair suitable for four or five 3rd level characters. This adventure can be completed in one session.

Are you ready for some HACK 'N' SLASH action? Do you yearn to unveil the hidden mysteries of the DWARVES? Are you thirsty for some UNEXPECTED encounters? The long lost Dwarven Kindgom of Gleodemar holds a relic of the past, Svarogs's Anvil, a magical artifact that can boost weapon production. The Heroes are sent to reclaim it, but the ancient fort is not empty and the new denizens have settled for good and do not seem keen on sharing any treasures. Will the Heroes manage to overtake them in a direct (and bloody) confrontation, or will the try to slip through the shadows to reach their goal? Maybe they will be captured and the "cavalry" will have to save them? In this adventure anything goes and it takes only one mistake to unravel the Heroes' careful plans and make them prisoners of the Keep. In this slightly challenging 5e hack 'n' slash adventure for 4th level PCs you will find: - a detailed story behind the Dwarven Kingdom of Gleodemar - a powerful dwarven artifact - a back-up NPC party, in case the heroes require a "deus ex machina" intervention - an optional ethical dilemma, to spice things up - both DM and player-safe maps - 3 boss monsters that can be used as future antagonists - non-stop action and suspense until the last minute of this 3-act mad rash and if all of that still does not sound fun, there's ALSO a race against time before the curtain falls. Download away! (and don't forget to share your feedback, we'd love to hear it!)

The deserts of Osirion—land of pharaohs and ancient tombs—hide not just untold wonders, but also unspeakable dangers. When the vast sand dunes part to reveal the ancient pyramid of the legendary Pharaoh of Sphinxes, glory seekers from across many nations race toward it, each fighting to be the first to claim its wonders. But the storied pharaoh doesn't rest quietly within this monument, and his tomb was designed to slaughter any who would dare trespass.

A generic tomb exploration. Usable for a quick one off or random exploration discovery. Sometimes a DM needs a fill-in adventure for when their PC’s go off script. This is a single location low role play adventure that can be inserted anywhere needed.
Deep in the forest, an ancient pyramid was constructed many millennia ago for an unknown purpose as part of a forgotten modron war. Within it is a labyrinth of strange traps, taxing puzzles, and some unwelcome troglodytes. This adventure for 1st-3rd level characters can be played as the first part of the Legacy of Zandrax campaign or as a standalone one-shot.

Citadel by the Sea is an AD&D gaming module for 4-8 characters, each of 1st to 3rd level. The fewer the characters available, the higher their levels should be. Characters should be well equipped, with at least one magical weapon apiece, but do not need any particular game experience. It is recommended that at least one ranger character and one elf character be members of the adventuring party, and that no player character be a half-orc. The Dungeon Master should read the entire module carefully before running this adventure; the events are laid out in the approximate order in which characters would normally encounter them, and the text builds the adventure as one reads through it.
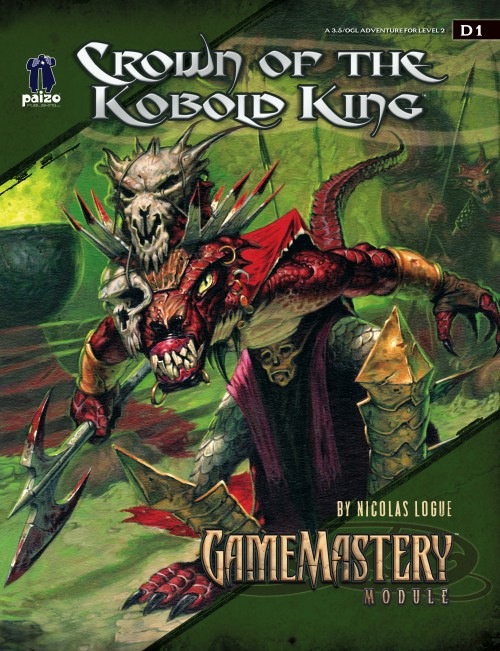
The crown of the kobold king will be anointed in blood. Five children from the town of Falcon’s Hollow have gone missing, dragged off into ruins underneath a cursed dwarven monastery. Soon they will be sacrificed to the crown, all to the glory of the twisted King of the Kobolds. If they are to be saved from this gruesome fate, brave heroes must follow their trail to the monastery and plumb the depths of its trap-laden and monster-infested halls.

Your party of stalwart heroes must venture into a lost dwarven mining complex, fighting terrible monsters, bypassing deadly traps, and exploring chambers heavy with the dust of ages. Somewhere deep below the surface lies the heart of darkness--a corrupting evil that must be stopped before its influence can spread! TSR 9844
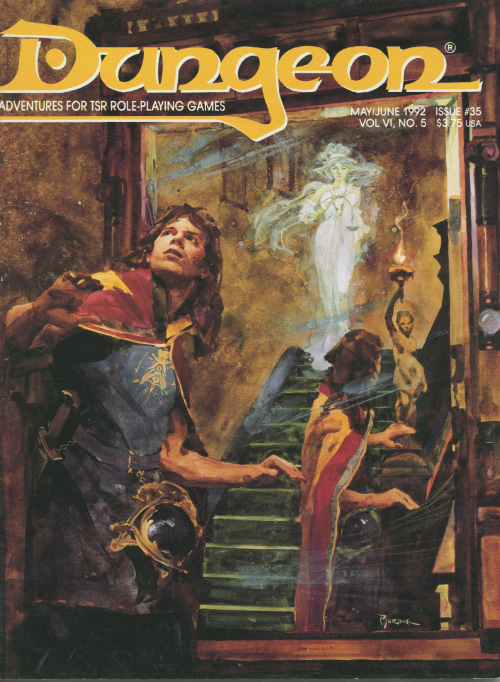
Where shadows reign, darkness follows. You'll be lucky if you live to see the dawn's early light. The player characters are charged with entering a portal the demiplane of shadows to retrieve a magical staff that can close the portal. Roleplaying and betrayal. This adventure features many creatures native to and associated with the demiplane of shadow, often as random encounters. Pgs. 8-25
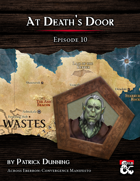
At Death’s Door is a dungeon crawl that takes place almost entirely in the upper chambers of the Lair of the Keeper. This lair belongs to an ancient dracolich that perhaps styles themselves after the legends of the Keeper, or perhaps even inspired them. Stormhome. The player characters are called to the home city of House Lyrandar to meet with Guild Handler Lhara regarding their quest for an artifact tethered to Dolurrh, the Realm of the Dead. The Descent. Traveling by airship over the horrors of the Demon Wastes, the party descends into a vast canyon to find the Lair of the Keeper. After agreeing on a pickup point, the party skydives into the hellish landscape and hides to avoid the notice of a would-be god, then explores the surrounding area. The Lair of the Keeper. The bulk of the adventure takes place in the upper chambers of a dracolich’s lair in a manifest zone tied to Dolurrh, the Realm of the Dead. Surviving the horrors of this place is the main challenge of the adventure. The Ghaash’kala. There is one last challenge standing between the players and their escape to the airship. The orc tribes called the Ghaash’kala consider it their holy duty to protect the rest of the world from the horrors of the Demon Wastes. They will attempt to stop anything from escaping the Wastes, unfortunately including our heroes.