
Delve into the depths of the tomb of the long forgotten elven king to bring the eternal peace onto its disturbed dwellers. A 4-hour adventure for two 4th level characters. Small Party Adventure: Though the party size of 3–5 characters is considered optimal in D&D, there are times when you can only gather one or two players at most. This adventure is designed exactly for such occasions.

After a successful mission for Earl Phenwick you return to receive your accolades. Upon your arrival it is discovered that the earl's child is missing. His daughter was last seen around a mirror of unknown power and an advisor believes that she may have made her way into a different world via the magical portal. Time to put on your hero hats!

This new version of the classic adventure is completely updated to 3.5 edition. In The Lost Vault of Tsathzar Rho, a defenseless village asks the characters to slay an out-of-control ogre. Sounds easy enough. But the ogre, who used to be nothing more than a nuisance, has become crazed and psychotic. When the characters arrive at its cave, they find a subterranean portal has connected the cave to a much larger underground complex. Something in that complex has transformed the ogre and many other local creatures into fiendish marauders. In fact, it’s the lost vault of Tsathzar Rho, an ancient wizard and prophet of the Outer Gods, who are gathering their foul minions for battle.
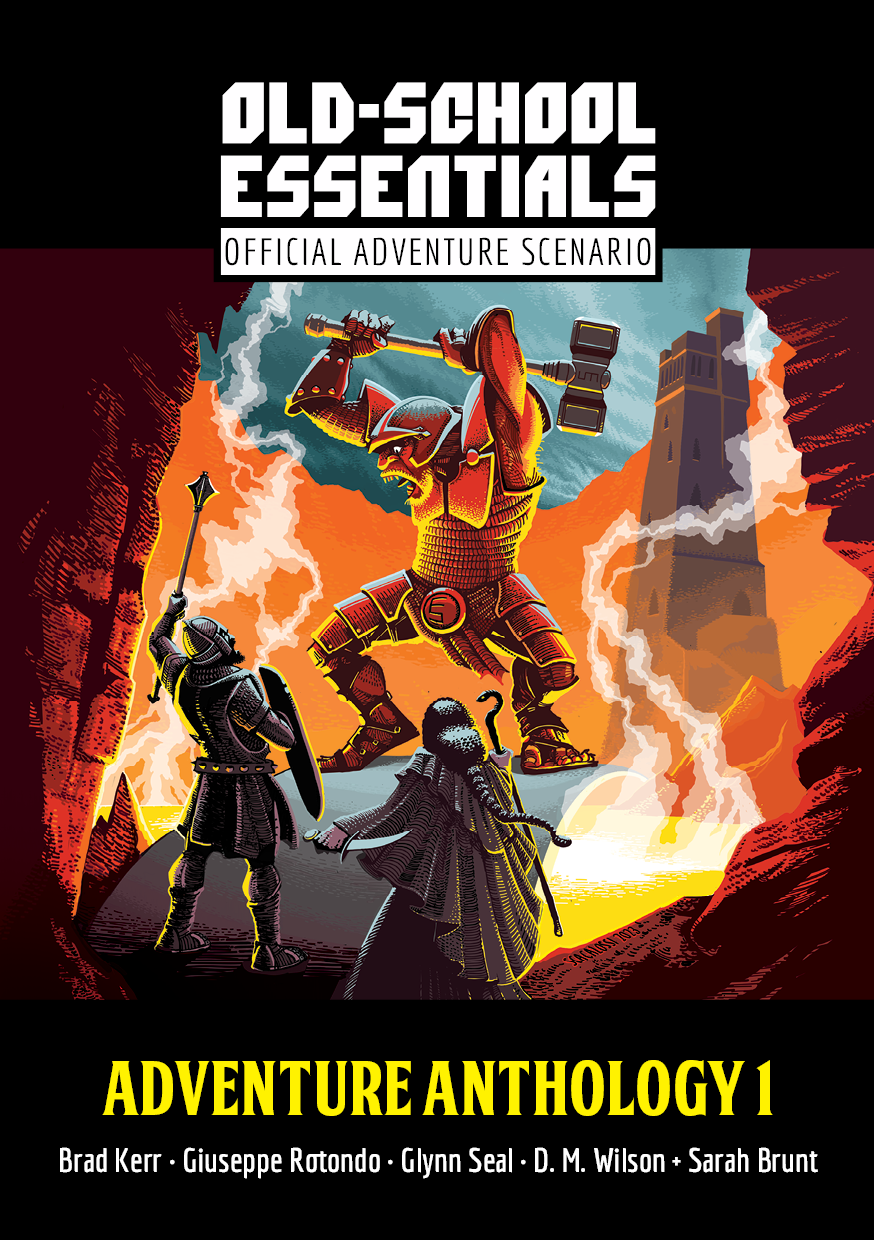
A level 2–3 sewer adventure by Glynn Seal. PCs plumb fetid sewers and recently-revealed secret halls, in search of a lost worker. In these forsaken chambers, they may find answers and treasures, but may also come face-to-face with a bloated monstrosity and its depraved followers. For Old-School Essentials (OSE) Included as one of four adventures in "Old-School Essentials Adventure Anthology 1"

The Pathfinder Society seeks the ancient ruby ring of the salamander and it falls to a team of Pathfinders to find it. Last seen in the Tri-Towers Yard, a once elite academy for the youth of Absalom, the ruby ring is now lost in the Drownyard, all that remains of Tri-Towers after it was destroyed a decade ago in the great quake. The Pathfinders must risk the strange black ichors and salty brine to find their prize—will they risk their very souls as well?

This is an incredibly deadly dungeon that will strain the limits of any party that dares to tread within. I consider this to be a challenge dungeon of sorts, and I would suggest it as a dungeon to throw at players if they ever want to run a gauntlet with new characters. This dungeons is filled to the brim with traps, puzzles, and vicious creatures. It is also quite a long dungeon - be prepared to spend at least two sessions working through the pathways of this horrifying Tomb.

Figgy Puddin' Steals Christmas is a short adventure for three to six characters, and optimized for 2nd level characters. We also include Scaling Suggestions, allowing you to run this adventure for lower- or higher-level characters. We anticipate a run-time of 2- to 4-hours. There's a bit of roleplay in this adventure, which may extend the playtime. Adventure Background A traveling jester known as Figgy Puddin’ and her Coal Smudge Gang have stolen Christmas presents and now hold them for ransom. While safe and secure in her lair, she awaits either a payment of an outrageous ransom, or a crew of heroes to claim the presents after they navigate her not-so-festive lair. What's the Adventure? After you introduce the hook, the adventure occurs in Figgy Puddin's lair - a refurbished kobold bunker consisting of eight rooms. As the characters explore the linear dungeon, they encounter new creatures, complete challenges, and are tested about their Christmas knowledge. However, the final confrontation with the naughty Figgy Puddin' could make for a very Unhappy and Unmerry Christmas for our heroes, the children of Thistleton, and their parents. Who Is Figgy Puddin’? Figgy Puddin’ was once a happy jester who loved Christmas. For years she traveled the realm, bringing fun and festive cheer to villages and children while preparing the way for Santa. However, times have become tough, and entertainment doesn’t always pay as well as one would like. As Figgy prepares for retirement, she’s learned she doesn’t have enough gold to last. During this time, she’s also decided that Santa doesn’t know who she is, let alone appreciate the work she puts in every year. Using her savings, extortion, blackmail, and other nefarious means, she’s convinced several mechanical geniuses and arcane specialists to help her refurbish her underground bunker with wondrous effects, creatures, and tests. To fund her retirement, she’s taken extreme measures to make some quick gold — holding Christmas presents for ransom.

Bandits have kidnapped the eldest child of one of Timbertown’s prominent citizens, who is secretly being manipulated by shadowy forces. You are tasked to get her back. But there are questions. Is she his real daughter? Does she want to be found? Who is behind the kidnapping in the first place? If you bring Evi home alive, your rewards will be great, and your standing in the town will increase. But if you fail, or if the demon worshippers of the Fraternity of Tharos gain a further foothold for their secret society, Timbertown's future may be in jeopardy. This adventure can be played in any frontier campaign area, but is set in the author's home campaign setting of Timbertown, a barony in Impiltur, a kingdom on the Sea of Fallen Stars in the Forgotten Realms, also available from the Guild.

When a volcano appears out of thin air, the ensuing eruption is a cataclysm unseen in this age. A group of legendary heroes will need to get to the heart of what's causing the volcano Iskh to break into the Material Plane, and in doing so, defeat an evil so ancient and powerful that the fabric of reality trembles at her wrath... Fires of Iskh is an adventure for four or five 20th-level characters. It includes: -Six new monsters! -A planar incursion from the Elemental Plane of Fire! -A super volcano full ancient secrets! -An epic battle with an ancient red dragon! -A carefully crafted format to make running the adventure easy and customizable. -Combat cards for each monster, PC, and special treasure. -High-quality digital maps for use with virtual table tops.

The heroes hurry to reclaim a treasured item that an evil hag has hidden away. The item they seek is well guarded by dangerous foes bent on destroying any that dare enter their domain. Estimated play time - 1 hour. This product contains two combat encounters designed for 4th level PCs, an extensive backstory, new monsters and new magic items. The encounters are easily adapted to almost any campaign setting. The text also includes optional changes that DMs may consider when running the adventure for their own campaigns. This side trek encounter is the second of a three-part "Fey's Bargain" encounter series.

A shadow from the past, the Ghost Tower of Inverness has loomed ever larger in the mind of the great Seer of Urnst, Now he has convinced the Duke that an expedition should be organized to go to the ancient keep and recover its greatest treasure — the fabled Soul Gem. TSR 9038

This is the "Vecna: Eve of Ruin" + "Phandelver and Below: The Shattered Obelisk" crossover you didn't know you've been waiting for. As dusk settles over the village of Phandalin, a palpable sense of unease grips the villagers. Rumors spread that a hilltop keep has inexplicably materialized on the outskirts of town, and worse yet, the sun fails to rise come morning. Unbeknownst to the townsfolk, a powerful cult of Vecna-worshipping vampires has arrived, and the only hope Phandalin has is a ragtag pack of werewolves and a few brave heroes ready to make their mark on the world. While this adventure can be run as a standalone module, it can also seamlessly serve as a prequel to "Vecna: Eve of Ruin" or as a side quest for "Phandelver and Below: The Shattered Obelisk." This module can also serve as a sequel to "Phandalin Werewolves: Beasts of Her Moon" which is exclusively available over at the dmsguild. Designed for 4-6 players with an average party level ranging anywhere from 4 to 7, this adventure aims to create a backstory of bad blood between the cult of Vecna and the PCs. It includes a monster folio, tokens, as well as maps from the esteemed Tessa Create Maps, Dyson Logos, and Elven Tower.

When a wizard makes a mistake, he makes a MISTAKE. Hirward the Wizard has a little problem on his hands - and it's destroying his fortress, followers and future. A good mix of character types is strongly advised, but paladins, rangers, dwarves, and gnomes may not be comfortable sparing the lives of Hirward’s kobold assistants. A generally neutral party composed of humans and half-orcs will stand the best chance of completing Hirward’s Task. This not a standard "hack-and-slash” adventure. The PCs will have to do some fighting to he successful in completing the module, but most of the time they must use their brains to figure out the best way to complete their mission. Pgs. 45-64

This adventure is more of a classic dungeon crawl, themed around the accidentally terrifying dreamscape of an elven girl trapped in a nightmare of her own making. The dungeon shifts and exits move about as the party explores, making each run through the dungeon a unique experience and allowing for infinite replays of the same adventure.

Local villagers whisper of a mysterious place deep in the marsh - a place shrouded in mist and dotted with barrow mounds, ruined columns, and standing stones. The tomb-robbers who explore beneath the mounds - or rather the few who return - tell tales of labyrinthine passages, magnificent grave goods, and terrifying creatures waiting in the dark. Are you brave (or foolish) enough to enter Barrowmaze? Barrowmaze Complete (BMC) is a classic megadungeon for use with any old school fantasy role-playing game. BMC includes everything in Barrowmaze I and II in the same book in addition to new material, art, layout, and cover art by Ex-TSR artist Erol Otus. Barrowmaze Complete will keep your players on their toes and your campaign going strong. BMC is brought to you by the Old School Renaissance (so don’t forget your 10’ pole). This edition includes art by the aforementioned TSR artists Erol Otus, as well as Tim Truman, Jim Holloway. New old-school artists include Peter Pagano, Cory Hamel, Stefan Poag, Zhu Bajie, Stephan Thompson, and others.

A recent earthquake has brought forth ancient evil from beneath the waves, to terrorize a sleepy coastal town. People are disappearing. The heroes will sail to an ancient, steam-powered temple in the ocean. They'll encounter mad fishmen, deadly traps, and ancient horrors that slumbered until now.

Centuries ago, the glitterdoom came to the dwarves of Steelhand Clan! This divine curse transformed the dwarves into hellish forms with an insatiable greed for gold. Now, a chance encounter breaks open long-sealed gates to unleash the glitterdoom again. Can your adventurers delve into the forgotten halls to confront the subterranean menace? Work together to clear the abandoned mine of it's undead hosts and retrieve what gold and treasures you can.

A fiend lurks among the Black Blade goblins. A shapeshifting barghest fashioned by the General of Gehenna to exact revenge on all goblin-kind. It’s aim: to kill as many goblin leaders as possible… A masked goblin approaches the party asking for help. Two tribe leaders are dead. But a rival for chief has control of the crime scene. Will the party discover the barghest among the goblin ranks? Can they stop this imposter before it strikes again? Adventure Overview The adventure’s story is spread over 4 parts and takes approximately 4 hours to play. The adventure begins with a Call to Action scene. Part 1: Goblin Politics. Krill sends his emissaries to implore help from any strong intermediary. The party is asked to investigate the murder of Thrawn in Dringly’s lair. This is Story Objective A. Part 2: The Opposition. Gain entry into Dringly’s lair and investigate the murder of Thrawn. Gather enough evidence to find the killer. This is Story Objective B. Part 3: To The Lair! Now that the players have determined the barghest (Yeep) is to blame, they need to get to Krill’s lair quickly as he is in imminent danger. This is Story Objective C. Part 4: The Barghest.When the players arrive at the lair, they need to get to Krill and expose and defeat the barghest. This is Story Objective D. Adventure Background A barghest named Yeep has begun its onslaught of attacks against the Black Blade goblins. Starting with Chief Gnar, then his second in command Thrawn, the barghest is moving methodically down the line of command. Krill is now chief. But he has some problems: Two leaders of the Black Blades are dead. Who killed them and why? Is he next? Dringly, the next in command, has decided to take his lair for himself, declaring himself Chief of the Black Blades. Who are the Black Blades? The Black Blades are a tribe of goblins in the local area. They are known for dipping their blades in a dark black substance. It is rumored these blades are poisonous. The Black Blades regularly attack passersby on the road to rob them. The Black Blades have two lairs, one run by a chief who leads the whole tribe, and another overseen by a boss lieutenant. The Black Blades have a well-established pecking order which is how Krill stands to become chief. The next in line is Dringly, who has also declared himself chief and wants Krill dead. Krill suspects that there is something suspicious about two leaders being killed within a day of each other, but he has already burned Gnar’s body without any investigation. He needs to investigate the body of Thrawn, but it is in Dringly’s lair. Krill wishes to avoid direct confrontation with Dringly at the present for three reasons: 1) Any violence would only kill his own tribe members and further divide the lairs. 2) He believes there is still hope for negotiation to reunite the Black Blades. 3) He believes that if he were to attempt negotiations himself, Dringly would kill him. This adventure features: Two maps. Ready for your favorite Virtual Tabletop. A full color pdf. A black and white pdf. One custom monster, a reprint of barghest, all others available in the Monster Manual. Four hours of entertainment involving: roll playing a goblin bard, investigating a murder scene, tracking down a barghest before it strikes again. Applicable to any setting.
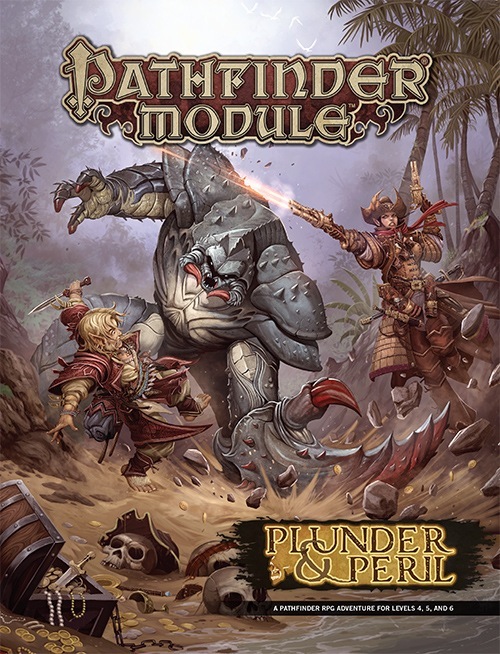
Tall tales of hidden riches are common in the pirate-infested taverns of the Shackles, but when Captain Varossa Lanteri claims to know the location of the secret treasure hoard of legendary Captain Jemma Redclaw, it seems she may be telling the truth. Captain Lanteri hires the PCs on as crew to help her assemble the magic key that will open the door to Redclaw’s treasure... and the ancient cyclops stronghold in which it’s hidden! Can the PCs survive long enough to claim their share of the lost loot, or will their enemies—or their allies—send them to a watery grave?
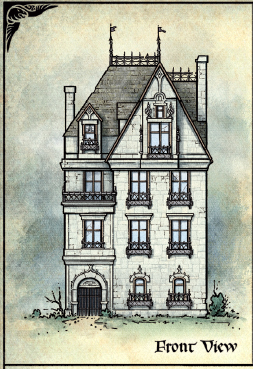
This adventure introduces characters to the land of Barovia. It expands what we know about the lands around Castle Ravenloft and sheds new light on the dark past of the castle’s lord. Players will investigate mysterious happenings in a small haunted house in Barovia.