
When a Thayan research expedition returns from the Glacier of the White Wyrm with only two survivors that are reduced to whispering about an ancient pyramid under the ice, perhaps it is time to discover just what scares the life out of a nation of necromancers. The events of DDEP2 Mulmaster Undone resulted in terrible geographic upheaval all around the southeastern region of the Moonsea. Massive landslides, earthquakes, tidal waves, and gnashing tornados devastated the land and the city of Mulmaster was nearly scrubbed from the face of Faerun. Fortunately, these events also revealed previously hidden artifacts—trinkets, mostly—from the ancient Netherese all around the city. The Thayans have long held an interest in the port city and wasted no time in assisting in the rebuilding efforts. They simply asked that a blind eye be turned to their archaeological interests, and in return they would continue to spend their own resources (at no expense to the Mulmasterites or even the High Blade) to rebuild the city, bigger and better than before. It wasn’t long before their interests paid off with the discovery of a research laboratory beneath the Glacier of the White Worm, far to the east of Mulmaster and nestled in the mountains. The Thayans sent a sizable expeditionary force but only two acolytes returned. The visiting Zulkir has found this particularly troublesome, and with the assistance of Rastol Shan, the head of the Cloaks, has arranged for a mercenary force to perform a more pointed investigation of the area. In return the Thayan noble has promised significant compensation. Upon arrival at the dig site, the characters are quick to discover that the laboratory hides ancient and palpable evil. The purpose of the facility can be discerned with careful investigation, and the effect of the still-active fragment of the Dark Obelisk has empowered (some may say attracted) servants of the Worm that Walks. Danger and death await, certainly, though the characters always have the option of running away and living to fight another day…
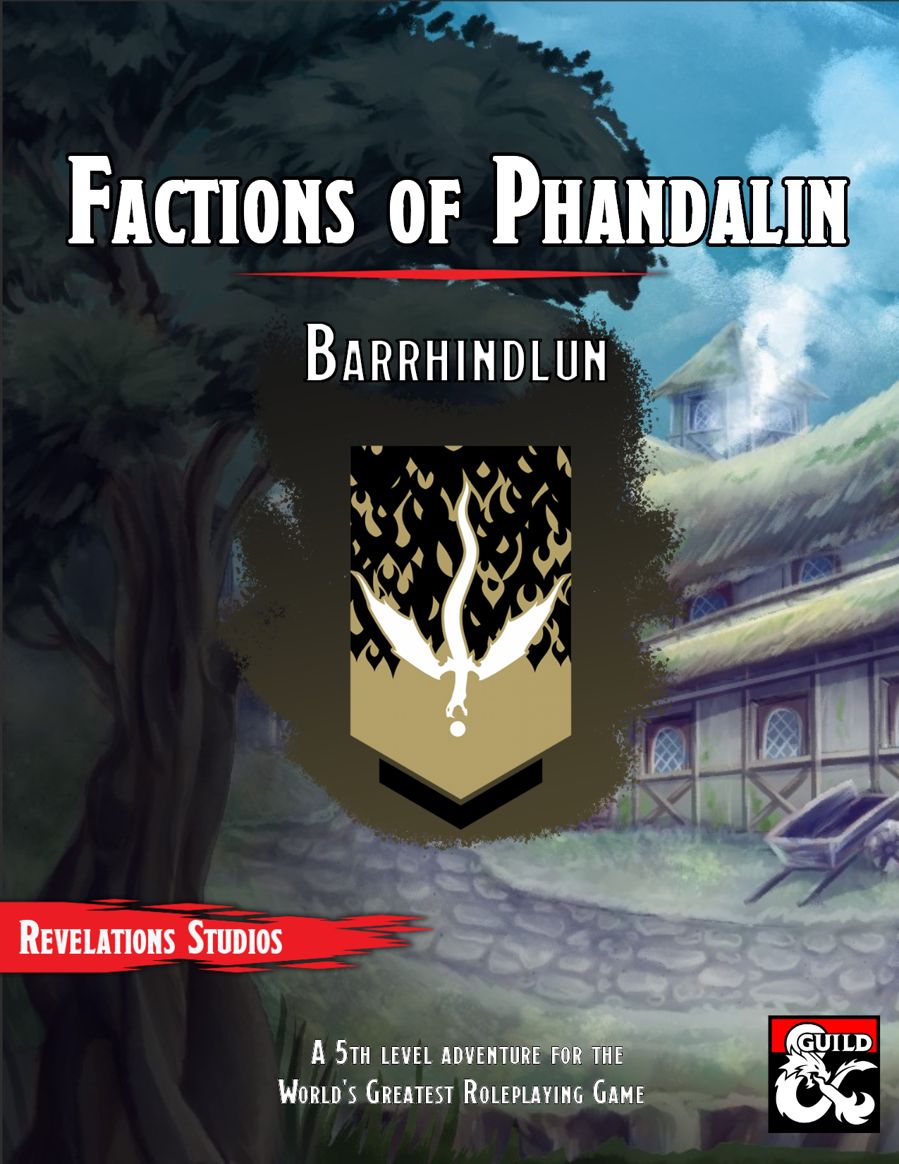
This book goes over the various rules around the faction of the Zhentarim in Phandalin and the Forgotten Realms, making it easy for any new or veteran DMs to integrate it more into the core stories being told, and making the faction feel more useful for the players that choose to join. The adventure, Barrhindlun sees the adventurers working for the Zhentarim and traveling to the town of Leilon and finding their way beneath to the muddy lost city of Barrhindlun, where bandits of the Xanathar Guild have been sent to reclaim a Crystal Orb.
In a small hamlet, things are strangely becoming tidy in the night. Far from being pleased, the citizens are alarmed by these events. A local painter has gone missing, as has a travelling scholar. What is going on here?

A trek across the Shadow Marches leads weary travellers to Blackroot, a quiet village of ramshackle huts nestled among the darkwood trees. Here, orcs and humans live in peace. However, all is not well. Something evil has crawled up from below, threatening to devour the village and its denizens. Only a party of brave heroes stands in its way. In Khyber’s Harvest, the PCs battle an ancient evil threatening a remote village in the Shadow Marches. The dark power of the planes has grown strong in this place. Depraved cultists and twisted aberrant creatures are dragging innocents down into ancient caverns to undergo a horrific transformation. To save these helpless villagers, the PCs must overcome the terrors of Khyber—a quest that brings them to the attention of the dreadful Belashyrra, the Lord of Eyes.

The Bloody Maul of Kord is a magic weapon protected by the priests of Kord, who occasionally allow a noteworthy hero to use it when going on a dangerous quest worthy of the storm deity’s blessing. Six months ago, Atrimos of Ardor took the Bloody Maul for a quest to the Caverns of Demise, hoping to end attacks to the realm being launched from the caverns. He never returned. Now, the clerics of Kord hire the PCs to go into the caverns to retrieve the Bloody Maul of Kord—and to find Atrimos, if possible. Pgs. 108-113

Lost within the ruined House Cannith citadel of Whitehearth, an arcane workshop somewhere in the perilous Mournland, is the key to constructing a terrible magic weapon. Agents of the Emerald Claw will stop at nothing to recover the ancient device. As malevolent forces hunt for the artifact, only the most resourceful heroes will reach Whitehearth first and discover the secrets that lie within. "Shadows of the Last War" is a stand-alone adventure for the Dungeons & Dragons game that will immerse your characters in the Eberron campaign setting. Designed to challenge 2nd-level D&D heroes, it pits them against one of Eberron’s most nefarious organizations.

This setting was used in the FN series and like the others in the FA series, it was used as an area for multiple adventure opportunities as well as a semi-safe haven. The main community in the area is the Village of Tomore. This community is offered as a free download! With a multitude of side adventures this area helps mid-level adventurers increase their experience point base. Close to this area is the previously published Sunken Temple of Bulu and the Ruins of Tarlac Keep.

A Ravaged Land... Villains that really are larger than life... A time for heroes... A decade ago, the land of Geoff was overrun by a horde of giants, ogres, and evil humanoids, its people either slain, enslaved, or driven into exile. Now at last the tide has turned. The time to free the people of Geoff from their servitude to the giantish tyrants has come! But don't forget to watch your step when you confront the true masters behind the giant Clans! Contains the full text of three classic adventures by Gary Gygax: G1, Steading of the Hill Giant Chief; G2, The Glacial Rift of the Frost Giant Jarl; and G3, Hall of the Fire GIant King. Details Eighteen new encounter sites in the war-torn land of Geoff, linked together to form a grand campaign. Provides dozens of hours of gameplay as the heroes struggle to free an entire country from the grasp of giant overlords. TSR 11413

Frequent visitors know that the Adurite culture once ruled a large portion of the known world but has now all but disappeared. In this adventure a relic Golem that guards a shrine has been duped and gone on a rampage. This adventure was originally created for a “filler” adventure on a day when the entire party could not adventure. Spoiler alert the Golem is not the worst thing the party will face! At 29 pages this adventure has a little bit of everything.

In the canyon of Thunder Rift, in the village of Kleine, goblins have always been a nuisance, but the natives have dealt with them and continued an otherwise peaceful existence. Now, a valuable magical item, called the scepter of truth, has disappeared! The ingenuity of the crime bears the mark of the goblins' leader, the Master Thief Raven. The scepter must be recovered, but there is no one in Kleine with the strength and courage to penetrate Raven's trap-laden hide-out, deep in goblin territory. A party of stout adventurers might survive the mission, but they will have to be quick, smart, and especially careful. This module has been created especially for the inexperienced Dungeon Master and players who are interested in the exploration of dungeons and ruins. TSR 9350

The deserts of Osirion—land of pharaohs and ancient tombs—hide not just untold wonders, but also unspeakable dangers. When the vast sand dunes part to reveal the ancient pyramid of the legendary Pharaoh of Sphinxes, glory seekers from across many nations race toward it, each fighting to be the first to claim its wonders. But the storied pharaoh doesn't rest quietly within this monument, and his tomb was designed to slaughter any who would dare trespass.

Six murders in a single night! A major city in the Forgotten Realms is rocked by a series of gruesomely bizarre deaths of notable citizens. What mysterious murderer could have slain six people in different corners of the city? Why did the criminal leave a playing card at each scene? Could a high-stakes card game that happened ten years ago explain the goings-on? And, most importantly, is the goddess of misfortune personally involved?
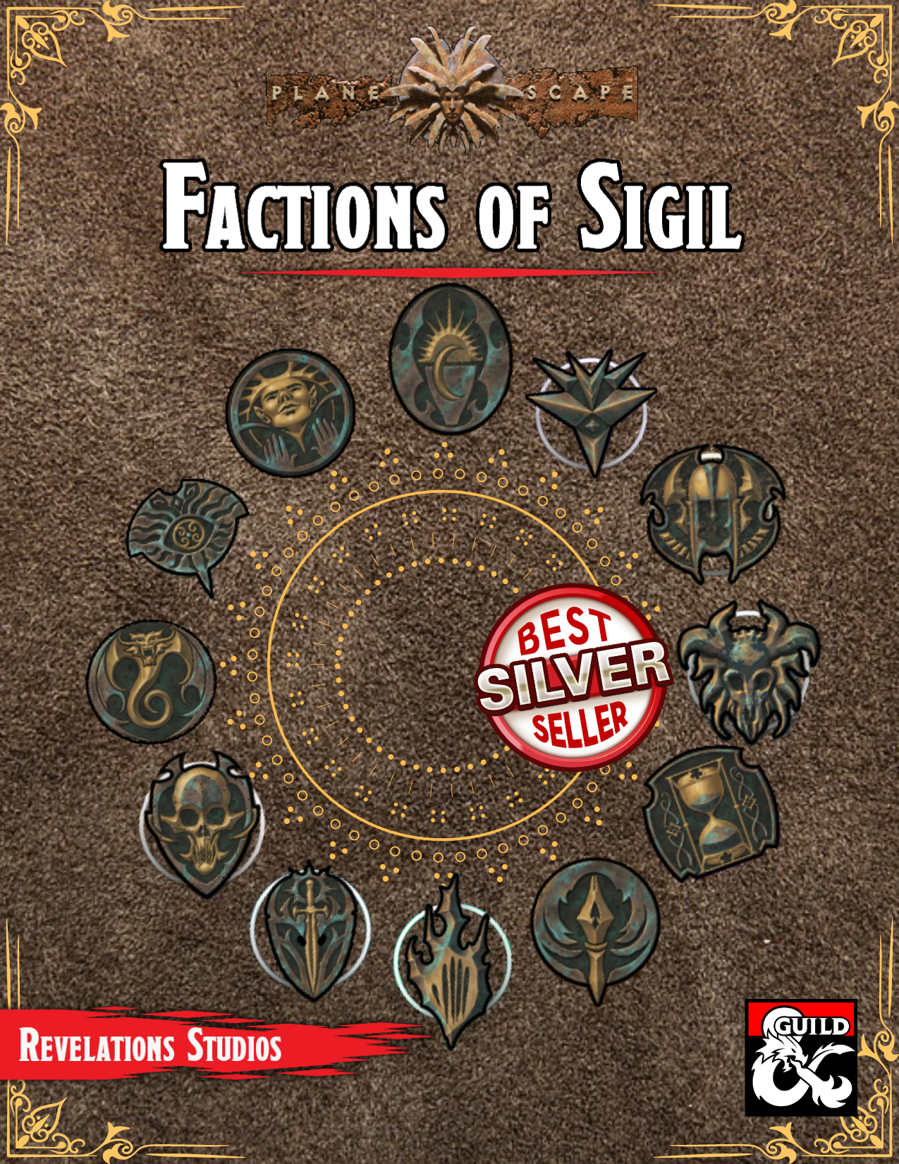
We get it. Factions are an integral part of D&D, but it's not always clear how to use them in your campaigns. Luckily, Factions of Sigil has you covered for each of the twelve main factions found across Sigil and the Outlands! This supplement goes over the various rules and lore around the primary factions found in Sigil and the Outlands, making it easy for any new or veteran DMs to integrate the factions more into the core stories being told, and making them feel more useful for the players that choose to join. Rumors of a means to access the Plane of Mirrors has spurred the Society of Sensations to request the characters enter the demi-plane and record the sensations and experiences within.

About: This encounter was cooked up in the Write your First Encounter workshop by the Storytelling Collective. It CAN be slid in as a side quest in any urban or sub-urban context, or be adapted to add confusion to any rescue mission you are presently running. Synopsis: Through the doorway a young woman shackled to the wall matching the description of Helena can be seen. Though disheveled and looking to be in great discomfort, her beauty is remarkable. But on closer inspection, there are other people here — three identical Helenas! Noble woman Elize Cleron has hired the party to infiltrate the catacombs under the Schaefer Estate and free her twin sister Helena. Helena is being held captive by the Schaefer family, trade rivals rumored to have ties to the underworld. Elize has been unable to free her sister herself because of her identical appearance. Rather than pay an unrealistic ransom, Elize has provided the party with what they need to break her out. This encounter is intended for 3rd level characters.

Restore an Abandoned Temple Enter the catacombs near the desecrated Temple of Muir, Goddess of Paladins, and search for the lost tomb of Abysthor. Will your party be able to cleanse the evil that now inhabits these once-sacred halls, and recover the Stone of Tircople? Can your characters survive the traps of an undead sorcerer? Will your players discover the chamber of Living Rock and the secret power it holds? Adventure awaits! Gold and Glory! A fantasy adventure published for the D20 system, The Tomb of Abysthor is the first module in Necromancer Games Dungeon series and can be played as a stand-alone story or in conjunction with The Crucible of Freya and the forthcoming city supplement Bards Gate. What secrets lie hidden in the tomb of Abysthor?
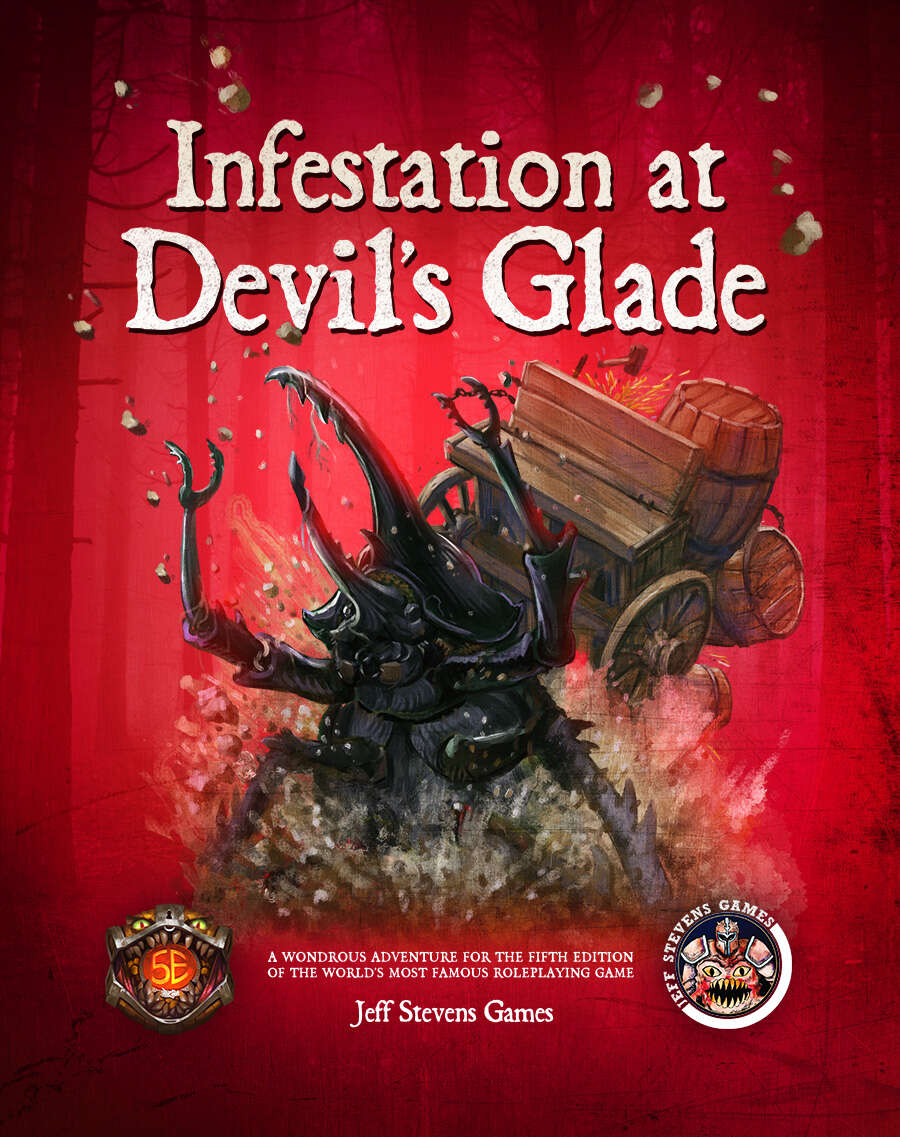
The town of Devil's Glade is under attack! Swarming insects have driven the residents out of their homes and businesses, and giant insects patrol the town square. Who or what has brought these creepy-crawlies to Devil's Glade? What's their motive? Are your heroes brave enough to put an end to the infestation? Infestation at Devil's Glade is a 2- to 4-hour adventure designed for four to five characters of 1st to 4th level, and is optimized for 2nd level characters. Scaling Suggestions are included, allowing you to play this adventure with characters of 5th to 6th level. Infestation at Devil's Glade isn't just a short adventure. We provide you with a location to which your heroes can return, or even use as a home base. The Supplement Includes: Adventure. The main adventure focuses on the heroes cleaning the town of the infesting insects and the villains who brought them. Beginning at The Fork (a tavern where many of the residents have made camp), the characters learn about the infestation of Devil's Glade, and are hired to look into the matter. NPCs. The adventure is filled with fun and engaging NPCs. During the characters' time at The Fork, they have the opportunity to talk with NPCs, help them, and learn more about the infestation. After the heroes return Devil's Glade to normal, the merchants and residents return, giving your characters unique shops to explore and quests to complete. Cursed Mask. The crux of the problem - a cursed mask that slowly transforms the attuned creature into a giant, insect monstrosity, and gives them power over insects. To end the infestation, the adventurers must confront the partially transformed person wearing the mask. Shops & Services. Devil's Glade contains shops and services the characters can explore, including therapeutic mud baths, a diner specializing in eggs, a trinket shop, a candle maker, and a dentist. Side Quests. We provide several side quests for before and after the main adventure, allowing you to increase the main adventure's run-time, and provide you with material for after the main adventure. Maps. The adventure contains maps for the main locations and major side quests. Each map is hand-drawn by Jean Lorber. Art. NO AI! The book is filled with fantastic, original artwork by Matt Morrow Art. Also Included: Map Files. Both grid and non-grid maps are included and available to download. Special VTT Tokens and Assets. Several custom tokens and art assets are included for VTT play.

If the PCs are to avert the Age of Worms, they must invade the heartland of Kyuss' power, the Wormcrawl Fissure, and destroy one of the world's most powerful dracoliches before the Wormgod awakens. "Into the Wormcrawl Fissure" is the eleventh installment of the Age of Worms Adventure Path, a complete campaign consisting of 12 adventures, several "Backdrop" articles to help Dungeon masters run the series, and a handful of poster maps of key locations. For additional aid in running this campaign, check out Dragon's monthly "Worm Food" articles, a series that provides additional materials to help players survive this campaign. Issue #343 of Dragon presents statistics for some extraplanar entities the PCs may wish to call upon to aid them in the Wormcrawl Fissure. Pgs. 54-89
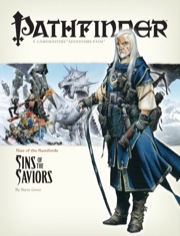
Seven Deadly Dungeons! The Rise of the Runelords Adventure Path continues! The evil beneath the town of Sandpoint refuses to sleep quietly, and a killer from the ancient past awakes. Clues found in his lair lead to the den of a legendary dragon and into a vast arcane dungeon ruled by ageless wizards, where the seven deadly sins reign supreme. Can the PCs hone the sins within themselves into weapons against their true foe, Karzoug, the resurrected Runelord of Greed?

This is the "Vecna: Eve of Ruin" + "Phandelver and Below: The Shattered Obelisk" crossover you didn't know you've been waiting for. As dusk settles over the village of Phandalin, a palpable sense of unease grips the villagers. Rumors spread that a hilltop keep has inexplicably materialized on the outskirts of town, and worse yet, the sun fails to rise come morning. Unbeknownst to the townsfolk, a powerful cult of Vecna-worshipping vampires has arrived, and the only hope Phandalin has is a ragtag pack of werewolves and a few brave heroes ready to make their mark on the world. While this adventure can be run as a standalone module, it can also seamlessly serve as a prequel to "Vecna: Eve of Ruin" or as a side quest for "Phandelver and Below: The Shattered Obelisk." This module can also serve as a sequel to "Phandalin Werewolves: Beasts of Her Moon" which is exclusively available over at the dmsguild. Designed for 4-6 players with an average party level ranging anywhere from 4 to 7, this adventure aims to create a backstory of bad blood between the cult of Vecna and the PCs. It includes a monster folio, tokens, as well as maps from the esteemed Tessa Create Maps, Dyson Logos, and Elven Tower.
Hezzrack the imp escaped a prison of stone only by entering a prison of words. His only chance now is for a helpful group of adventurers to rescue him from certain servitude as a goblin adept's familiar. When his wizardly master's tower collapsed ages ago, the imp Hezzrack found himself trapped in the basement for a long, long time. After spending many years playing chess with himself and arranging macabre passion plays with the animated skeletons that survived the collapse, he finally found a way to escape. Unfortunately, that escape required signing a contract with a particularly unpleasant goblin adept; Hezzrack had managed to escape his prison of stone by leaping into a prison of servitude. If only a group of adventurers were to come along and take care of the goblin and release him completely! Pgs. 18-28