
Protect the Future! At the height of Netheril's power, the fortress of Spellgard held many great secrets of the Empire of Magic. Now, only ruins remain... and one last guardian, the near-mythical Lady Saharel, whose prophetic visions draw the desperate and the doomed from across Faerun. But a dark presence in one of Spellgard's intact towers wants to control the power of prophecy for itself and remake the future in its own image.

When the characters arrive at the fishing town of Estinn, they find it totally abandoned. Can they solve the grisly mystery of what happened to the town and stop a monstrous threat that lurks in the cold, deep waters of the bay? Born in Blood is a Lovecraftian horror one-shot for four or five 9th-level characters. It takes about 4-6 hours to complete and includes: -A gruesome mystery of betrayal and dark rituals -An underwater dungeon hidden beneath the sea floor -A harrowing battle with a newly born godling! -High-quality digital maps for use with virtual table tops

Inside the woods near Burke's Crossing lurks a very real danger. It began as a sense of unease, a feeling of being watched, but now people are disappearing. The lumberjacks who have stayed in the little village talk of ghosts and other superstitions. Or at least they did - until a mysterious statue appeared in a clearing near the logging camp. As if matters weren't strange enough, two mages have arrived and begun hiring armed guards to escort them into these very same woods. Is there a connection, or is it just coincidence? Either way, be prepared! You never know what's out there waiting... and watching. "Eye of Pain" is the first of three Monstrous Arcana adventures featuring the cunning and deadly beholder. If can be played as an individual adventure or as part of the series which continue in "Eye of Doom" and concludes in "Eye to Eye." For four to six characters of levels 4-8.

A far realms themed delve into a twisted dungeon complex, filled with unique hazards, creatures and items. This adventure is designed for 4 level 6 characters and should take one or two sessions. Player and GM maps included.

This is an introductory adventure to Eberron and Sharn. It is written for 3-6 characters of levels 1 to 5. This adventure showcases the versatility of urban adventures in Sharn. The adventure takes a party of characters from the lowest and more dangerous parts of the city, the lower wards and The Depths, to the highest and most exclusive neighborhoods in the upper wards and the Skyway. This adventure has it all. There are roleplaying opportunities, underground exploration, interesting NPC's, a flying chase scene on flying vessels, and a BBEG with enough charisma to captivate any player.
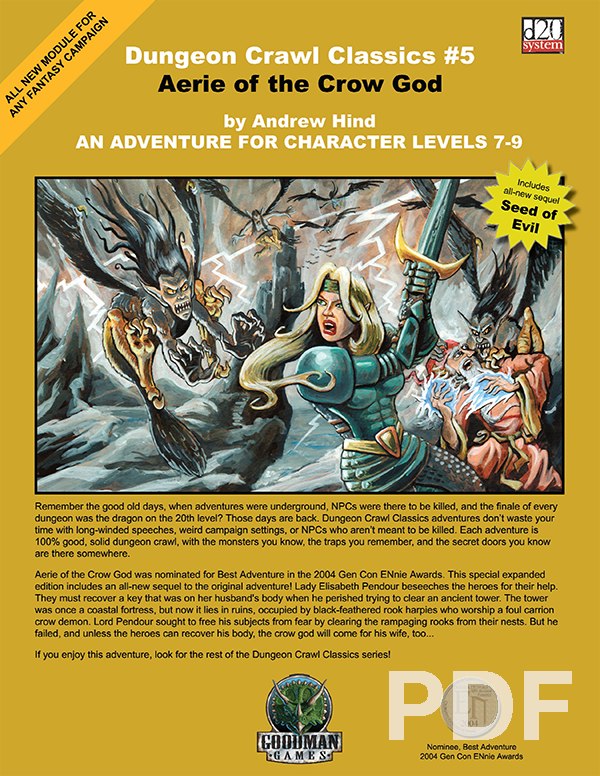
Lady Elisabeth Pendour beseeches the heroes for their help. They must recover a key that was on her husband’s body when he perished trying to clear an ancient tower. The tower was once a coastal fortress, but now it lies in ruins, occupied by black-feathered rook harpies who worship a foul carrion crow demon. Lord Pendour sought to free his subjects from fear by clearing the rampaging rooks from their nests. But he failed, and unless the heroes can recover his body, the crow god will come for his wife, too…

“Gorgoldand’s Gauntlet” takes place in a cave network in the side of a cliff overlooking a lake and can be inserted easily into any campaign. Gorgoldand’s Gauntlet is a site-based adventure with a pre-dominance of puzzles and traps. The PCs discover a map leading to the Gauntlet and explore it looking for treasure. They test their strength and wits against various traps and puzzles created by a gold dragon who converted a cave network into a proving ground to surreptitiously test the abilities of local adventuring bands. If they make it all the way to the end of the Gauntlet, they’ll have the chance to fight a dragon construct made of the dungeon's treasure hoard and have the chance to gain access to a magic item that can have a significant impact on their adventuring careers. Pgs. 39-51

Trouble Cubed is a is a pseudo-adventure with three interesting gelatinous cube encounters. These three encounters are structured in a way that they can be used together as one adventure, or each individually dropped into any adventure from EL5 to 7. The encounters vary the cube's encounter situation significantly, and the tactics needed to deal with them, such as by trapping a character with a portcullis between a cube and a pit trap, placing a cube half down a pit trap, and having the cube accidentally ingest a beneficial potion (such as spider climb). Pgs. 29-30
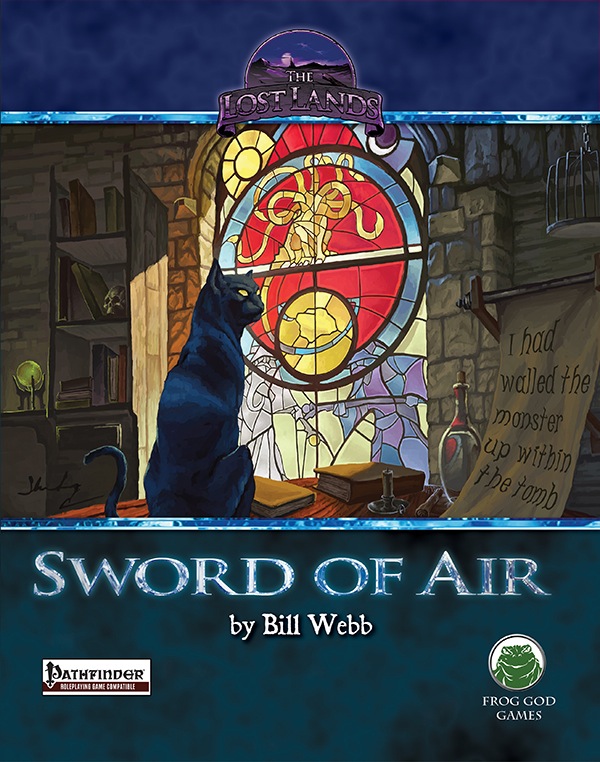
What is the Lost Lands? The Lost Lands is the home campaign world of Necromancer Game's and Frog God Game's own Bill Webb. This campaign has been continuously running since 1977. Many of the adventures published by Necromancer Games and Frog God Games are directly inspired by this campaign. They have evolved over the decades, and more material continues to flow from it as the dice keep rolling. Sages and wizards of legend speak of the Lost Lands—many of the players who have lived and died in Bill's campaign over the years now have a place in history (in the books). Frac Cher the dwarf, Flail the Great, Bannor the Paladin, Speigle the Mage, and Helman the Halfling are well known to the fans of Bill's work. This is the game world, and these are the adventures in which the players of these famous characters lived and died. Hundreds of players over the past 35 years have experienced the thrills and terrors of this world. The Sword of Air is the centerpiece of the Lost Lands. Currently, this epic tome consists of several parts: 1. The Hel’s Temple Dungeon—kind of like Tomb of Horrors on crack. This six-level, trap-and-puzzle infested dungeon formed the basis of Bill's game through his high school and college years. Clark Peterson’s very own Bannor the Paladin spent several real life months in the place, and, sadly, finished the objective. This is where the fragments of the fabled Sword of Air can be found…perhaps. 2. The Wilderness of the Lost Lands extending to the humanoid-infested Deepfells Mountains and providing detail about the nearby Wizard’s Wall. This so-called “wall” was raised by the archmages Margon and Alycthron harnessing the Spirit of the Stoneheart Mountains to raise the land itself, creating a massive escarpment to block invaders from the Haunted Steppes. These archmages are actual player characters from the early 1980s who live on in the legends of the Lost Lands. Over 70 unique encounter areas are detailed, and each one is a mini-adventure in itself. New wilderness areas may be added based on bonus goals described below! 3. The Ruined City of Tsen. Legend has it the city was destroyed by a falling meteor. This place forms an aboveground dungeon area the size of a city, with over 100 detailed encounter areas. It’s a very dark place…even at noon. 4. The Wizard’s Feud—This campaign-style adventure pits the players in a long-running series of intrigues and battles between two archmages. Which side will they take? Their actions all play into the overall quest, and could well determine which side wins. Law and Chaos are not always what they seem, and if the wrong decisions are made, the entire ordeal could fail. Remember, one of the wizards WANTS Tsathogga to win. 5. New monsters, new demons, new spells, and new rules for various aspects of play. 6. The Tower of Bells. This dungeon is the result of the workshop Bill ran at PaizoCon 2013, where the participants assisted him in building an old-school dungeon. Visit the tower and discover the secrets of the “artist” within. Beware: those entering may never come out!

Drawn by greed or curiosity the adventurers enter the strange ruins of castle of madmen. Terrible monsters stalk the hallways, but the greatest challenge is not merely to survive but escape with their sanity intact. The Palace of Sweet Dreams sends the adventurers on a different and challenging dungeon exploration, where wits and smarts will be key to survival. Those who the masks may seem harmless ... The adventure contains new monsters and magical items to keep your players on their toes and let them discover how magical items can present their own adventures. Originally from the Danish convention Fastaval as part of the living campaign, Hinterlandet. Now presented here for the first time in English. It is an adventure with emphasis on exploration and meeting the unknown.

The Hag's Hexes is a 66 page guide designed by Dungeon Masters Guild luminaries like JVC Parry and Janek Sielicki alongside rising stars and old stalwarts like Matt Butler, Matthew Gravelyn, and Tim Bannock. It was created with one thing in mind: to make hags more than the sum of their (often meager) Challenge ratings, giving them the mechanics, roleplay potential, and weird magic that can inspire campaigns, lay low kings and warlords, and potentially ensnare unwary Player Characters into campaign-changing curses or long-term bargains that force them into terrible moral quandaries! Split into five chapters, the authors have provided everything a DM needs to terrify their players for years to come. The Bestiary features over a dozen monsters; some are new hags, some are their minions or even their mobile lairs, and one of them -- the Shaitan AKA Desert Hag -- was featured in Monsters of the Guild! Bargains & Curses is a chapter filled with ideas that can kick-start campaigns, threaten valued NPCs, or put Player Characters' very existence and morality at stake. Chapter 3 includes two dozen items of wonderment, weirdness, and dread, ranging from fairy tale-inspired items of whimsy to terribly cursed items of horror. Chapter 4 is titled "Filthy, Vile & Downright Dirty" and provides dozens of roleplaying tips to make hags come alive, new mechanics inspired by and expanding on Volo's Guide to Monsters (coven spell lists, aunties, grandmothers, alternative coven members), and ends with useful combat tactics for each of the hags from the Monster Manual and Volo's Guide, as well as tactics for covens. Finally, Chapter 5 presents five encounter groups (with sub-encounters) to give you quick story seeds and monster lists that you can put together in minutes to create a single encounter or to inspire a full campaign, and ends with three full-length adventures -- each with 3-5 encounters -- that showcase many of the new monsters, rules, magic items, and so on that appeared in earlier chapters. Each of these adventures comes with an encounter map meant to act as inspiration for hag lairs, and they include useful mechanical ideas for terrain effects and descriptive keywords listed directly on the map for added inspiration and easy customization! Designed by Tim Bannock. Written by Matt Butler, JVC Parry, Janek Sielicki, and Tim Bannock. Edited by Matthew Gravelyn and Tim Bannock. Cover Art by Elena Naylor. Cartography by Tim Bannock using Inkwell Ideas' Dungeonographer (Dungeonographer is copyright Inkwell Ideas). Layout & Graphic Elements by Elena Naylor with Tim Bannock. Interior Art by Arcana Games, Bruno Balixa, David Lewis Johnson, Dean Spencer, Earl Geier, Filip Gutowski, Jacob E. Blackmon, Joyce Maureira, Petr Kratochvil, Jayaraj Paul, Brian Brinlee, and Wizards of the Coast.
The Northmen and their allies play hardball. The Northmen are on a rampage, and only the duergar know why. Discover the secret of the iron orb. In the lands of the Northmen, near the city of Tallborg a mysterious relic was uncovered in a mine: a perfect orb of black iron. The orb was taken to the temple. When Ulvmard, high priest of Odin lifted the orb it revealed its true nature. The orb levitated from his hands, floating before him. The orb had changed Ulvmard, bestowing him great powers. The orb spoke to him with flattery and advice. As he became reliant on the orb, its power over him extended, bending him to its will and taking control. It used him to further its agenda: destruction of the dwarven race and restoration of the duergar! Claiming to be acting on Odin's behalf, Ulvmard lead the Northmen to rise up against the dwarves, and ordered raids to pillage the southern kingdoms for the materials he would need to construct a colossal iron warrior to defeat the dwarves. This adventure has viking and norse mythology influences. Pgs. 50-71

A beloved priest has gone missing, and sinister trouble stirs beneath the Church of St. Terragnis. Can the heroes rescue the victims of an age-old evil before it claims more innocent lives?

Hunt for the Thessalhydra is a short adventure published by Wizards of the Coast as a tie in to the "Stranger Things" franchise and part of the Stranger Things Dungeons & Dragons Starter Set. The adventure features characters, locations, and monsters inspired by that series. The adventure is suitable for characters of level 3-5.
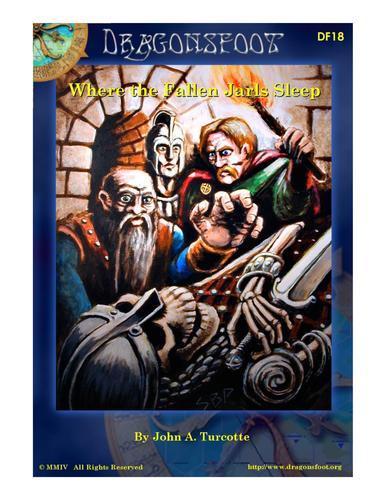
Disturbing shadows have grown long over the northern reaches of The Land of Song. The fierce people who once fished the chilly fjords and hunted in the evergreen peaks now huddle in their villages. An evil is abroad in the land. The heroes are charged by Jarl Yngvar with traveling to the Valley of the Sleeping Jarls, an old tomb in the hills where dead kings are laid to rest, to discover the source of the malevolence bearing down upon the land and with eradicating it. Who can say what evil lurks amid the towering peaks and shadowed fjords? For decades this malevolent being plotted his vengeance upon Hjalmar’s heirs, for the jarl had gone the way of all mortals. Taking for himself the name Mogens (“powerful”), this evil spirit, now a self-styled dark lord, gathered wicked cronies and servants to itself and came to the Valley of the Sleeping Jarls. There, he has spent nearly two decades corrupting and desecrating the sacred resting place, reshaping the hollowed tombs into a blasphemous temple to his infernal lord.

This introductory level scenario brings a new group of players into an area formerly controlled by the Tunnmaa Dynasty. This group of rulers was rich in gold and gems before collapsing. It is well known that their kings, known as Ga Mantse, were buried in underground barrows that are well hidden and protected by traps. A few days ago a group much like your own found one of these hidden tombs and attempted to investigate. Sadly for them they were not up to the task. Can your party succeed where they failed?
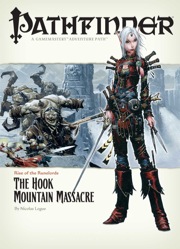
Them Ogres Ain't Right... The Rise of the Runelords Adventure Path continues! The notorious Hook Mountain ogres, known for their violent and savage ways, have slaughtered the soldiers of Fort Rannick. The few surviving rangers need heroes to help them retake this key fortification before the ogres use it as a staging ground for further assaults on the region. Yet why have the ogres chosen now to launch this sudden attack? What sinister force grows in the surrounding wilderness, and what ties to the mysterious Sihedron Rune do the ogres of Hook Mountain hide? Are the rumors of an army of giants massing for war true?

While lightning may strike anywhere, there is but a single Temple of Pure Lightning. This temple could be located just about anywhere – out in the middle of an expansive dungeon or even hidden beneath the streets of a bustling city. Regardless, this temple is not for the faint of heart. Within these walls are floors charged with lightning, ancient powerful weaponry, a vast series of winding powered minecarts, and rooms that are filled with eternal storm clouds. Just as dangerous are the aetherspawn that have been drawn to this place of great power and now see it as a home that will not be taken from them by the likes of a few mere adventurers.

Citadel by the Sea is an AD&D gaming module for 4-8 characters, each of 1st to 3rd level. The fewer the characters available, the higher their levels should be. Characters should be well equipped, with at least one magical weapon apiece, but do not need any particular game experience. It is recommended that at least one ranger character and one elf character be members of the adventuring party, and that no player character be a half-orc. The Dungeon Master should read the entire module carefully before running this adventure; the events are laid out in the approximate order in which characters would normally encounter them, and the text builds the adventure as one reads through it.
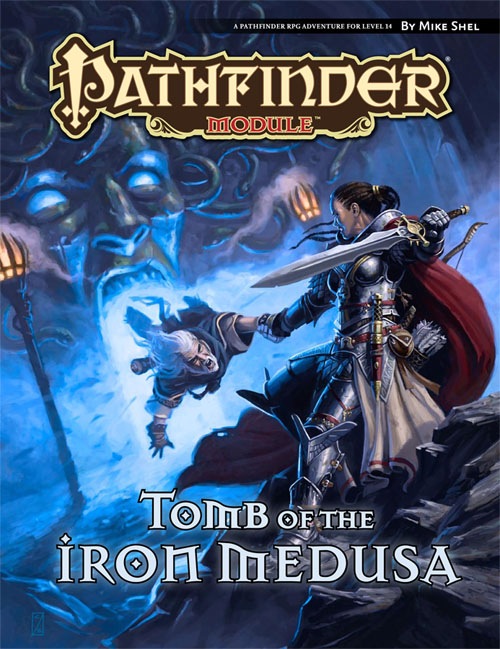
Hidden in the remote southern range of the World’s Edge Mountains lies a mysterious necropolis known in legend as the Tomb of the Iron Medusa. When the last heir of the dungeon’s long-dead noble builders hires the PCs to explore the forlorn and deadly site in search of evidence that may clear his family name, the intrepid heroes soon find themselves in over their heads. For the Tomb of the Iron Medusa does not give up its secrets lightly, and the dangerous truths that lie within its ancient, trap-laden crypts may have been hidden for very good reasons indeed.