
Decades ago a group of adventurers saved the town of Logan’s Bluff from a humanoid incursion. While the battle ended in a victory, the cost was high when the party lost a valued member of their group. In his honor his comrades and grateful citizens built a tomb over his final resting spot. In the decades since the battle peace has reigned but has recently waned with the advent of more humanoid sightings. Some have wondered if Forstal’s tomb is drawing the humanoids back for revenge.

In the fortified city of Port Nyanzaru the situation grows volatile. Reports of mysterious strangers from unknown lands, that are trespassing forbidden holy grounds far within the jungle, have caused great turmoil in the city’s foreign relations with the local tribes. The players must travel through the deadly jungles of Chult towards the ruins of ancient Mezro, and confront an ancient religious sect of gruesome practices, charged with keeping imprisoned the right-hand servant of a Primordial evil- Dendar the Night Serpent. Will the ancient evil be unleashed once more in the world, or will the heroes be victorious? The fate of the world lies on their hands.

The carcass of a gigantic sea monster is now a small dungeon... Gargantuel was a gigantic sea monster (a whale? a prehistoric serpent? the Kraken? Leviathan itself?). She used to roam the high seas, destroying ships and devouring everything. Some of the people she swallowed survived in her belly. One of them, the sailor Torsti Seppänen, actually managed to turn the place into a comfortable habitat. One day, Gargantuel passed away. Her body now lies out in the open, luring the carrion-eater, the curious, the foolish. Strange creatures and artifacts await in the mounds of decaying flesh, and the insane Torsti Seppänen will do everything to defend his “home” from intruders. Statted for Lamentations of the Flame Princess, usable with any OSR type game. Hosted by eldritchfields.blogspot.com
"Lost Halls of Everforge" is a flame dragon wyrmling lair suitable for four or five 3rd level characters. This adventure can be completed in one session.
A doctor who helps with rare and socially debilitating diseases who welcomes all to her doorstep suddenly becomes reclusive...and her patients are no longer able to be found. Adventurer's are hired by a powerful merchant who had committed her son to this doctor, and they need to find him and bring him home.
The deserts of Osirion—land of pharaohs and ancient tombs—hide not just untold wonders, but also unspeakable dangers. When the vast sand dunes part to reveal the ancient pyramid of the legendary Pharaoh of Sphinxes, glory seekers from across many nations race toward it, each fighting to be the first to claim its wonders. But the storied pharaoh doesn't rest quietly within this monument, and his tomb was designed to slaughter any who would dare trespass.

Chapter 1 - Rodents of Unusual Size: The village of Ravenhome is plagued by an army of rats which feast on their supplies and threaten the survival of the village, as winter is approaching. Venture into the deep to stop an onslaught of vile rats on the ravaged village of Ravenhome. Dispose of the cranium rats which escaped from the Underdark or strike a deal with the devilish creatures. Chapter 2 - The Pied Piper: The village's children were abducted by the winged kobold Krubcek and brought to the former temple of Cyric. The kobolds use the children as additional workers to excavate the site in attempts to free their imprisoned god Kurtulmak. The kobolds are willing to bargain, but the terms are cruel!
As the party faces an ancient foe who has never been defeated, their hunt threatens to unleash the buried ghosts of a forgotten feud between two of Waterdeep's powerful merchant houses. The third adventure in the Vampires of Waterdeep Campaign Arc. Pgs 70-93

*THIS IS A D&D NEXT/5E PLAYTEST ADVENTURE* Imani, a Turmishan wizard and former adventurer, seeks the aid of heroes to infiltrate Dretchroyaster’s lair and recover the Diamond Staff of Chomylla—the key to powerful magic and wisdom locked away for thousands of years. In addition to his own sagely interest in the lore of lost Uvaeren, Imani recognizes the dangers of such powerful magic falling into evil hands. The dracolich has secured the staff in his lair’s cen- tral chamber, using ancient wards of protection that can be bypassed only by four artifact-idols once belong- ing to a cult of Bhaal. Each group of adventurers enters the dungeon through a different section of the dun- geon—a forgotten temple of Bhaal, a vast underground lake, a troglodyte village, or Dretchroyaster’s vaults. Dretchroyaster’s lair is no simple set of caverns and ancient ruins. It sits atop a source of great power and energy, which the dracolich and his Cult of the Dragon allies hope to use to unlock the secrets of the staff. Only by undertaking a unified assault against Dretchroyas- ter’s lair can the adventurers hope to recover the Diamond Staff and survive the dracolich’s fury. The adventurers must make their way through the lair and recover the Bhaalite idols that will help unlock the Diamond Staff, all the while dealing with the lair’s creatures and avoiding the dracolich as he pur- sues intruders. Entering the Chamber of the Diamond Staff, the heroes must overcome its magical wards and claim the staff before being slain by the dracolich and his servants.
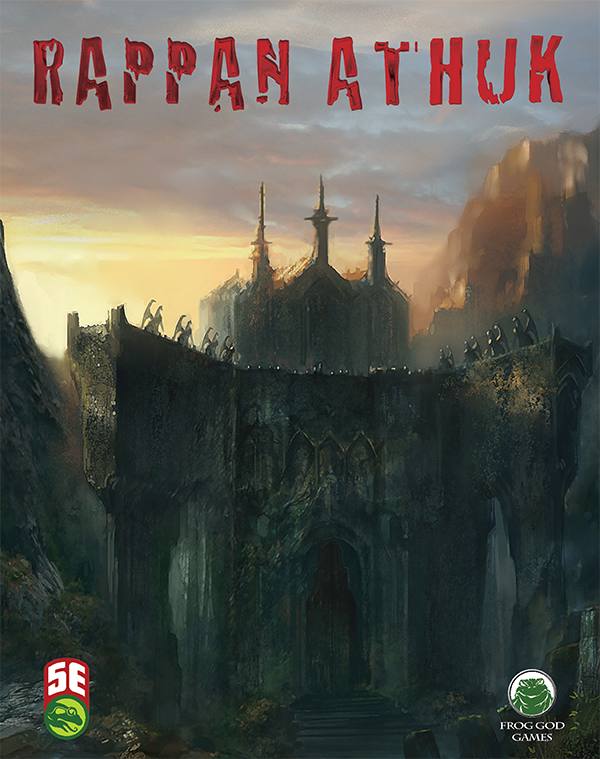
The Dungeon of Graves, is nothing more and nothing less than a good, old–fashioned, First Edition dungeon crawl updated for the 5th Edition Roleplaying Game. Very difficult, it should strike fear into the hearts of the most stalwart adventurers. It offers an abundance of traps, tricks, and monsters. We hope that you find this module as fun and exciting as those thousands of players who have ventured into (and not as often out of) the endless caverns and mazes of Rappan Athuk—The Dungeon of Graves. Rappan Athuk is a difficult dungeon. Even the upper dungeon levels should not be attempted by a party of less than six mid-level characters.

Dive into a mystery in Lake of Secrets, a darker magic fantasy compatible with any setting. When the sovereign of a war-stricken kingdom goes missing, characters must brave the castle dungeons to find them. Death stalks the dungeon walls and dark deeds come to light as the characters uncover the story of a terrible sacrifice. Designed as a 3-4 hour adventure for 1-6 players of 3rd-5th level, Lake of Secrets is a fresh narrative that explores themes of false promise and isolation, offering characters a choice that will decide the fate of an entire realm.
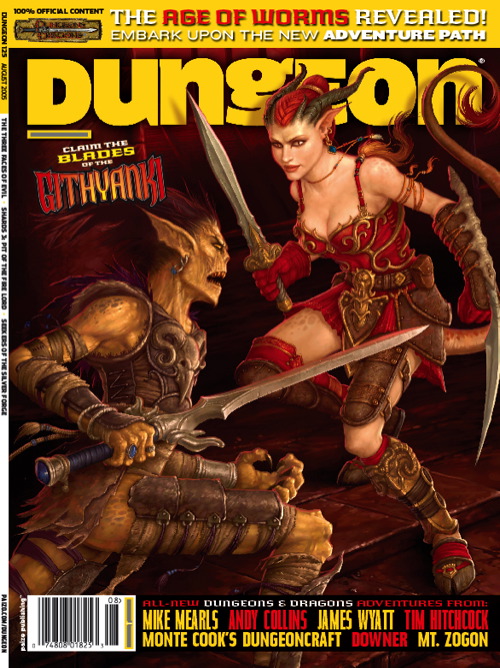
Clues discovered in Diamond Lake lead to the Dark Cathedral, a forlorn chamber hidden below a local mine. There the PCs battle the machinations of the Ebon Triad, a cult dedicated to the three vile gods. What does the Ebon Triad know about the Age of Worms, and why are they so desperate to get it started? "The Three Faces of Evil" is the second installment of the Age of Worms Adventure Path, a complete campaign consisting of 12 adventures, several "Backdrop" articles to help Dungeon masters run the series, and a handful of poster maps of key locations. For additional aid in running this campaign, check out Dragon's monthly "Worm Food" articles, a series that provides additional materials to help players survive this campaign. Issue #334 of Dragon provides comprehensive lists of all the things you can find for sale in Diamond Lake's (often) dubious shops. Pgs. 16-47
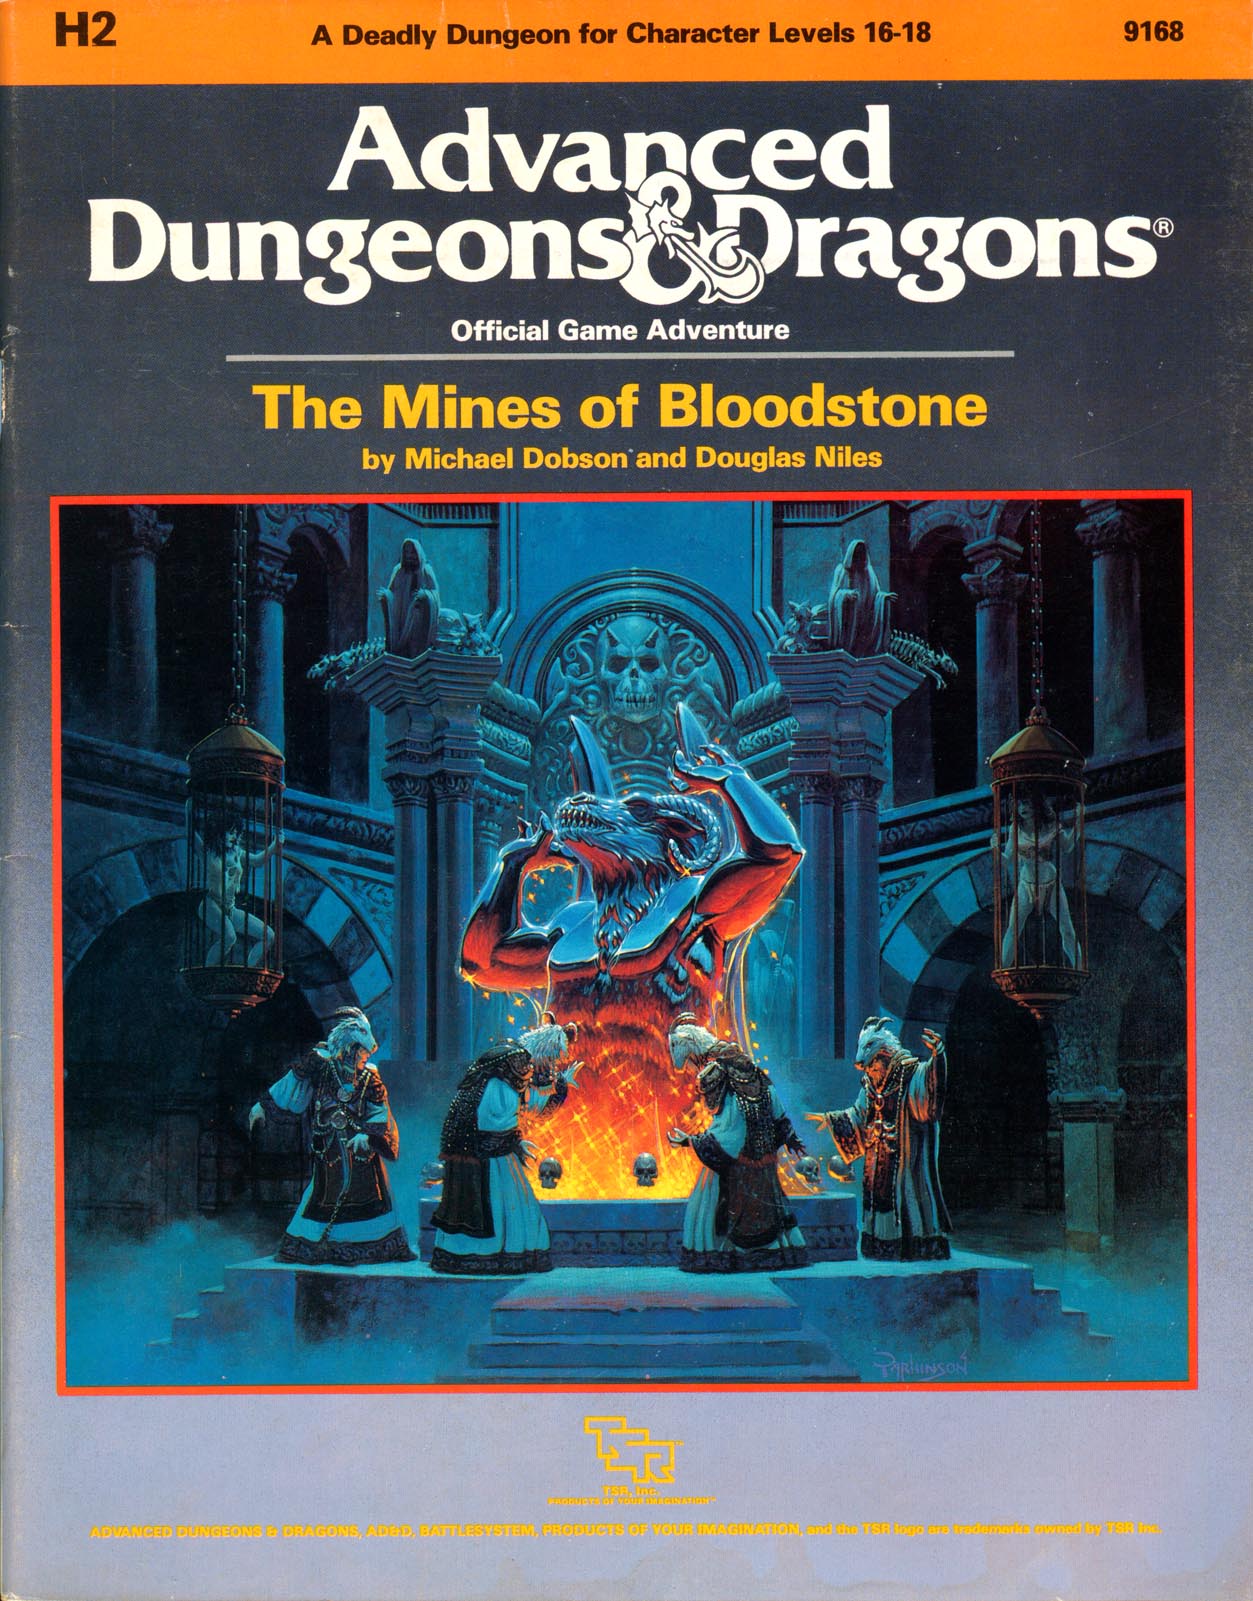
The most deadly dungeon ever devised! High-level characters brave the unexplored corridors of Deepearth to confront perhaps the most feared adversary in the AD&D game. The second chapter of the Bloodstone Pass saga follows the conclusion of the desperate war against the bandit army. A cold and bitter winter drives the villagers to the edge of starvation, and numerous horrors strike the town of Bloodstone Pass. Join the adventure as the heroes explore the depths of the ancient bloostone mines, now inhabited by fearsome demons. There they hope to uncover the fantastic treasures rumored to exist in the unknown darkness. But deep within the mines, all is not what it seems.... This module uses the new rules from the Dungeoneer's Survival Guide and Wilderness Survival Guide. The adventure also includes optional BATTLESYSTEM scenarios fought entirely underground. These supplementary products are not required to play the adventure, however. TSR 9168

Old-School Essentials Adventure A hole in an old oak tree leads characters down to a maze of twisting, root-riddled passageways, the chambers of an ancient wizard-complex, and the banks of an underground river where once a reptile cult built their temples. A classic expedition into the Mythic Underworld for characters of 1st to 2nd level. 60 keyed areas, rumour table, loot summary, dungeon background info, suggestions for expanding the dungeon. Keyed in a quick-reference, bullet point format. Unlabelled map included for VTT use. The Hole in the Oak can be linked with The Incandescent Grottoes to form a large, 3 level dungeon with over 115 keyed encounter areas!

Wherein a solid plan to ransom captured wands turns sour for three friends and their employees, and a local luminary loses his tongue.

The Therayle farm, which has been in the family for generations, was the best producing in the region. It now faces ruin. Hugh Therayle, the current owner, is at wit's end trying to reestablish even a modicum of control over the disrupted land. But, when Hugh saw the ancient doorway jutting up from the middle of the field where his corn used to be, he knew that this wasn't the type of problem a plow could solve. More than two centuries ago, a red wizard by the name of Houn made a discovery that shook the foundations of magic on Toril. Yet, due to a considerable amount of effort on his part, it never saw the light of day. The exact nature of this discovery is unknown but it involves the location of the skeletal fragments of an ancient being. The weave, which governs all magic on Toril, reacts strangely to the fragments. More information existed before Houn destroyed his research and fled Thay. His current whereabouts are unknown but many of his peers have attempted to track him down and steal his research for themselves.

The sewers beneath Mulmaster have always been dangerous, with countless stories of brigands, murderers, and worse that lurk beneath the streets of the City of Danger. But those stories pale in comparison to a new threat under Mulmaster, one brought to light by a strange and disturbing corpse recently found. It is up to you to learn the terrifying truth of what lurks below.

Starvation looms for the people of the Wolf tribe! The elk have all but disappeared and the risky move of the tribe near the Bear clan territory has proved fruitless. An emergency council of the elders has declared that a single hearty warrior must make the dangerous journey deeper into Bear territory to find a source of food. The council has chosen you for this mission of great importance. It is your task to find out where the elk have gone and bring back food for the winter or at least enact Wolf people retribution against the source of the oncoming famine! Into The Forbidden Hills you must travel, heart full of hope and anger…

The Hag's Hexes is a 66 page guide designed by Dungeon Masters Guild luminaries like JVC Parry and Janek Sielicki alongside rising stars and old stalwarts like Matt Butler, Matthew Gravelyn, and Tim Bannock. It was created with one thing in mind: to make hags more than the sum of their (often meager) Challenge ratings, giving them the mechanics, roleplay potential, and weird magic that can inspire campaigns, lay low kings and warlords, and potentially ensnare unwary Player Characters into campaign-changing curses or long-term bargains that force them into terrible moral quandaries! Split into five chapters, the authors have provided everything a DM needs to terrify their players for years to come. The Bestiary features over a dozen monsters; some are new hags, some are their minions or even their mobile lairs, and one of them -- the Shaitan AKA Desert Hag -- was featured in Monsters of the Guild! Bargains & Curses is a chapter filled with ideas that can kick-start campaigns, threaten valued NPCs, or put Player Characters' very existence and morality at stake. Chapter 3 includes two dozen items of wonderment, weirdness, and dread, ranging from fairy tale-inspired items of whimsy to terribly cursed items of horror. Chapter 4 is titled "Filthy, Vile & Downright Dirty" and provides dozens of roleplaying tips to make hags come alive, new mechanics inspired by and expanding on Volo's Guide to Monsters (coven spell lists, aunties, grandmothers, alternative coven members), and ends with useful combat tactics for each of the hags from the Monster Manual and Volo's Guide, as well as tactics for covens. Finally, Chapter 5 presents five encounter groups (with sub-encounters) to give you quick story seeds and monster lists that you can put together in minutes to create a single encounter or to inspire a full campaign, and ends with three full-length adventures -- each with 3-5 encounters -- that showcase many of the new monsters, rules, magic items, and so on that appeared in earlier chapters. Each of these adventures comes with an encounter map meant to act as inspiration for hag lairs, and they include useful mechanical ideas for terrain effects and descriptive keywords listed directly on the map for added inspiration and easy customization! Designed by Tim Bannock. Written by Matt Butler, JVC Parry, Janek Sielicki, and Tim Bannock. Edited by Matthew Gravelyn and Tim Bannock. Cover Art by Elena Naylor. Cartography by Tim Bannock using Inkwell Ideas' Dungeonographer (Dungeonographer is copyright Inkwell Ideas). Layout & Graphic Elements by Elena Naylor with Tim Bannock. Interior Art by Arcana Games, Bruno Balixa, David Lewis Johnson, Dean Spencer, Earl Geier, Filip Gutowski, Jacob E. Blackmon, Joyce Maureira, Petr Kratochvil, Jayaraj Paul, Brian Brinlee, and Wizards of the Coast.

Rogues in Remballo is a city adventure set in Frog God Games' Lost Lands campaign world. As an introduction to adventuring in the Borderland Provinces, the City of Remballo immediately gets first-level characters embroiled in strange plots, sinister intrigue, and fierce battles. Is the thieves’ guild of Manas encroaching on the territory of the Remballo guild? What is hidden in the sanctuary-courtyard known as the Four Corners? How is the powerful banking house of Borgandy involved with all of it? What starts as a straightforward mission actually involves a host of complications — some of which can be deadly if the characters don’t play their cards right.