
Welcome to the picturesque village of Eveningstar, nestled at the foot of the Stonelands where the River Starwater winds down a gorge and snakes into the King's Forest. Here, the Knights of Myth Drannor began their famous adventures. Here, the Ladies of the Brazen Blade, The Company of the Singing Sword, The Steel Shield Band, and many other came, clutching royal charters from King Azoun with the ink scarcely dry on the parchment. Some fell, some went on to greatness-but they all came here first; to the Haunted Halls. Despite numerous infiltrations, the Halls have not yet yielded all their secrets or treasures. Many dangers lurk as deadly as ever in dark chambers herein, awaiting new companies of eager-eyed adventurers. Is it your turn to dare The Haunted Halls? Many come, but few survive to again see Eveningstar's beauty. Welcome, then. Enter in, and find in these pages: A challenging introductory level dungeon. A detailed countryside setting, including important local personages, local color, and guidelines for play. Suggested campaign plots and adventures. New spells. New magical items. New monsters. A splendid campaign can begin here. Adventurers in an ongoing campaign can stop by for a memorable visit. Those looking for an underground stronghold may even find a home in the Haunted Halls of Eveningstar. TSR 9354

In this prelude to the full Princes of the Apocalypse campaign book, adventurers face off against the influence of Elemental Cultists in the hills and canyons of the Dessarin Valley. The four mini-adventures within are only tangentially related to each-other, and instead serve as starting points and hooks for the plots of the complete Princes of the Apocalypse Campaign. Players start in the well-described town of Red Larch; first investigating a local necromancer, then uncovering cult influences within the town, and finally heading off to infiltrate or do battle with two small elemental cultist strongholds. All parts of this adventure can serve as great places to seed hooks for other campaigns.

This adventure takes place in the Moonsea of Faerûn. The players have been brought to Melvaunt to search for the missing scions of the city's great families. To the north, in Thar the orc tribes converge on the ruined fortress of Xul-Jarak, flocking to the banner of a charismatic warlord. There, he intends to sacrifice the scions of the great families of Melvaunt in a bloodritual to Gruumsh. The players will escape Melvaunt, search along the wilderness of Thar for the Fortress of Xul-Jarak, and then explore the dungeons of the ruined fortress and hopefully rescue the scions before they are sacrificed. There also is a Web Enhancement by Eric Cagle on the archives of wizards of the coast's website designed to scale the adventure to level 8. For example, it replaces the Owlbear with a Tyrannosaurus. This is an easy to scale adventure with much of the player's difficulty coming from intelligently avoiding problems, choosing how to approach each floor in the most tactical way, and quickly adjusting when something goes wrong. The adventure has sidebars including common orc battle cries (In Orc!), ready to use orc names, weather and random encounter table in Thar, a description of what happens if the party fails or partially succeeds, and suggested minis for each of the encounters. There is even an extended description of the bloodspear ritual, an event the party is not meant to encounter in a normal run. The appendix is detailed for all the humanoid characters including the scions and their equipment, the named villains, and variety of unnamed orcs the party will encounter. The fortress also offers an opportunity to introduce the players to the Underdark and the Zhentil Keep. There is a passage to the Underdark the players can accidentally explore, and return to later. Emissaries from Zhentil Keep have come to watch the ritual and have their own motivations. These npcs provide an opportunity for exposition and role playing at a point which otherwise might be combat heavy, acting as a valve for the first floor - helping or hurting the party with subtle magic should the difficulty be off.

With your first set of adventures firmly under your belt you are relaxing and basking in the glory of a job well done. While at the local tavern imbibing in some well-earned spirits, a commotion can be heard outside. As you step outside the villagers are pampering two children who apparently just rode into town on a very sweaty and tired pony. An arrow is sticking out of the mount’s flank. As the animal is removed the townspeople pepper the children with questions as both are obviously afraid. It would appear the drinks will have to wait.
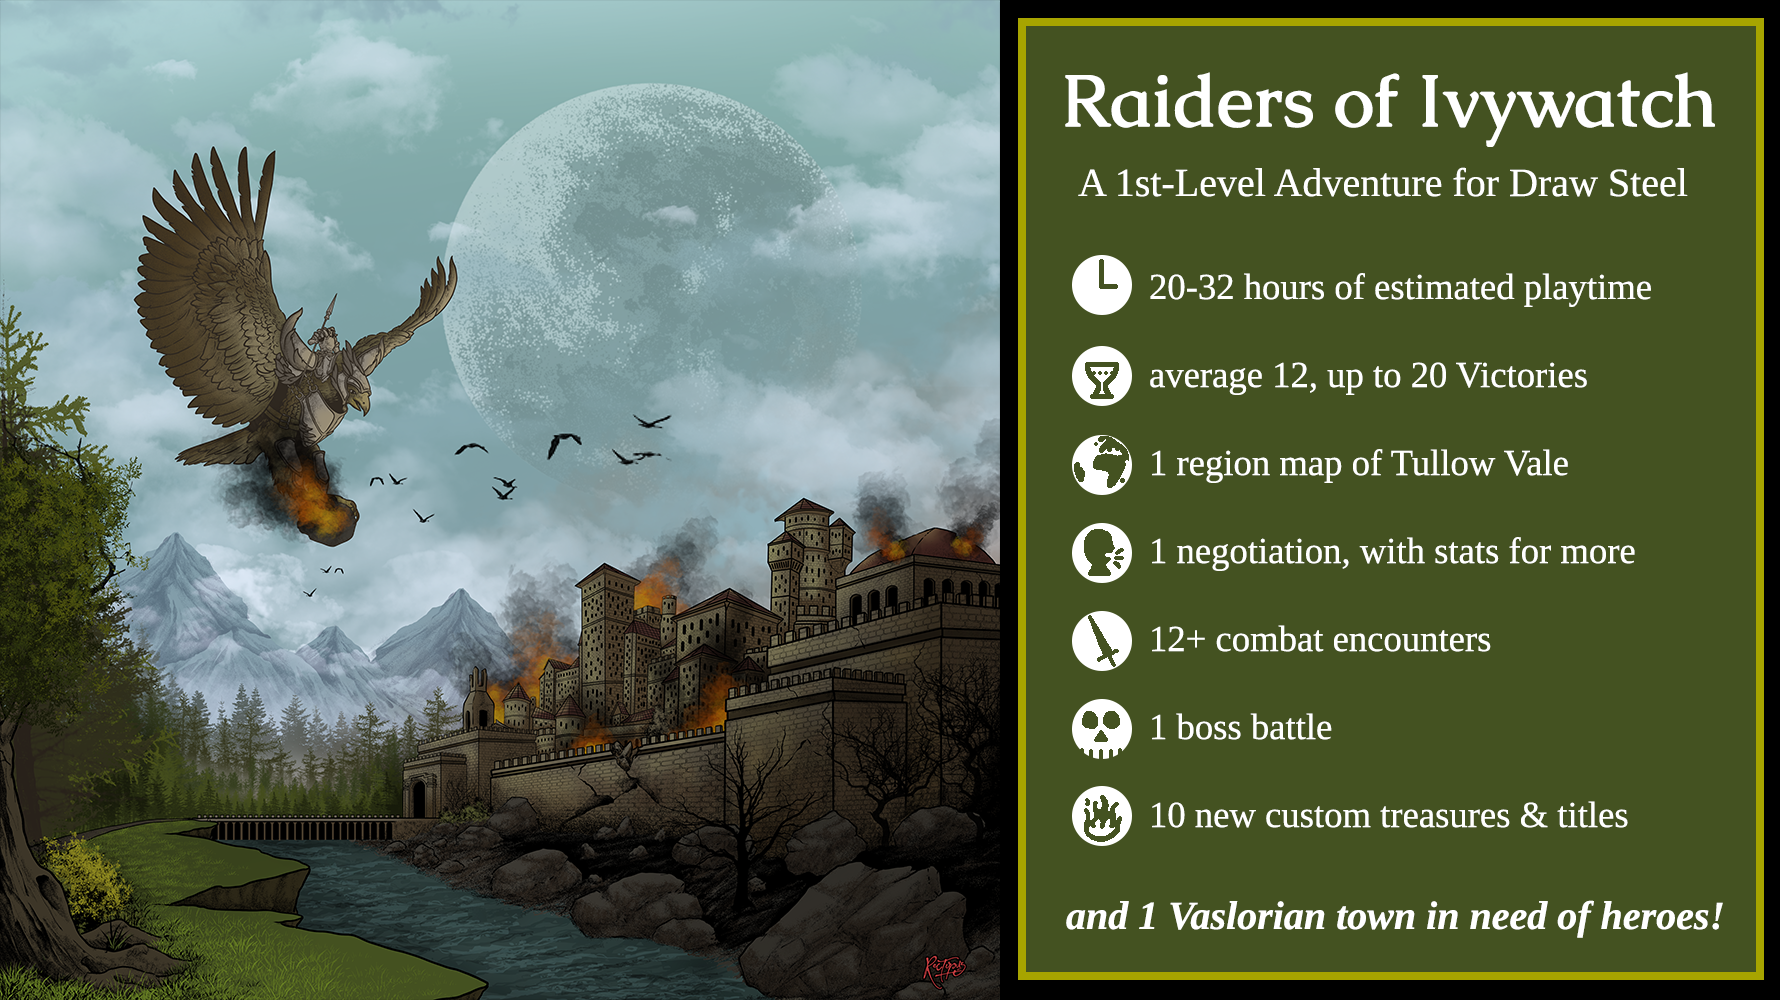
This adventure is about fighting monsters and being heroic. It’s also about discovering hidden and forgotten secrets, and then using those secrets later to the heroes’ advantage. The heroes will fight lizardfolk and hawklords, undead and basilisks, and some strange and malevolent creatures from a plane beyond Orden. The heroes will have the opportunity for a handful of negotiations which can be hugely influenced by piecing together secret information uncovered earlier in the adventure. Combat encounters in the adventure are built to generally take at least 3 rounds, sometimes more - they can be complex! The heroes will be expected to spin multiple plates at the same time! The adventure reward an average of 12, but as many as 20 Victories. Depending on your experience running and your table’s experience playing Draw Steel, how many side objectives the heroes follow, as well as a bunch of other factors, it could run around 20 to 32 hours of playtime. In the Tullow Vale of Vasloria, a centuries old town is built around a weathered statue said to seal away an ancient evil. Ajax's Hawklords bombard and lay waste to the town, stealing the statue, and in the chaos, the pitiless Deatheye Yslansh and her lizardfolk minions abduct the citizens! Can you save the people of Ivywatch before they are put to the Deatheye's fell purpose? And what or who exactly have the Hawklords unsealed? This adventure is about fighting monsters and being heroic. It’s also about discovering hidden and forgotten secrets, and then using those secrets later to the heroes’ advantage. The heroes will fight lizardfolk and hawklords, ogres and basilisks, and some strange and malevolent creatures from a plane beyond Orden. The heroes will have the opportunity for a handful of negotiations which can be hugely influenced by piecing together secret information uncovered earlier in the adventure. Combat encounters in the adventure are built to generally take at least 3 rounds, sometimes more - they can be complex! The heroes will be expected to spin multiple plates at the same time! The adventure will reward an average of 8 to 18 Victories. Depending on your experience running and your table’s experience playing Draw Steel, how many side objectives the heroes follow, as well as a bunch of other factors, it could run around 20 to 32 hours of playtime. The adventure contains: - 12+ combat scenes, including a boss battle. Most combats have objectives beyond just “kill everything” - 2-3 montage tests - 1 small, safe location to take respites in, full of NPCs with opinions - 1 big, complex, puzzle-y negotiation - 10 new custom treasures and titles, and other player rewards - A brief setting primer to Tullow Vale

In the canyon of Thunder Rift, in the village of Kleine, goblins have always been a nuisance, but the natives have dealt with them and continued an otherwise peaceful existence. Now, a valuable magical item, called the scepter of truth, has disappeared! The ingenuity of the crime bears the mark of the goblins' leader, the Master Thief Raven. The scepter must be recovered, but there is no one in Kleine with the strength and courage to penetrate Raven's trap-laden hide-out, deep in goblin territory. A party of stout adventurers might survive the mission, but they will have to be quick, smart, and especially careful. This module has been created especially for the inexperienced Dungeon Master and players who are interested in the exploration of dungeons and ruins. TSR 9350

Lost Tombs, Volume 2 The lich Lyzandred: a madman, an undead archmage, a survivor of the twin cataclysms that destroyed tow great empires. His name invokes fear in the hears of the smallest children, the bravest warriors, and the wisest sages. Like a malicious cat, the lich toys with all who stumble into his maze, tormenting them with strange puzzles and obscure riddles, monsters and demons, weird traps and dangerous magics. All who enter the crypt of Lyzandred find themselves scarred with his rune, proof of their visit -- and their folly. But there is a method to the madness of Lyzandred, a purpose to his twisted games. If you're lucky, you might even live to learn about it. The Lost Tombs series begins with Star Cairns (Volume 1) and concludes with The Doomgrinder (Volume 3). Each adventure is playable separately, or they can be linked to form an epic-length story. TSR 9580

You and your associates have been contacted by Janko Milosh, fourth Earl of Tambish. Apparently, he has come into possession of a cursed item and he requires it be delivered to someone he trusts to examine it. With no mounts and none for sale, you better hope your boots are in good shape!
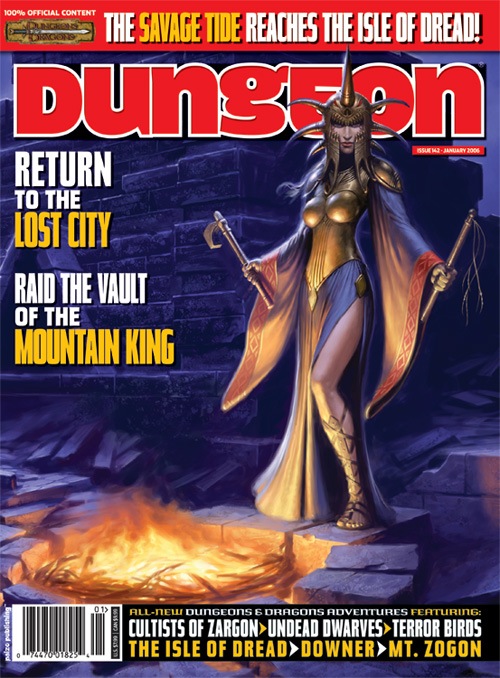
A long, perilous ocean journey behind them, the crew of the Sea Wyvern finds itself shipwrecked on the Isle of Dread. Their destination lies well over 150 miles to the south, miles heavy with the threat of the island's terrible inhabitants. Yet the unknown enemies are far more sinister, for more than just dinosaurs hunt the vast jungles. Before long, a cunning fiend picks up their trail, and its duplicitous master demands their sacrifice. "Here There Be Monsters" is the fourth chapter of the Savage Tide Adventure Path, a complete campaign consisting of 12 adventures appearing in Dungeon. For additional aid in running this campaign, check out Dragon's monthly "Savage Tidings" articles, a series that helps players and DMs prepare for and expand upon the campaign. Issue #352 of Dragon explores the Isle of Dread in detail, providing a complete ecology of the island and the writing of Larissa Vanderboren. This article can be used as a player handout to represent the journals the group recovered from the Vanderboren family vault in the first adventure in the Campaign. Shipwrecked on the Isle of Dread! Faced with a dangerous journey, the PCs must escort a ragged band of castaways through monster-infested wildlands in order to reach the safety promised by the colony of Farshore on the isle’s southern tip. Pgs. 32-60
The Arena of Power is a versatile an variable battleground where player characters can fight player characters or groups can fight their enemies. We all know the PvP functions of video games. They may call “battle royal”, “arena” or “rumble”, but it is always a number of players fighting each other until only one is left standing. And the Arena of Power now gives you a place and some rules to do exactly that with your players. Send them into the arena and find out how well they know their skills. The Arena of Power is composed for 2 – 7 players of level 3 – 12.
Under raging storm clouds, the vampire Count Strahd von Zarovich stands silhouetted against the ancient walls of Castle Ravenloft. Rumbling thunder pounds the castle spires. The wind’s howling increases as he turns his gaze down toward the village of Barovia. A lightning flash rips through the darkness, but Strahd is gone. Only the howling of the wind fills the midnight air. The master of Castle Ravenloft is having guests for dinner—and you are invited. Spans levels 1-10.

This introductory level scenario brings a new group of players into an area formerly controlled by the Tunnmaa Dynasty. This group of rulers was rich in gold and gems before collapsing. It is well known that their kings, known as Ga Mantse, were buried in underground barrows that are well hidden and protected by traps. A few days ago a group much like your own found one of these hidden tombs and attempted to investigate. Sadly for them they were not up to the task. Can your party succeed where they failed?

The PCs begin in the port city of Luskan, where they're hired on by a caravaning merchant to perform guard duty for the long, dangerous journey over the Spine of the World Mountains. If the heroes do well, they reach the small town of Targos, where they hear rumors of a dead mage's lost tower out on the tundra. In order to find it, the PCs must overcome numerous obstacles but may find allies in the peoples of the Ten-Towns region, including a barbarian prince, a sly halfling, and a unique ranger. Not all is as it seems, though, nor can all smiling faces be trusted. Can the PCs separate the truth from the lies, locate the Accursed Tower, determine all its secrets, and survive?
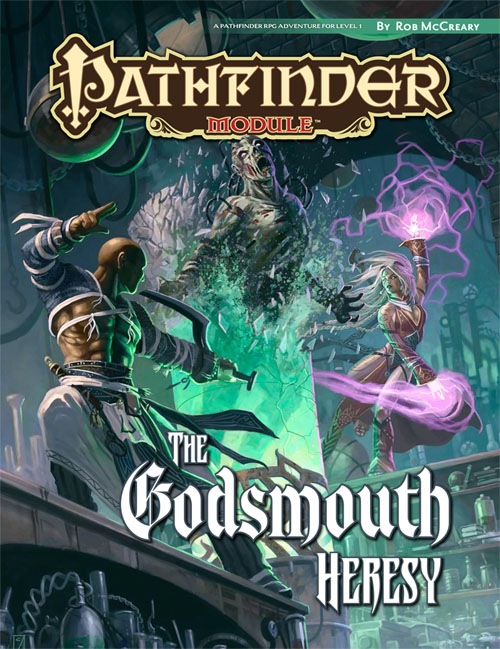
Deep below the anarchic city of Kaer Maga, someone—or something—has begun stealing corpses from the city’s most prestigious tomb, the Godsmouth Ossuary. Fearing the worst, the clerics of Pharasma in charge of maintaining the crypts quietly call for aid, not wanting to risk their own members in combating whatever horrors may have crept in from the tunnels and hidden chambers of the legendary Undercity. Beneath the infamous crypt lies a temple from an ancient empire devoted to sin, and a former Pharasmin cleric whose weathered his goddess’s wrath to create an army of undead minions, their dead flesh standing ready to support his heretical plans.

A half-marilith, half-medusa druidess lich known as the Hate Blossom lairs in this dungeon, having been run out of mortal society and shunned by demonkind. She possesses the petrified-yet-still-living body of Melenkir, the first human arch-mage and the single creature to remember a ritual that may save the realm from an extraplanar threat. Only slaying Hate Blossom or convincing her to lift the curse will revive Melenkir. Published by Defy Danger and Save Verses Death
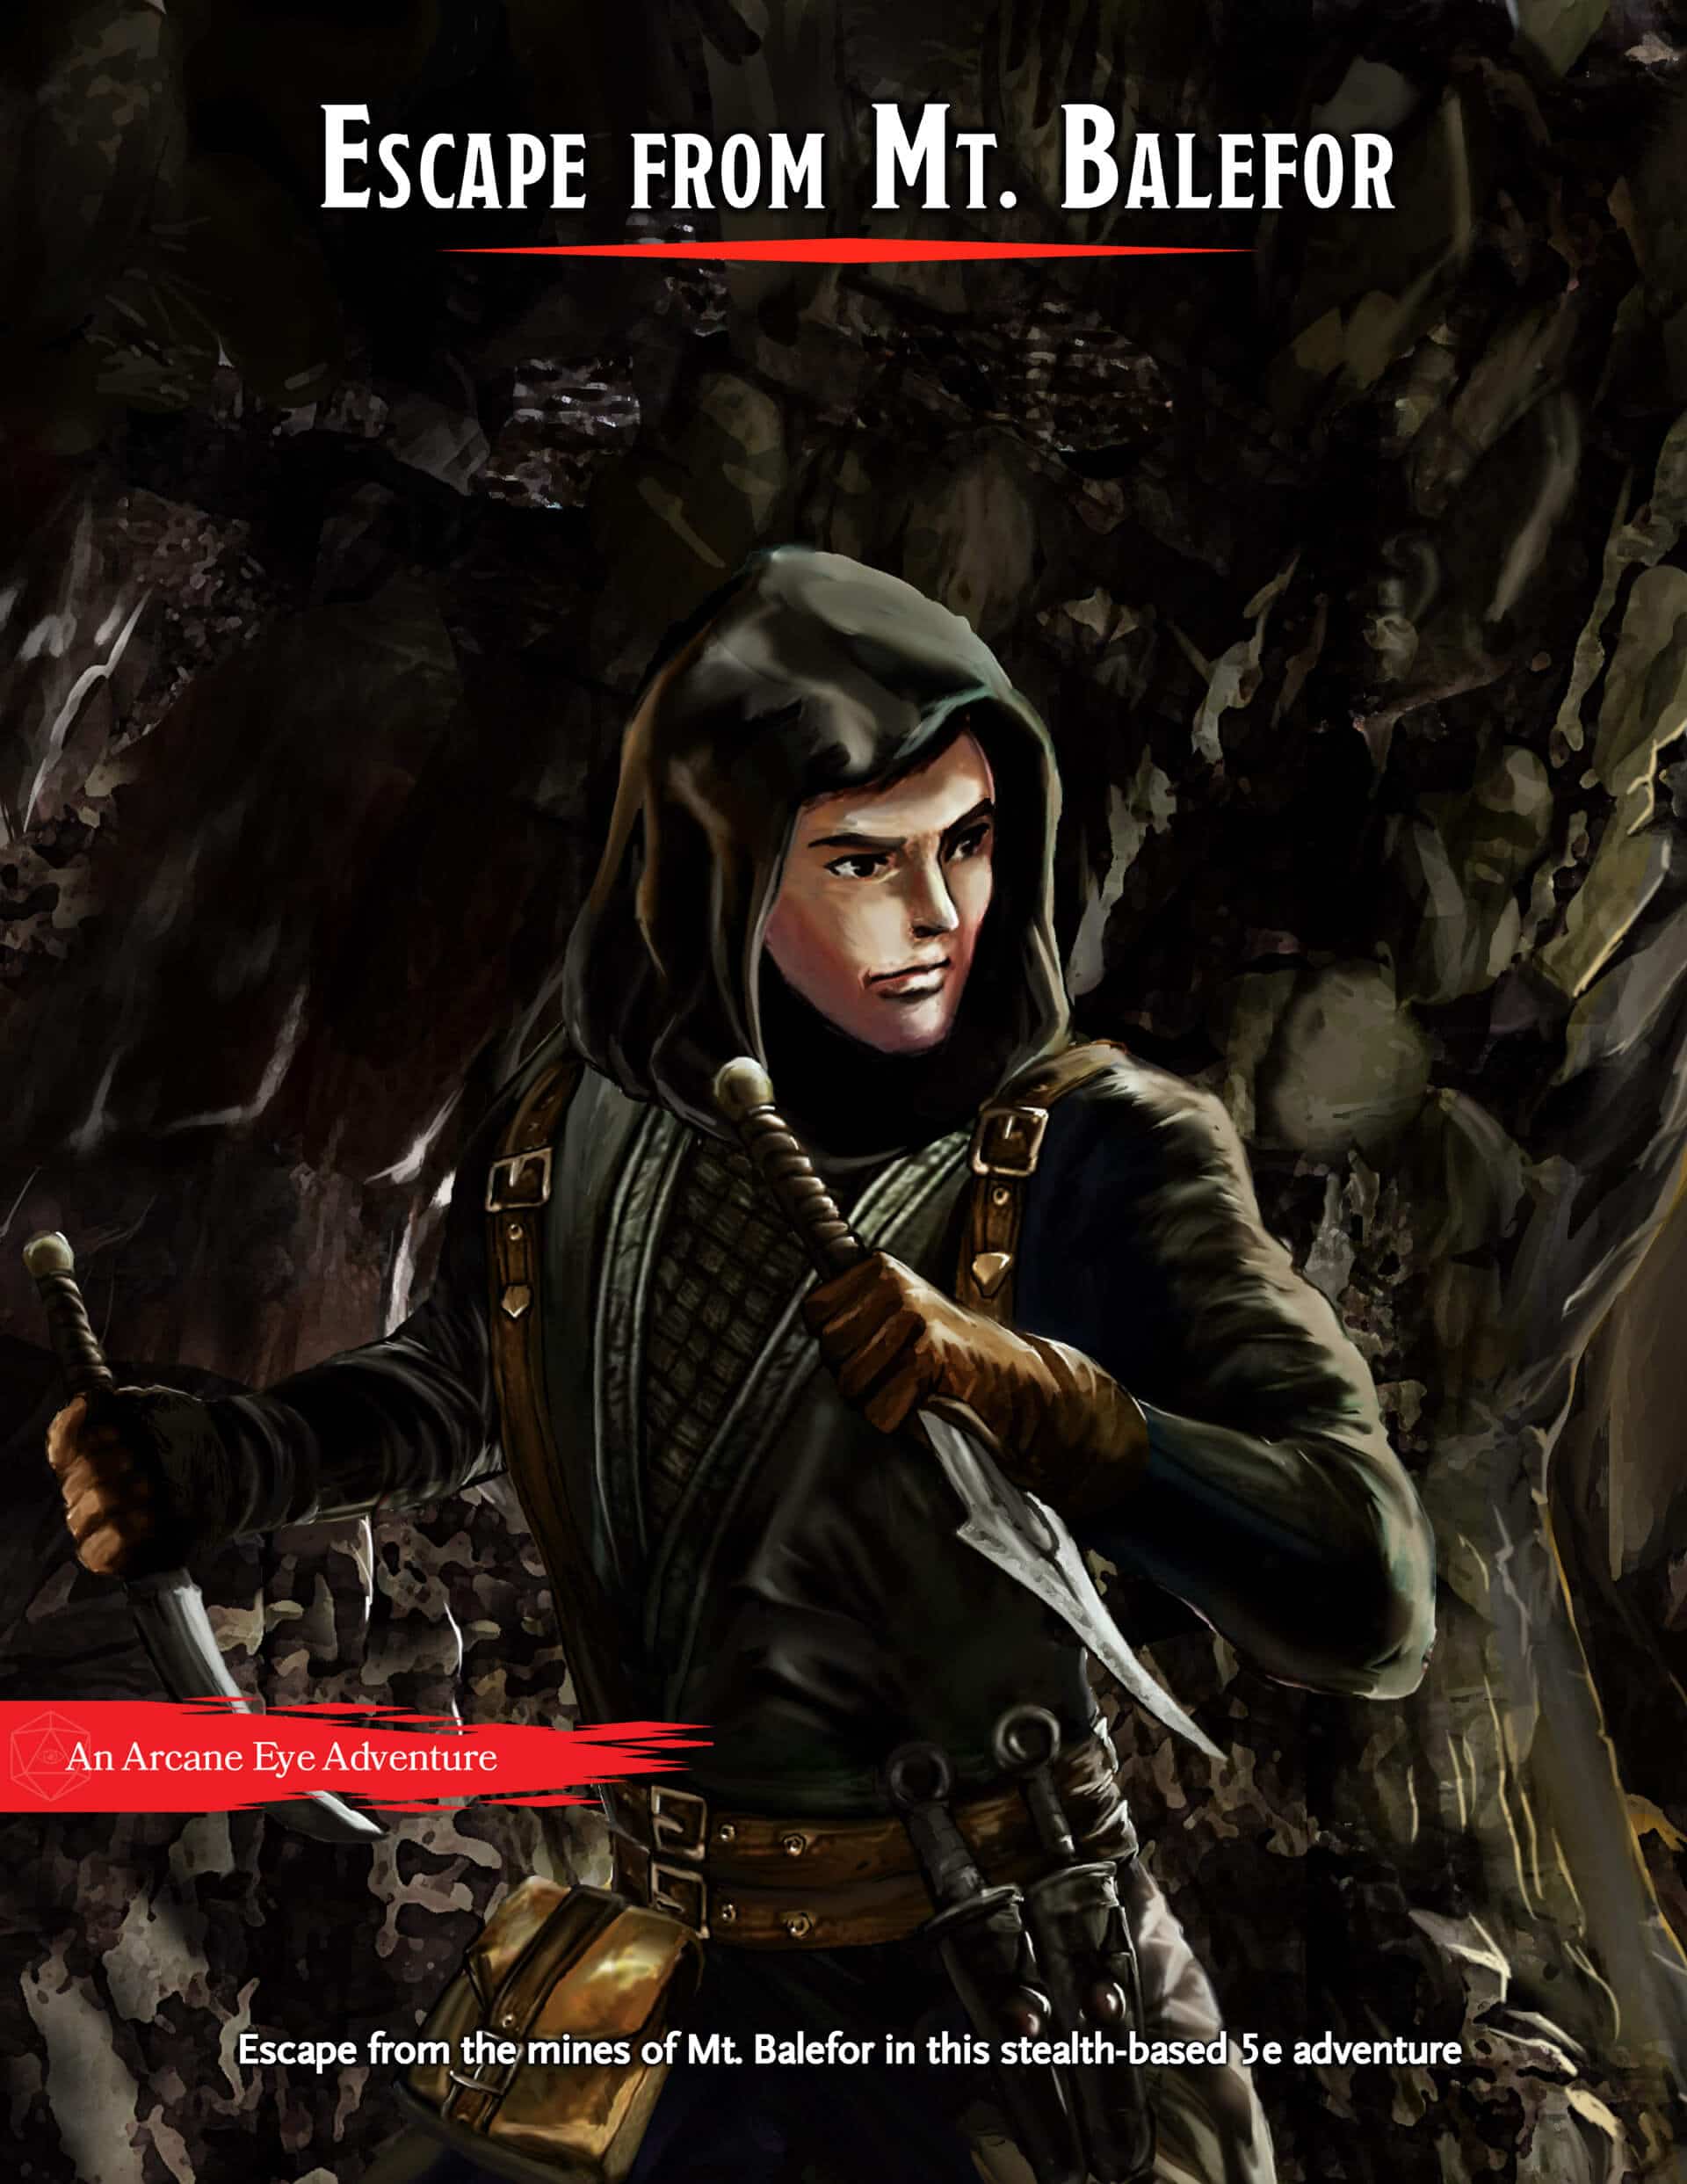
What’s Included Escape from Mt. Balefor is a self-contained 8-10 hour adventure for three to five 5th level characters. This premium module contains a full three-part story, battle maps, and NPC stat blocks. Your Mission Your party of Wood Elves will start in the mines and have to sneak and backstab their way to freedom. There are a number of chances to choose your path, whether you plan to avoid fighting or want to kill every last High Elf in the mines. There will also be a number of ways to affect the world around you if you choose to continue the story after the party escapes from the mines.

The End of the World Is at Hand! A hideous death cult has seized control of an ancient artifact-monument known as Tovag Baragu. The power behind the cult is the Old One himself, Iuz the Evil, demonic master of an empire. He's on an all-or-nothing quest for supremacy over the world—and the heavens beyond. To stop him, heroes must face horrors never dreamed of, journeying to a shadowed city where Death rules and the living cower. Here, Iuz will achieve his mad dream by destroying the imprisoned master of that alien citadel: Vecna, the mightiest lich, an immortal demigod. Two items exist with the power to stop Iuz—the Eye and the Hand of Vecna—but using them carries fantastic risks. Not even the gods know what will be unleashed when these items are fully activated. Die Vecna Die! takes the heroes from the Greyhawk campaign to the demiplane of Ravenloft and then to the Planescape city of Sigil. However, none of the material from those settings is required for play. TSR 11662

The Zhentarim ask the party to investigate what happened in one their most important underdark outposts. If the party accepts, they'll have to deal with maddening darkness, grimlocks, an insane kenku assassin and unpredictable mixtures of potions. A short, fun dungeon romp that is easily adapted to other settings and other patrons. The combination of utter darkness and a villain based on sound makes for fun shenanigans on the side of the DM. Feasible as a one shot for an efficient party. Two tendays ago, Zhentarim agents were to transport a shipment of rare potions between their Underdark outpost and the surface world. The shipment has yet to arrive, and the outpost is not responding to any sending spells. Growing worried, the outpost’s overseer sends a group of hireswords to investigate and return it to Zhentarim hands. This particular adventure deals with the delusions of madness of Fraz Urb'luu. It also features Muurmic, the mad kenku first described in the December 2015 issue of Dragon+.

Chapter 1 - Rodents of Unusual Size: The village of Ravenhome is plagued by an army of rats which feast on their supplies and threaten the survival of the village, as winter is approaching. Venture into the deep to stop an onslaught of vile rats on the ravaged village of Ravenhome. Dispose of the cranium rats which escaped from the Underdark or strike a deal with the devilish creatures. Chapter 2 - The Pied Piper: The village's children were abducted by the winged kobold Krubcek and brought to the former temple of Cyric. The kobolds use the children as additional workers to excavate the site in attempts to free their imprisoned god Kurtulmak. The kobolds are willing to bargain, but the terms are cruel!

A museum of the Mad Archmage, it contains curiosities and treasures from all over the multiverse, and the challenges of the Watery Caves, which are a series of living caves connected by an underground river. This adventure can be used as an expansion to the Castle of the Mad Archmage mega-dungeon adventure, or as a stand-alone adventure. Published by BRW Games