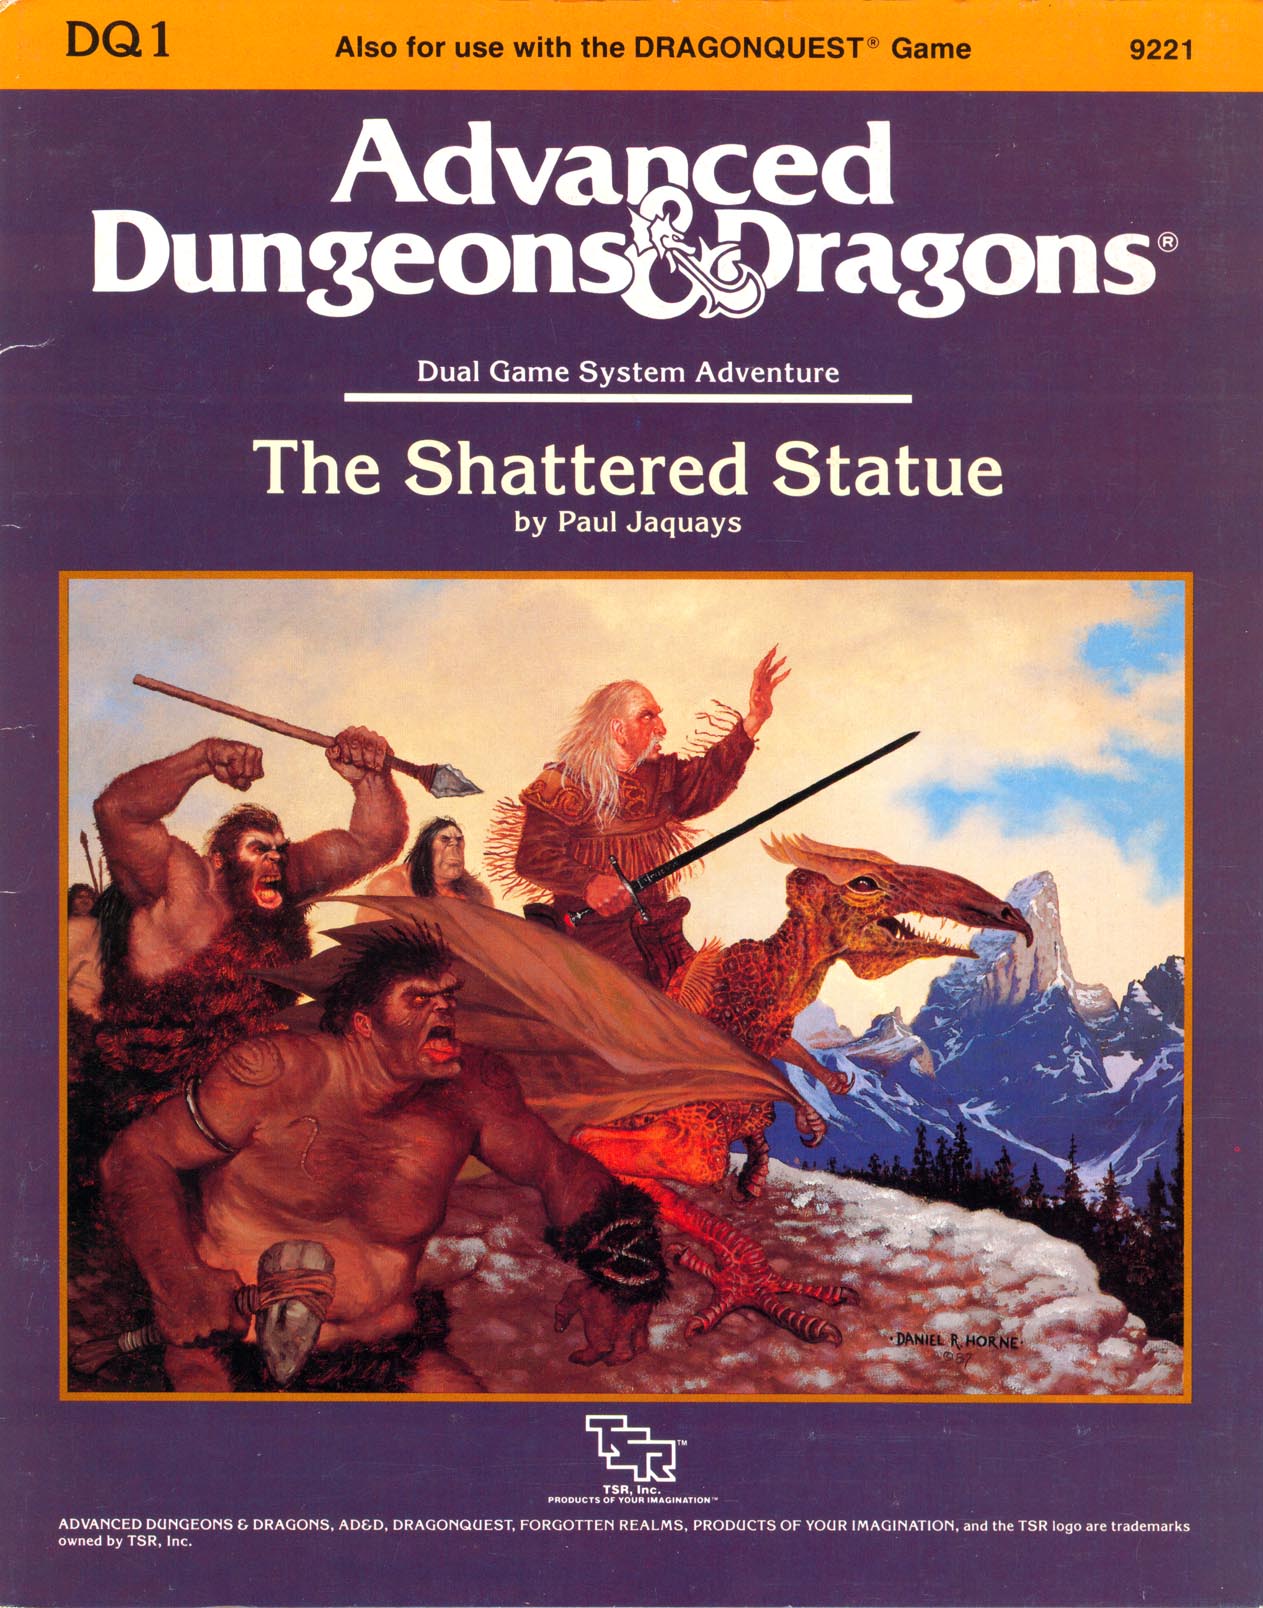
"A mutual friend has praised your skills highly. If you seek rich reward and the opportunity to delve into mysteries ancient and lost, bring this bottle forthwith to my demesne in the village of Volkumburgh. Together we may seek to bring mankind the lost wonder of the awtawmatawn." A mysterious note, a disappearing 5-foot-long religious relic, and the ruins of two magical schools. What do these things have in common? How deeply are your party members involved in all this? "The Shattered Statue" is the first dual-game-system module of its kind. Players of both the AD&D game system and DRAGONQUEST game system can use this adventure. It is suitable for use with FORGOTTEN REALMS campaign setting. TSR 9221
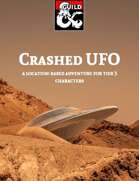
In this adventure, designed to last for a 3-4 hour session, the player characters encounter (or are directed to) a mysterious object in the mountains: A strange, silvery disc around one hundred feet across. If they make it past the deadly laser turrets and the very hungry sole survivor who lurks inside the only viable entry, they can explore the derelict craft. They will find several magic items, including a solar-powered laser pistol, as well as evidence of the ship's dead masters: The brain-eating illithid. But with technology comes other ways to stay alive over long periods of time, and the greatest danger is accessed by pushing the only lit button in the entire ship...

God of Ore is a 3rd-level adventure that takes the characters from the quiet, mountainside town of Miners’ Refuge into the heart of the Stoneheart Mountains in pursuit of a failed pilgrimage to discover a phony religious relic deep inside legendary Mithral Mountain. The dark, twisting tunnels that bore into the fabled mountain soon reveal that some mysteries are not what they first appear to be.

Driven mad by the darkness of winter, the Prioress of the Red Abbey begins her work. After months of research and work in her lab, she found a way to summon beings of light to push back the darkness, if she could control their destructive natures. The characters find themselves investigating odd deaths, chasing weird weather phenomena and trying to help locals harmed by these creatures of light.

A fast-paced one-shot from the bestselling author of The Secrets of Skyhorn Lighthouse! A shadowy force gathers inside the abandoned halls of Lastwatch Keep. Can the players defeat the drow invaders before they escape to the underworld with sinister intelligence about the surface? Shadows of Lastwatch Keep is a one-shot adventure for four or five 4th-level characters. It takes about 3-4 hours to complete and includes: -A drow strike team desperate to escape the keep’s surprise foe -A new monster, the drow commando -Combat cards for each monster, PC, and special treasure -A beautiful, hand-drawn map by Jake from Beware the Wizard

Warchief Grog Bloodloaf has sounded the horn of war. Elf scum have stolen orc lands and the tasty halfling herds. For generations the Maggotsmasher Clan has watched and waited from the icy caves of the frozen mountains but that wait is over. Warchief Bloodloaf needs only the totem of leadership, the Dragon Crown of Durge Maggotsmasher, to unite the clans and begin his war. Five misfits have answered the call to brave the Caves of Throllorat and return with the crown. With a little luck, these five maggots will kill a few of the beasts within Throllorat before dying, making it easier for real warriors to complete the quest. The Misfit Maggot Five is a comdedic adventure where five rejects from the Maggotsmasher Clan are called upon to retrieve the famed Dragon Crown of Durge Maggotsmasher from the dreaded caves of Throllorat. Each of the characters are fully developed with their own unique personality that will give any Dungeons and Dragons group hours of laughs! The Misfit Maggot Five is a 5th edition comedy adventure for 2nd level monstrous humanoid characters. Published by The Pickled Dragon Press

On a storm-blasted mountain lives an immortal Arch-Mage with a foul temper. The townspeople want you to talk to him - and kill him, if necessary. Is immortality worth the price? An Arch-Mage's magics threaten a small village. To protect it the party must brave a dangerous climb, and survive the Mage's warded lair. Pgs. 43-64

The chase to save your family continues! After your encounter at the cove, you head south across Esaq to try and catch the slavers. With some experience under your belt, you are feeling more confident about your fighting ability, but it is about to be tested yet again. This scenario picks up where DQ1 left off and is the middle of a trio of adventures.

The Holdfist Mountain range hosted many battles during the Troll Wars and during the dark years many villages, shrines, and castles were destroyed. When the fighting was over the villages were rebuilt so that farmers could resupply the duchy and the former strongholds were lost to the sands of time. One of these forgotten areas is the Church of Scakla and is said to be home to lost magical items...

Picking up where the adventures left off in Sordack Valley, the PCs gain information on areas with potential treasure. Several ruins are just within reach and at least one may be the burial site known as the Ossuary of the Bear! A magical crozier was said to be buried there and has never been found. Are your players ready to make themselves legends?

Locals on the edge of a mountain range are being harassed by brutal monks and their giant tiger pet. Travelling into the hills, the players find the hidden monastery of the Burning Tiger: an evil order of monks that only respect strength. To end the threat, the players must undergo 4 life-or-death trials to test their mettle. But not all is as it seems in the monastery. Can the players unravel the mystery, and survive the Trials of the Burning Tiger? Based on an encounter for 3.5th edition D&D written by Eric Cagle for Wizards of the Coast.
Pursued by wolves and worse, the party must fight a running battle to take refuge at the relative safety of the Bittermoon Inn, a decrepit old inn high in the mountains. But night is falling, can they uncover the secrets of the inn and use them to survive the night? This adventure can be played as a stand alone one-shot, or can be used as a drop-in side quest to almost any campaign. It is suitable for a party of about 5 characters at the First Tier (Levels 1-4). The players must fight a running battle with wolves to reach Bittermoon, then they must discover the secrets of the inn before escaping through a smuggler's tunnel. Finally they must face off against their unseen opponent at Skull Cavern. There are four encounter maps included with this title.

The Hag's Hexes is a 66 page guide designed by Dungeon Masters Guild luminaries like JVC Parry and Janek Sielicki alongside rising stars and old stalwarts like Matt Butler, Matthew Gravelyn, and Tim Bannock. It was created with one thing in mind: to make hags more than the sum of their (often meager) Challenge ratings, giving them the mechanics, roleplay potential, and weird magic that can inspire campaigns, lay low kings and warlords, and potentially ensnare unwary Player Characters into campaign-changing curses or long-term bargains that force them into terrible moral quandaries! Split into five chapters, the authors have provided everything a DM needs to terrify their players for years to come. The Bestiary features over a dozen monsters; some are new hags, some are their minions or even their mobile lairs, and one of them -- the Shaitan AKA Desert Hag -- was featured in Monsters of the Guild! Bargains & Curses is a chapter filled with ideas that can kick-start campaigns, threaten valued NPCs, or put Player Characters' very existence and morality at stake. Chapter 3 includes two dozen items of wonderment, weirdness, and dread, ranging from fairy tale-inspired items of whimsy to terribly cursed items of horror. Chapter 4 is titled "Filthy, Vile & Downright Dirty" and provides dozens of roleplaying tips to make hags come alive, new mechanics inspired by and expanding on Volo's Guide to Monsters (coven spell lists, aunties, grandmothers, alternative coven members), and ends with useful combat tactics for each of the hags from the Monster Manual and Volo's Guide, as well as tactics for covens. Finally, Chapter 5 presents five encounter groups (with sub-encounters) to give you quick story seeds and monster lists that you can put together in minutes to create a single encounter or to inspire a full campaign, and ends with three full-length adventures -- each with 3-5 encounters -- that showcase many of the new monsters, rules, magic items, and so on that appeared in earlier chapters. Each of these adventures comes with an encounter map meant to act as inspiration for hag lairs, and they include useful mechanical ideas for terrain effects and descriptive keywords listed directly on the map for added inspiration and easy customization! Designed by Tim Bannock. Written by Matt Butler, JVC Parry, Janek Sielicki, and Tim Bannock. Edited by Matthew Gravelyn and Tim Bannock. Cover Art by Elena Naylor. Cartography by Tim Bannock using Inkwell Ideas' Dungeonographer (Dungeonographer is copyright Inkwell Ideas). Layout & Graphic Elements by Elena Naylor with Tim Bannock. Interior Art by Arcana Games, Bruno Balixa, David Lewis Johnson, Dean Spencer, Earl Geier, Filip Gutowski, Jacob E. Blackmon, Joyce Maureira, Petr Kratochvil, Jayaraj Paul, Brian Brinlee, and Wizards of the Coast.

Your time on the mainland of Calentria has come to an end and with an appropriated ship you find yourself approaching a collection of island in the middle of the ocean. Some of the sailors that have ventured into this area before report there may be a language barrier. As you approach a large land mass a dark shape in the sky seems to take notice of you…

After carving out quite the reputation, you and your associates have been summoned to meet with the local regent. As you wait in the audience chamber you notice that the furnishings appear to be in the middle of an upgrade. After being introduced to the slovenly king, his vizier explains the task ahead of you. Apparently the monarch wants to decorate his throne room and wants a Giant Ape as the showpiece. As luck would have it, rumors point to a nearby island in the Jarteach Mere…

After basking in the glory of your accomplishments, you learn of a problem with a caravan attack. A group of possibly Goblins have brazenly attacked the Hamlet of Kako, burning it to the ground. The information comes from a local farmer that witnessed the carnage. Pack your gear…time to go back to work in the Principality of Lockerbie!

Mount Black. A mountain filled with a myriad of creatures’ lairs, a crippled dragon that wants to control it once again, and a friendly kobold who can guide you to glory - for a price. Pgs. 8-17

Snakes fly, stones walk, and colossal monsters burrow in the world's crust - do these omens fore-tell catastrophe? Perhaps so, for now the dark elves walk in the sunlight, wearing armor that turns the shcaprest blades and strongest spells. They are poised to conquer the fabulous Hollow World. But what is this armor? How does its creation involve the ancient, mile-long Great Annelids, as well as those wondrous creatures, the feathered serpents? The mystery's solution draws your heroes across three thousand miles, from ruins to seaports, through the trackless caverns beneath the World's Spine, and finally to the eternal land of Nithia. There, your heroes discover the true meaning of... NIGHTRAGE! Nightrage is the second part of the far-ranging Blood Brethren Trilogy. You can play these three Hollow World modules in any order, or play this 64-page adventure by itself. You need the D&D Hollow World Campaign set to play. Easily adaptable to the AD&D game! TSR 9310

Under raging stormclouds, a lone figure stands silhouetted against the ancient walls of castle Ravenloft. Count Strahd von Zarovich stares down a sheer cliff at the village below. A cold, bitter wind spins dead leaves around him, billowing his cape in the darkness. Lightning splits the clouds overhead, casting stark white light across him. Strahd turns to the sky, revealing the angular muscles of his face and hands. He has a look of power - and of madness. His once-handsome face is contorted by a tragedy darker than the night itself. Rumbling thunder pounds the castle spires. The wind's howling increases as Strahd turns his gaze back to the village. Fas below, yet not beyond his keen eyesight, a party of adventurers has just entered his domain. Strahd's face forms a twisted smile as his dark plan unfolds. He knew they were coming, and he knows why they came, all according to his plan. He, the master of Ravenloft, will attend to them. Another lightning flash rips through the darkness, its thunder echoing through the castle's towers. But Strahd is gone. Only the howling of the wind - or perhaps a lone wolf - fills the midnight air. The master of Ravenloft is having guests for dinner. And you are invited. TSR 9075

Fane of Serpents is a titanoboa lair suitable for three to five 10th-level characters. A rocky butte covered with soaring ruins looms over the landscape. Legend describes it as a monument raised by an inhuman race that was wiped out centuries ago as retribution over foul practices. Locally, the spot is known as Titan’s Height. It rises starkly above the surrounding area, with four terraced plateaus. Each level is covered with the ruins of many-columned halls in an architectural style unlike anything else in the area. Their age and strangeness alone are enough to generate fearful legends. The stories grow worse when travelers or livestock disappear near Titan’s Height, which they sometimes do.