
“Siege of Bordrin’s Watch” is the sequel to “Rescue at Rivenroar,” continuing the unfolding story of the Scales of War campaign. This adventure features exploration, roleplaying opportunities, and combats in dynamic environments. In this adventure, a new threat looms to the west: A vast horde of orcs and their despicable kin emerge from the barren lands bent on plunder and conquest. While the Elsir Vale and other lands mobilize their meager forces to respond to the danger, a call has gone out to those heroes of the Vale to join forces and help to push back this new evil before it’s too late. Pgs. 4-55

To arms! To arms! The battle lines are drawn as desert men and inhuman tribes wait poised to strike on the fertile and rich lands of the east. The call has gone out through the civilized lands. The armies have been raised to match the invading foes from the west. Nobles and peasants have joined swords to greet the foes. But Fate or Chance has decreed another role for a small few. No glorious banners will wave on their march. No squadrons of knights will charge at their word. Instead, they will fight the war with stealth, secrecy, and cunning. The risks they will take are great, but the fates of both armies lie with them. It begins one night for your party far from the fighting. Suddenly you are entrusted with the most dangerous mission of the war. Can you cross the Sind Desert, occupied now by enemy armies, to find the Great Pass? Can you find the one known only as The Master? What will you do if you find him? So begins your adventure in The Master of the Desert Nomads, the first module of a two-part adventure that can be concluded in the exciting Temple of Death or played entirely on its own. Can your party do what must be done? TSR 9068

This third installment of the Aumvor saga includes: ● 19 encounters ● Stats for Living Zombies (converted from 3.5e) ● and an introduction to the tower The adventure continues as your PCs make their way to the upper reaches of the tower and learn of the danger involved in moving deeper into Aumvor's dark realm. For centuries Aumvor the Undying has fed upon the life force of innocent folk who stumbled upon his portal traps. For centuries he has planned for and prepared for the eventual return of Netheril as a power in the world. That hope has now faded, and he has returned to his vault to regain strength and begin anew. Even now, he is deep in his tower vault plotting. 𝐁𝐞 𝐬𝐮𝐫𝐞 𝐭𝐨 𝐜𝐡𝐞𝐜𝐤 𝐨𝐮𝐭 𝐓𝐡𝐞 𝐓𝐨𝐰𝐞𝐫 𝐨𝐟 𝐁𝐨𝐧𝐝𝐚𝐠𝐞 𝐩𝐚𝐫𝐭 𝟏 “𝐀𝐮𝐦𝐯𝐨𝐫𝐬’ 𝐖𝐞𝐥𝐜𝐨𝐦𝐞” 𝐚𝐧𝐝 𝐩𝐚𝐫𝐭 𝟐 “𝐅𝐚𝐧𝐞 𝐨𝐟 𝐭𝐡𝐞 𝐉𝐚𝐢𝐥𝐞𝐫𝐬”.

The Assassin's Knot is a sequel to The Secret of Bone Hill, picking up on themes from that module and shifts them to a new locale. The player characters must solve the mystery of who killed the Baron of Restenford, with evidence pointing to somebody from the town of Garrotten. The scenario describes the town and its castle. The Assassin's Knot module is different from most of its contemporaries in that it contained no dungeon or dungeon-like area. The longer the players take to find the murderer, the more unfortunate events occur in the village. The village, Garrotten, is reputed to be the place to go to have someone killed. The entire village shuts down when the Baron of Restenford is found dead, mutilated beyond the possibility of magical restoration. Three small clues are all the player characters have to unravel the mystery. TSR 9057

Someone in the misty, wooded Moonshae isles needs hundreds of brand new swords taken under guard from Sword Coast smiths to a certain place on the Isles. The swords are needed so badly, and their safe arrival is considered so unlikely, that someone is willing to pay adventurers a lot of gold - someone fairly important. Adventures foolish enough to take assignments too good to be true (or merely desperate for coins) will soon find themselves embroiled in a dark and mysterious struggle against evil that will take them into sacred groves, crumbling castles, and through ancient magical gates to the halls of the High King - and beyond -- An adventure that takes place on the Moonshae Isles, in which a mid-to-high level party fights against the encroaching darkness of The Cult of Bane. Although helped by the Harpers, players will have to uncover the plans of the cult, and thwart them where possible. Preventing the summoning of the "Godson", a manifestation of Bane's evil. Part of the "Forgotten Realms Adventure" series, this is FA1 - Halls of the High King. FA2 is "Nightmare Keep" TSR 9301

THRESHOLD! The northernmost town in the Duchy - and your last stop before your adventures begin. Threshold, the gateway to mysterious castles, lost temples, deadly caves and caverns. You have heard the stories and legends, now you wish to see for yourself. This product provides a complete campaign adventure that will take beginning characters from 1st all the way to 3rd level and possibly beyond, drawn from the first nine modules of the B-series adventures. See individual adventure entries for Boss, Common Monster and Items lists. TSR 9190

Haedirn Lastlight is a respected elven wizard and sage. After the death of his lover Lyonthel, the elf has been overcome with grief and has locked himself away in his study- a small manor on the cliffs of Wailing Crag. Haedirn has not been seen for over a year now, and those that knew him are beginning to worry. Worse still, a band of ogres has been terrorizing the nearby town, slaughtering the town folk and haughtily boasting the elf wizard is dead. The PCs must put a stop to the ogres' attacks, make way to Wailing Crag to root out the rest of their gang, and lay Haedirn Lastlight's tortured remains to rest.
Famed Pathfinder Bodriggan Wuthers disappeared from his dig site beneath the House of the Immortal Son in Taldor's gilded capital of Oppara. Once a grand temple to Aroden, the Immortal Son is now Oppara's most opulent theater. Sent to locate Wuthers, the Pathfinders must attend an opera with members of the Oppara elite in order to gain access to the secretive theater's dig site. When a cult crashes the performance and the nobility change into hideous walking dead, the Pathfinders are forced to choose between finding Wuthers or saving themselves.

This deluxe adventure takes heroes into the ruins of Gardmore Abbey, a monastery that was once the base of a militant order of paladins devoted to Bahamut. According to legend, the paladins brought a dark artifact back from a far crusade and stored it in their abbey for safekeeping, and evil forces gathered to assault the abbey and take it back. What the legends don’t tell is that this artifact was actually the Deck of Many Things, a force of pure Chaos. This adventure brings characters into the extensive dungeons beneath the ruins - dungeons that are warped and twisted with the raw forces of Chaos surrounding the cards of the deck.

Player characters attacking the lair of monsters that have been menacing the local village is a common D&D trope. This adventure turns the trope on its head. In Goblin Defense, the players create goblin PCs, and have to fight off repeated attacks by adventurers who are stronger and better equipped than they are. Starting at level 1 and running until level 7, this module encompasses 16 battles against unique and typically themed groups of adventurers built using player character classes and rules. The module is designed for 3 players, each of whom takes on an individual role within the tribe, granting unique bonuses or options for actions outside of combat. Goblin Defense can also be played with 4 players, but is not recommended for 5 or more players without substantial revision. The players aren't alone. Each commands a squad of goblin minions who can help in combat... but goblins are fragile, and adventurers hit hard. Life as a goblin is often brief and violent. Many will die, but as long as some survive, the tribe will carry on. A simple ruleset is provided for managing actions during the downtime between each attack. During this time, players can work to train their minions to use better gear, hunt for food for their tribe, recruit replacement warriors, brew potions, and - most importantly - improve their lair and its defenses by adding walls, traps, tunnels, doors, alarms, and anything else their creative minds can come up with. As the exact layout and placement of defensive features is critical, this is designed to be played on a grid. A PDF is included with the map scaled to print on 24"x36" (Arch D) size paper, available at most print shops. DMs may enjoy the chance to briefly try out many different character class and subclass combinations as they attack and eventually fall to the goblin pests they're trying to eliminate. Page count: Information for the DM only 6 Information for the players 4 Adventurer statblocks 37

The party's objective is to steal the gold that a tyrant would use to pay the mercenaries he has hired to take over the town of Elderwood. The adventure plays out as a caper over three in-game days.

The nephew of a once famous adventurer decides to make a name for himself and bites off more than he can chew. Short on options, and worried for his nephew’s life, he needs your help. Travel to the ruins of Dhonin's Lookout atop Standiac Hill to find and rescue the young adventurer. Uncover a plot that could lead to the destruction of the village of Millvein, and even more dire future consequences. Includes: A 3-4 hour adventure for 1st level characters Map of the village of Millvein 2 DM maps Stat blocks for all monsters the players might encounter. The adventure continues in Into the Underdark - Part 2 The Spider's Den

Time Is Meaningless in Castle Tristenoira Forlorn has long remained hidden in the shadows of notorious Barovia and Kartakass, yet the tiniest domain in the lands of the core is nearly as old as Ravenloft itself. This land is sick with evil, a twisted mockery of the place it once was. It is filled with creatures of despair who were drawn into the demiplane of dread.... Within Castle Tristenoira lies oblivion. The crumbling keep slips in and out of time, carrying its unwary explorers across the centuries, where they may be abandoned to the cold winds of eternity - and to the ghosts in the castle! Spirits both innocent and guilty haunt the timeless passages, whispering tales of murder and vengeance. Escape is for the lucky...or the hopelessly mad. The Castles Forlorn adventure set provides the DUNGEON MASTER with a rich and complex domain in which to set a campaign of any size and duration. It includes a 96-page sourcebook, The Weeping Land, which reveals the complete history of the domain and the strange and terrible lord who rules over it. Descriptions of the living and dead who call this lonely land home abound, as do details of the forbidding Tristenoira castle, where adventures may spend an evening or an age. After learning Forlorn's history of sorrow, the DM can lead player characters into Melancholy Meetings, a 32-page collection of encounters that provide adventure in every corner of the domain. Finally, only Eve of Sorrows remains, which is a 32-page assortment of mysteries and nightmares within the castle itself. This deluxe boxed adventure set completes the portrait of Forlorn with a highly detailed, double-sided poster map of the castle, a poster map of the domain, and a special wall poster created by award-winning artist Robh Ruppel - all in full color. Includes 2 adventures: Eve of Sorrows Melancholy Meetings TSR 1088
The knightly order known as the Glorious Reclamation continues its crusade against diabolic Cheliax, conquering the town of Kantaria, where the goddess Iomedae once ruled as a mortal. The villainous adventurers, now official agents of House Thrune, must retake the town, depriving the knights of a valuable holy site. Can the evil characters earn greater infamy and prestige by dealing the Glorious Reclamation a serious defeat in their most substantial territorial gain so far, or will the knights' rebellion continue unchecked across Cheliax?
The 13th Circle is an epic battle with one of the archfiends of legend, the demon Baphomet. Designed for Tier 3-4 characters (levels 15-17) and set in the Dread Domain of Kachelior, the adventure requires the party to navigate the mysterious and maddening mazes that protect the demon's castle, and battle fiends of all kinds to reach his throne room. But will they discover the truth of his machinations? Word has spread through the small collection of towns within the Grey Shade that a cult of Baphomet has been preparing something for their master within his palace. The players will travel to Baphomet’s palace, and make their way through the massive forest maze that surrounds it. They will find the corpse of one of the previous heroes enshrined near the center which hints towards the true purpose of the cultists. They will then have to infiltrate the dread palace either stealthing or fighting their way through the defenses. They then must make it past Baphomet’s Lieutenant, Aphalos, the Godeater. The characters defeat Aphalos or persuade him to leave his master to his fate. Once they enter the chamber, Baphomet’s plan is made clear. He wishes to create a maze within time, thus trapping this world in the same cycle of pain and doom as before.

The lord of a local realm is having his council members systematically killed or cast out for treason with little to no evidence to support the claims. This has been occurring for some time and a local shaman by the name of Borjah thinks he knows the cause. In his visions, he has seen a strange spirit shifting the shadows, a puppet master using the lord as its personal servant by warping his mind. This entity is slowly gaining power in the city and increasing its dominance over Lord Kestyl. Borjah attempted to warn the council of this corruption, but all those he informed ended up dead a few days later, so now he is taking matters into his own hands . . . with a bit of help from some willing adventurers of course. Borjah has a few strands of Lord Kestyl's hair, enough to create a strange potion for the party to consume. A potion that will link their minds to that of the lord and be able to fight back against the corruption that has taken hold. All they need to do is wait until his mind is at its most vulnerable . . . when he is asleep. Then, and only then, they can plunge into the mind of this once nobleman and drive back the forces of darkness that threaten to destabilize the entire political landscape of the area. The potion is powerful. Dying while in this dream state cause such severe mental trauma that it usually results in the death of that individual in the real world, so the party will need to be careful. The rules of the normal world don't necessarily apply in the realm of dreams, and as they close in on the entity things are sure to grow more and more chaotic and illogical. Find out if your players have what it takes to fight back against an invisible evil using nothing but their strength of will!
This book goes over the various rules around the faction of the Harpers in Phandalin and the Forgotten Realms, making it easy for any new or veteran DMs to integrate it more into the core stories being told, and making the faction feel more useful for the players that choose to join. The adventure sees the characters on a mission to Iniarv's Tower, sent to search for the artifact, Bowgentle's Spellbook, and rescue the fellow Harper member, Brodven.

The Fortress of the Yuan-Ti describes a fortress build into a cliff side and the slave village outside. The Adventure is the third of three but can easily be played by its self. The adventure revolves around the players discovering the dark plot to revive the demon Sertrous and then stopping it. The adventure describes the outside, inside, and hanging towers of the fortress. The adventure concludes in a forth extra-planer tower were you fight the boss. It also includes 4 sidetracks from portals that explain how they get the materials for the ritual. Final part of the Barrow of the Forgotten King series.
When the wizard's gone, who minds his home? The wizard's gone, and his pets are home alone - but not for long! The wizard, Asflag, has met a horrible fate as a result of a sorcerous accident! Dangerous creatures have since been escaping from his home. The players are hired by the town to stop this danger. Pgs. 8-21
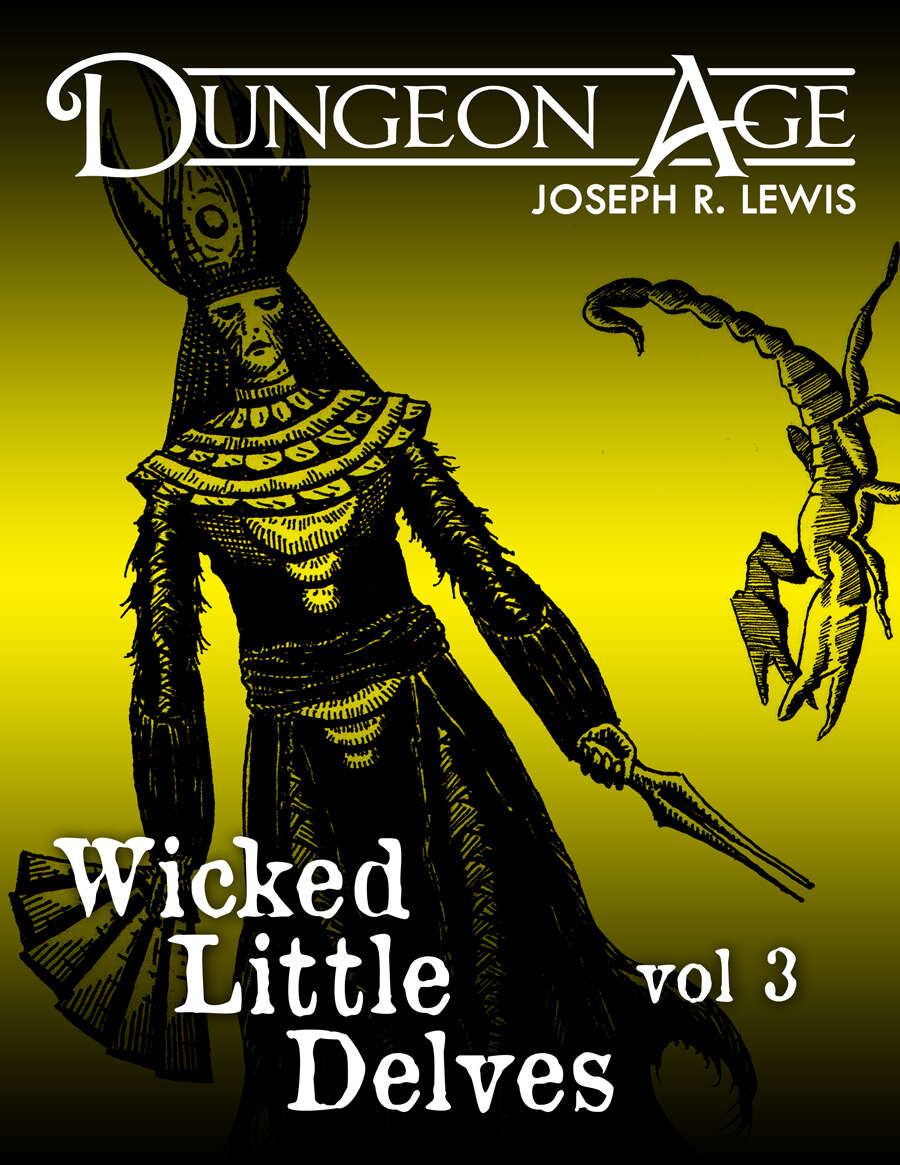
These are three one-shot dungeon delves. Each delve features nine rooms or locations full of challenges and interactivity. Each delve has only one type of monster, but they are complex, and there are lots of them! This volume of Wicked Little Delves includes three small dungeon adventures: - a tunnel complex full of dragons trying to eat each other, - a desert palace of sorcerous mummies trying to restore life to the wasteland, and - an ancient cathedral where zealots of Chaos try to summon unspeakable terrors from beyond the stars. SYSTEM: Each monster has stats for Fifth Edition, Old School Essentials, and Into the Odd. These adventures are intended for characters at levels 7, 8, and 9. They are mainly focused on exploration and combat, with some minor social encounters. Estimated run time for each: 1 session, or 2-5 hours. Each adventure includes one complex original monster and a variety of unique treasures. ADVENTURE TYPE: Mid Level / Combat / Exploration / One-Shot / Dungeon Delve DESIGN NOTES These adventures are intended for mid-level characters Level 7-9 9 unique encounter locations per delve (27 in all!) 3 original monsters with multiple abilities and weaknesses Dungeon maps and original illustrations