
This material was originally published as three separate adventures: G1 (STEADING OF THE HILL GIANT CHIEF), G2 (THE GLACIAL RIFT OF THE FROST GIANT JARL), and G3 (HALL OF THE FIRE GIANT KING). Contained herein are referee notes, background information, maps, and exploration keys for three complete adventures using the ADVANCED DUNGEONS & DRAGONS rules. This module can be used alone or as the first in a series of adventures that includes Dungeon Modules D1-2 (DESCENT INTO THE DEPTHS OF THE EARTH), D3 (VAULT OF THE DROW), and Q1 (QUEEN OF THE DEMONWEB PITS). TSR 9058

The Knights of Sum have guarded the western frontier of the Duchy of Starryshade for nearly two centuries. Wingfield Fortress has been the focal point of their power and a safe haven for travelers willing to cross the Plains of Aegoth. As you venture west to further your careers you have received word that the mighty keep has fallen! Are you and your compatriots ready to help the legendary knights?

The Ghost Tribe of Orcs have been driven from their home under the Sword Mountains by some terrible evil and they now see Phandalin as their best option for a new home. The heroes, who are on their way to Phandalin for a much needed rest after their adventures in the Lost Mine, must make it to town in time to warn the inhabitants and help prepare for the orc attack. Orcs to Phandalin is the first of four parts in the After Lost Mine series and will detail the trip to Phandalin. There will be three subsequent adventures: Part II, which details the battle to save the city; Part III, which details the trip to the orc’s cave settlement; and Part IV, detailing the party’s mission to deal with the terror from the Underdark that drove the orcs out of their home.
Captain Brunswick’s Manor is a dark, dream-infused adventure where players unravel the mysteries of a haunted noble estate. As they navigate twisted corridors, confront eerie foes like the Dreamborne Wyvern and Auntie Sol, and face mind-bending trials in a nightmare-filled dream realm, the party must find a way to free Captain Brunswick and his daughter from their cursed slumber. With multiple routes through the manor and unique magical rewards, this adventure offers both intense combat and chilling roleplay. Boss Fights: Engage in memorable battles against Captain Brunswick, the Dreamborne Wyvern, and the malevolent Auntie Sol. Puzzle Encounters: Solve challenging trials that mix dream and reality, testing both wit and strength. Legendary Weapon: Unlock Tulva, the Tide Bringer, a powerful magic weapon that evolves with its wielder.

After having one adventure under your belts you set sail to deliver a package across the open seas. A problem with nature causes their vessel to make an unscheduled stop on a small island that was home to a spice dealer for water. Problems ensue on the island and the party quickly discovers they aren’t “feeling themselves”. This item was played at WhosYerCon convention this past year in Indianapolis!

The Sea Witch is a short adventure for four 10th-level characters. The difficulty of the adventure can be adjusted by changing the level of main antagonist (Black Molly, the sea hag pirate) or by altering the number of her ogre servants. To tailor the encounter to groups of different levels, refer to table 4-1 in Chapter 4 of the DUNGEON MASTER’S GUIDE. The adventure is set off a lightly populated coastline known as Misty Bay, but adapts easily to any coastal region in existing campaigns. The sea hag known as Black Molly is a notorious pirate who has plagued the coastal cities for the better part of a decade. A successful Knowledge (local) check (DC 15) will reveal that Molly and her ogre crew have a filthy reputation as merciless killers who delight not only in plundering vessels for their riches, but also in destroying the ships themselves and sending all hands to the bottom of the sea. Now the villain and her followers have seized control of the Old Lighthouse of Misty Bay located off a lightly populated coastline. For generations the lighthouse beacon has protected the fishermen of this region, warning them of the dangerous rocks that lurk just below the level of the high tides. Recently, the hag has put out the beacon, darkening the lighthouse; misery and destruction are sure to follow as ships start to blunder into the rocks. Blackmail is apparently Black Molly’s aim in this venture: She conveyed a message to the nearest shore community, the fishing village of Poisson, demanding the princely sum of 50,000 gp. Until she receives this ransom, she intends to hold the lighthouse and its beacon hostage. The fate of the human keepers who tend the lighthouse is unknown to the seaside communities at this time, but they fear the worst. The Sea Witch is ostensibly a rescue mission: The PCs are pitted against the evil of Black Molly and the brawn of her savage ogre crew. It is the heroes’ task to retake the lighthouse and, if possible, free its captives from the clutches of their jailer. What neither the PCs nor the shore communities yet realize is that while she 1would be pleased to have the gold, Black Molly is in fact after bigger treasure. Molly has no intention of giving up the lighthouse — at least, not until she finds what her master sent her here for. Lying on the sea floor practically at the base of the rock on which the lighthouse sits is the wreck of the war galley Flying Cloud, which according to popular legend was captained by a cleric who wore around his neck an amulet of the planes. Black Molly wants this prize, but so far she hasn’t been able to find it. She’s scoured the wreck without finding any sign of the magic item. Now she’s trying to determine where to search next, for the item might well be somewhere near the wreck. If she can’t find it, she’ll start torturing her captives to find out if they have any useful knowledge about the amulet.
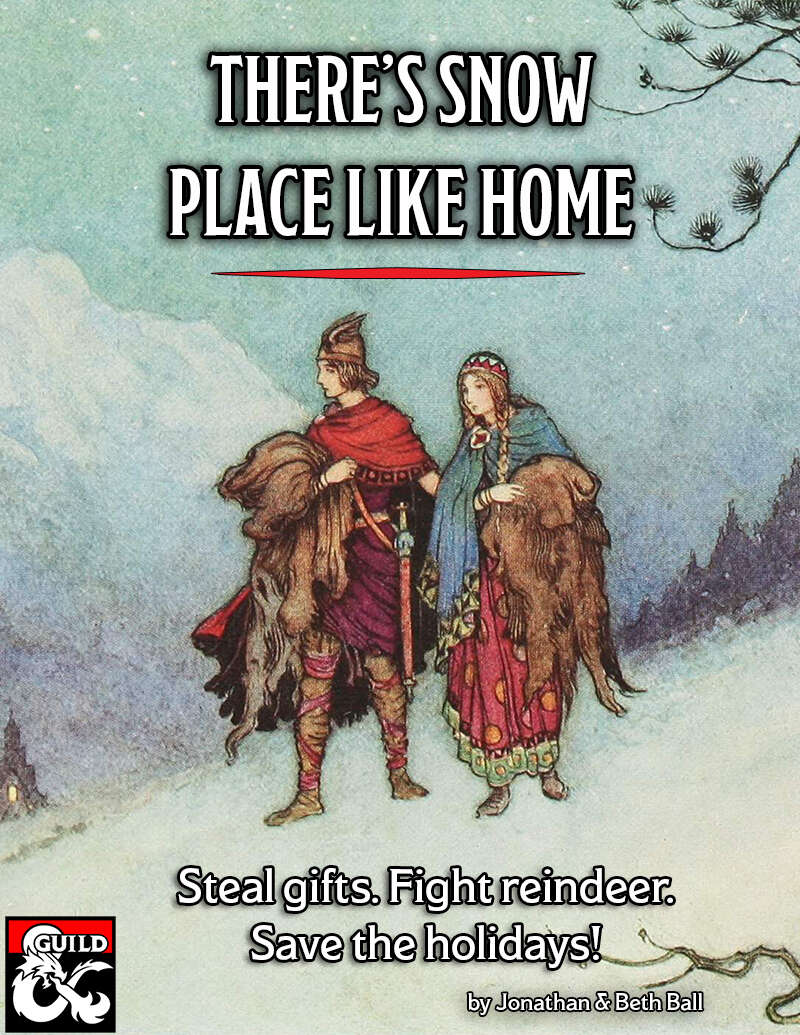
Steal gifts! Fight Reindeer! Save the holidays! Take on the dreaded devil Belsnickel and save the snowy gnomish town of Cheerington from his grasp in this fun-filled adventure for one-on-one parties or small groups level 4-5. Inside you'll find: -A one-shot adventure involving roleplay, exploration, and combat! -4 new festive creatures! -2 maps ready for print or import! -6 exciting new magical items to gift to your players! This adventure also has lots of fun mechanics like mistletoe and corrupting coal! We put together some of our favorite wintery stories and holiday tales in this fun holiday one-shot! It's perfect for a side narrative to try out one-on-one play for the first time, introducing someone new to the game, or taking your party to a festive demiplane for a unique Christmas-y one-shot adventure.

Once every decade, the tides of the Empyrean Ocean recede far enough to reveal the highest eaves of a mysterious undersea tower. Long ago this was an eldritch fastness of Sezrekan the Elder, the most wicked wizard ever to plague the Known World, but now the tower is known simply as the final resting place of the fabled Black Pearl – an artifact rumored to bring doom upon all who dare to posses it. Tonight the moon nearly fills the sky, and the tides have already begun to recede. Adventurers have eight short hours to explore the tower before the dark waters return. The fabled Black Pearl will be theirs for the taking…if they can survive the Pearl’s curse.
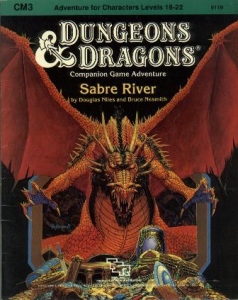
You are the guest of the count, one of your allies and the strongest man in the region. Your sojourn has been pleasant, a nice change after weeks of battle. Suddenly the courtyard below your window is filled with the noise of galloping horses. More Guests? You yawn as you look out. But these people arriving look more like tax collectors than guests. You decide to give your attention to something more interesting, like dinner. Relax while you can, friend, because these new arrivals are about to lead you to a crimson sailor, a cozy Tower of Terror, and a river with an aching heart. Sabre River includes a complete campaign setting, new NPCs, dungeon and wilderness encounters, and a mysterious story. TSR 9119

What happened to the signal tower? What waits for you in the misty mountains? The mayor of the town of Four Trails hires you to find the missing magic user, Delea the White! Delea was tasked with improving the signal tower at Eddistone Point. After leaving with her party of dwarven mercenaries, the mayor received a message from Delea's familiar; a white crow with a note scrawled in charcoal; "Bandits in the tower! Help!" The tower is straightforward, five levels, each a single room. There's a bait-and-switch where the players think the half-orc bandit leader is the bad guy, but an innocuous-seeming vagabond is actually a powerful illusionist. No monsters to speak of, only class-based NPCs, no magic apart from a ring of protection (not listed in this record, being equivalent to magic armor.) Pgs. 19-27
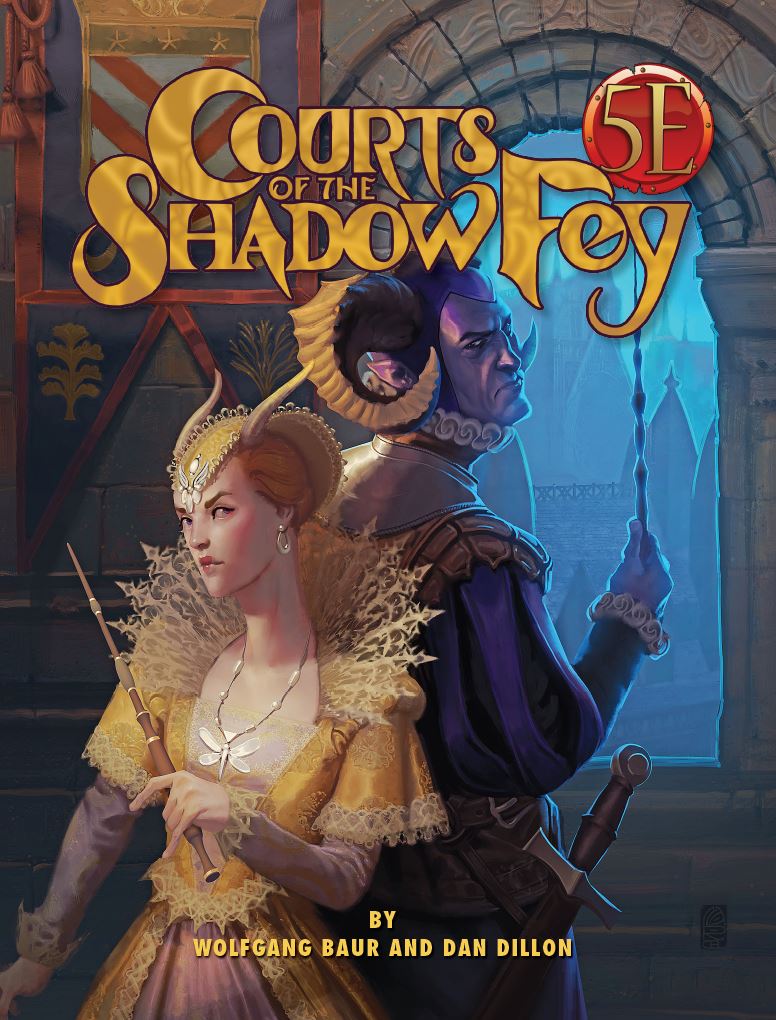
The Free City of Zobeck has thrived since overthrowing the tyrannical Stross family. But an ancient bargain gives the Queen of Night and Magic a claim to the city—and now the shadow fey have seized Zobeck as their own. The city’s only hope lies with a band of heroes who can outfight and outwit the shadow fey in the heart of their own realm: the maze of treachery and deceit that is the Courts of the Shadow Fey. This 148-page 5th Edition adventure contains 100 NPCs, a map with more than 60 locations of the Courts, and more than 40 combat and roleplaying encounters. Courts of the Shadow Fey takes you from the mortal world to the heart of Shadow, where you’ll: Fight your way through the dangers of the Shadow Realm to reach the shadow fey’s courts Engage in dangerous courtly intrigue, trying to increase your status to win an audience with the Queen herself Duel for honor, and perhaps win the hand of a lover among the fey nobility Can you free Zobeck from the grasp of the shadow fey? Or will your fate become a tale told in hushed tones as a warning against angering the Queen?

A hobgoblin force is expanding and threatening the land. Confronted with the relentless advance of Azarr Kul’s horde, the characters must undertake vital missions to influence the outcome of the war. Can they shatter the armies of the enemy, or will Azarr Kul’s dreams rain destruction upon the human lands? The adventure is fast-paced and time-sensitive, and requires almost constant movement by the party. WoTC 95385

The lost Bloodtower has returned, arising from its earthen grave to stand as a mute sentinel over the fog-shrouded moorland. In the weeks since it's return, local travelers have spoken of new undead roaming the countryside. Pgs. 80-87

5e Solo Gamebooks presents The Tortured Land, the fourth in our series of solo adventures set in the Forgotten Realms. With this adventure, we take off the gloves and throw your PC into the thick of some serious danger in the frigid north of Faerun. Only the most hardened adventurers will make it through this adventure in one piece, and with several different paths available, replayability is assured. The Tortured Land will provide you with hours of enjoyable, challenging play time. Arriving in a lonely village in the middle of the northern plain known as The Ride, your hero is soon drawn into a quest to retrieve a precious artifact. From there they will journey even further north, towards the barren waste known as the Tortured Land, in search of an unknown enemy. There are items to collect, codewords to activate and perils to avoid. And of course, many combat encounters! As always, hyperlinks are included in the text to facilitate easy navigation, removing the need for scrolling between entries.

Fangwood Keep has changed hands innumerable times since its founding decades ago on the border between the warring nations of Molthune and Nirmathas. Over the years, both countries have sacrificed money and soldiers in an effort to control the fortress along the Marideth River valley, both for its tactical location and for its secure defenses. Recently, however, the battles around Fangwood Keep have dwindled to a trickle as Nirmathas has firmly rooted itself in the surrounding valley, allowing the tide of war to shift elsewhere and peace to settle at last over Fangwood Keep. This respite was shattered by the arrival of a renegade Molthuni commander named Pavo Vos. Obsessed with capturing Fangwood Keep and unraveling the fortress’s mysteries, the defecting lieutenant unlawfully used his platoon to secure the castle, much to the ire of both the Molthuni and Nirmathi governments. Now the task of bringing Vos to justice and reclaiming Fangwood Keep for Nirmathas lies solely in the PCs’ able hands.

To Hell and Back Again is the perfect adventure for new players and veterans looking to experience Dungeons & Dragons in a new way! It's written as a solo adventure, where choices have gigantic consequences, but it also provides balanced rules to play with a group or a Dungeon Master as well! This 80 page adventure features: - A heart-pounding origins story that fits perfectly as either a prequel to Descent Into Avernus, a stand-alone adventure, or into your ongoing fantasy campaign. - Beloved characters like Lulu the hollyphant, Mad Maggie and her redcap gang, the archdevil Zariel, and many others brand new to this adventure. - Infernal War Machines, and exciting encounters with unique stat blocks. - Innovative Destiny and Traits mechanics that make your choices really matter. - A ton of possible outcomes that will fuel your character's many adventures to come! - Four gorgeous sample characters, with interactive character sheets designed to be new-player friendly so that you can jump right into the story if you'd like. - A community survey when you finish so that you can see how your outcomes and choices compared to other players!

Within the near impenetrable inner circle of the Corsair Mists, the White Ship has been called to its once proud dock by the dark sorcery of Molo of the 13 Wives. The final conflagration is at hand as the adventurers assail the towering boarding stair, fight their way through the ship's countless enemies, and finally enter the grand worship hall of the two greater sea gods, all in an attempt to thwart Molo before he can bring on an end of days. Test the limits of a high-level adventureing group's strength against undead cyclops guardians, mad storm giants, corrupted typhoon elementals, and both Molo and his wives in this epic conclusion to The White Ship Campaign! This adventure is formatted to both 1E & 5E gaming rules. Also available in PDF.

Agents of evil are attempting to complete a dark ritual in the icy depths of Gloomthrone Citadel, a ritual that would surely spell disaster for the kingdom if completed! Led by the priestess Z'ress Baenre, a coterie of drow have overtaken the abandoned tower and fortified it with their minions. It's a race against time for the PCs to make their way through Gloomthrone's defenses, and put an end to Z'ress and the foul magic she is using.

Blinsky's Toyshop is our take on what happens to Blinsky and Piccolo during, or after the Curse of Strahd campaign. Blinsky, the toymaker in Vallaki with the cute monkey wearing a pink tutu, received a large inheritance from a long-time client. The client, Obtavius Swat, a retired adventurer and avid collector of toys, left his entire estate to Blinsky. The estate included coin, precious gems, art, and his collection of toys, some made by Blinsky and others he acquired during his travels. Blinsky used the fortune to pay a wizard to create a small island in the middle of Lake Zarovich, located just outside of Vallaki. He then paid masons and workers to build a fantastic new toyshop, which he designed to be an experience for both the young and old alike. Though the number of children in Barovia was increasing, mostly imparted to the devil Strahd’s downfall, Blinsky wanted to touch the inner child of the adults in the city. He wanted happiness. He wanted smiles. He named the castle Blinsky’s Toyshop of Marvels. One of the toys, a small silver tiara kept in a black satin-lined ivory jewelry box, was such a lovely piece. Blinsky couldn’t stand the thought of leaving it in the box. He already had enough gold and losing the small tiara wouldn’t be a large loss, so he decided to give it to his monkey – Piccolo (see Creatures of the Toyshop). He smiled at the thought of her running around in her pretty, shiny tiara. Sadly, as Barovian luck would have it, trapped inside the tiara is the sole of an evil gnome wizard named Aribetha Strangge. In his old age, Obtavious Swat forgot that he and his fellow adventurers used the tiara to imprison the gnome’s soul. Yesterday, when Blinsky placed the tiara on Piccolo’s head, silver tendrils cascaded from the tiara and into poor Piccolo’s skull, allowing Aribetha to control the monkey. Now, Aribetha has incapacitated Blinsky in the toyshop’s tower, brought many of the toys to life, and imprisoned or killed many of the workers and customers. The adventure includes costumes (which the character may wear), Strahd Hand Puppets, and a possessed Piccolo.

The Shackled City Adventure Path enters the home stretch as the forces of evil take direct action against the heroes of the Cauldron. Dangerous secrets are revealed, important NPCs bit the dust, and your heroes will never know who to trust again! This adventure is seventh part of the Shackled City Adventure Path that began with "Life's Bazaar" (Dungeon #97). Pgs. 36-67