Dead from Above is intended for use with four to six player characters of levels 6 to 8. It will likely take two game sessions to complete. The adventure is set in (and above) a hilly region at the outskirts of civilization, presumably one near the base of a mountain chain. With a little work, the GM can place Dead from Above wherever he or she desires in the campaign world.

Anandak, a red dragon, has taken over an abandoned dwarven stronghold as his lair. He has also assembled together a rough confederation of monsters to act as his bodyguard. Anandak is preparing to enter into an alliance with the Black Prince, the March Lord Draven. The plan is for Anandak's monster allies to terrorize the lands north and east of Knacker Knob while the Black Prince, on pretext of marching to the aid of Knacker Knob, take control of Knacker Knob and the surrounding region. An emissary from the Black Prince, Lord Gonzaga, is currently in the dungeon, and he is in possession of papers that might reveal the Black Prince's treasonous plot. The lair is horribly overcrowded because monsters of all tribes and gangs are gathered to take counsel with the red dragon. Monsters are sleeping in the hallways because there is so little room, and the antagonism between races is at flash point. The PCs may be able to fan these resentments into intermonster battles. League of the Red Serpent is the third dragon's lair to conquer. Part of TSR 1073 The Dragon's Den
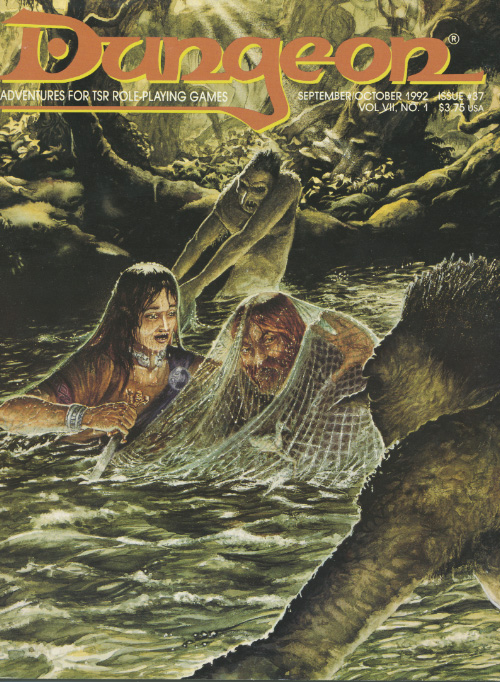
If love overcomes evil, remember to get rid of the imp! It took only the love of one good woman - and the hatred of one evil familiar. After leading a life a villainy, the wizard Elzid Natholin gradually left his wicked ways, transformed by the true love of a young maiden. His imp familiar was not pleased with this benign transformation and tricked his master into detonating himself and his tower. The players will investigate the tower to determine the nature of the explosion. The imp still guards the treasure in the dungeon, and is waiting for a legion of infernal soldiers to come claim the treasure for their devil lords. Pgs. 20-28

While exploring for hints of the Kobolds lair, an unexpected plea changes everything. This is the fourth and final adventure in a miniseries with the following adventures being: A Chance Encounter The Mystic Circle An Urgent Rescue In addition to the adventure, there are a few of maps of the adventure area as separate jpeg files. There is also a printer friendly version of the adventure.

Into the void. It all started with two wizards feuding now a sphere of annihilation and a daemon princess threatens the whole town. It is up to the party to stop things before the city is destroyed. Pgs. 24-47

Candlekeep is under siege, and it needs adventurers to help protect it! Heed the call to defend the legendary monastery and stand against the tide of evil. Confrontation at Candlekeep was used as a D&D Next playtest for D&D 5E. It was released to organized play Dungeon Masters in August 2013, and ran at Gen Con, PAX, and other major conventions. The adventure includes rules for running multiple tables, but can also be run for just one table. The attack on Candlekeep by forces of Asmodeus is tied to the events in Ed Greenwood's novel about the Sundering, "The Herald."
A storm brews above Nexarin, a town known for its perfect weather, bountiful harvests, and always-clear water. However now, flames cover the street, earthquakes level buildings, and a rotted stench fills the air. A wicked void mage attempts to use the town’s power for his own gain. None can stand against him and his legion of wrathful elementals… Get ready to Draw Steel! In this unofficial 1st-level adventure for the MCDM RPG Draw Steel, fight through never-before-seen elementally imbued Iresouls as you save Nexarin, discover powerful artifacts that convey boons you can use throughout the rest of the adventure, and face down the fearsome void mage Lord Cawlmire. This product contains: - An adventure that takes 6-10 hours to complete and that is designed for 4 players (with suggestions to adjust for more or fewer players) - 12 brand new statblocks, including 4 minions, a powerful Void Mage, and Iresouls for all 7 elements - 5 encounter maps specially designed for Draw Steel, each with unique and interactive terrain effects - Encounter sheets for each encounter, helping the Director with quick references to statblocks, terrain effects, and combat objectives - 2 unique treasures, including a Void Amulet for spellcasters designed to grow with you through adventures - Rules for rebuilding Nexarin after the events of the adventure, and lasting benefits for doing so

This quest is for a party whose members all perished in the same encounter. The loss of an entire party is hard to recover from and often spells the end of an adventure. However, with the assistance of the enigmatic Raven Queen, the party’s tale might not be over just yet. The characters must wander through the Fortress of Memories; confront their pasts, present selves, and possible futures to return to life. Includes a quest-related NPC that a player can control if they're waiting for their character to be resurrected.
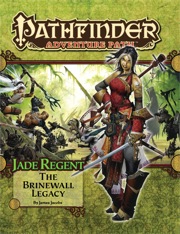
The town of Sandpoint, Varisia, Inner Sea Region has put out a bounty on the nearby tribe of Licktoad Goblins in retribution for the goblins raiding traders and travelers near the quiet town. The party takes up the bounty and ventures into the swamp; eventually finding the goblin village in ruins and it's inhabitants scared in it's burned huts. The party finds out; either through investigation of the ruins or the goblins themselves; that a group of skeletons with eastern arms and armor had ransacked the village and took a stash of fireworks that the goblins stole from an old shipwreck. The party then makes it to this cave and finds it empty except for a half dozen skeletons. Further in past the skeletons is their leader, a skeletal samurai who fights the party in an attempt to defend his treasure. The treasure turns out to be a letter that reveals that secrets of the Kaijitsu family; the same family their good friend Ameiko who runs the Rusty Dragon inn belongs to; that lies in wait in the abandoned town of Brinewall to the northern boarder of Varisia. Ameiko along with several other important NPCs with a caravan north. It's recommended that GMs create encounters for the caravan trip north as it's essentially 3 weeks of travel with nothing in it. It's also recommended that GMs completely ignore caravan rules; they're not flushed out and they're not fun to run. The party and the caravan reaches the abandoned town of Brinewall where their friend Ameiko becomes possessed and is thrown into a coma; where the other NPCs agree to take care of her while the party explores the town and castle. The castle is a three floor behemoth of a dungeon populated by Dire Corbies, Troglodytes, and various other monsters all under the leadership of Kikonu, an Yamabushi Tengu Oni. The goal of exploring Brinewall Castle is to find the two keys to the vault; one of which is on the Yamabushi Tengu while the other is on a Half-Fiend Decapus that lives in the basement of Brinewall. Once the PCs enter the vault they find the Amatatsu Seal; one of the seals that cement authority to one of the ruling houses in Minkai of Tian Xia; as well as several visions that show that Ameiko Kaijitsu is the rightful heir to be ruler of Minkai and that they'll need to travel north to do so. Such ends the first book of six.
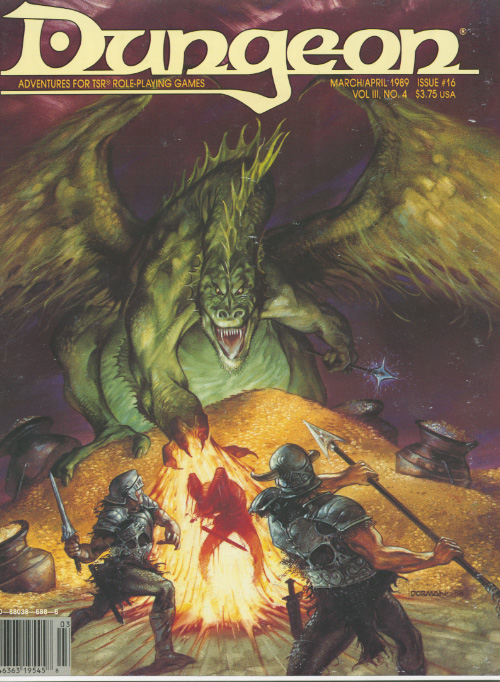
The giants are only a half-mile away - straight up. Giants and humanoids that sail down from the heavens? Where could they be coming from? No base town or general area map has been provided, as this adventure can take place anywhere and can be easily integrated into any existing campaign.The DM should make sure that the town in which the PCs start is large enough to provide most anticipated supplies, spells, and services. This module is not a simple hack·and slay expedition. It also involves diplomacy and wit; if the PCs attack everything in sight, they may be destroyed. But the adventure is not entirely negotiation, for it has a good share of hearty dungeon exploration as well. Pgs. 4-23

Blinsky's Toyshop is our take on what happens to Blinsky and Piccolo during, or after the Curse of Strahd campaign. Blinsky, the toymaker in Vallaki with the cute monkey wearing a pink tutu, received a large inheritance from a long-time client. The client, Obtavius Swat, a retired adventurer and avid collector of toys, left his entire estate to Blinsky. The estate included coin, precious gems, art, and his collection of toys, some made by Blinsky and others he acquired during his travels. Blinsky used the fortune to pay a wizard to create a small island in the middle of Lake Zarovich, located just outside of Vallaki. He then paid masons and workers to build a fantastic new toyshop, which he designed to be an experience for both the young and old alike. Though the number of children in Barovia was increasing, mostly imparted to the devil Strahd’s downfall, Blinsky wanted to touch the inner child of the adults in the city. He wanted happiness. He wanted smiles. He named the castle Blinsky’s Toyshop of Marvels. One of the toys, a small silver tiara kept in a black satin-lined ivory jewelry box, was such a lovely piece. Blinsky couldn’t stand the thought of leaving it in the box. He already had enough gold and losing the small tiara wouldn’t be a large loss, so he decided to give it to his monkey – Piccolo (see Creatures of the Toyshop). He smiled at the thought of her running around in her pretty, shiny tiara. Sadly, as Barovian luck would have it, trapped inside the tiara is the sole of an evil gnome wizard named Aribetha Strangge. In his old age, Obtavious Swat forgot that he and his fellow adventurers used the tiara to imprison the gnome’s soul. Yesterday, when Blinsky placed the tiara on Piccolo’s head, silver tendrils cascaded from the tiara and into poor Piccolo’s skull, allowing Aribetha to control the monkey. Now, Aribetha has incapacitated Blinsky in the toyshop’s tower, brought many of the toys to life, and imprisoned or killed many of the workers and customers. The adventure includes costumes (which the character may wear), Strahd Hand Puppets, and a possessed Piccolo.
Standing 100 feet off the shores of the vast Sapphire Lake are the ruins of a small fortress standing atop a rocky islet. The fortress belonged to a lich posing as a warlord from the Kingdom of Old Hagada, but fell rapidly into ruin when the Shrouded Hero was able to pierce the lich with the Blade of Five Seals. The lich cursed the assassin and his incompetent guards with his final breath. He cursed them to the same fate, their bodies petrifying and all of their souls being sealed in the Sheath of Five Seals. Afterwards, the warlord’s armies were defeated on the battlefield and the fortress became abandoned. In this short 3rd level dungeon crawl, the party investigate a ruined island fortress to solve a mysterious puzzle box. You can run this as a one-shot or plop this into your campaign world with minimal effort. The adventure is designed for Shadowdark RPG and references the core rulebook. If you're an experienced game master, you could convert the adventure to whatever system you prefer.
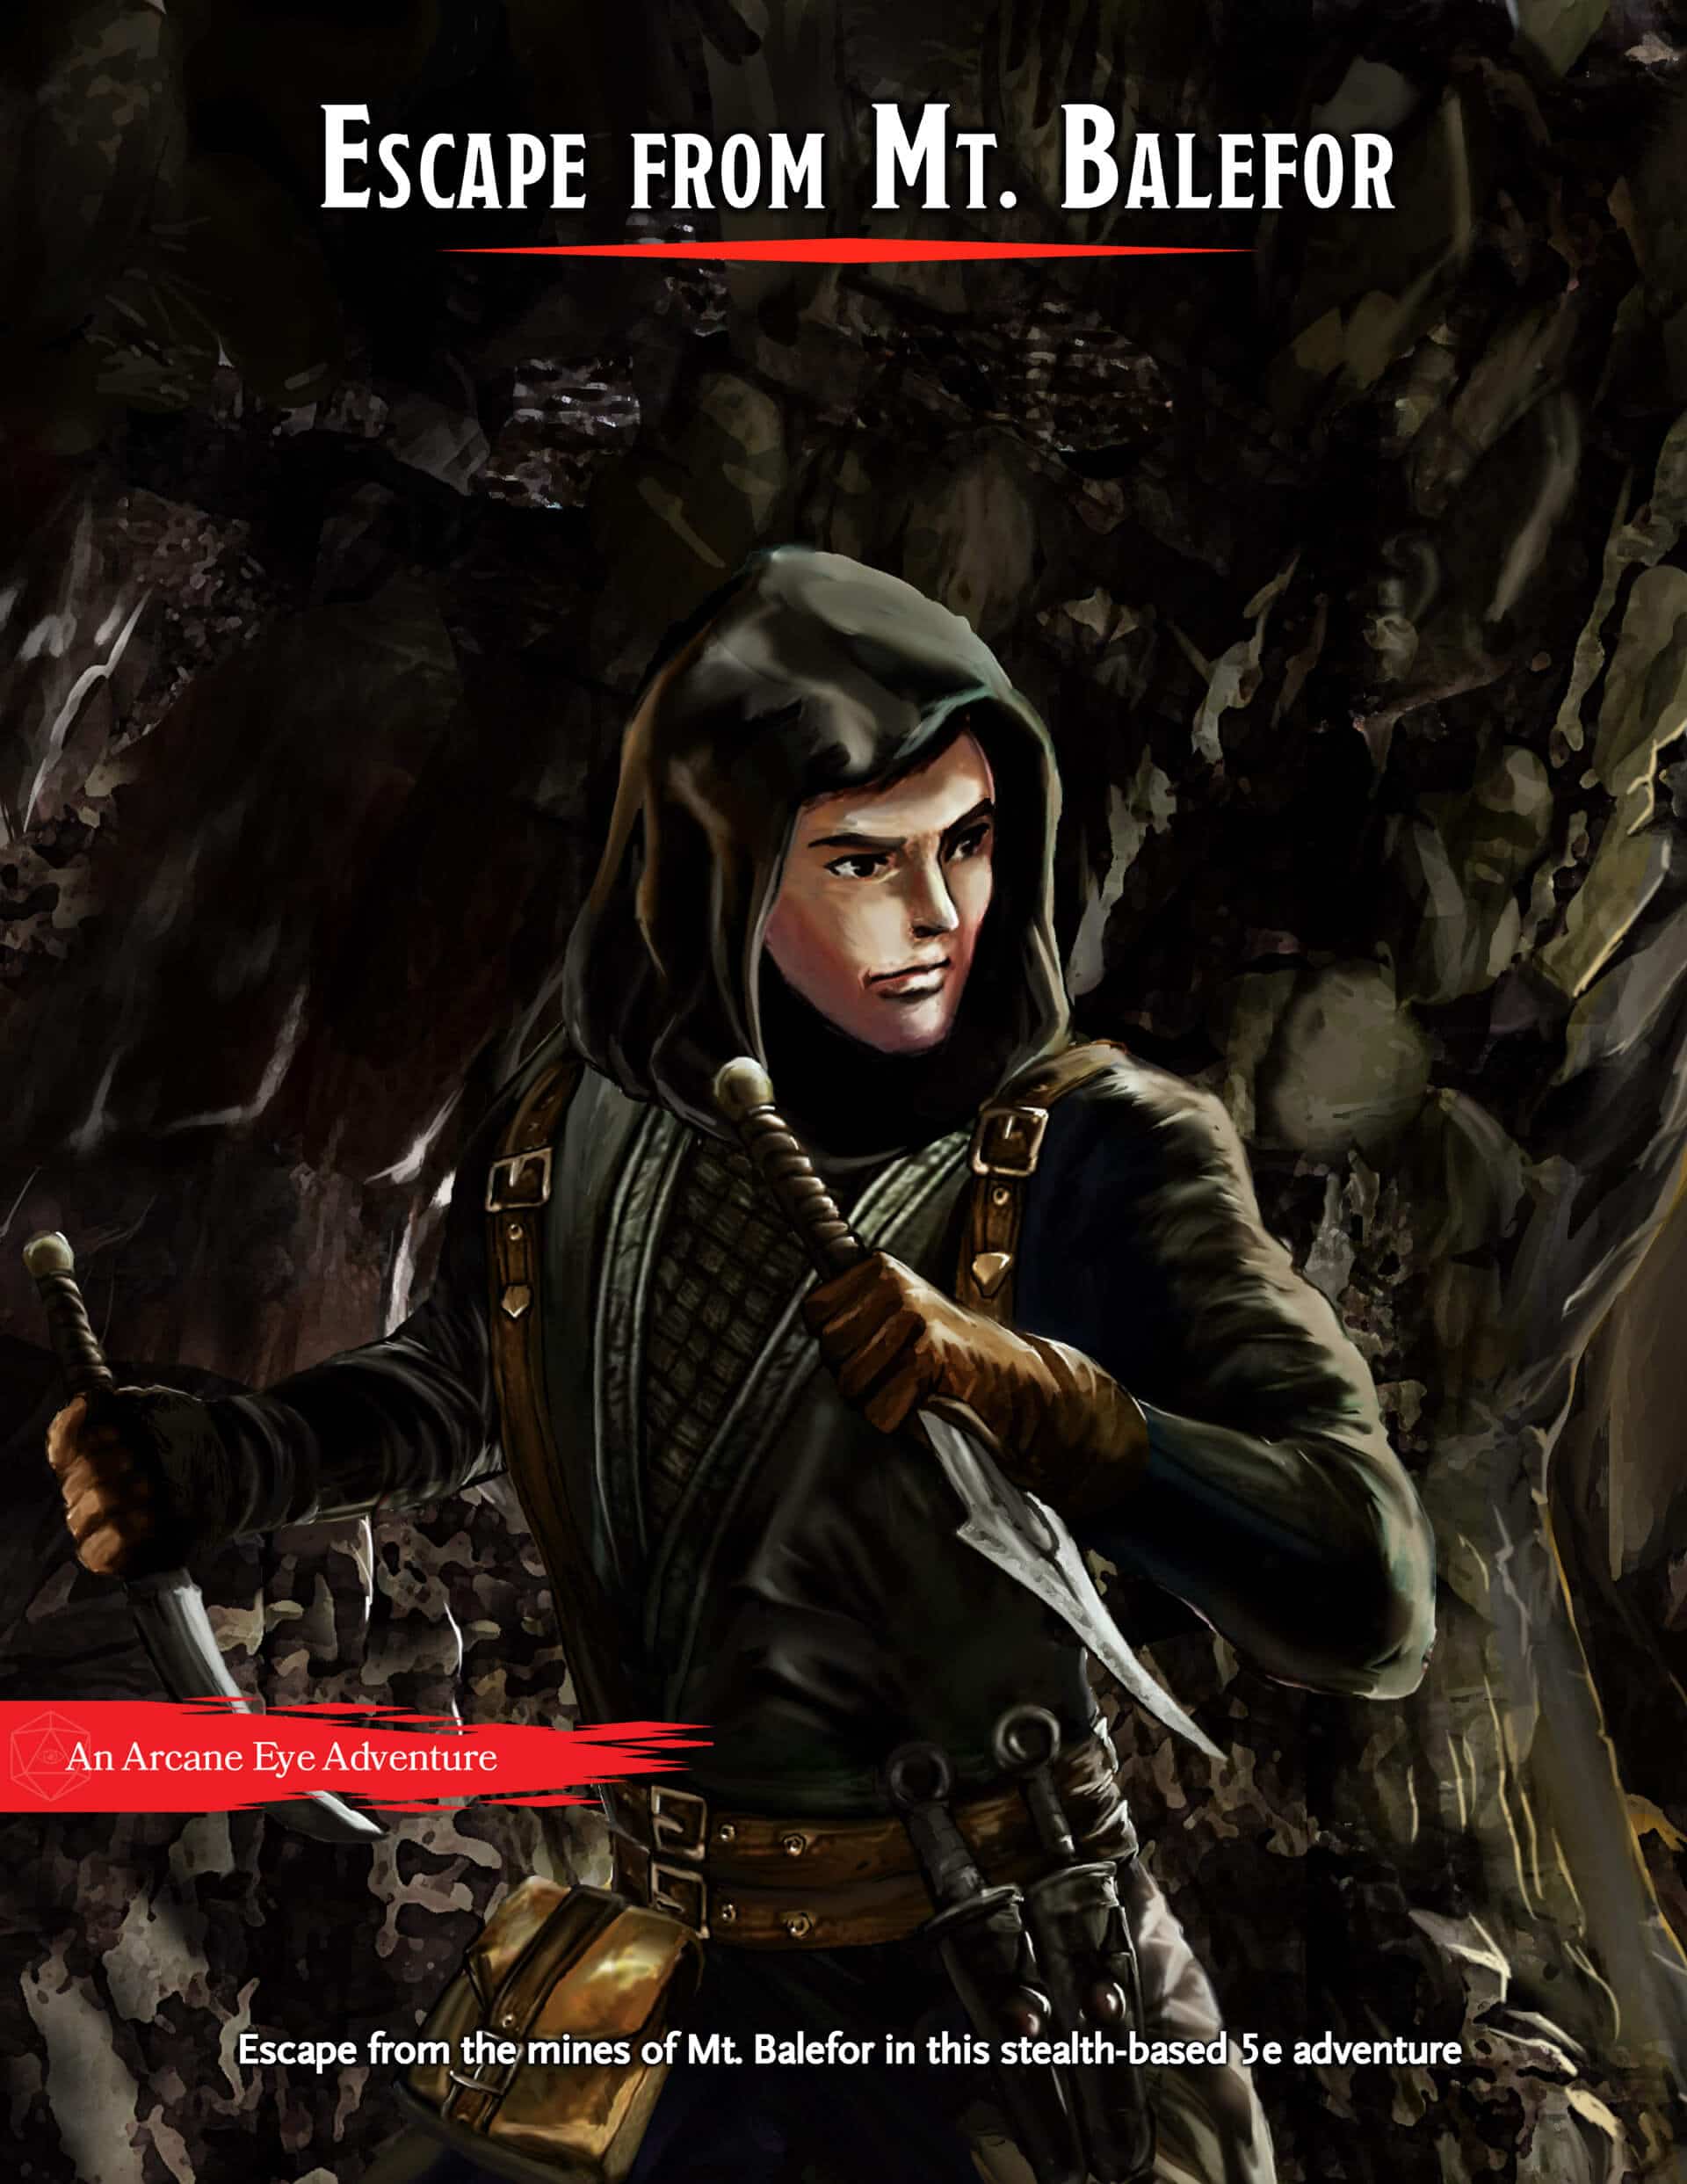
What’s Included Escape from Mt. Balefor is a self-contained 8-10 hour adventure for three to five 5th level characters. This premium module contains a full three-part story, battle maps, and NPC stat blocks. Your Mission Your party of Wood Elves will start in the mines and have to sneak and backstab their way to freedom. There are a number of chances to choose your path, whether you plan to avoid fighting or want to kill every last High Elf in the mines. There will also be a number of ways to affect the world around you if you choose to continue the story after the party escapes from the mines.

Rumor has reached your ears that the legendary Amulet of Rafael is in this region. Further investigation has revealed that a reclusive nobleman in the north called Xantus is currently in possession of the item. While details are sketchy about the item, it is well known that quite powerful in the hands of a mage. You decide that you will go north and locate the “Ice Lord” and see if he is willing to part with the item.

None know from where the Heresiarch first came, but all remember the night that it did. It rode down from the bleeding stars on a great serpent, hurling bolts of obsidian lightning that shattered the monuments and capitols of every nation. Its infernal army swept aside the defenses of the mortal empires in a single hour, decimating legions once thought to be the invincible fist of humanity's god-kings. Faceless priests - each bearing the symbol of the trident - drifted through the fallen cities and scorched villages on a frigid wind, and when they rose to greet the huddled men and women ringed by their festering, bloated dead, they spoke a single, simple offer: worship the Heresiarch or die. Thousands of crusaders fell tonight so that you might be given this chance. In a last stand that, for the first time, united all of the empires of humanity as brothers and sisters, a way was cleared into an infernal stronghold said to contain a gate to the Heresiarch’s fane. All is silent save for the clangor of distant battle. Surrounded by grim-faced knights and teary-eyed peasants – their hands clasped in desperate hope – you step through the glowing, churning doorway, knowing there will be no help and likely no return. Published by Defy Danger and Save Versus Death

Lord Blackmoor's son has been kidnapped, and is being held in the crypts beneath an ancient fortress. Can our heroes rescue the boy before he is sacrificed in a diabolical ceremony? The party responds to a plea for assistance from Lord Blackmoor, whose son Willet has been kidnapped. Blackmoor desperately needs someone to mount a rescue mission. The party journeys along the old East Trail, facing bandits and dangerous obstacles before delving beneath the ruins of Firestone Keep, encountering fearsome enemies and ancient magic. Finally, the party must fight for their lives as the truth about Willet’s abduction is revealed.
The 13th Circle is an epic battle with one of the archfiends of legend, the demon Baphomet. Designed for Tier 3-4 characters (levels 15-17) and set in the Dread Domain of Kachelior, the adventure requires the party to navigate the mysterious and maddening mazes that protect the demon's castle, and battle fiends of all kinds to reach his throne room. But will they discover the truth of his machinations? Word has spread through the small collection of towns within the Grey Shade that a cult of Baphomet has been preparing something for their master within his palace. The players will travel to Baphomet’s palace, and make their way through the massive forest maze that surrounds it. They will find the corpse of one of the previous heroes enshrined near the center which hints towards the true purpose of the cultists. They will then have to infiltrate the dread palace either stealthing or fighting their way through the defenses. They then must make it past Baphomet’s Lieutenant, Aphalos, the Godeater. The characters defeat Aphalos or persuade him to leave his master to his fate. Once they enter the chamber, Baphomet’s plan is made clear. He wishes to create a maze within time, thus trapping this world in the same cycle of pain and doom as before.

Lord Galveston's lands are plagued by murders. For the past several months people have been disappearing. Some bodies have turned up, their corpses found along the banks of the river. Strange tracks of a cat-like creature have been found around the villages, and rumors abound that a charon fiend, a dreaded beast of chaos, has come from the nearby wood and settled in the area. The latest victim is the Deacon of the Four Saints Church in Capendu. His body, found in the river, sent the alarmed villagers in search of aid. The adventure unfolds in the lands of the aged Lord Galveston and plunges everyone into a twisted tale of wild beasts and the restless dead.

Zhentish soldiers, Maerimydran drow, and Sharran cultists have forged a dark alliance to subjugate the peaceful land of Shadowdale. Elminster's tower lies in ruins, Lord Amcathra governs at the sufferance of the dale's conquerors, and the very Weave of magic in this embattled land seems to fray with each passing day. The Zhentish yoke lies heavy over Shadowdale—but the Dalesfolk are ready to fight for their freedom, if only they can find true heroes to lead the way!

Madness in Freeport, the final part of the Freeport Trilogy, details the final confrontation between the PCs, the Brotherhood of the Yellow Sign, and Sea Lord Milton Drac. In Part One, the Drac invites the PCs to the Grand Lighthouse Ball. Careful investigation can reveal the secret purpose of the lighthouse. In Parts Two and Three, the PCs must recover a powerful artifact to thwart the Brotherhood's plans. They must pass through an infamous pirate's hidden caves, then search a sunken temple of the serpent god Yig. In Part Four, the heroes must enter the Grand Lighthouse, AKA Milton's Folly, in a race against time to stop the Brotherhood's world-shaking master plan from coming to fruition. (Bibliographic note: This adventure was originally written for v.3.0, and later updated to the v.3.5 rules. The revised versions of Death, Terror, and Madness in Freeport were reprinted in an omnibus edition, along with two shorter filler adventures, as The Freeport Edition: Five Year Anniversary Edition.)