
Uncover the curious tale... When the party are shipwrecked they take shelter in an old forgotten cottage. They soon find themselves uncovering the mysterious death. One thing is for sure, they are not alone... Back to the sea is a 3-5 hour one shot, recommended for Level 3-4 adventurers. It offers a refreshing and different look at Ghosts in D&D. Contains 3 beautiful original digitally illustrated Maps. Unique Monsters and interesting combat scenario. Encourages player creativity and problem solving. Screen reader version.

The unease penetrates deep in the heart of the town of Wildereach. Amalgamous bodies have been found, frozen, roaming, howling. A cloaked figure looms, suspected of snatching townsfolk when the midnight sun hits its darkest points. A creature of the deep tries to stop all that enter it's domain. Many strange happenings, here in Wildereach, is something bigger at play?
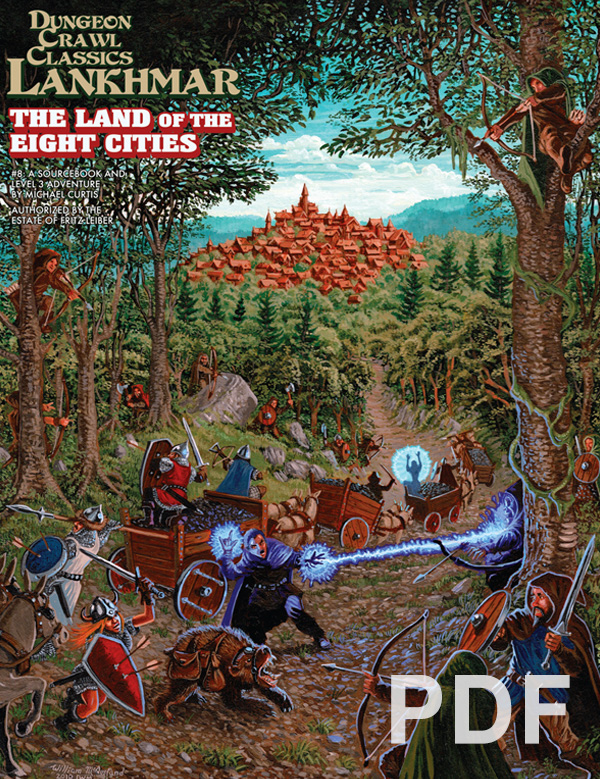
This adventure is intended for 2 to 3 3rd-level PCs originally from Lankhmar, but can easily be adjusted to accommodate adventurers from other locales. Guidelines are also provided for scaling the adventure for up to six PCs. The events of this adventure lure the party from their home in the City of the Black Toga to an abandoned watch tower on the coast of the Inner Sea, not far from Ool Hrusp. After completing this scenario, they may find reason to further adventure in the Forest Land.

When her father goes missing, a young adventurer has no other choice than to gather her friends and head for the city of Loudwater. Soon after she gets swept away in an obscure design threatening to drag the entire region into chaos and war. At the heart of this mystery, lies not only her father, but the long-forgotten history of her once-despised family and a primordial beast influencing events from the shadows, moving her family like pieces on a chess board. Visit www.perfumersdaughter.com for more information. You can also address me directly on The Perfumer's Daughter Q&A on Facebook. All battlemaps and dungeons are free to download for use in digital platforms (such as roll20) on the aforementioned site.

This solo adventure is designed as an adventure to teach the PC that sometimes you need help in solving tough problems. The adventurer learns that Ortella the Druid is seeking assistance in obtaining spell components to help the local village. It seems that the community has a magical phantasm causing problems in its lake and they need help in the form of Ortella and Ortella needs your help!

When the characters arrive at the fishing town of Estinn, they find it totally abandoned. Can they solve the grisly mystery of what happened to the town and stop a monstrous threat that lurks in the cold, deep waters of the bay? Born in Blood is a Lovecraftian horror one-shot for four or five 9th-level characters. It takes about 4-6 hours to complete and includes: -A gruesome mystery of betrayal and dark rituals -An underwater dungeon hidden beneath the sea floor -A harrowing battle with a newly born godling! -High-quality digital maps for use with virtual table tops

At last- an opportunity to avert the threat to the little town of Saltmarsh! The real enemies have been identified-- evil, cruel creatures, massed in force and viciously organized. Can the brave adventurers thwart this evil and ensure the safety of Saltmarsh? The Final Enemy is the final part in the series of three modules designed and developed in the United Kingdom for beginning adventures with AD&D rules. Its plot follows directly from those of the first two parts (U1 - The Sinister Secrets of Saltmarsh, and Module U2 - Danger at Dunwater.) TSR 9076

The Merfolk Queen asks adventurers to help retrieve merfolk roe (eggs) from a sahuagin raiding party lead by a sahuagin priestess, with custom water-based magic items as reward. The adventure is for three to four 5th level adventurers at a hard difficulty. Pgs. 137-145

Operating as secret agents for the Lords of Waterdeep, a promising lead takes you deep into the world of the Xanathar, but what will it take for you to return?

Strange calamity has come to the Moonstone Reach. What was once a foreboding forest is now completely underwater, the gods Umberlee and Mielikki locked in dispute over the wondrous biome. Umberlee calls forhomage and claims dominion over what she sees as rightfully hers.
Catastrophe strikes the frontier village of Swallowfeld! With a grinding groan, the town’s mill slews into the Kilian River and breaks through the ceiling of an ancient subterranean dungeon. This accident frees a long-imprisoned evil to prey upon the shocked townsfolk. When several Swallowfeld residents—some innocent and some not so innocent—are spirited away into the rapidly flooding dungeon, it falls to a brave group of heroes to venture underground and rescue the missing before dark, rising waters seal their fate.

The Submerged Spire of Sarpedon the Shaper lies to the west of the Isle of the Dismemberer. On the northwestern shore of this island, crumbling steps spill from the shore directly into the sea. There, a seaweed choked stone path can be glimpsed winding down into the depths. At low tide, a quarter mile along the path, a lone onion dome may be seen poking through the waves. In the twilight of the sorcerer lords, The Submerged Spire was the jewel of the Shattered Isles. Within his submarine redoubt, Sarpedon penetrated ever deeper into the organic mysteries. Now, its for- lorn dome the roost of seagulls, its secrets slumber beneath the waves.
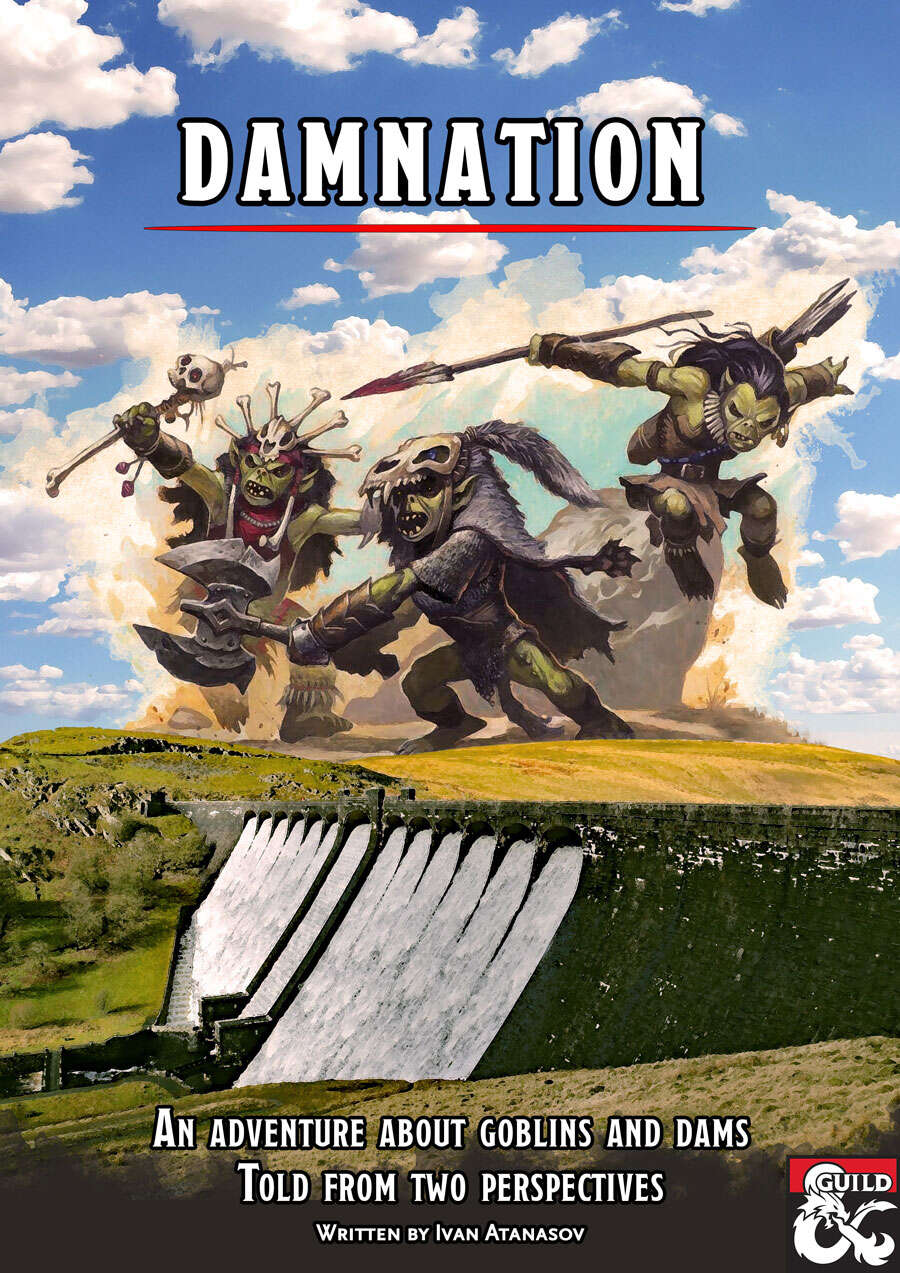
Twenty years ago, the humans built a dam and flooded Gormelin Valley. They drove the Cinderborn goblins away from their land. But now the Cinderborn are back and they want vengeance. The dam must fall and the human towns must drown! Damnation is a set of two parallel adventures that cover the same events, locations and characters. In The Heroes' Tale, the players control a traditional heroic party. They get to attend a wine festival, save a town from a flood, dive to the bottom of a lake, choose between retaliation and negotiation, and face a demon atop the dam as he attempts to demolish it. The Goblins' Tale tells the other side of the story, allowing players to take control of a party of goblins. As the Cinderborn, they must deal with human spies, sneak into a wizard's tower, trigger a catastrophic flood, choose between peace and vengeance, face their own demonic leader, or aid him in breaking the dam. Also included: maps and goblin pregens!

"Yea I knows of a job for the likes of you" the bartender says as he wipes off the table. "This wizard who lives near the shore about two or three days ride lost somethin' he was expected on the ship The Intrepid. I hear he wants the cargo back and is willing to pay good coin for it to any who'd chance going into the Lake of Chaos." A grizzled old man in the corner gasps and says “any would want to go into that sea gots to be crazy. Aye, that wizard is lookin' for some crazy people. That waters haunted by dead sailors". "Oh come on” Telkall the bartender continues "you know that’s just an old story to keep kids away from the water. I'm sure it’s going to be an easy job for the likes you. You all appear to be quite able to take care of yourself. Go down the coast road for about two days if yer on horses and you'll see a stone tower. Ask for Kresellus ... he's the one you'll be lookin' for. Oh, and tell him Wolfgar sent ya ... if you could." Well things were getting boring at the Dead Orc Inn anyway.
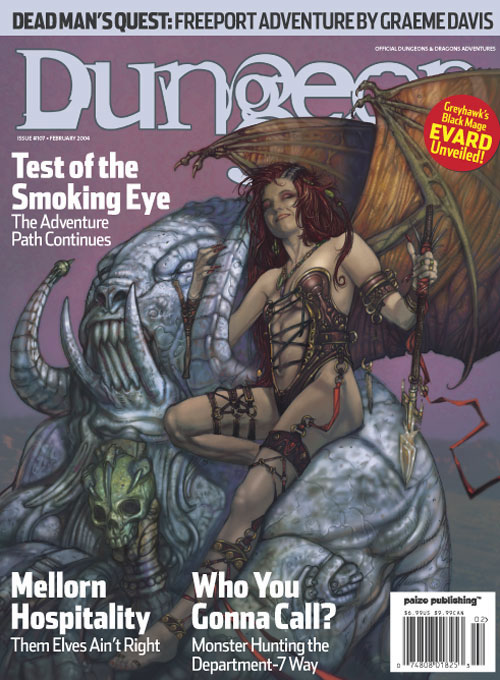
Living pirates are a common enough hazard around the islands known as the Serpent's Teeth. A dead one is even more trouble- especially when his treasure has been stolen. Characters who successfully complete this adventure should be of sufficient level to tackle the award-winning Freeport trilogy, Death in Freeport, Terror in Freeport, and Madness in Freeport. Pgs. 84-103

The exciting artifact series concludes with AS3 – Peregrination. With a pair of control rods in hand you are guided to an ultimate prize, a Gnomish flying vessel! The rods have directed you to a crashed ship buried in the sandy beach. A check of the debris sheds light on the mystery of the artifact and a description of how to repair the intricate machine. Apparently finding the vessel is just the start!
Provost Faurious has procured an Aethervane, an astrolabe-like instrument tied to Kythri that's used to navigate manifest zones. Unfortunately for the Provost, the Riedran ship that was carrying the Aethervane across the Sea of Rage to deliver it to their agent in Regalport fell victim to piracy. The player characters are dispatched to Regalport to meet up with the Provost’s agent there and petition High Prince Rygar for more information about the stolen cargo. When the characters dock in Regalport, they meet the Provost’s contact and are ushered into a meeting with High Prince Rygar. Wishing to show his intolerance for piracy, Rygar charters one of his own ships for the party’s use as they investigate the stolen cargo. Upon arriving at the crash site of the stolen cargo, the party is set upon by a fleet of pirates known as the Wind Whisperers. When things turn sour, a new surprise reveals itself as an unnatural storm rolls in, a stolen airship at its heart. The Wind Whisperers have found a way to convert the Aethervane to serve their own purposes. Seeking aid from Rygar and House Lyrandar, the heroes chase after the pirates by sail and airship. As they do, they are bedeviled by the Chaos Fleet—strange ships sailed by an even stranger crew that are drawn to the Aethervane and the chaos it brings. In a final airborne confrontation, the party boards the rogue airship and retrieves the sought-after artifact, with a chance to salvage or sink the stolen vessel in the process…

Stormy seas rock your vessel, tossing her about like a toy in the jaws of a hound. Thunder rolls in the distance. Then, an arc of lightning splits the sky, and the sound like an exploding fireball all but bursts your eardrums. Your mainmast, struck by lightning, burns, splinters, and topples onto the deck like a felled oak. The last thing you hear is the cracking of wood as the deck explodes into splinters, and the ship is torn asunder. All goes black. You awaken in shackles, half-submerged in water, and surrounded by salmon-pink coral. You survived, but what fate awaits you now? The sound of soggy footsteps echo down the hallway. A creature approaches with an answer. This week’s encounter is Coral Colosseum, a combat encounter in which the characters must prove themselves as worthy gladiators to escape the clutches of a ruthless sahuagin baron. This encounter can serve as a follow-up to Encounter of the Week: Sharkfin Shipwreck, or as a stand-alone mini-adventure. It could also serve as an introduction to Ghosts of Saltmarsh, which releases on May 21st, 2019.
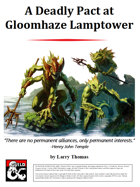
The shipping lanes south of Candlekeep have been disrupted. Unknown to anyone, an incredible alliance between a terran and a waterfolk tribe has caused the lamp at Gloomhaze Point lamptower to be extinguished. Merchant ships are being wrecked and plundered. The story unfolds in the nation of Amn. Adventurers will face a formidable kobold tribe that knows how to maximize its tactics, its smaller-than-human size tunnels, and an abundance of unique traps. The bloodthirsty sahaugin won’t be defeated without the adventurers taking a dive.

A sunken ruin deep beneath the bay of Mulmaster holds the key to unraveling the Cult of Glaugrax’s nefarious plans. Dare you brave danger and duplicity to plumb its depths? Part 2 of The Neverdusk Trilogy. A Two-to-Four Hour Adventure for Tier 2 Characters. Optimized for APL 8. The Sequel to Ooze There?, an ENnie Awards 2019 nominee in the Best Organized Play category! This adventure is Part 2 of "The Neverdusk Trilogy", and continues the tale of Fenaria Neverdusk, Sovad Klim, and the mysterious Cult of Glaugrax! Ooze Next? debuted at Lion City Conclave 2019 - a charity convention by the D&D AL Singapore Community. The v1.02 package includes: - Full color cover art by digital artist Lau Shang Hui (NezArt), with additional art inserts for key scenes - A high quality digital map pack for key encounter locations - A two (2) page cheat sheet with Jason's personal tips for running Ooze Next?