No introductions are necessary for I know well who you are, my intrepid adventurer. A weary traveler indeed. Have a seat, my friend, before you enter the Graffenvold and traverse its byways. Have you come here to rest, to leave the muddy tracks and sharp edges of the world behind? Is that, it my fine fellow? Or have you come to beat down the Lords of this Land and submit them to your will? Which is it fellow, the easy or the hard road you are after? I fear you have gone beyond yourself, and here in Inzae your mistake may be your doom. For beyond yonder door is a fearful world clinging desperately to life. Its denizens struggle against a vast array of malignant forces that seek to drag them deeper into the pits of the Maelstrom. And even here, in this backwater called the Reintier, you will find no respite from this meaningless and overwhelming struggle. So take heed traveler, take heed as you enter the Graffenvold, it will do you well to remember that this is a deadly world and lest you take care, you will be engulfed in its dying spasms. Traveling south in the goblin kingdoms is always frought with danger. So many will go only so far as the Baron's outpost, The Vakhund, The Watchdog Tower, and reside there in safety while merchants and others fare their way down the road. But what happens when the Vakhund is attacked by goblins, orcs and bandits? A princess is kidnapped, and only a dangerous trip into the dark, infested goblin kingdoms will reveal the answer. A Castles & Crusades adventure intended for 4-8 characters of levels 1-2, Vakhund: Into the Unknown marks Part 1 in the thrilling Death on the Treklant Trilogy and introduces the grimly realistic World of Inzae. Those brave enough to enter her Maelstrom and become heroes shall linger long in the halls of valor and memory.

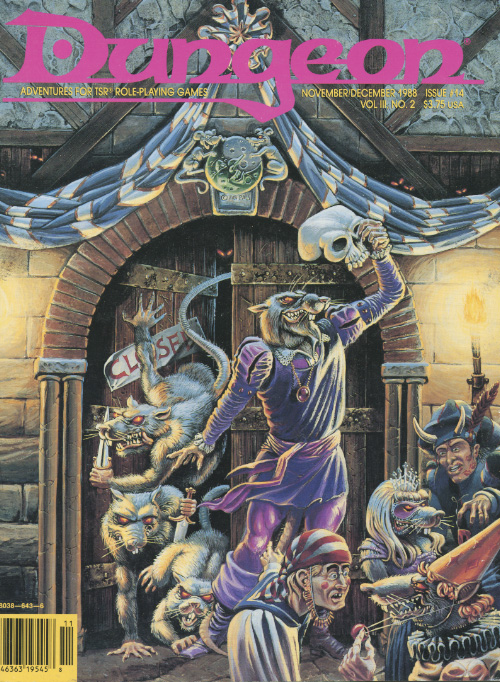
A terrible and unnatural fear has come over the people of Waterdeep. In a matter of weeks, dozens of people are missing, and more disappear each night. Rumors tell of curses, phantasms, demons, and possession. In truth, these are the victims of tiny parasitic brain maggots unleashed by the illithid dragon called Brainstealer. The fate of its victims fall on your shoulders, as you discover his lair and prepare to raid it.
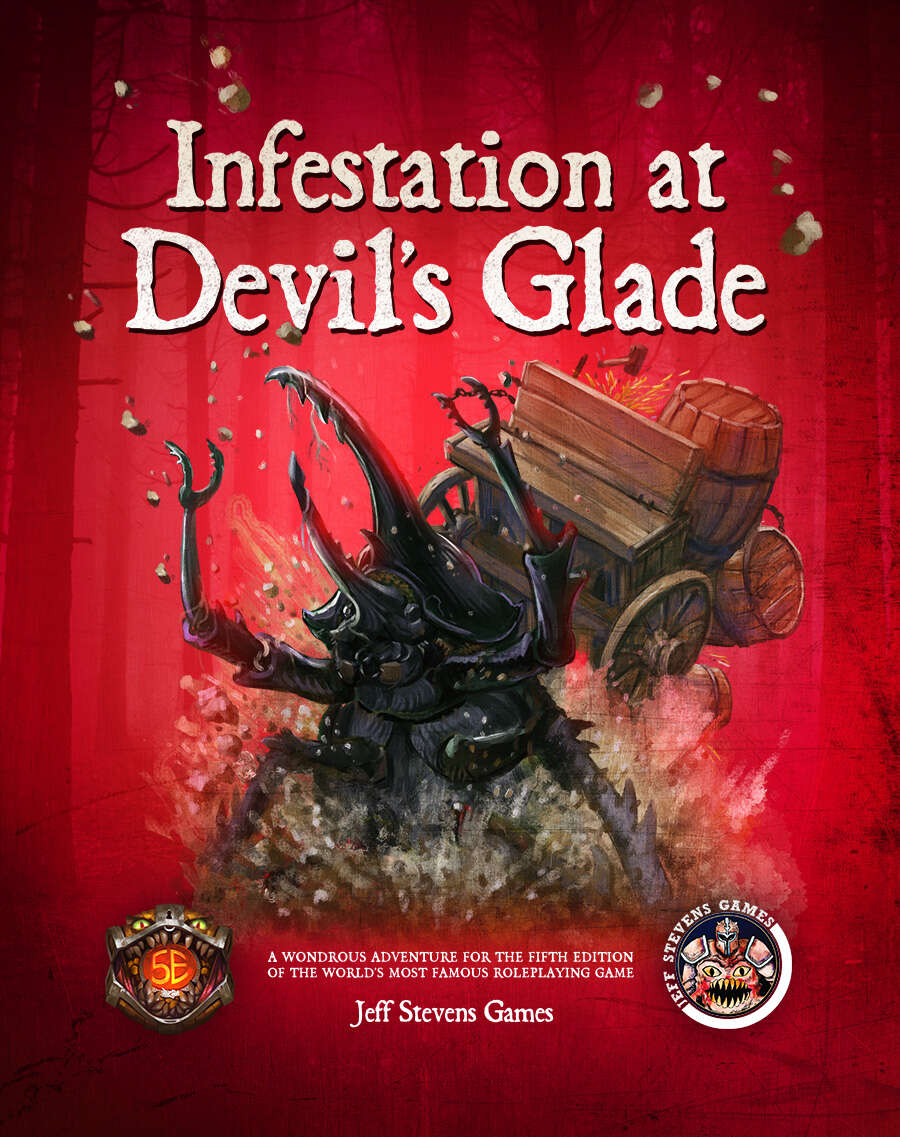
The town of Devil's Glade is under attack! Swarming insects have driven the residents out of their homes and businesses, and giant insects patrol the town square. Who or what has brought these creepy-crawlies to Devil's Glade? What's their motive? Are your heroes brave enough to put an end to the infestation? Infestation at Devil's Glade is a 2- to 4-hour adventure designed for four to five characters of 1st to 4th level, and is optimized for 2nd level characters. Scaling Suggestions are included, allowing you to play this adventure with characters of 5th to 6th level. Infestation at Devil's Glade isn't just a short adventure. We provide you with a location to which your heroes can return, or even use as a home base. The Supplement Includes: Adventure. The main adventure focuses on the heroes cleaning the town of the infesting insects and the villains who brought them. Beginning at The Fork (a tavern where many of the residents have made camp), the characters learn about the infestation of Devil's Glade, and are hired to look into the matter. NPCs. The adventure is filled with fun and engaging NPCs. During the characters' time at The Fork, they have the opportunity to talk with NPCs, help them, and learn more about the infestation. After the heroes return Devil's Glade to normal, the merchants and residents return, giving your characters unique shops to explore and quests to complete. Cursed Mask. The crux of the problem - a cursed mask that slowly transforms the attuned creature into a giant, insect monstrosity, and gives them power over insects. To end the infestation, the adventurers must confront the partially transformed person wearing the mask. Shops & Services. Devil's Glade contains shops and services the characters can explore, including therapeutic mud baths, a diner specializing in eggs, a trinket shop, a candle maker, and a dentist. Side Quests. We provide several side quests for before and after the main adventure, allowing you to increase the main adventure's run-time, and provide you with material for after the main adventure. Maps. The adventure contains maps for the main locations and major side quests. Each map is hand-drawn by Jean Lorber. Art. NO AI! The book is filled with fantastic, original artwork by Matt Morrow Art. Also Included: Map Files. Both grid and non-grid maps are included and available to download. Special VTT Tokens and Assets. Several custom tokens and art assets are included for VTT play.

Two days ago while in the Village of Balis you heard a rumor of an abandoned monastery. With such a deserted location already so close at hand one could not refuse the temptation of checking on its possible gains-whether it is treasure or knowledge that is to say. Yet the gains must surely be worthy of someone as adventurous and brave as yourself. Through further investigation of the rumors of the townspeople you have discovered that the old monastery is said to be haunted with the dead walking the grounds. Directions were located and after a final day’s praying you set out to locate the Monastery of the White Rose.

You and your associates were planning on making it big as adventurers...you just didn't think it would happen so soon! This one page offering takes the players through the wilderness with an opportunity to swing by for some healing as well!

The battles of the Blood War have raged for longer than mortals have known life, the conflict's savagery and hatred fueling the dreams, desires and obsessions of the multiverse. One way or another, the war spills through all the layers of existence, and little escapes its influence. Some clashes have consequences that shake the Lower Planes. Others are far less meaningful - they're fought solely for the sake of violence and killing. "The Field of Nettles" is set in the aftermath of an especially pointless battle. The adventure rips the player characters from their comfortable lives and thrusts them into the Blood War full force. The goal is to cross one of the more infamous battlefields, seeing the scope and the power of the fighting - and hopefully coming away with a greater understanding of just how big the Blood War is. The adventure is designed for a party of 4-6 PCs of 5th-8th level. The characters don't get to save the multiverse, nor do they find the key to unlock the dark of any great secrets. But they might come to realize their importance (or lack of it) in the scheme of things. On the fickle borders of the planes, that can be worth almost as much.

After checking local pawn shops and the library you have discovered information on an old Adurite noblewoman who possessed a magical mask. The woman had suffered a facial injury and commissioned a magical face shield to hide her wound. Having never heard of the item you believe it is probably in the ruins near Ugus Horrus where she lived. With no other leads at the moment you gear up and decide to embark on the search for this item!

Barbarian legends tell of five magical blades of measureless power. The more civilized cultures of warmer climes believe these tales to be nothing more than delirious dreams of frost-bitten brains. "Those frozen louts- they're trying to scare respect out of us!" At least that's what they want to believe. Three of the legendary blades of Corusk have been unearthed, and their powers have proven to be all that the tales claimed. You have been given these to use in the quest for the remaining two blades. However, word has spread to the peoples of the neighboring areas, and two groups are working against you to prevent your securing these swords. Beware the Hold of the Stonefist and the Rovers of the Barren! Only so much time remains for you to locate the last two Blades of Corusk ... and your enemies are on the horizon. Find the blades, and reclaim your birthright of honor and respect; fail, and be outcast from your tribes for life. The choice is yours. TSR 9337
The hunter becomes the hunted. Monsters prowl the hills, but you never see more than one at a time. The players will need to hunt down a polymorph monster. In order to confront it, they'll need to fight through its lair. Pgs. 4-13

The PCs answer a call for heroes by the Church of Traladara, asking for help in finding an ancient relic- the Shield of Halav. This is located in a lost temple, and the PCs must locate this temple, and brave its dangers to recover the shield before two competing teams from other churches find it first. Part one involves setting up the adventure, doing research, following clues, and discovering the site of the lost temple. Part two; once the site is known (ruins under a modern town) the heroes must travel there and find the entrance. Part three is braving the lost temple, filled with traps, puzzles, and other dangers, to find the missing shield, and then culminating in a climatic showdown with the completing teams.
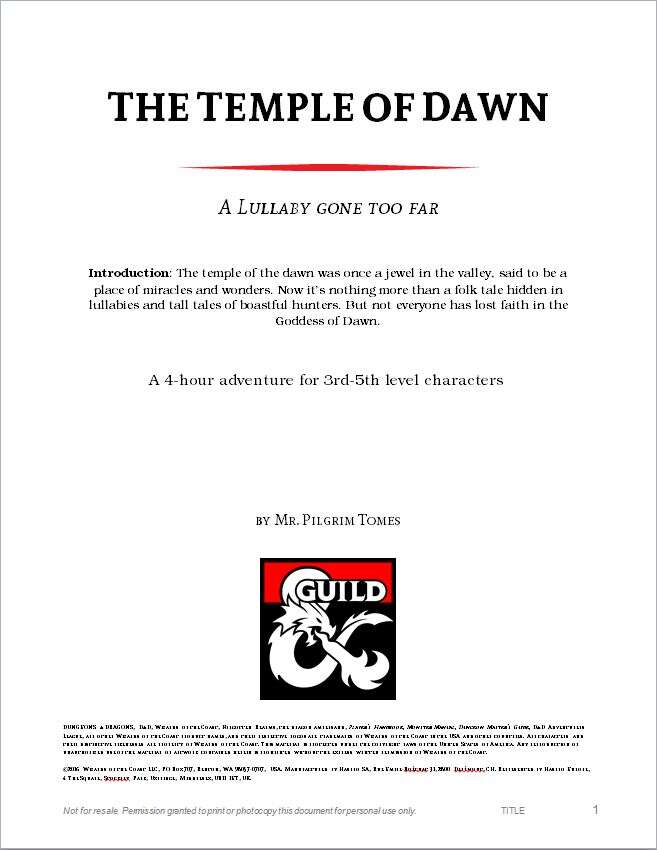
The temple of dawn was once a place of miracles and wonders, the jewel of its valley. Now it’s nothing more than a folk tale hidden in lullabies and tall tales of boastful hunters. But not everyone has lost faith in the Goddess of Dawn. In this brief adventure, for 3-4 adventurers of level 3-5, Kendrick Rosenbud asks the players to retrive a gem belonging to his family from the temple of Aurora. After some days of travelling the party reaches the temple. from here on out its the players job to discovere the hidden room with the gem and take it back to Kendrick.

Valachan: Hunter’s Moon is a slasher/gothic horror adventure for 4-5 level characters of 8-9th level. It can be played over the course of 6-8 hours and should roughly take one playing session, if the party is quick, or two if the party is progressing slowly. This is the fourth and final part of the Carnival of Lost Souls campaign, which can also be played as a standalone adventure. Valachan: Hunter’s Moon features: Fully fleshed out Trial of Hearts with dangerous encounters along the journey Rules for sabotaging rival parties before the Trial New custom monsters to make combat encounters truly memorable and exciting High-quality maps, also available in universal vtt format Check out the previous adventures in the series: Lamordia: The Hardest of Hearts, Dementlieu: Dance with the Devil and Kalakeri: The Forbidden Temple! And look out for the special Campaign Guide, which will explain in detail how to best set up and play the campaign. However, if you want to start your campaign right now, don’t worry - we have included a short appendix at the end of each adventure that will explain the basics! Disclaimer: We are a team of writers from Ukraine, so the unprovoked war and senseless aggression of the terrorist state of russia influenced our initial timelines significantly. However, we are now as safe as we can ever be under the constant threat of missile strikes, and determined to finish the whole series! And after that - who knows, maybe even more cool adventures will follow ;)

Decades ago a small but influential cult controlled a small area around the Dwarven holdings of Agar. For unknown reasons this cult died out and the shrine was lost to the sands of time. Recently the local thane has received reports that there has been renewed activity in the area and a gathering of humanoids in the area. While the thane’s men have fought bravely they were no match for this group and the call has gone out for brave adventurers to assist with the problem. While your party is young you do have an adventure or two under your belts and this may be the challenge to make you famous….if you can handle it.

After hunting for the Pirates of Ebor along the coastline, you witness a strange event. A great colossus is seen as you travel along the coastline and you are informed that it is the “Artifact at Gegios”. As you put into port, you make inquiries and decide to investigate further, after all, an artifact is usually useful! Is your party strong enough to uncover the truth of this legend?

Meaningful decisions, unexpected twists and memorable characters are the foundations of this dark 4-hour adventure for 5th to 10th level characters. A chance encounter on an unassuming road leads to a dangerous and lucrative opportunity. But what seems simple on the surface turns out to be much more below. Thrust into a world where every enemy has an enemy and everyone has their own dark motive, the only chance to survive is to ally with the right foe. Sometimes “doing the right thing” comes only in shades of black. Six Summoned Swords is a stand-alone adventure that begins on the side of the road leading to Phlan and can be easily accessed by any adventurers traveling through the Moonsea region. In addition to a world full of intrigue and complex character choices, purchasing this adventure includes: An Official Adventurers League magic item certificate Printable portrait cards with roleplaying tips for important NPCs Gridded reference maps for combat encounters Condition icons to help track character status Special Certificate Holder ideal for event play NEW: Season 8 Item Unlock Handout - prints 9 to a page, one for every player! * Looking for an adventure to run at your special game day or convention? This adventure includes a “certificate holder” that features specially created art of the adventure’s magic item. When printed in colour and on card stock, it perfectly frames the official AL magic item certificate from this adventure and makes for an unforgettable souvenir. About the Swords Below the Moonsea Saga The saga consists of three adventures, with this adventure serving as a stand-alone prelude. The series continues with Six Striking Swords and Six Swords Unbound, the two of which should be played in tandem.

Claiming to possess Hartkiller's Horn, Ryndölg makes his move to take control of the Hartsvale. The non-giant residents have been pressed to declare their allegiance or be destroyed. Do they swear fealty to Jarl Ryndölg, or is there another option? Is there another contender to the throne? Sometimes the best choices can be the most dangerous. A Four-Hour Adventure for 5th-10th Level Characters. Optimized for five 8th level characters.
From the lead designer of Dragon Age Origins, in partnership with the creators of Odyssey of the Dragonlords, comes Raiders of the Serpent Sea! Take to the seas of Grimnir and battle against the sinister forces of a forgotten past in an epic campaign for the 5th Edition of the world’s greatest roleplaying game! Guide 4-6 players through tumultuous waters as they become heroes across a campaign that will take them from 1st to 16th level. Raiders of the Serpent Sea is a blend of high fantasy and a darker world of grim seafaring raiders. Grimnir’s clans constantly fight to survive in this doomed world filled with ancient and fantastic creatures - giants, sea serpents, saber-toothed tigers, and the world-devouring Yoten. Nowhere is safe, danger and glory abound! The Raiders of the Serpent Sea Campaign Guide PDF includes almost 500 pages of epic adventure and supplemental material with full-color maps and illustrations that breathe life into the campaign world.

Yegor Bonecruncher is the most ferocious hill giant in the land. When he begins terrorising the small village of Frickley, the inhabitants have only one hope - the legendary warrior, Jahia Giantslayer. The PCs undertake a dangerous trek through the High Forest to find her, battling wild fey magic all the way. But can Jahia live up to her own legend?
/pic5652045.jpg)
Deep within the dark recesses of the Tomb of Nihalar, the final resting place of elven kings, the weapon of the wood elves of Imfe Aiqua stirs. Two individuals are drawn to the weapon—but only one can accept it. Who will take up the glaive of the revenant king and become the ruler of the forgotten elven city? Glaive of the Revenant King is a 3rd-level Fifth Edition adventure for 3-5 characters. Characters who survive the adventure should reach the 4th level by the adventure's conclusion. This is the major side quest in the Hand of Eight adventure path. It can be played as the kickoff for the larger adventure setting or as a one-shot adventure for your players. The campaign is intended to be set in the DMDave crowdsourced campaign world of Omeria. However, it can just as easily be inserted into any other mysterious, untamed wilderness. The adventure is written by renown Fifth Edition author, DMDave Hamrick. It's 40 pages of fast-paced fantasy adventure that includes zombie hordes, horrible monsters in dark forests, battles with orcs, and tombs filled with dangerous traps.

The Feystone Shards is an adventure for characters from levels 5-8, optimized for 4-6 player characters. This moderate length campaign should have 20+ hours of gaming, all focused around the Forgotten realms area of Red Larch. The Heroes are tasked to find five fragments of a shattered Orb, once worshipped by a faction of Elves. The search will take the party to a haunted Citadel, as they seek the scattered remnants of the Feystone. From a city of Stone Golems, to an alchemist's underground lair - the players will face obstacles and enemies that will challenge their very resolve. The Heroes will need to discover the secrets of the bauble's fey magic, finding the lost Elvin city where the Orb was once worshiped as a God. Join in the hunt for the Feystone Shards, and see if your characters are ready to transcend common Heroes...and become Legends.