
Beneath our feet is the mythological hollow world – a realm of dense jungles, putrid swamps and rugged mountains. Here a brave party will struggle for survival as they seek to fathom the unseen expanse and to prevent a once defeated god to rise again. ‘Journey to the Inside Out’ can be played as a stand-alone scenario or be used as the first installment in a trilogy of connected adventure modules each taking place in a different era. The scenario can be used with Swords & Wizardry or any other early variant of game rules. Inside you will find: • A 40+ page old-school module with a layout optimized for fast and easy interfacing. • A challenging lost world setting with the possibility to toggle the complexity. • Alternative suggestions for entry to the hollow inside. • Downloadable maps for both players and the Referee. • Story-points for a guided scenario and tables for sandbox and hexcrawl-style play. • Advice for an ongoing campaign. • Locations allowing the PCs to travel to another era within the setting. • Unique new creatures. Published by CTM Publishing.

Your chase to wipe out the vampires of Undermountain leads to the Slitherswamp. The master vampire is close at hand! Part Three of the Vampire Hunt trilogy.

Questing through the forest, you will be tested. Which side will you take between a wizard and the Keepers of the Veil? Will you be able to find the materials necessary to help cure your friend of the ancient evil that assails him? And when it comes down to it, what are you willing to sacrifice for your beliefs? Third Time’s the Charm picks up where Second Glance left off and invites the PC to find a wizard who can help heal the Crystalline Curse slowly paralyzing the PC’s friend and protector. As the party grows closer on this adventure, learning to depend on one another, they must also navigate the Veiled Wood’s changing landscape, deciding who they can trust and who they will help as much lies in the balance. Though this was written as the third installment in the Crystalline Curse Trilogy, this adventure can be inserted into any campaign setting and scaled accordingly. Third Time’s the Charm is part of our mission to bring you high-quality, ready-to-play material that supports adventuring parties of 1 Player and 1 DM. This adventure is written for a third-level character in a one-on-one 5th edition D&D campaign. Everything you need for your own two-person game is inside! This product includes: -A 3rd or 4th-level adventure adaptable to any setting -Stat blocks for one new creature and two NPCs -A region map, two sitemaps, and a hand-drawn dungeon map to aid the PC’s investigations -A fully realized forest region with fleshed-out NPCs and places to explore -Detailed backstory for the ancient warrior sheltered inside the PC’s treasured amulet -Four custom magical items And helpful tips for DMing a one-on-one game This adventure is perfect for those looking to begin or continue their duet campaign. Published by D&D Duet.

The followers of the many gods of Kara-Tur have always fought, to prove the superiority of their martial discipline and the greater wisdom of their deities. The strict hierarchy of the gods is now threatened by the sudden prominence of the followers of the Dragon Claw, a new and deadly school of martial arts that threatens to destroy all other schools. The players, recruited by a mysterious old monk with a bizarre fighting style, must find out what's behind the emergence of the Dragon Claw and put a stop to it. Mad Money vs. The Dragon Claw will take players across the entire country of T'u Lung, from the mouth of the great river Fenghsintzu to its headquarters, where they must deal with the legendary Cult of the Black Leopard - all in the name of the Mad Monkey. Mad Monkey vs. The Dragon Claw is a scenario for the ORIENTAL ADVENTURES supplement to the AD&D game. It is set in KARA-TUR, the oriental world in the Forgotten Realms. Mad Monkey vs. The Dragon Claw is designed for five to eight characters of Levels 6-9. TSR 9242
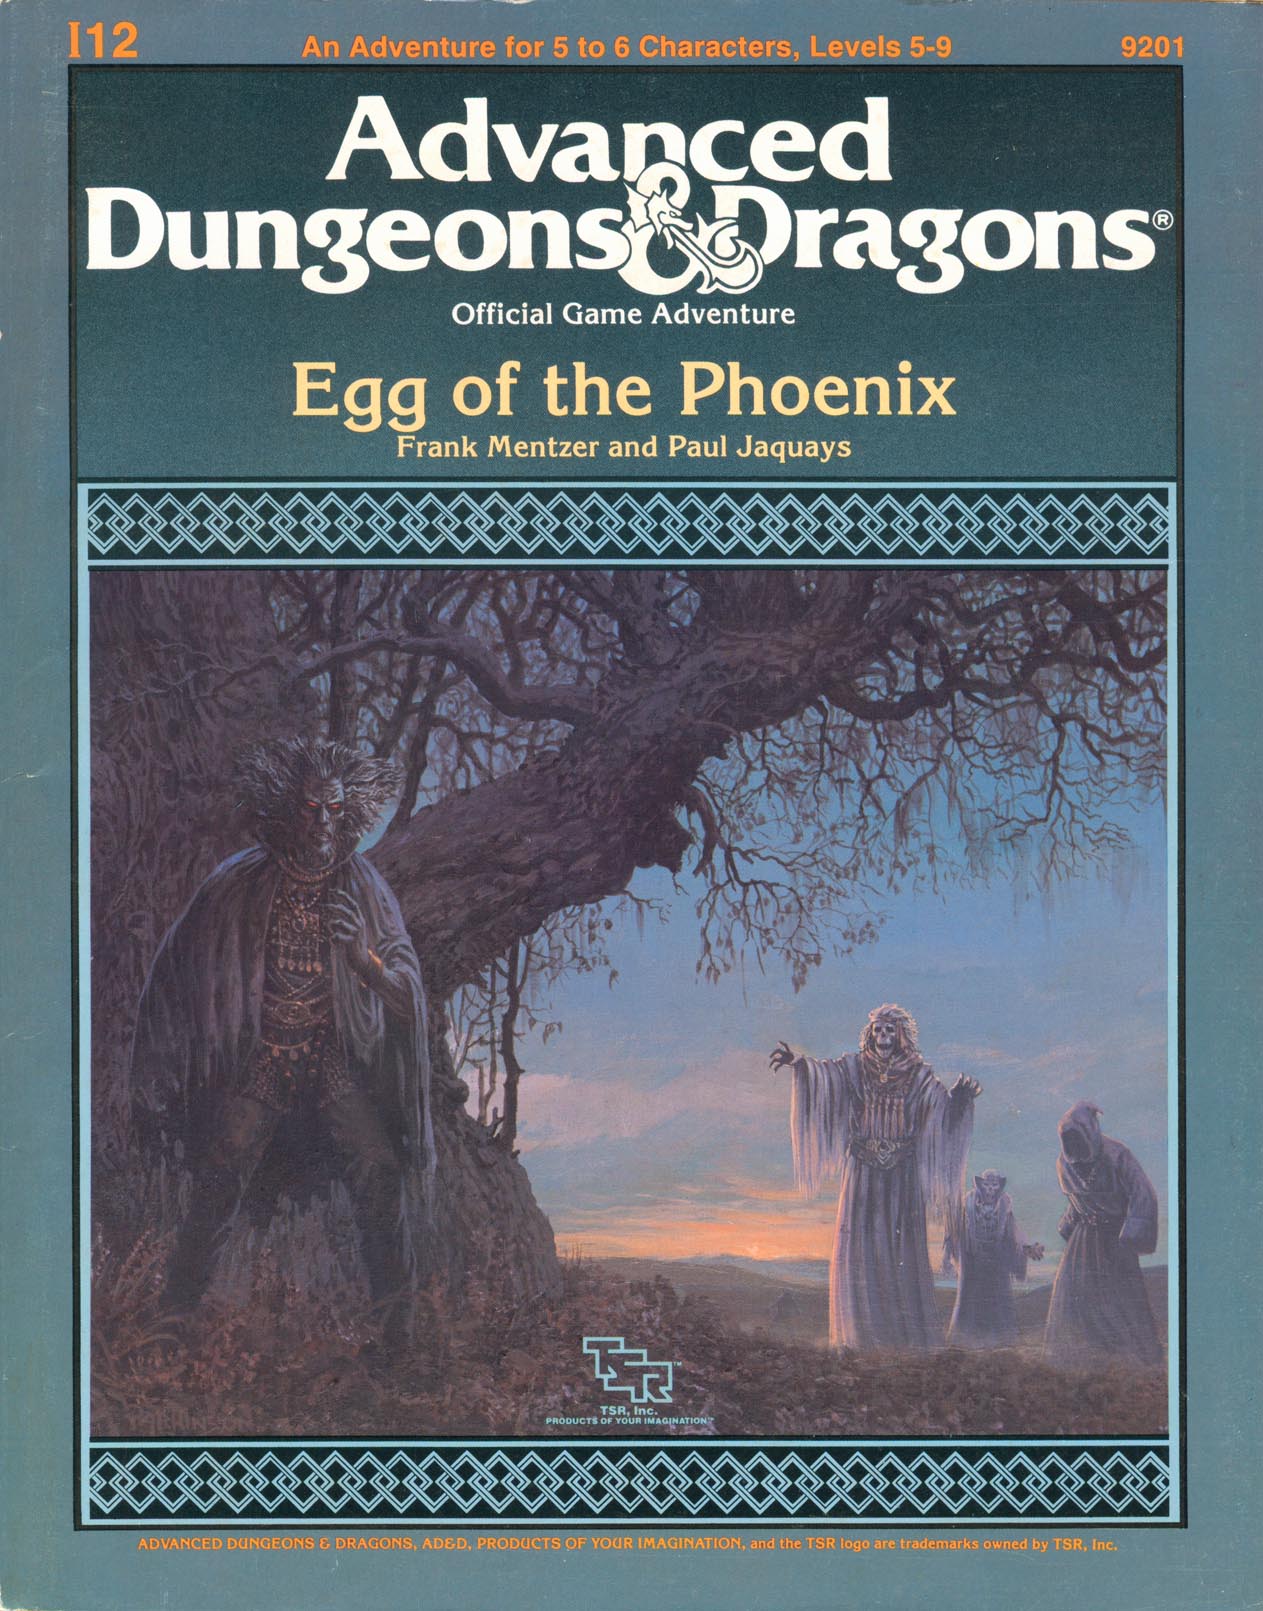
"Come on," they said, "It won't be so tough, just stopping a slavery ring," they said. "I don't know," you said. "Those slaves aren't even entirely human! How do we know they won't try to kill us?" But you went, and now you're having second thoughts. There were the thieves in the lost crypts of Empyrea, raising hundreds of - no, that's too disturbing to think about. There were the three daughters who - no, that's too painful to remember. Now there's this Egg of the Phoenix. What does that have to do with anything? This was supposed to be a cut-and-dried stop-the-slavers job. Who said anything about retrieving lost artifacts? Trudging through forests, traipsing through castles, trotting throug dungeons, traveling through other planes: this has turned into more than your run-of-the-mill adventure. The compensation had better be worth it! Provided, of course, you're around at the end to collect your share. TSR 9201

Deep beneath the Isle of Dread, in a place forgotten by the world of light, an ancient, unfathomable evil festers. Within the desiccated ruin known as Golsimorga, the debased kopru servants of Demogorgon work foul rites, steeping immature shadow pearls in pits of liquid insanity. None from the world above have yet fathomed what terrors lurk beneath the Isle of Dread, nor what mad scheme roils to profane life deep within the city's gangrenous corpse. "The Lightless Depths" is the sixth chapter of the Savage Tides Adventure Path, a complete campaign consisting of 12 adventures appearing in Dungeon magazine. For additional aid in running this campaign, check out Dragon magazine's monthly "Savage Tidings" articles, a series that helps players and DMs prepare for and expand upon the campaign. Issue #353 of Dragon features ways to improve the PCs' vessel, the Sea Wyvern, as they take their adventures back to the seas. When the PCs journey deep under the Isle of Dread to find the source of the shadow pearls, they discover horrors beyond imagining in a haunted underground city perched on sanity's razored edge. Pgs. 28-66

Bloodpurge, a bayou village in the Flooded Forest, has come under siege by malevolent powers. Many hunters in this shanty-town have gone missing. Desperate folk murmur rumors of evil lurking in the willow groves.
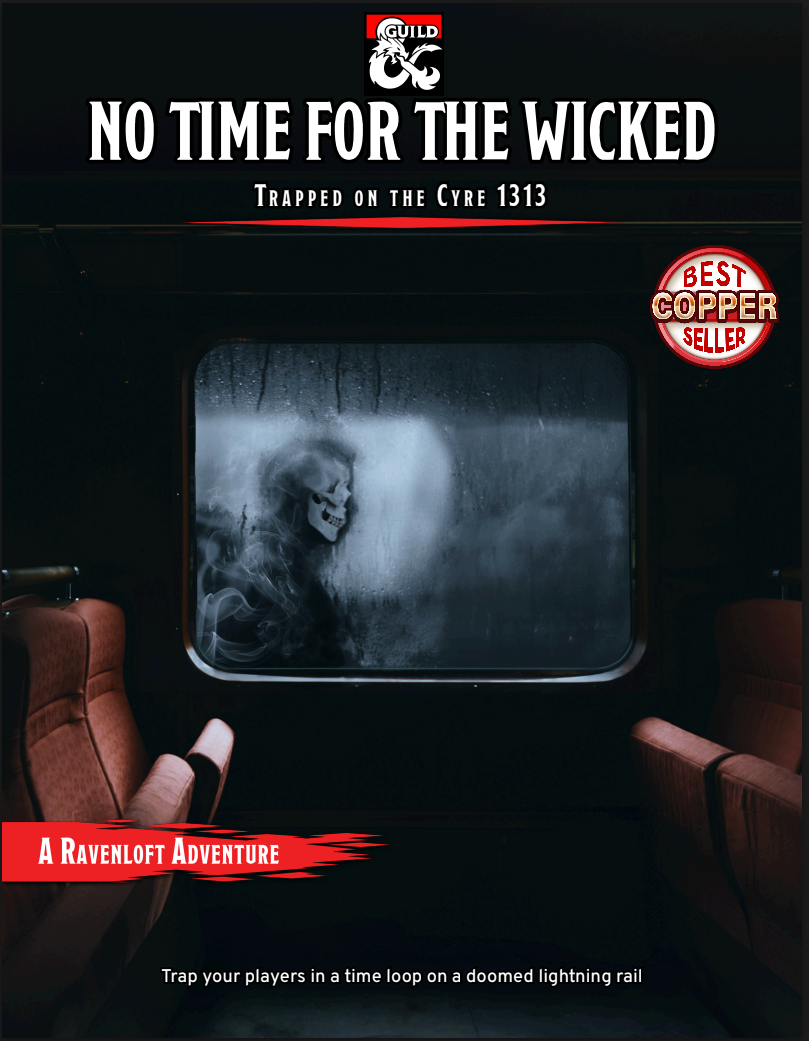
All aboard! An investigation turned Groundhog Day horror mystery, this unique puzzle-like sandbox-on-rails adventure traps your players onboard Cyre 1313: The Mourning Rail. This lightning-rail train and its passengers are stuck in a time loop with no escape, cursed to ride forever in the endless mists of Ravenloft. The PCs wake up again & again, unable to leave the train's time loop until they figure out how to stop it. Each new day in the loop is a new chance to delve into the mystery and stop the forces responsible for the endless cycle. Why is Cyre 1313 stuck in time? How will the PC's escape? Who is the nefarious mastermind at the front of the train? How the players answer these questions is up to them! Product Overview: 37 pages for running a 6 to 9 hour adventure for three to five players of 3rd or 4th level. Time tracking and other systems to create the time loop. High resolution maps of each train car. A complex web of puzzle pieces for PCs to play with. Tips and tools to scale with player level, change difficulty, and add complexity. Suggestions on how to make it your own. Perfect to integrate into your Ravenloft, Eberron, or homebrew campaign! Product created free of AI generated content

An adventure included in the Essentials Kit (2019). The party starts in Phandalin, the starting town for the Starter Set (2014) adventure, Lost Mine of Phandlever. Various jobs are posted by Harbin Wester, townmaster, which the PCs can pursue. These jobs culminate in a raid on Icespire Hold, where Cryovain, a young adult white dragon, has recently claimed as its lair.

The legendary spellcaster Emirikol the Chaotic has turned the region into a wild magic zone, a place where all magic goes awry. The only way to put things back to normal is to retrieve the source of the problem deep inside the Ooze Chambers of Emirikol! This adventure is for 4th level characters and can be run on its own or as part 3 of the Litany of Arrows adventure path. This adventure contains, 2 pages of new magic items, 8 new monsters and NPCs, a full write-up of Bwimb II, the Paraelemental Princess of Ooze, an entity referred to in many D&D products but never fully fleshed out and stats for the 3rd edition iconic heroes Regdar and Mialee, who play a major role in this adventure. It's got over 10 pieces of original art, full color maps, tagged and untagged, and a special handout for the player who obtains the Ooze Fist of Emirikol. This adventure builds on the story begun in the platinum-selling Castle of Corellon and the follow-up, Warpath of Gruumsh.
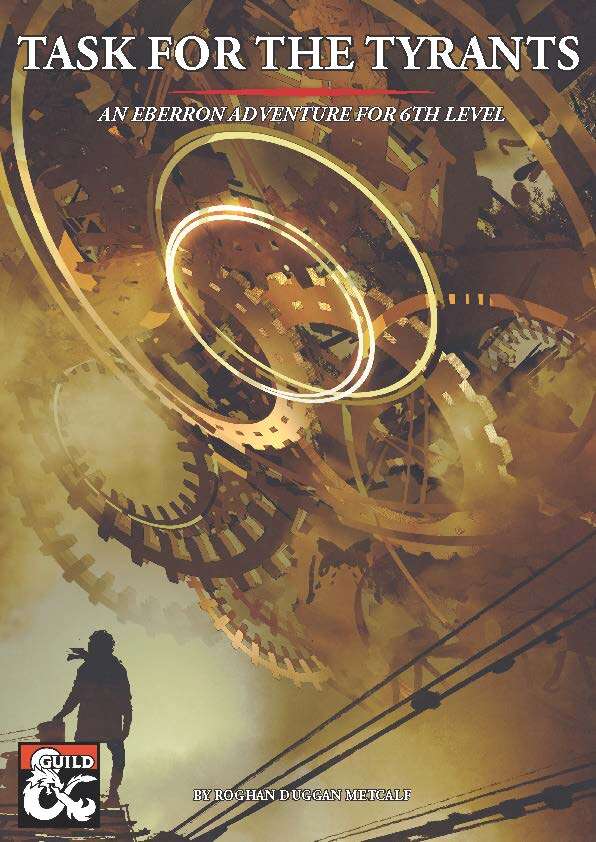
Task for the Tyrants is an intrigue and exploration adventure for a party of 6th level characters. It takes place in the city of Sharn (Eberron), but can be easily adapted to fit any large city in the Eberron setting. A simple reclamation job sends the characters racing across Sharn, from its steam-ridden depths to the operatic splendour of its tallest spires. The characters soon find themselves caught in the midst of a power struggle between the Tyrants, a rogue changeling revolutionary, and the nefarious forces plotting to cast Khorvaire into eternal night: the Dreaming Dark. Will the party reclaim and return the Tyrants’ package, or will they keep it for themselves? In this adventure, you will find: - 22 pages of high-stakes content - 7 to 8 hours of gameplay - A heist on a warehouse filled with goblins and volatile magic - Intriguing side-events to flesh out Sharn - A deal with the Spider, which might cost the players more than just gold…
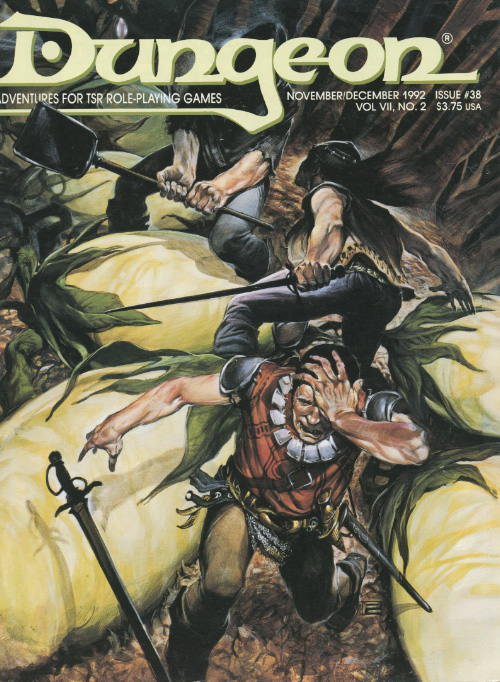
Never try to catch a falling star. A bad seed has been planted in the dark soil of Ravenloft, and now it's time to harvest the crops. A comet has fallen from the sky outside of the town of Delmunster, and the people of this sleepy little village are changing in ways their families cannot explain. The players are on the clock to find the comet and stop its influence on the town. For every day the players take to solve the mystery, another townsperson falls under the sway of the comet. A story heavy influenced by a certain horror movie about pod people. Pgs. 48-68
Kingdom of the Blind is a short adventure for four 8th-level characters. The adventure is set in a minor duchy that is fairly removed from the ruler of the land. As a result, trouble can brew in the land and the king would not know immediately. About three years ago, a medusa, Zhanna Serpentlock, began systematically turning every person in Duke Jellhyn Fedorel's (N male human Ari5) duchy to stone. After losing many peasants to the medusa, Jellhyn attempted to placate her. He offered her his second son, Dephyl, for a husband. Duke Jellhyn and his family had always been rather tense and uncomfortable around Dephyl anyway due to the fact that Dephyl had lost an eye in a freak magical explosion as a boy. Zhanna accepted the marriage, and though Dephyl didn't really care for his family due to how they treated him, he was also less than happy with the arrangement. A year ago, Zhanna appeared at Fedorel's citadel again. She claimed that Dephyl had been untrue and that she had turned him to stone for his adultery. Throwing Dephyl's stone head down in the courtyard of the citadel, she swore vengeance on all Fedorels for his betrayal. Duke Fedorel and his household fled the citadel. Rather than give chase, Zhanna took up residence there and began ruling the duchy as the sole remaining Fedorel family member. Jellhyn and his family have lived in exile for a year. This is what the PCs can learn, but more is going on. As it turns out, Dephyl is alive and quite happy with his marriage. Zhanna is not repulsed by his disfigurement as his family was, and Dephyl's missing eye is something of an asset in the relationship since it lessens his chance of being accidentally petrified by his wife. In the two years of his marriage, he has grown up and gained ambition -- he wants to rule. As a second son (pawned off on a monster), he would never have received the chance. Now, with Zhanna's help, he can rule. However, Dephyl doesn't have the stomach for killing his father and brother. Instead, he and Zhanna plotted to take over the duchy by frightening everyone away. Zhanna carved a stone bust of Dephyl and used it to frighten off the rest of his family. Now Dephyl and Zhanna live happily in the citadel and rule the duchy together, though Dephyl's existence among the living is a secret.

An unexpected envoy arrives in Sporedome and offers to give aid against the fire giants of Maerimydra, if you are willing to help his people with a small problem. A two-hour adventure for 5th through 10th level characters. Optimized for five 8th level characters.

This module is designed for characters who have made their way through the Freeport Trilogy. Characters new to Freeport are at disadvantadge, however. Hell in Freeport sends the characters to the depths of the Hell as pawns of an undead duke. When they discover the truth of their mission, they must race against a sinister clock to save two cities. Act 1 kicks off with a battle against a cornugon on the Freeport docks. The characters are hailed as heroes for defeating the fiend, and are summoned to the Church of Retribution to help in the battle against Hell. Tee old inquisitor who greets them is actually Jalie Squarefoot, an infernal lich who took this form to search for the perfect cat's-paw. Squarefoot wants to take the souls of Freetown, a city in Hell, but must first get around a contract poin: he can't take the city until the Tyre tower clock-now stopped- strikes midnight. He sends the party to Devil's Cry, an inslan off the coast of Freeport, with instructions to close the gate to Hell hidden inside. In truth, he knows the party will be transported straight to the Third Circle when they try. Inside Devil's Cry the party finds the remnants of a great battle fought between an invading devil's army and the Church of Retribution, and battle their way past undead defenders until they reach the gate itself and unwittingly trigger it. Act 2 begins with the party in a twin of the complex they explored in Devil's Cry, but now they are deep in Hell. They fight their way back to the cavern entrance, only to find that they are not on the Prime anymore. When they voyage back their homeport, they instead find themselves in Freetown, a city of scaped slaves in a dark mirror image of Freeport. Once in Freetown, they make the acquaintance of the city's mayor Wycleffe-a servant of Jalie Squarefoot-who persuades them to go on a quest to Tyre to restart the tower clock. They travel the Styx to the Eight Circle and fight their way into a long-buried vity, and then into the tower clock itself. They restart the clock and begin the trip home, but are waylaid by devils and taken prisioner. Act 3 opens with the party naked and in chains in the infernal prison called the Forge. They learn that Jalie Squarefoot and Wycleffe have duped them, and that the supposed rebels of Freetown are actually its protectors. The characters must escape or win their freedom in the gladiator pits before the tower clock they restarted destroys both Freetown and their home city of Freeport. They battle back to Freetown, taking revenge on their captors in the process, and capture the city from Wycleffe with the help of the rebels. Finally it falls to the PCs to enter the tower clock and stop it and Jalie Squarefoot before the fiend's plan can come to fruition. After being tricked and manipulated throughout the adventure, the party finally has their revenge on the duke and his minions.

Your group of adventurers has come together from a successful adventure in the old ruins seeking more fame and glory. As they travel they come upon the small community of Kamortha. Recently a problem occurred when the Witch of Margrove Swamp cursed the community as she left. Now the people have developed some strange facial malady and they want a cure. Can your party of adventurers discover the secret of the plague and resolve it for the fine people of Kamortha?
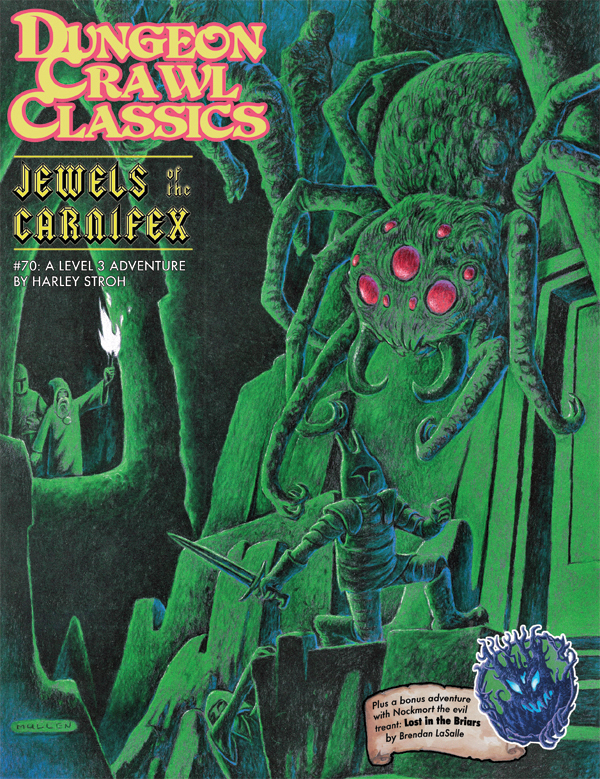
At the end of a forgotten back alley, in the weird and otherworldly marketplace of faiths known as the Bazaar of the Gods, stands the ruins of a forgotten chapel. Once the cult of the Carnifex was celebrated throughout the City of a Thousand Gates. But a band of holy warriors rose against the cult of executioners and torturers, casting down her signs and scattering her devotees to the winds. The fate of the cthonic goddess, and – more importantly – her fabled jewels remains a mystery…until this night. Set amid the sprawling decadence of Punjar, Jewels of the Carnifex offers low-level adventurers a chance to plumb the mysteries beneath the city’s soiled streets, explore forgotten crypts lavished with weird artifacts, and – for the quick and daring – claim the lost Jewels of the Carnifex!

An original one-shot adventure designed for 3-6 level 3 characters. SUMMARY: A recent archaeological expedition in Icewind Dale has uncovered a remarkable discovery: the Spine of the World mountain range is, in fact, the actual spine of a great giant. The discovery confirms an ancient legend, that giants as tall as mountains once roamed the Forgotten Realms. Lead archaeologist Silja Stengravar knows the truth. Centuries ago, a lich, threatened by the giants’ ancient elemental power, banished their race to an abandoned planet known as Kaiva. The lich was defeated, but its curse remains, protected by its minions in the heart of Garagai Mountain. Held captive to the curse, the giants are suspended in time, unable to roam free and claim Kaiva as their own. Silja’s discovery has summoned the portal to Kaiva. Will adventurers brave the perilous journey through the hostile and awe-inspiring planet to destroy the curse and reawaken the giants? DETAILS: 2-4 hour session for 3-6 players Play-tested material Unique items and mechanics Printable cards 16-page campaign guide Enjoy the adventure? Share your experiences with me! Hashtags: #SleepingGiantMountain #GiantsOfKaiva

Wherein the Heroes step through a Portal to find themselves in a Location Most Foul, from which they make their Entrance into the infinite Planes of Adventure. Chapter I of the "Well of Worlds" adventure anthology.

In a distant dimension of existence, a collective of Modrons run experimental tests to find the answer to one question: What draws adventurers to places known as "Dungeons"? Hijacking the travel of adventuring parties, these Modrons subject them to a series of tests in their artificially created dungeon. Deadly combat, logic puzzles, "moral" challenges, and a plot about a kidnapped "Maiden" Modron by an "Evil Wizard Construct" can be found within. But not all is as it seems... Leading the experiment is a rogue Modron officer named the Creative Director, who has gone mad and morphed the tests into an elaborate death trap for adventurers. Seeking revenge against those it considers responsible for its “imprisonment”, it pits the adventurers against ever escalating challenges. Who will defeat the Creative Director and put an end the mad tests?