
You are aromantic, and your best friend is aromantic. There’s only one thing to do: go and fight a dragon. Two Aromantics Spend an Entire Day Doing Everything Except Experiencing Romantic Attraction is an unapologetically no-romo single-player adventure for a level 4 character. It should run for approximately 3-5 hours. This adventure requires at least some knowledge as to what it means to be aromantic. There are many useful resources available online for those unfamiliar with this term.
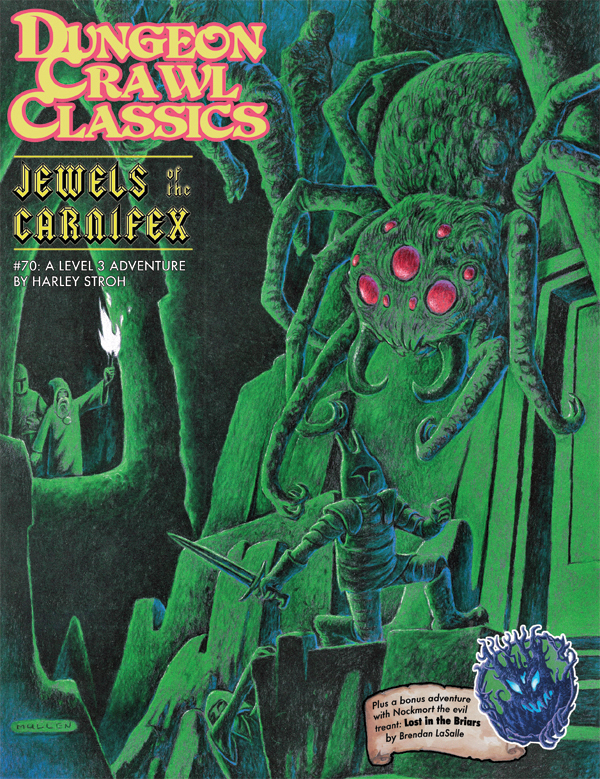
At the end of a forgotten back alley, in the weird and otherworldly marketplace of faiths known as the Bazaar of the Gods, stands the ruins of a forgotten chapel. Once the cult of the Carnifex was celebrated throughout the City of a Thousand Gates. But a band of holy warriors rose against the cult of executioners and torturers, casting down her signs and scattering her devotees to the winds. The fate of the cthonic goddess, and – more importantly – her fabled jewels remains a mystery…until this night. Set amid the sprawling decadence of Punjar, Jewels of the Carnifex offers low-level adventurers a chance to plumb the mysteries beneath the city’s soiled streets, explore forgotten crypts lavished with weird artifacts, and – for the quick and daring – claim the lost Jewels of the Carnifex!
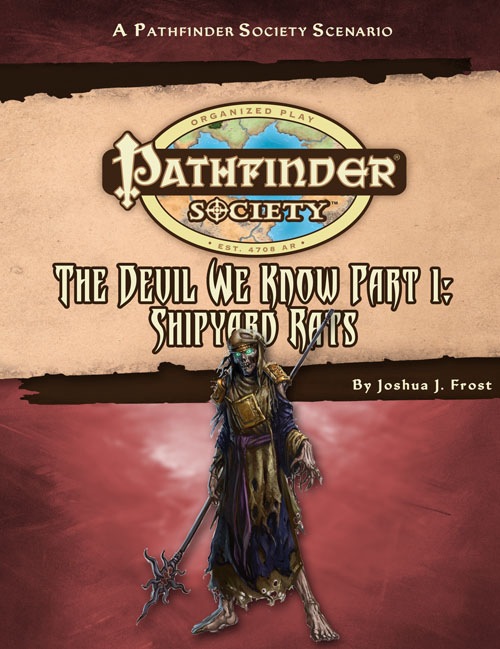
Part 1 of the "The Devil We Know" campaign arc. Shipyard Rats is a Pathfinder Society Scenario designed for 1st to 7th level characters (Tiers: 1–2, 3–4, and 6–7). When simultaneous kidnappings of Pathfinder and Aspis Consortium agents rock Cassomir's Imperial Naval Shipyards, the Society orders you to join forces with hated Aspis agents to solve the mystery. Can you work together with the enemies of the Society to uncover the source of the kidnappings, or will you perish in the shipyards of Cassomir?

Devastated in a war with a nearby wizards' school, the Fighters' Academy has since been surrounded by a foul and dank swamp - the Gloomfens. Since the climatctic battle between the wizards and fighters, the tower has decayed. The spirit of the head of the academy haunts the building, eternally plotting his revenge on the wizards who killed him. his loyal sutdents remain faithful to him even in death. Other foul undead have made their home in the rotting, spacious academy. From their lair, they make forays into farmsteads near the swamp in search of victims to feed their unspeakable appetites. The Problem of these terrible attacks by the savage undead will not stop until the evil that has found a home at the tower is burned from the face of the land forever. Will your party heed the call and help the town of Melinir? Will they be able to clear the former Academy of its undead? The Fighters' Academy is the first in a three part adventure, The Haunted Tower. Or, it can be ran as a stand alone adventure. The choice is up to you. Part of TSR 1081 The Haunted Tower

Introductory adventure for Dark Sun, included in the original box set. PCs start on a slave caravan but are freed when it is attacked. With limited equipment and water, they must cross the desert to an oasis then save a druid. As with many Dark Sun adventures, uses a flip book providing 24 maps and illustrations for players. Combines combat encounters with survival encounters, where the treasure may just be food or enough water for another day.
Freeport is a fantasy “free city” you can place in a fantastic setting. Its basic premise is a pirate city gone legit… at least on the surface. In truth, the pirate tradition is alive and well in Freeport, but camouflaged by a veneer of respectability. These days the city’s pirates are privateers, legalized pirates Freeport loans out to the highest bidder. You’ll learn more in the short history of the city that follows. This should help give you a taste of the flavor of Freeport before the adventure begins and the given background is all you need to run this adventure. It is an ideal starting place for a new campaign as the player characters find themselves stranded in Freeport after a deal goes sour. A seemingly simple job plunges them into the strange underside of the city, where they uncover secrets worth dying for. Death in Freeport is the first from the Freeport trilogy, together with Terror in Freeport and Madness in Freeport. Synopsis: Death in Freeport drops the player characters into the midst of political and magical intrigue, as the hidden Brotherhood of the Yellow Sign manipulates events to bring its dread god to the world. Freeport is still a bustling center of trade, but evil currents run beneath the surface. There are secrets here, and questions unanswered. The characters will undoubtedly learn there is more here than they expect in a simple seaport. The question is, will that knowledge kill them? As the adventure begins, the player characters (PCs) have just come to Freeport on a merchant ship. While on the docks, the PCs are attacked by a press gang, who mistake them for easy marks. The press gang is handily beaten off; since they are unused to real resistance. A bookish young man named Brother Egil then approaches the PCs. He says that he’s been looking for a group that can take of itself, and that he has a job for them if they are interested: finding a missing librarian. The missing man, Lucius, disappeared two days previously, and Egil is eager to find him. Egil gives the PCs some background on Lucius and his strange behavior. The PCs are then free to investigate: They are likely to visit Lucius’s home, the temple to the God of Knowledge, and an orc pirate ship. This should form a picture of Lucius as a man searching for his own past—who found something he wasn’t counting on. Following a trail of clues, the PCs learn about the Brotherhood of the Yellow Sign. With a little luck, the PCs can trail the cultists back to their hideout, penetrate the lair, and discover secret tunnels underneath it. Deep underground they find degenerate serpent people, and eventually Lucius himself. The librarian has been tortured badly and will die without aid. The PCs also have to deal with the leader of the cult, a man they may recognize from the temple. When the cult priest is slain, they are in for an even bigger surprise. He was not human at all, but a serpent man in disguise. What this means for Freeport only the gods can say.

"TRAPPED! What’s that gigantic stage? Why does that village look so out of place? How do you escape this place and why are those two ballistae arguing like siblings?! Find out in the Mezzanine, a Domain of Delight created by an Unseelie archfey named the Grand Director." In the land of fairies, lives an imprisoned archfey named The Grand Director. He made the mistake of disrespecting his evil queen and tries to perfect his horrible play. Within this adventure you will find an Unfinished Wall, a Dance Battle, and Trippy Mushrooms. Your characters have become trapped in the Feywild and they must get the locals to set aside their differences to help the archfey revamp his play for the Unseelie Queen.

Within the pages of this book, you will find three mini-dungeons, all with a common theme. They are all set in dangerous and exciting cave systems. Not only will you be able to drag and drop these mini-dungeons as you need, but this book will also provide a suggested campaign structure and tie-ins to each of them for those witty Dungeon Masters who wish to run them all together. 1. Lizard Folk Tunnels - APL2 to APL5 A daring rescue mission to save two young children from the grasps of a tribe of lizardfolk who's evil intentions are to sacrifice their captives to their evil god. 2. The Cavern of One-Eye - APL4 to APL7 A cave system riddled with orcs as described in Volo's Guide to Monsters. Players will need to think on their feet in this one. 3. The Lair of Frostingbite - APL5 to APL8 Snow-oxen are being stolen from the farmers of Sleet-Town, tracks lead into the ancient and abandoned mine shaft within a nearby mountain. Killer Kobolds, Quaggoth slaves and a ferocious White Dragon await. Published by P.B. Publishing
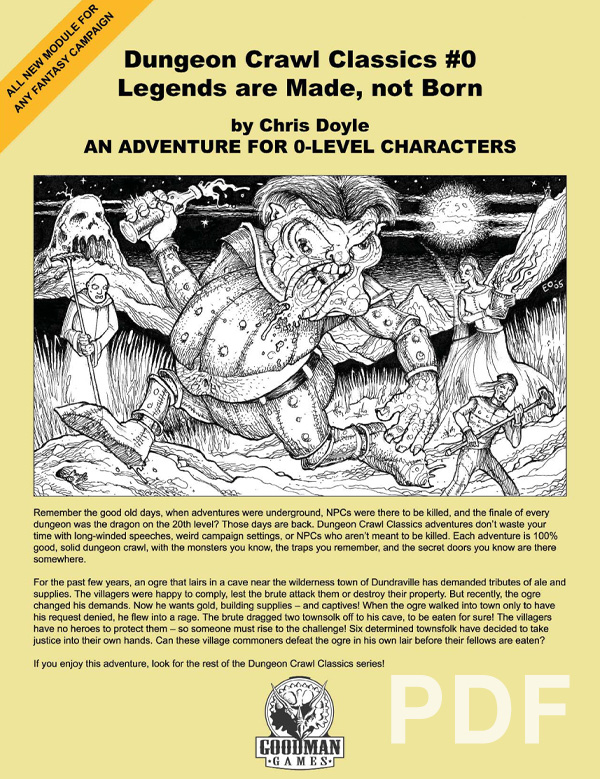
An Adventure for 0-Level Characters Remember the good old days, when adventures were underground, NPCs were there to be killed, and the finale of every dungeon was the dragon on the 20th level? Those days are back. Dungeon Crawl Classics don’t waste your time with long-winded speeches, weird campaign settings, or NPCs who aren’t meant to be killed. Each adventure is 100% good, solid dungeon crawl, with the monsters you know, the traps you fear, and the secret doors you know are there somewhere. For the past few years, an ogre that lairs in a cave near the wilderness town of Dundraville has demanded tributes of ale and supplies. The villagers were happy to comply, lest the brute attack them or destroy their property. But recently, the ogre changed his demands. Now he wants gold, building supplies — and captives! When the ogre walked into town only to have his request denied, he flew into a rage. The brute dragged two townsfolk off to his cave, to be eaten for sure! The villagers have no heroes to protect them — so someone must rise to the challenge! Six determined townsfolk have taken justice into their own hands. Can these village commoners defeat the ogre in his own lair before their fellows are eaten?

When old ruins are discovered, rumors swirl about the lost owner's magical blade. This scenario involves an overland crossing and a dungeon delve and none of it will be easy for the players.

The little fishing town of Saltmarsh is threatened! Why are lizard men gathering force nearby and why have they been buying large quantities of weapons? A party of bold adventurers must answer these questions or the people of salt marsh will never live in peace! Danger at Dunwater is the second part in a series of three modules designed and developed in the United Kingdom for beginning adventures with the AD&D rules. Its plot follows direct from that of the first part (Module U1 - The Sinister Secret of Saltmarsh.) TSR 9064

A sunken ruin deep beneath the bay of Mulmaster holds the key to unraveling the Cult of Glaugrax’s nefarious plans. Dare you brave danger and duplicity to plumb its depths? Part 2 of The Neverdusk Trilogy. A Two-to-Four Hour Adventure for Tier 2 Characters. Optimized for APL 8. The Sequel to Ooze There?, an ENnie Awards 2019 nominee in the Best Organized Play category! This adventure is Part 2 of "The Neverdusk Trilogy", and continues the tale of Fenaria Neverdusk, Sovad Klim, and the mysterious Cult of Glaugrax! Ooze Next? debuted at Lion City Conclave 2019 - a charity convention by the D&D AL Singapore Community. The v1.02 package includes: - Full color cover art by digital artist Lau Shang Hui (NezArt), with additional art inserts for key scenes - A high quality digital map pack for key encounter locations - A two (2) page cheat sheet with Jason's personal tips for running Ooze Next?
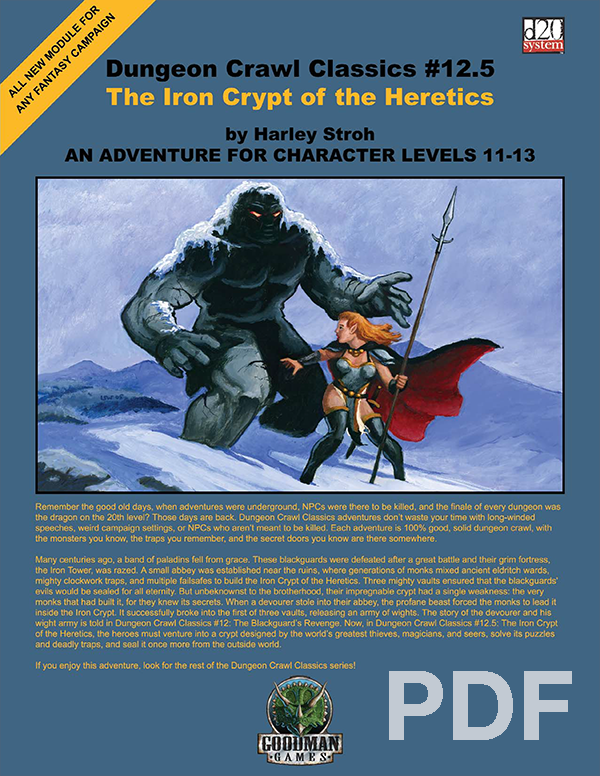
Many centuries ago, a band of paladins fell from grace. These blackguards were defeated after a great battle and their grim fortress, the Iron Tower, was razed. A small abbey was established near the ruins, where generations of monks mixed ancient eldritch wards, mighty clockwork traps, and multiple fail safes to build the Iron Crypt of the Heretics. Three mighty vaults ensured that its evils would be sealed for all eternity. But unbeknownst to the brotherhood, their impregnable crypt had a single weakness: the very monks that had built it, for they knew its secrets. When a devourer stole into their abbey, the profane beast forced the monks to help it inside the Iron Crypt. It successfully broke into the first of three vaults, releasing an army of wights. The story of the devourer and his wight army is told in Dungeon Crawl Classics #12: The Blackguard’s Revenge. Now, in the Iron Crypt of the Heretics, the heroes must venture into a crypt designed by the world’s greatest thieves, magicians, and seers, solve its puzzles and deadly traps, and seal it once more from the outside world.

The Characters come across an ancient wizard's tower. The nearby keep has been reduced to rubble over the ages, but the tower is in perfect condition. It is surrounded by an impenetrable force field that cannot be breached - not even by the ghost of the long-dead wizard, who has been trapped within for centuries. Surely there must be great treasure within this magical abode. But how to get to it?

After a riot erupts in the streets of Cauldron, the PCs must track down a missing paladin before the mob tears the city apart. The PCs try to stop an assassin during the riot and get invited to a meeting, where they are tasked to search for the missing paladin. After some investigating they will travel to Vaprak's Voice, an ancient Spell Weaver laboratory, at the edge of the Demonskar. In the dungeon they will find the "Starry Mirror", a puzzle/travel device through which they have to travel, to find the missing paladin. Part 4 of The Shackled City Adventure Path Pgs. 44-82

You have been sent to watch over the destruction of an ancient artifact by your liege, but arrive to find the temple sacked and the item missing. You and the other abassadors must take the famed Pick of Zander across the Kamula Wastelands. There you must track down the agents of evil and, if possible, destroy the artifact...time to earn your hero status!

What is the Lost Lands? The Lost Lands is the home campaign world of Necromancer Game's and Frog God Game's own Bill Webb. This campaign has been continuously running since 1977. Many of the adventures published by Necromancer Games and Frog God Games are directly inspired by this campaign. They have evolved over the decades, and more material continues to flow from it as the dice keep rolling. Sages and wizards of legend speak of the Lost Lands—many of the players who have lived and died in Bill's campaign over the years now have a place in history (in the books). Frac Cher the dwarf, Flail the Great, Bannor the Paladin, Speigle the Mage, and Helman the Halfling are well known to the fans of Bill's work. This is the game world, and these are the adventures in which the players of these famous characters lived and died. Hundreds of players over the past 35 years have experienced the thrills and terrors of this world. The Sword of Air is the centerpiece of the Lost Lands. Currently, this epic tome consists of several parts: 1. The Hel’s Temple Dungeon—kind of like Tomb of Horrors on crack. This six-level, trap-and-puzzle infested dungeon formed the basis of Bill's game through his high school and college years. Clark Peterson’s very own Bannor the Paladin spent several real life months in the place, and, sadly, finished the objective. This is where the fragments of the fabled Sword of Air can be found…perhaps. 2. The Wilderness of the Lost Lands extending to the humanoid-infested Deepfells Mountains and providing detail about the nearby Wizard’s Wall. This so-called “wall” was raised by the archmages Margon and Alycthron harnessing the Spirit of the Stoneheart Mountains to raise the land itself, creating a massive escarpment to block invaders from the Haunted Steppes. These archmages are actual player characters from the early 1980s who live on in the legends of the Lost Lands. Over 70 unique encounter areas are detailed, and each one is a mini-adventure in itself. New wilderness areas may be added based on bonus goals described below! 3. The Ruined City of Tsen. Legend has it the city was destroyed by a falling meteor. This place forms an aboveground dungeon area the size of a city, with over 100 detailed encounter areas. It’s a very dark place…even at noon. 4. The Wizard’s Feud—This campaign-style adventure pits the players in a long-running series of intrigues and battles between two archmages. Which side will they take? Their actions all play into the overall quest, and could well determine which side wins. Law and Chaos are not always what they seem, and if the wrong decisions are made, the entire ordeal could fail. Remember, one of the wizards WANTS Tsathogga to win. 5. New monsters, new demons, new spells, and new rules for various aspects of play. 6. The Tower of Bells. This dungeon is the result of the workshop Bill ran at PaizoCon 2013, where the participants assisted him in building an old-school dungeon. Visit the tower and discover the secrets of the “artist” within. Beware: those entering may never come out!

The Bloodhand orcs have a prisoner that may hold the answers to the strange goings on and the key to stopping the enemy. What can you do to convince them to hand the prisoner over? Part Twelve of Misty Fortunes and Absent Hearts.

The people of Orașnou are desperate. The village is on the brink of starvation and has little chance of surviving the harsh winter. Even if they had enough food and supplies, Lord Strahd’s taxes are due, and the ruler of Barovia does not accept excuses as payment. The Burgomaster and others in the village have recently learned of a wealthy estate that might have enough resources to solve both of Orașnou’s problems. It is a temptation he cannot afford to resistor can he? Part Nine of Misty Fortunes and Absent Hearts

This is the first of the three adventures that comprise the Bleak House campaign. It brings the heroes into Ravenloft (if they aren't there already), introduces them to Rudolph van Richten, and starts them on the long trail that eventually brings them to the door of the manor knows as Bleak House Included in Bleak House: The Death of Rudolph van Richten TSR 1141