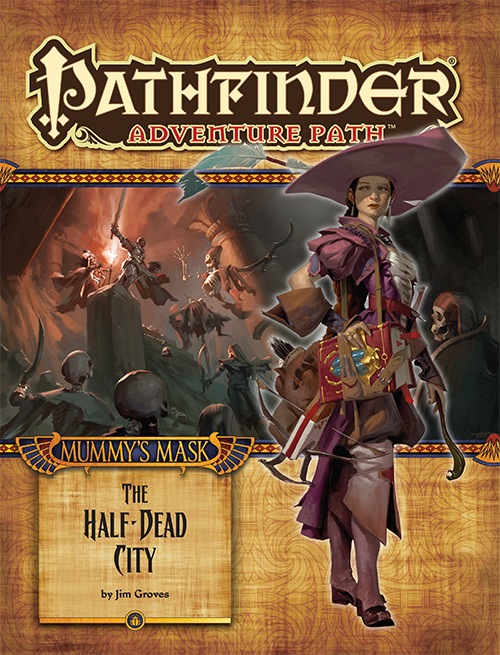
The Mummy's Mask Adventure Path begins with "The Half-Dead City," an exciting new adventure in the pyramid-laden realm of Osirion, Land of Pharaohs! In the city of Wati, the church of Pharasma holds a lottery allowing explorers to delve the tombs of the city's vast necropolis in search of the nation's lost glories. In the course of investigating dusty tombs and fighting their ancient guardians and devious traps, the heroes encounter a group of rival adventurers intent on keeping one tomb's treasures for themselves. At the same time, the heroes learn that a dangerous artifact has been stolen from the tomb. Can the adventurers defeat their rivals, or will they fall to the undead defenders of the city's necropolis?

"Nights on the streets, especially those where walls whisper or ratmen lurk beneath, and never a place for those without purpose. Tonight, amid the gathering shadow, creeping fog, and guttering lamps a lone figure walks with cool intent. Footfalls echoing on the cobbles and a single flare of a pipe, or was that magic, lighting a face that has seen more than its fair share of death..." These are the Cities of Sorcery, Valoria and Taux. Two incredible swords and sorcery settings from the minds of masterful storytellers with a vision born from the works of great masters like Leiber, Howard, and Burroughs. Dare to enter these mean streets where gangs rule, mighty trade houses foster endless vendettas, and dark magic lurks behind the brightest of smiles. Join the adventure in two epic trilogies, a half dozen secondary adventures, and various gazetteers, as you blaze a path to glory and riches among some of the most fabled realms in fantasy. With both 2D & 3D maps, Iconic Characters handouts, campaign characters sheets, and more, this isn't something to miss out on if you are a true hard core gamer. Contains: DF1 The Patina Court DF1.5 Ratmen of the Dead Oak DF2 The Lost Apprentice DF2.5 Gang War! DF3 Forgotten Temple of Tefnu DF3.5 The Creche of Set AT1 The Subtle Revenant AT1.5 Storm Seasons AT2 The King and the Serpent AT2.5 The Part We Must Play AT3 Playing Down the Dawn AT3.5 A Wall beyond Fury The Patina Court Places, 1E and 5E blank Character Sheets, Iconic Characters These adventures are formatted to both 1E & 5E gaming rules.

The quest: find a woman's son who has been missing for 10 years. She's only just received a map that may lead to his last known whereabouts. An adventure for characters that features battles, environmental hazards, and roleplaying. The 38-page PDF includes hand-drawn maps, art, stat blocks, and a battle stat tracker. The overall adventure is 15 pages. This adventure has even been test played by four DM's from around the world.

From the log of the Leaping Dolphin: "110th Day: The gale nae stops for twa days. My ship is driven before it and the magus is as helpless as a wee babe. Akito names the winds tai-fun in his heathen tongue...." Drawn by the lure of aventure and riches, a crew of seamen sails valiantly into uncharted seas. In the squalid dens of the port districts, tales hint at a land of untold riches across the waves. But getting there is only the beginning. Across the waters lie Kozakura, a land of mystery and danger. There you will discover new cultures, strange values, secret powers, and fabulous terrors. For Kozakura is a land of Oriental Adventures. Swords of the Daimyo is the first module designed for use with the AD&D Oriental Adventures rule book. Swords of the Daimyo includes descriptions and maps of the island of Kozakura, detailed information and maps of Miyami Province of Kozakura, and a series of adventures to introduce old and new player characters to the intrigue of the Orient. This adventure book set contains three adventures: Over the Waves We Will Go Riders of the Black Temple Lord of the Black Temple TSR 9164
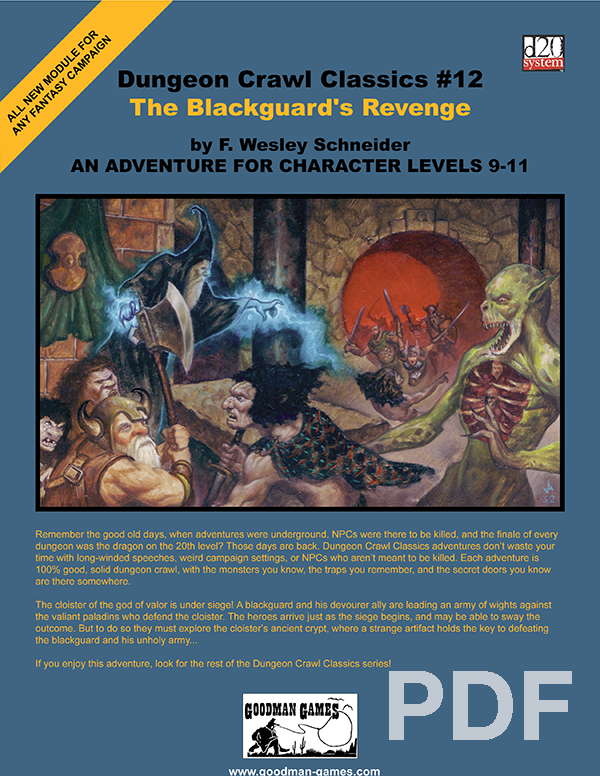
When the heroes come into town, word arrives that a nearby cloister of the god of valor is under siege by an army of undead. The adventurers travel to help defend the bastion of paladins, only to discover that these undead are actually ancient enemies of the paladins’ order. They have discovered a way to exact vengeance for slights committed centuries ago, but to finish their plan they must breach the cloister’s catacombs! Can the heroes battle them to the catacombs and defeat their horrific blackguard champion?

The village of Orașnou is buried in winter's snows and facing starvation. An unseen beast has ravaged the livestock culled to pay Lord Strahd's tax and the village is thrown into panic and chaos. Can you find the monster and save the village from starvation, or worse? Part eight of Misty Fortunes and Absent Hearts.

The town of Warlorn is often thought of as a peaceful one. Not much happens there, and it is usually considered a place of peace were parties could convene to make truces or were the hurt could always come to find someone to care for them. Perceptions can often be incorrect however. The church of Ilmatter, God of Suffering, acts as an effective government in the town. Illmaters tenants are that to help all those who have suffered and to take on their suffering so that they may be healed. To them suffering is truly Holy, and to take suffering on from another is seen as the greatest way to prey to their god. Not everyone is as virtuous as a god, even his own followers, and humanity in taking on holy suffering is still left with desires; lusts that can be corrupted. When the Duchess of Manipulation who delights in corrupting church men spoke to the leader of this clergy of Ilmater, it was no difficult task for her to find a loophole in Illmaters word that she could exploit. If suffering was holy, then truly it should be those that do not yet understand Ilmater’s ways that should feel this suffering. Using a cultist of hers, she was able to create a child that could later be used as an ingredient for a portal right to her layer of hell. It’d be two birds in one stone; corrupt a devoted followers of a god she hated to later take their souls as her own, and create a portal that she could use to cross both herself and her armies to the material plane. When the players enter the scene, the child will have already been kidnapped, and the child’s mother will be hanging up fliers giving out a reward to anyone that can find her child. The players will find themselves needing to infiltrate the Church of Ilmater into its secret underground cult so that they can save the child and stop Glasya from finding her way to the Material Plane.
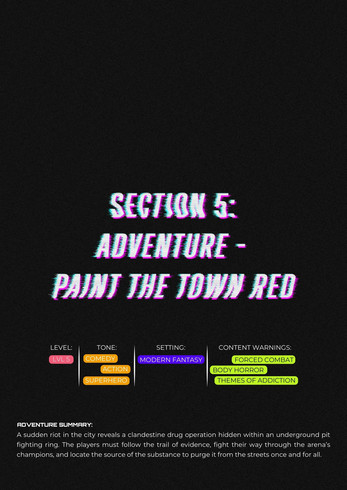
A sudden riot in the city reveals a clandestine drug operation hidden within an underground pit fighting ring. The players must follow the trail of evidence, fight their way through the arena’s champions, and locate the source of the substance to purge it from the streets once and for all.

A mind flayer has called for a massive conference of monsters in the Underdark beneath Hillsfar. Trolls, umber hulks, demons, and more have answered the illithid's call. To infiltrate this gruesome menagerie, you must embrace the monster within yourself.

A storm of unparalleled fury has been ravaging the peaks of the Earthspur Mountains for a tenday, and the Monastery of the Yellow Rose sits in its eye for now. Some monks have fled the monastery to the safety of Mulmaster and beseech you to convince their more obstinate brothers to retreat to the city before the eye of the storm shifts, and the monestary is in terrible danger. Can you brave the elements and convince the monks to escape?

The village of Orașnou is panicked when a group of Bloodhand orcs appear at the edge of the woods. They bring news and an unusual request that reveals a new foe. Part Eleven of Misty Fortunes and Absent Hearts.

House Tarkanan and the Trust have embroiled the Sharn underworld in a silent war, the result of which has dire consequences for Zilargo. The characters must fight their way through assassins, aberrant dragonmarks, information brokers, and fancy parties in this conflict between shadow organizations.

The mining town of Glister has a problem. The latest caravan only arrived with a part of its supplies. Orcs waylaid them, took much needed goods, and are now making demands that the town return an artifact that is theirs, but the town is unfamiliar with. Help track down information about this artifact and possibly defend the city from an orc invasion! A 4-hour Adventure for 1st-4th Level Characters Part 2 of Kossuth's Kiss

This deluxe adventure takes heroes into the ruins of Gardmore Abbey, a monastery that was once the base of a militant order of paladins devoted to Bahamut. According to legend, the paladins brought a dark artifact back from a far crusade and stored it in their abbey for safekeeping, and evil forces gathered to assault the abbey and take it back. What the legends don’t tell is that this artifact was actually the Deck of Many Things, a force of pure Chaos. This adventure brings characters into the extensive dungeons beneath the ruins - dungeons that are warped and twisted with the raw forces of Chaos surrounding the cards of the deck.

Modrons, Mephits & Mayhem is a Dungeons & Dragons 5E tier 2 adventure for three to five characters of levels 5-8. It is primarily set in a modron-designed research facility that has been abandoned by its creators but retains guardians that are still active. Additionally, two groups have broken into the facility with their own goals in mind; the githyanki and their red dragon cohort are antagonistic and provide the main source of combat in this adventure, while a modron traveling with a few mephits may prove friendly although ultimately troublesome. Inspired by adventure games in which the protagonists explore baroque, esoteric technological fortresses, and seeded throughout with factions that sport competing and often bizarre goals, Modrons, Mephits & Mayhem is sure to test the mettle of any group of players, and will provide endless amusement for Dungeon Masters seeking something different from the typical hack-and-slash dungeon crawl. This 70-page adventure features: *Two wilderness areas, random wilderness encounters, and a massive, interlinking 3-level dungeon filled with bizarre puzzles. *Ancient machinery powered by elemental portals, all of which can be activated, turned off, or manipulated by the player characters and the various factions within the modron facility. *Planar creatures like githzerai and githyanki, modrons, mephits, and elemental guardians, skillfully placed into the High Moor area of the Forgotten Realms setting. *Monsters and NPCs that have detailed (yet easy to run!) personalities and goals that will provide tons of roleplaying opportunities. *Notes and sidebars on running the NPCs with added complexity, or simplifying the NPCs' motives to make the adventure more straightforward. *Tactics notes for every single encounter! *An appendix that features all monster stat blocks, and both tagged (DM) and untagged (Player) versions of the dungeon maps. *Wilderness hex map by Elven Tower Cartography! Three interlinked dungeon levels by Dyson Logos...and one of them is a flying fortress! Cover art by Patrick E. Pullen!

A strangely delivered advertisement has led you to a sage named Demetrios. He needs a rare component to complete a desperately needed potion. The journey to retrieve it will take you through a large, unexplored swamp to a ruined keep, the former headquarters of a vile cult that once claimed the lives of many innocent youths. You cautiously accept the mission... To solve the mysteries of "Baltron's Beacon," the characters must excel in handling wilderness, building ruins, traps, puzzles, and new monsters. This adventure, originally designed for tournament use, is now available for your own campaign. TSR 9152

In preparation for the Magister's Masquerade, the students of Strixhaven must create and present themed outfits at the Silverquill Fashion Show. A fellow student offers to design truly unique and magical outfits for the characters, but first he will need special materials infused with magic from the snarls. Recover materials to craft magical fashions within the lair of a brand new creature—the Snarlmoth—in this short adventure set during Year 3 of the Strixhaven campaign.

The PCs are called on to assist in retrieving the legendary Scrolls of Thoth on behalf of Khemet III, the Ruby Prince of Osirion. Along the way, they discover the ultimate fate of the ancient Song Pharoah -- and potentially assist her in her journey through the Duat, the final series of tests that a Pharaoh must face in the afterlife. It was designed as a one-shot lasting approximately 5-6 hours, but could be run as a side-quest in the Mummy's Mask adventure path. See the site for notes on adjustments to make if you are using it in that way. It includes maps, handouts, stat blocks for all of the NPCs, and Hero Lab files for Hero Lab users. Because the adventure is born digital, the page count is a rough estimate based on print previewing the pages in the site. There is no source of a printed copy other than printing one yourself (which you are welcome to do). This adventure has not been published, and is made available under the terms of the Paizo Community Use License.

The Forbidden Book - Caverns of Kehill is easy to implement in any setting and provides tools for real player motivation, interesting NPC interaction, exploration and meaningful combat by context and engaging situations. This adventure can be run in one session. The Forbidden Book is an old demonic artifact, that was destroyed and is manifesting after two hundred years. Cults are practicing rituals all over the world and the heroes will find one of them. It is the story of a group of adventurers, that stand valiantly against the darkness, rescue and old friend and if they succeed, become heroes of the small town of Kehill. Complete and ready to play with dungeon maps, a village map of Kehill and stat blocks directly on the pages. Featuring an additional print friendly version, all hand drawn maps (included additionally as separate files), beautiful artwork and two all new magic items. Published by StLion

To a wizard, knowledge is power, and the wizard Lirdrium Arkayz wants to know the mysterious secret of The Rock. Many have tried to discover it - but The Rock keeps its secret well. The wizard offers a rich reward to anyone bold enough to solve this dark mystery. But the road to The Rock leads to danger and hidden peril - dangers that have claimed the lives of many brave adventurers. Rashness and folly will lead to quick death, but riches await the clever and brave. Have you the wits, courage and skill to survive the Journey to The rock? TSR 9106