
Devastated in a war with a nearby wizards' school, the Fighters' Academy has since been surrounded by a foul and dank swamp - the Gloomfens. Since the climatctic battle between the wizards and fighters, the tower has decayed. The spirit of the head of the academy haunts the building, eternally plotting his revenge on the wizards who killed him. his loyal sutdents remain faithful to him even in death. Other foul undead have made their home in the rotting, spacious academy. From their lair, they make forays into farmsteads near the swamp in search of victims to feed their unspeakable appetites. The Problem of these terrible attacks by the savage undead will not stop until the evil that has found a home at the tower is burned from the face of the land forever. Will your party heed the call and help the town of Melinir? Will they be able to clear the former Academy of its undead? Lair of the Vampire Lord is the third in a three part adventure, The Haunted Tower. Or, it can be ran as a stand alone adventure. The choice is up to you. Part of TSR 1081 The Haunted Tower

The Pathfinder Society seeks the ancient ruby ring of the salamander and it falls to a team of Pathfinders to find it. Last seen in the Tri-Towers Yard, a once elite academy for the youth of Absalom, the ruby ring is now lost in the Drownyard, all that remains of Tri-Towers after it was destroyed a decade ago in the great quake. The Pathfinders must risk the strange black ichors and salty brine to find their prize—will they risk their very souls as well?
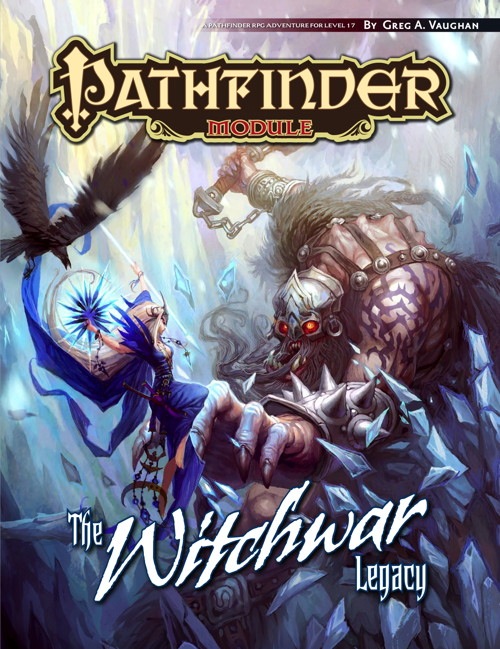
The witch queens of Irrisen must abdicate their thrones every 100 years when their mother, Baba Yaga, places a new daughter on the throne. But one queen was unwilling to relinquish her rule, and led a doomed rebellion against the Mother of Witches. Afterward, Baba Yaga entombed her wayward daughter in an icy necropolis known as the Veil of Frozen Tears, along with a powerful artifact called the Torc of Kostchtchie, hiding them both far from mortal eyes. Now, almost 500 years later, the tomb has been found, and the race is on to plunder its treasures.

It stalks the jungles of Chult. On the path to the lost city lies an ancient danger, a creature that posseses the very jungle and destroys man, beast, and undead alike. Your party has seen the signs of its violence and destruction. Soon they, too, will be hunted by the entity known as Uluu Thalongh. It Walks the Jungle at Night is an adventure supplement for Tomb of Annihilation, designed for a party of 4 players of 5th-7th level. It is a sandbox-friendly adventure designed to fit within a broad adventuring area. The adventure includes strong DM guidelines to hasten or slow the adventure's buildup, allowing the Dungeon Master to control the adventure's pace and incoprorate its early phases into normal day-to-day travel. The adventure includes: -A wide series of random encounter options for the party to discover. They'll find victims of Uluu Thalongh who are relevant to the factions they've interacted with. -A magical item reward: Lash of the Jungle-Walker. -The full-page Myth of Uluu Thalongh, written to embrace Tomb of Annihilation's focus on legend and folklore. -The stat blocks for the Uluu Thalongh (with legendary actions!) and its possessed jungle. -An appendix for chase complications if or when the party flees from the dreadful entity.

Adventurers explore a frozen, buried dungeon of long-dead giants that turns out to be the birthplace of Runemagic itself, and may still hold the secrets of that forgotten art. However, even if they do survive the extreme cold and unfriendly denizens, they will still have to face the massive Runeforged Guardian before they can escape. This adventure includes lots of interesting multi-part traps and alternate encounters that can be added or swapped out in several places.
In the town of Easthaven, a group of adventurers is tasked on a routine mission to resupply an expedition to the Reghed Glacier. But everything is not quite as it seems, and it's not long before the chronographer's misfortunes become apparent.
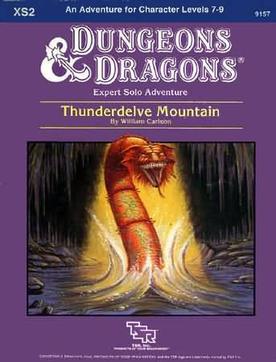
The ancient dwarven kingdom of wonder and fable is no more! Only the tales of it's grandeur remain to entertain the children, or so you thought. Then you met Nimron. Distraught and desperate, you alone can pass the gates sealed so long ago. Within are the lairs of bandits, cutthroats, and worse. The evil that destroyed the dwarven home - the Halls of Paradise - is awakened again. Into this horror ventured the dwarven princess Grona Marblefist to reclaim her kingdom. She, like so many others, has not returned. Now you must face this peril alone. Thunderdelve Mountain is a solitaire adventure for the DUNGEONS & DRAGONS Expert game. Players who don't wish to face the fallen Halls of Paradise alone may also use this adventure for group play. TSR 9157
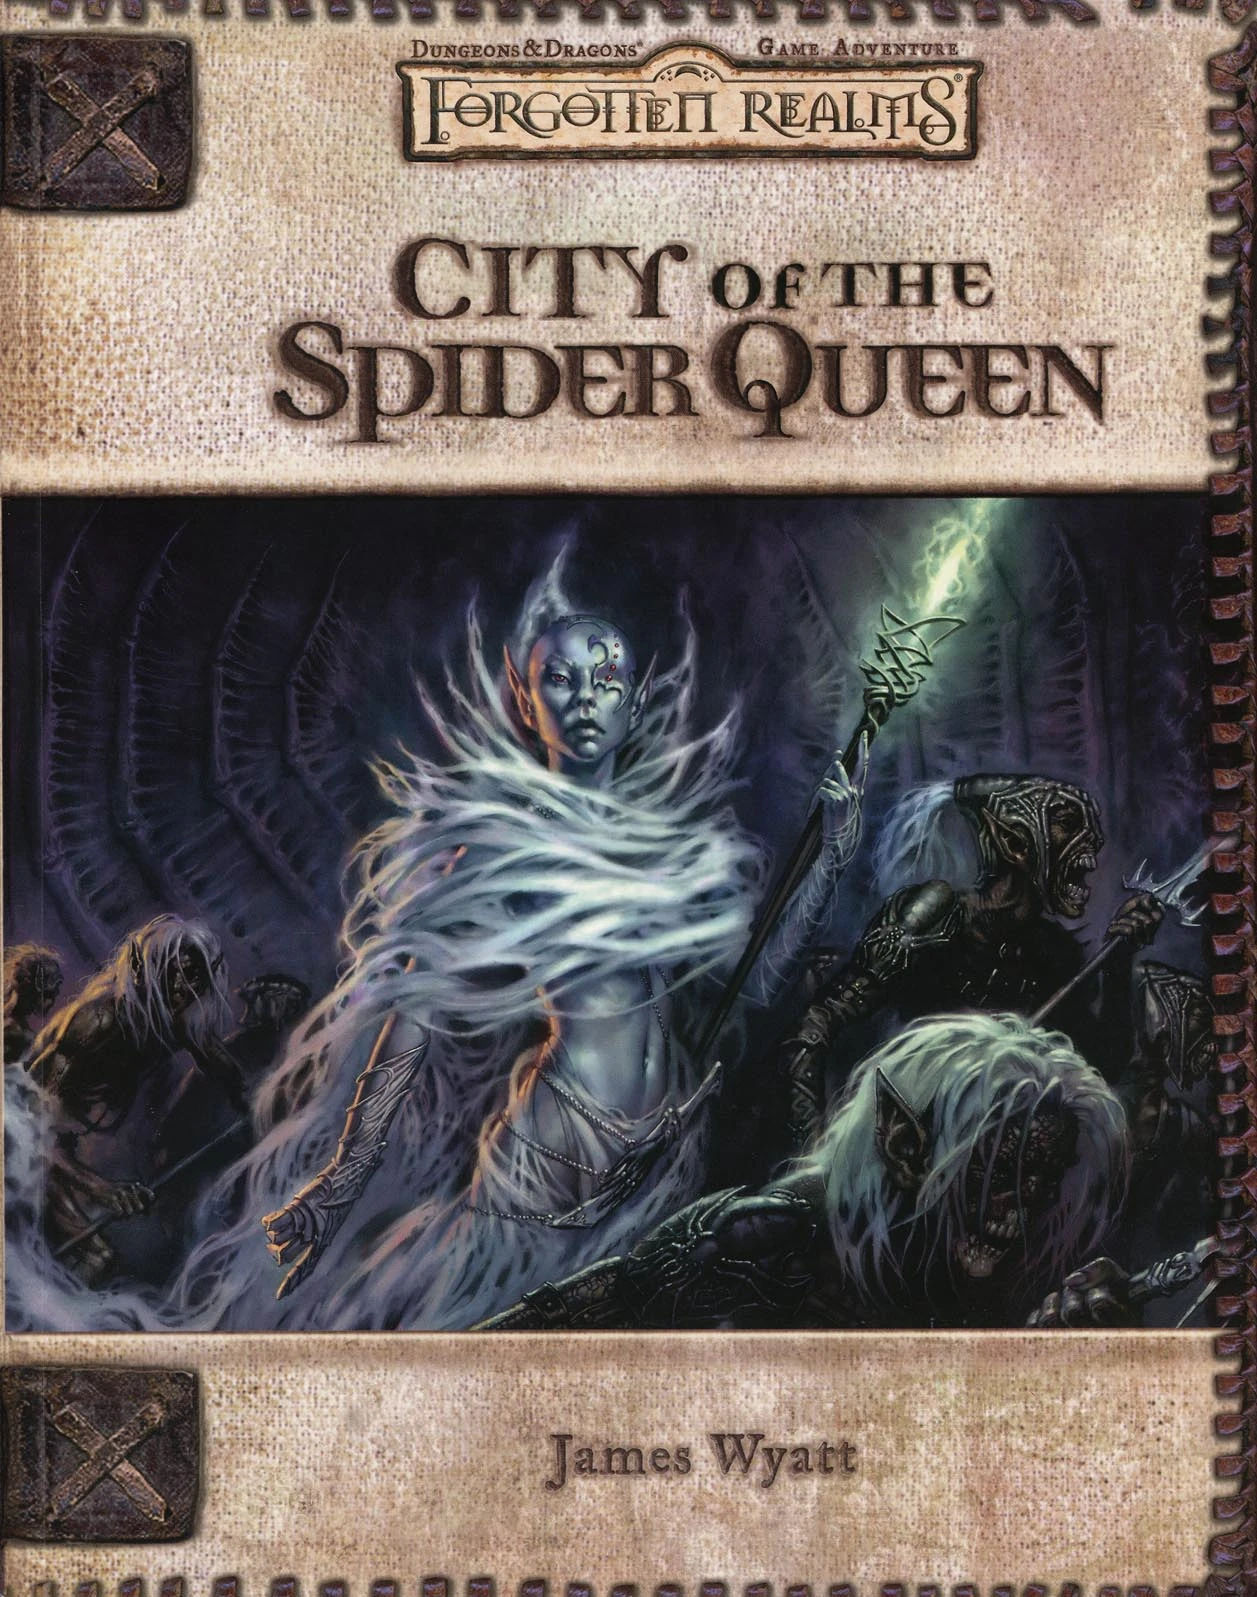
The Fate of Faerûn Lies in Shadowy Darkness! Daggerdale is reeling from a sudden series of murderous drow raids. As a grave threat to the entire surface world develops in the war-torn dark elf city of Maerimydra, intrepid heroes must discover its source and destroy it, if they can.

Designed to remedy the lack of "end game" content for Old School-style gaming, The Dreams of Ruin is a setting-neutral adventure supplement aimed at characters of level 12 to 16. The material can be used with groups from level 8 to max level (and beyond, if the system supports ascent to divinity for high-level character). Capable of challenging even the most experienced players and most powerful characters, The Dreams of Ruin are an unforgettable addition to any high-level campaign. But beware! The dreams are mighty and can overwhelm even fearsome warlords and powerful wizard-kings. One touch of them, and your campaign world will never be the same.

The locals are spreading rumors of the emergence of an age-old relic in a remote farming village. Surely you won’t be the only one to seek it, but can you afford to not be successful in this mission? And why haven’t they claimed it for themselves? Part Three of Misty Fortunes and Absent Hearts.
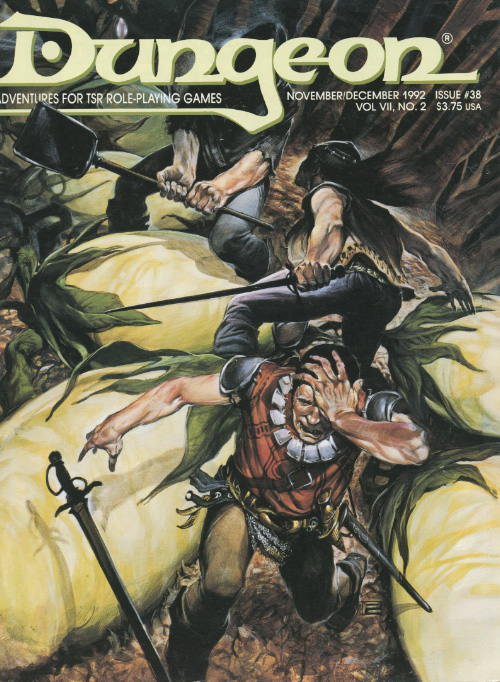
Giants and ghost trees and foul undead beasties... What happens when elves, giants, and a mysterious witch all decide only you can settle their troubles. Strange new tree species! A hobgoblin fort! Unexplained noises during the day and different noises at night! Investigate and explore the Bretonwood to get to the bottom of its problems. The adventure provides an overland open-world style map of the Bretonwood which the players are encouraged to explore. Many set and random encounters are provided. There are opportunities for combat in this area, but players should be ready to handle some problems out of combat to get the most satisfying experience. Pgs. 22-43
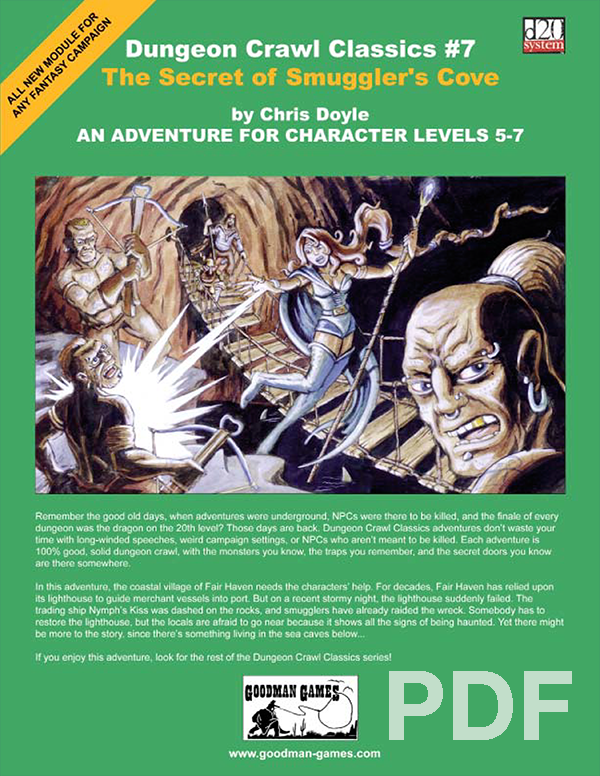
In this adventure, the coastal village of Fair Haven needs the characters’ help. For decades, Fair Haven has relied upon its lighthouse to guide merchant vessels into port. But on a recent stormy night, the lighthouse suddenly failed. The trading ship Nymph’s Kiss was dashed on the rocks, and smugglers have already raided the wreck. Somebody has to restore the lighthouse, but the locals are afraid to go near because it shows all the signs of being haunted. Yet there might be more to the story, since there’s something living in the sea caves below…

The Lamenting Lighthouse is a four-hour adventure for 5th-10th level characters, designed for Dungeons & Dragons 5th Edition, with a nautical theme, heavy undead and horror elements, and mysteries to solve! One lonely lighthouse shines the way through the rocks and shoals that deny entry to the northern Moonshae Isles. But when the party’s transport approaches, a horrific gale at their backs - no light is in sight... The party must venture ahead of their vessel in a race against the storm to the restore the beacon before their ship is lost. What has befallen the keepers, and what dark secret does the lighthouse hold? Will the heroes prevail, or will they join the lighthouse's lament? This adventure can easily be inserted into a run-through of Ghosts of Saltmarsh. This one-shot can also serve as a nautical interlude in any on-going campaign where the characters have to take to the sea. Included with this adventure are: + 6 original custom creatures, the dread wraith, the dread wight, the swarm of seagulls, the captain, the rating, and the sailor + 12 player hand-outs with notes that shed light on the mystery of the lamenting lighthouse, with a randomization mechanic that ensures a degree of replayability + 9 original fleshed out NPCs, including personality traits and roleplaying tips + 2 original magical artifacts + 7 hand-drawn maps of important locations + a story reward and 2 story hooks for continuing the adventure (depending on how the adventure resolves)
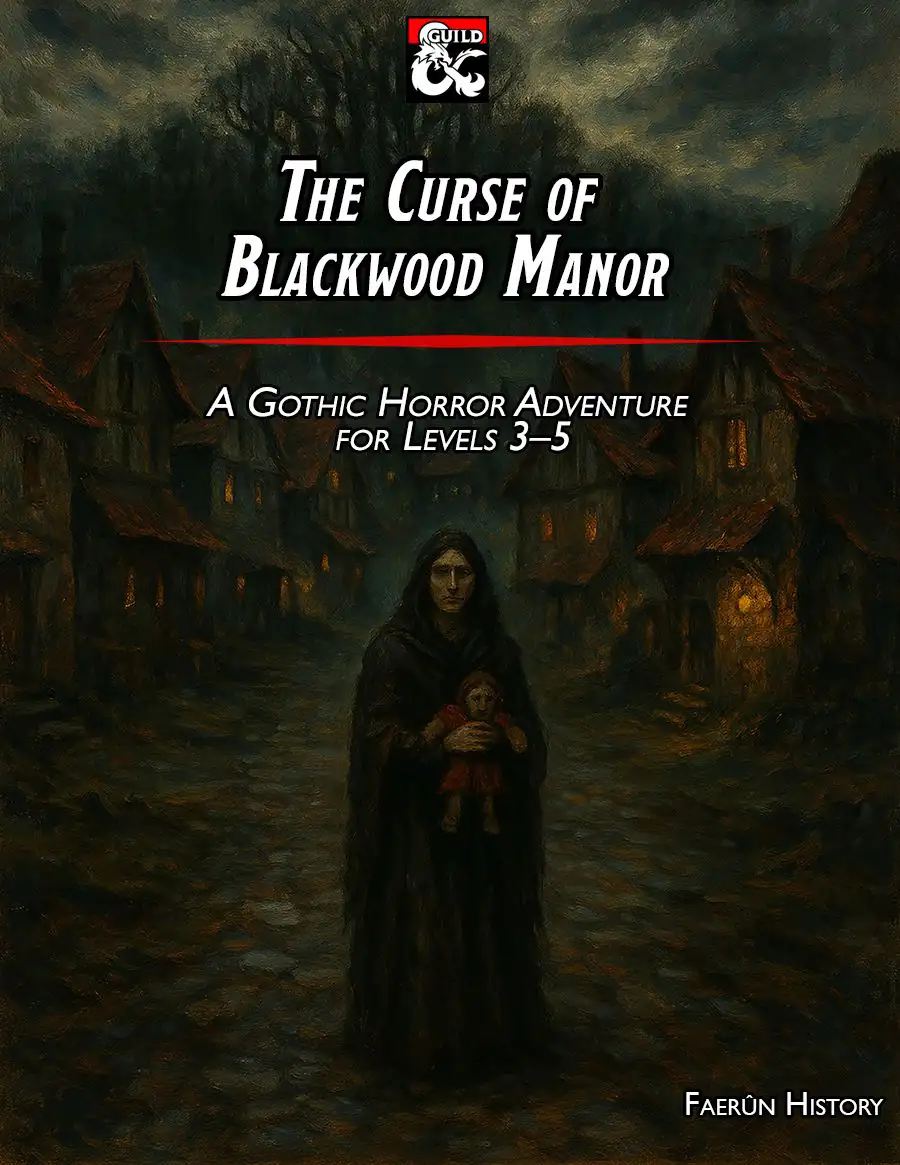
Gothic horror adventure for levels 3-5 set in rural Halruaa. Features a missing child mystery, cursed village, haunted forest, decaying manor, ancient green hag, fey bargains, tragic constructs, moral ambiguity, investigation, exploration, and multiple endings.

The grain has rotted in the town of Elmwood, which means people might starve, businesses and banks might fail, and endanger the town’s already- precarious existence. Brave adventurers are needed to travel through the wild forest to seek the advice of the Sage of Cormanthor. Four hour adventure. Also contains information about the town of Elmwood. Part One of the Misaligned Trilogy

This adventure works best after going through the original trilogy (Death, Terror, and Madness in Freeport). After exposing the madness and corruption of the previous Sea Lord, a succession crisis is upon Freeport. There are no heirs to the seat of power, leading the Captains' Council to overturn the Law of Succession. But opening up succession plunges the city into chaos as various factions vy for the title. The PCs will need to survive riots and secret plots to make sure the right man (or woman) ends up with the job.

After the first expedition to locate an ancient tomb was prematurely ended by monsters, the Search and Locate Treasure Consortium is doubling down. Camp established, they are looking for adventurers to make their dreams come true, but the leader of the Consortium is hiding something. Will the characters be able to avoid the Man Slayer tribe that destroyed the first expedition, help Larazmu settle his internal struggles, and locate the tomb that they have been searching for without getting into Moor Trouble?
Explore political intrigue, gene splicing, and a thrilling battle for survival in the Timescape's World Below in DOOM of the DRAGON GRAFTER, a 9th to 10th-level adventure for Draw Steel! You and everyone you know has a story of the dragon who ruined your life. You've lost so much and wondered why it had to be this way. Recently you learned that all these dragons that wreaked havoc on Orden were intentionally created to do so, all as an experiment run by a voiceless talker known as Lord Pulposa. You don't know why he did this, or how you're going to break into his lab. What you do know that you're going down into the World Below after him to make sure his schemes will never hurt anyone again. You are the Doom of the Dragon Grafter. Features: - Over 25 pages of an adventure written by the author of The Workshop Watches and The Fall of Blackbottom (that's me!) - 23 Victories worth of encounters - Lord Pulposa, a level 9 Solo Monster designed by Scott Bullock, guaranteed to terrorize your friends and enemies - Battle Maps & Positioning Maps for most combat encounters - Some Draconian fiction thrown in there for good measure - Shared under a CC-BY Sharealike so you can do whatever you want with it - A Goblin named Spanky

The village near Oreclasp Keep has been reporting brutal owlbear attacks that have left people missing or dismembered. Lord Oreclasp has placed a bounty for every owlbear beak brought to Oreclasp Keep. The villagers don’t suspect the deeper problems brewing in the land.

"Tyr is free! Tyr is free!" Such is the heady cry that echoes from the darkest warrens to the gleaming chambers of the Council in that ancient city. Now is your chance to savor life released from the oppressive gloom of the sorcerer-kings-but for how long? New forces threaten the newly-born independence of Tyr, as outside forces march upon the city. King Tithian is determined to resist, but there are others on the Council of Advisors less eager to risk their wealth and lives for the cause of independence. It falls upon you to help mobilize and lead the citizen-army of Tyr on the road to Urik. In Road to Urik, the city-State of Tyr has thrown off the yoke of the sorcerer-king Kalak and declared all slaves free, but the neighboring city-state of Urik is amassing its own armies to conquer Tyr. In the first part of the adventure, the PCs must negotiate with various factions of the city in order to win their support for the war effort. In the second part the PCs leading a scouting force ahead of the main army, and the choices and successes in the first part will affect the troops they lead here. Finally, they will need to fight and lure away the Urik army's own scouting force, letting the army of Tyr ambush them. The second and third part make heavy use of the Battlesystem rules, which were pushed pretty heavily in the early Dark Sun books. Like many Dark Sun adventures, the module makes heavy use of handouts that come in a flip-book along with the main adventure. This adventure is a sequel to Freedom. It stands on its own, but the plot of the adventure is based on the events of Freedom and the novel the Verdant Passage, so you can't really run them in reverse order. Much like Freedom took place concurrently with The Verdant Passage, Road to Urik takes place just before the events of The Crimson Legion, the second novel in the Prism Pentad. TSR 2406