
The Terror of Screeching Hill is an adventure designed for a party of four level 1-3 characters. Introduce your friends to Dungeons & Dragons or take a break from your current campaign and save the town of Stonehollow in this early level one-shot! To the villagers of Stonehollow, the flight of bats warns of an impending disaster. Earthquakes, which riddle the small mining town, often follow this omen causing cave-ins and trapping miners underground. Thankfully, the ground hasn't shaken in weeks. However, every night at sunset, a colony of bats fly over the town as a haunting cry echoes over Screeching Hill, a mound on the southern outskirts of the village. Villagers have begun to go missing, including the town's doctors Simon and Kirk Bartok, and some have suffered terrible wounds after being attacked by a relentless creature out of the darkness. With no doctors to treat the wounded and the expectation of more attacks, the villagers of Stonehollow turn to you for help. Will you investigate the terror of Screeching Hill and save the town from its reoccurring nightmare? Included: - A 16 page one-shot designed for level 1-3 characters - Unique maps - Two player handouts - A simplified document compatible with screenreaders
Explore political intrigue, gene splicing, and a thrilling battle for survival in the Timescape's World Below in DOOM of the DRAGON GRAFTER, a 9th to 10th-level adventure for Draw Steel! You and everyone you know has a story of the dragon who ruined your life. You've lost so much and wondered why it had to be this way. Recently you learned that all these dragons that wreaked havoc on Orden were intentionally created to do so, all as an experiment run by a voiceless talker known as Lord Pulposa. You don't know why he did this, or how you're going to break into his lab. What you do know that you're going down into the World Below after him to make sure his schemes will never hurt anyone again. You are the Doom of the Dragon Grafter. Features: - Over 25 pages of an adventure written by the author of The Workshop Watches and The Fall of Blackbottom (that's me!) - 23 Victories worth of encounters - Lord Pulposa, a level 9 Solo Monster designed by Scott Bullock, guaranteed to terrorize your friends and enemies - Battle Maps & Positioning Maps for most combat encounters - Some Draconian fiction thrown in there for good measure - Shared under a CC-BY Sharealike so you can do whatever you want with it - A Goblin named Spanky
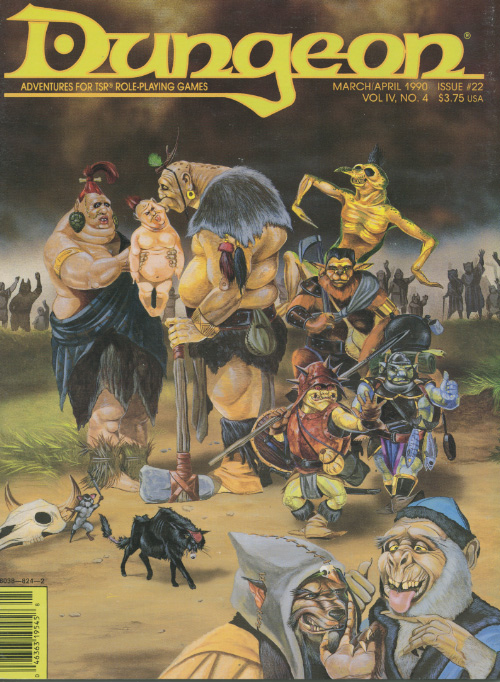
Somewhere ogre the rainbow.... You and your fellow humanoids are going to be diplomats! Can you say "disaster?" I knew you could. This module is made for humanoid monster PCs created with GAZ10 (The Orcs of Thar Gazetteer). That module is required to play through this adventure. The players start in the village of Flooshpragh, which acts as the horde center for the Rude Mongrel tribe of goblinoid races. Unknown to the players, the tribe has grown unmanagebly large, and the chief has marked the players as expendable individuals! Many subtle clues exist throughout the module to clue the players into this betrayal. The adventure proceeds through a town with roleplaying opportunities, a tower dungeon, and finishes by the players unknowingly pranking a human wizard. Pgs. 50-64

The Soulmonger is shattered and its pieces scattered across the peninsula of Chult. Dire forces seek those shards for their own nefarious purposes, and the Red Wizards are rumored to have found a number of them already. Can you wrest those necromantic artifacts from the hands of the dread mages? Part One of the Broken Chains Series. A Four-Hour Adventure for 17th-20th Level Characters.

The PCs are called on to assist in retrieving the legendary Scrolls of Thoth on behalf of Khemet III, the Ruby Prince of Osirion. Along the way, they discover the ultimate fate of the ancient Song Pharoah -- and potentially assist her in her journey through the Duat, the final series of tests that a Pharaoh must face in the afterlife. It was designed as a one-shot lasting approximately 5-6 hours, but could be run as a side-quest in the Mummy's Mask adventure path. See the site for notes on adjustments to make if you are using it in that way. It includes maps, handouts, stat blocks for all of the NPCs, and Hero Lab files for Hero Lab users. Because the adventure is born digital, the page count is a rough estimate based on print previewing the pages in the site. There is no source of a printed copy other than printing one yourself (which you are welcome to do). This adventure has not been published, and is made available under the terms of the Paizo Community Use License.
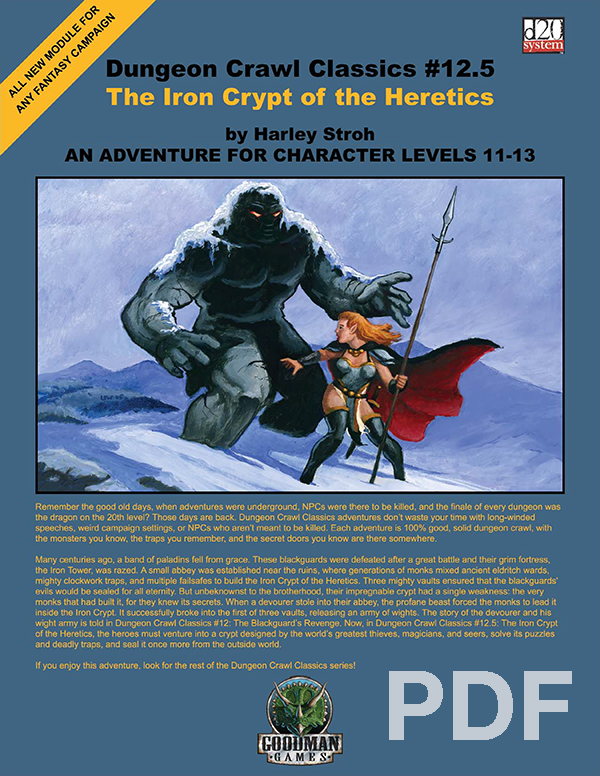
Many centuries ago, a band of paladins fell from grace. These blackguards were defeated after a great battle and their grim fortress, the Iron Tower, was razed. A small abbey was established near the ruins, where generations of monks mixed ancient eldritch wards, mighty clockwork traps, and multiple fail safes to build the Iron Crypt of the Heretics. Three mighty vaults ensured that its evils would be sealed for all eternity. But unbeknownst to the brotherhood, their impregnable crypt had a single weakness: the very monks that had built it, for they knew its secrets. When a devourer stole into their abbey, the profane beast forced the monks to help it inside the Iron Crypt. It successfully broke into the first of three vaults, releasing an army of wights. The story of the devourer and his wight army is told in Dungeon Crawl Classics #12: The Blackguard’s Revenge. Now, in the Iron Crypt of the Heretics, the heroes must venture into a crypt designed by the world’s greatest thieves, magicians, and seers, solve its puzzles and deadly traps, and seal it once more from the outside world.

When a Thayan research expedition returns from the Glacier of the White Wyrm with only two survivors that are reduced to whispering about an ancient pyramid under the ice, perhaps it is time to discover just what scares the life out of a nation of necromancers. The events of DDEP2 Mulmaster Undone resulted in terrible geographic upheaval all around the southeastern region of the Moonsea. Massive landslides, earthquakes, tidal waves, and gnashing tornados devastated the land and the city of Mulmaster was nearly scrubbed from the face of Faerun. Fortunately, these events also revealed previously hidden artifacts—trinkets, mostly—from the ancient Netherese all around the city. The Thayans have long held an interest in the port city and wasted no time in assisting in the rebuilding efforts. They simply asked that a blind eye be turned to their archaeological interests, and in return they would continue to spend their own resources (at no expense to the Mulmasterites or even the High Blade) to rebuild the city, bigger and better than before. It wasn’t long before their interests paid off with the discovery of a research laboratory beneath the Glacier of the White Worm, far to the east of Mulmaster and nestled in the mountains. The Thayans sent a sizable expeditionary force but only two acolytes returned. The visiting Zulkir has found this particularly troublesome, and with the assistance of Rastol Shan, the head of the Cloaks, has arranged for a mercenary force to perform a more pointed investigation of the area. In return the Thayan noble has promised significant compensation. Upon arrival at the dig site, the characters are quick to discover that the laboratory hides ancient and palpable evil. The purpose of the facility can be discerned with careful investigation, and the effect of the still-active fragment of the Dark Obelisk has empowered (some may say attracted) servants of the Worm that Walks. Danger and death await, certainly, though the characters always have the option of running away and living to fight another day…

Wolpertinger, Wererat - Well! is a two-hour adventure for 1st-4th level characters, designed for Dungeons & Dragons 5th Edition, with an urban theme, exploration, humor, and a small mystery to solve! Waterdeep, the City of Splendors, is brimming with exciting opportunities for adventurers - seemingly at every corner, backstabbing between rival guilds, intrigues among the noble houses, and treasures in forgotten places beckon. But today, a little girl is in trouble and needs the help of our heros in rescuing her pet "bunny"! This adventure is an unapologetically linear dungeon crawl – short, straight-forward, and to the point. It follows the three-pillar principle: combat, exploration, social interaction. The idea is to spice up the classic formula with varied challenges that result in a short, entertaining session. This makes this an excellent adventure for beginner players and DMs! Detailed support is provided for the DM in the form of roleplay advice for six completely fleshed out original NPCs, advice on the three pillars in each scene, and scenic sensory descriptions for every scene to make the adventure come to life. Included with this adventure are: + an original custom monster, the wolpertinger + six original fleshed out NPCs, including personality traits and roleplaying tips + 20 original (but mostly useless) magic items + six original diseases + one original trap + a complete original hand-drawn dungeon map covering the entire adventure

The party has received word from the citizens (or in NQ2) of a troublesome cult hidden in Meglos Peaks. Apparently a stronghold exists near the mouth of the Tora River. Putting an end to this group of religious fanatics would certainly put another feather in your fledgling career caps!

A new threat preys on the local trade road. Rumored to have ties to the legendary undead wizards, Vecna and Acererak, Geoff the Dread Tailor has awakened to garner his revenge on the living. A group of stalwart heroes must arise to put an end to the Dread Tailor’s depravations or all will be lost. This adventure includes: a small village of friendly allies, an optional haunted ruin to discover, an entire lair of creatures (with map!) to explore, three new magic items, two new monster descriptions, interactive document links, and more fun than a bag of scorpions (don't ask)!
Kingdom of the Blind is a short adventure for four 8th-level characters. The adventure is set in a minor duchy that is fairly removed from the ruler of the land. As a result, trouble can brew in the land and the king would not know immediately. About three years ago, a medusa, Zhanna Serpentlock, began systematically turning every person in Duke Jellhyn Fedorel's (N male human Ari5) duchy to stone. After losing many peasants to the medusa, Jellhyn attempted to placate her. He offered her his second son, Dephyl, for a husband. Duke Jellhyn and his family had always been rather tense and uncomfortable around Dephyl anyway due to the fact that Dephyl had lost an eye in a freak magical explosion as a boy. Zhanna accepted the marriage, and though Dephyl didn't really care for his family due to how they treated him, he was also less than happy with the arrangement. A year ago, Zhanna appeared at Fedorel's citadel again. She claimed that Dephyl had been untrue and that she had turned him to stone for his adultery. Throwing Dephyl's stone head down in the courtyard of the citadel, she swore vengeance on all Fedorels for his betrayal. Duke Fedorel and his household fled the citadel. Rather than give chase, Zhanna took up residence there and began ruling the duchy as the sole remaining Fedorel family member. Jellhyn and his family have lived in exile for a year. This is what the PCs can learn, but more is going on. As it turns out, Dephyl is alive and quite happy with his marriage. Zhanna is not repulsed by his disfigurement as his family was, and Dephyl's missing eye is something of an asset in the relationship since it lessens his chance of being accidentally petrified by his wife. In the two years of his marriage, he has grown up and gained ambition -- he wants to rule. As a second son (pawned off on a monster), he would never have received the chance. Now, with Zhanna's help, he can rule. However, Dephyl doesn't have the stomach for killing his father and brother. Instead, he and Zhanna plotted to take over the duchy by frightening everyone away. Zhanna carved a stone bust of Dephyl and used it to frighten off the rest of his family. Now Dephyl and Zhanna live happily in the citadel and rule the duchy together, though Dephyl's existence among the living is a secret.

A young boy befriends an extra-planar construct that has mysteriously appeared at his family’s farm. Once the boy finds out that other creatures are coming to take it back home, he comes up with a plan to get help from the party to save his new friend. Fairly in depth adventure with plenty of RP opportunity.
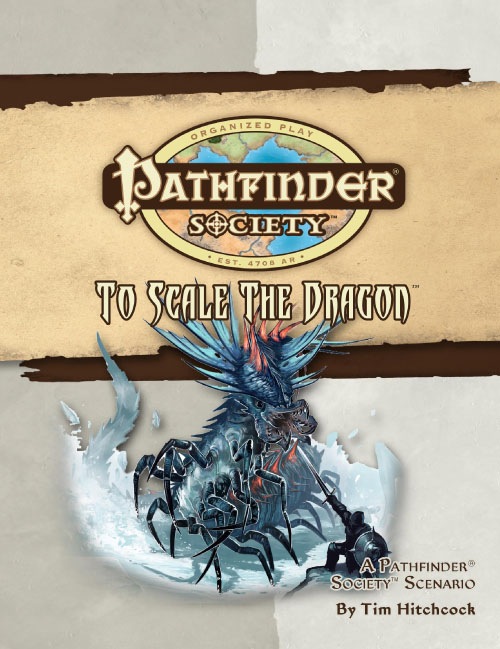
The last remains of a sage from an age long past rests high atop the snow-covered tips of the Fog Peaks in Southern Galt and the Society wants his bones in order to study them and learn from them. They've sent you into a wintry wilderness of primordial beastmen and snow creatures not seen below the snow line to do just that. With the Aspis Consortium also seeking the bones, the race is on to beat them to the top and, once the bones are recovered, to make it back down alive.

Local villagers whisper of a mysterious place deep in the marsh - a place shrouded in mist and dotted with barrow mounds, ruined columns, and standing stones. The tomb-robbers who explore beneath the mounds - or rather the few who return - tell tales of labyrinthine passages, magnificent grave goods, and terrifying creatures waiting in the dark. Are you brave (or foolish) enough to enter Barrowmaze? Barrowmaze Complete (BMC) is a classic megadungeon for use with any old school fantasy role-playing game. BMC includes everything in Barrowmaze I and II in the same book in addition to new material, art, layout, and cover art by Ex-TSR artist Erol Otus. Barrowmaze Complete will keep your players on their toes and your campaign going strong. BMC is brought to you by the Old School Renaissance (so don’t forget your 10’ pole). This edition includes art by the aforementioned TSR artists Erol Otus, as well as Tim Truman, Jim Holloway. New old-school artists include Peter Pagano, Cory Hamel, Stefan Poag, Zhu Bajie, Stephan Thompson, and others.

The ruined wizard tower in the Marsh of Chelimber may hold a clue to defeating the super-intelligent hill giant, Bad Fruul, and prevent him troubling the town of Parnast. To find the tower, adventurers must overcome the watery magic of the fetid marsh and discover or clear a route to the ruins of a previously lost tower.

Your fame has garnered you more attention than you can handle but a specific job opportunity is one that you cannot pass up on. Two nations have had a peaceful and lucrative trading agreement for years along with the city of Conifestatia. That has recently changed with the appearance of a Green Dragon taking up residence in the area. With your fame on the line, looks like you guys are going Dragon huntin'!

Hanging out in the city of Acre has gotten mundane and the old adventuring itch is flaring up. Your fruitless search for jobs quickly changes as a farmer locates you. He indicates that he has a minor farming problem with a land shark that the party can deal with. Once this job is completed, the party is approached by more opportunities!
After an Andoren village is razed by the Hydra's Fang, a renegade Chelish slaver-ship, outrage threatens the stability of both nations. You and your fellow Pathfinders are sent to capture the Fang before the Inner Sea is pitched into political frenzy.

A slaver gang known as the Bloodreavers are terrorizing the countryside from their base deep in the labyrinth under Thunderspire Mountain. But these slavers are only the symptom of a larger threat in the bowels of Thunderspire.

Part One of the Umbral Aristocracy Trilogy. Rumors abound of a map that leads to a treasure of unimaginable value. When chance drops the map into your hands, you have the chance to become wealthy beyond your wildest dreams. But you’re not the only ones with that dream. The chase is on. A Two-Hour Adventure for Tier 1 Characters.