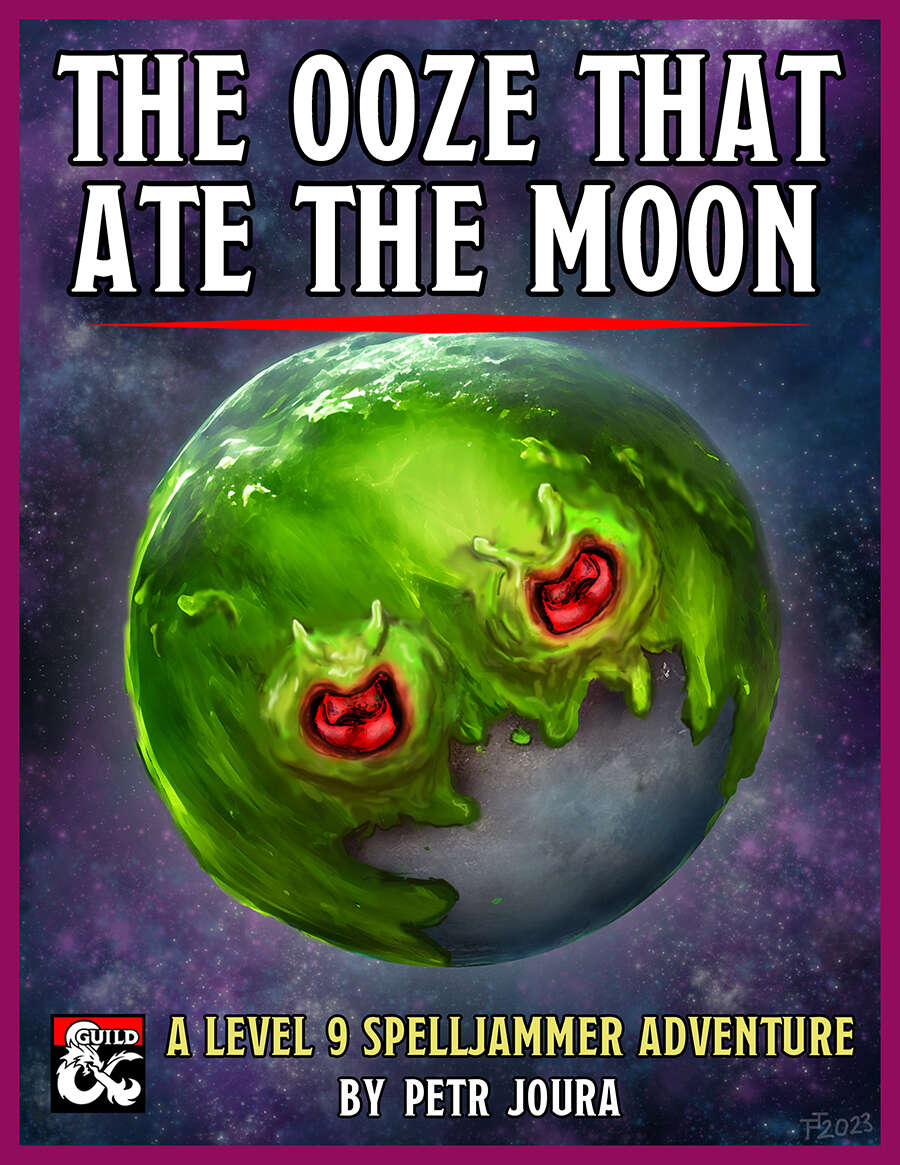
The moon is turning green. A colossal tide of green slime has begun to engulf it, threatening to dissolve it entirely. As it does so, a tide of demonic madness begins to engulf the lands below. As the green shadow flows across the night sky, the world turns mad. The source? An insane cult of plasmoids dedicated to Juiblex, the demon lord of oozes and slimes. Soon the moon may be gone, the first part of a mad plan to dissolve the multiverse into the primordial slime of the Abyss. If only some heroes could appear before it’s too late... The Ooze That Ate The Moon is 5th-edition Dungeons & Dragons adventure based on the Spelljammer campaign setting. It is an investigative high-orbit pulp thriller paired with the wacky zaniness of Spelljammer, and every playthrough is likely to be different. It is designed for four 9th or 10th level characters and to be run in 3 to 6 three-hour sessions, or 2 to 3 longer sessions. It can be run as multi-session one shot or as part of an ongoing campaign. It fits perfectly after the events of Light of Xaryxis, but is written so as to be easily incorporated into any non-Spelljammer campaign. It requires the 5th Edition Spelljammer boxed set to run. Gameplay is based around investigation and roleplaying, with a good smattering of combat in the later acts. The climax of the adventure presents the players with a problem that has no clear solution. They’ll have to use all their wits and resources to overcome it, but can they do so in time?

A new threat preys on the local trade road. Rumored to have ties to the legendary undead wizards, Vecna and Acererak, Geoff the Dread Tailor has awakened to garner his revenge on the living. A group of stalwart heroes must arise to put an end to the Dread Tailor’s depravations or all will be lost. This adventure includes: a small village of friendly allies, an optional haunted ruin to discover, an entire lair of creatures (with map!) to explore, three new magic items, two new monster descriptions, interactive document links, and more fun than a bag of scorpions (don't ask)!

Inside the woods near Burke's Crossing lurks a very real danger. It began as a sense of unease, a feeling of being watched, but now people are disappearing. The lumberjacks who have stayed in the little village talk of ghosts and other superstitions. Or at least they did - until a mysterious statue appeared in a clearing near the logging camp. As if matters weren't strange enough, two mages have arrived and begun hiring armed guards to escort them into these very same woods. Is there a connection, or is it just coincidence? Either way, be prepared! You never know what's out there waiting... and watching. "Eye of Pain" is the first of three Monstrous Arcana adventures featuring the cunning and deadly beholder. If can be played as an individual adventure or as part of the series which continue in "Eye of Doom" and concludes in "Eye to Eye." For four to six characters of levels 4-8.
The Cagewrights are defeated. The Tree of Shackled Sould is no more. Lord Vhalantru has been exposed and put down for the menace he truly was. The town of Cauldron has been saved from volcanic apocalypse. The heroes of Cauldron have earned their place in history, and more than deserve a time of rest, yet fate is not so kind. For the true menace behind the curtain still lives. As long as Adimarchus, the demon prince of madness, continues to dream his haunted dreams and writhe away the years in torment in the fiendish asylum of Skullrot, Cauldron can never be truly safe. "Asylum" concludes the Shackled City Adventure Path that began with "Life's Bazaar" (Dungeon #97) and continued with "Flood Season" (Dungeon #98), "Zenith Trajectory" (Dungeon #102), "The Demonskar Legacy" (Dungeon #104), "Test of the Smoking Eye" (Dungeon #107), "Secrets of the Soul Pillar" (Dungeon #109), "Lords of Oblivion" (Dungeon #111), "Foundation of Flame" (Dungeon #113), "Thirteen Cages" (Dungeon #114), and "Strike on Shatterhorn" (Dungeon #115). Pgs. 40-65

Weave of the Dread Mythal is a 1st-6th level Dungeons and Dragons 5e campaign that takes players on a journey of peril and intrigue across the Evermoor. Part story driven campaign, part sandbox, this adventure will give you tools to make the Evermoors come to life and a brutal and unique campaign to run within it. Your players will face the ire of hostile factions and their conflicting desires, the excitement and danger of ancient Netherese ruins and artifacts, and inevitably, the undead army of the Weaver, a wicked necromancer obsessed with becoming the new demi-god of undeath. This campaign also includes separate, full-size battlemaps that are made for use with Roll20 and other VTTs.

The Sea Witch is a short adventure for four 10th-level characters. The difficulty of the adventure can be adjusted by changing the level of main antagonist (Black Molly, the sea hag pirate) or by altering the number of her ogre servants. To tailor the encounter to groups of different levels, refer to table 4-1 in Chapter 4 of the DUNGEON MASTER’S GUIDE. The adventure is set off a lightly populated coastline known as Misty Bay, but adapts easily to any coastal region in existing campaigns. The sea hag known as Black Molly is a notorious pirate who has plagued the coastal cities for the better part of a decade. A successful Knowledge (local) check (DC 15) will reveal that Molly and her ogre crew have a filthy reputation as merciless killers who delight not only in plundering vessels for their riches, but also in destroying the ships themselves and sending all hands to the bottom of the sea. Now the villain and her followers have seized control of the Old Lighthouse of Misty Bay located off a lightly populated coastline. For generations the lighthouse beacon has protected the fishermen of this region, warning them of the dangerous rocks that lurk just below the level of the high tides. Recently, the hag has put out the beacon, darkening the lighthouse; misery and destruction are sure to follow as ships start to blunder into the rocks. Blackmail is apparently Black Molly’s aim in this venture: She conveyed a message to the nearest shore community, the fishing village of Poisson, demanding the princely sum of 50,000 gp. Until she receives this ransom, she intends to hold the lighthouse and its beacon hostage. The fate of the human keepers who tend the lighthouse is unknown to the seaside communities at this time, but they fear the worst. The Sea Witch is ostensibly a rescue mission: The PCs are pitted against the evil of Black Molly and the brawn of her savage ogre crew. It is the heroes’ task to retake the lighthouse and, if possible, free its captives from the clutches of their jailer. What neither the PCs nor the shore communities yet realize is that while she 1would be pleased to have the gold, Black Molly is in fact after bigger treasure. Molly has no intention of giving up the lighthouse — at least, not until she finds what her master sent her here for. Lying on the sea floor practically at the base of the rock on which the lighthouse sits is the wreck of the war galley Flying Cloud, which according to popular legend was captained by a cleric who wore around his neck an amulet of the planes. Black Molly wants this prize, but so far she hasn’t been able to find it. She’s scoured the wreck without finding any sign of the magic item. Now she’s trying to determine where to search next, for the item might well be somewhere near the wreck. If she can’t find it, she’ll start torturing her captives to find out if they have any useful knowledge about the amulet.

Jungle, tomb rading style adventure that sets the group to a new locale, with it's own eco systems and cultures. Exploration adventure, with glint of gold as a catalyst. The adventurers accidently find a map, which leads them to this unknown land. "Can you unravel the map's mysteries and find your way to the promised treasure? Or will your dreams end only in death and an unmarked grave far from home! Only the bravest characters of levels 3-5 will live to discover that all that glitters is not gold, but much, much more!" TSR 9126

𝐓𝐡𝐞 𝐁𝐥𝐚𝐜𝐤𝐟𝐥𝐚𝐦𝐞 𝐂𝐮𝐫𝐬𝐞 𝐇𝐚𝐬 𝐑𝐞𝐭𝐮𝐫𝐧𝐞𝐝! Step into a town where darkness has taken root, and every shadow hides a deadly secret. In The Return of the Blackflame Curse, you and your party will unravel the twisted mysteries of Whitethorn Rose, a cursed town teetering on the edge of doom. 𝐄𝐱𝐩𝐥𝐨𝐫𝐞 • 36 rooms across 4 floors (Basement, 1st Floor, 2nd Floor, Attic) • 5 detailed maps with day/night and transparent variants Explore the haunted Huxley Manor, a sprawling, intricately detailed estate with 36 rooms and 4 floors, each filled with terrifying encounters and bone-chilling secrets. With 5 beautifully illustrated maps, including day/night variants, you’ll be fully immersed in a tale of fear and survival. 𝐅𝐢𝐠𝐡𝐭 • 13 monster statblocks, each with their own lore • A intense boss fight with the vengeful Morgana Blackflame Face off against 13 custom monsters, each with unique abilities and terrifying backstories. From creeping apparitions to vengeful spirits, every encounter will test your players’ courage and strategy. And when it comes time for the ultimate showdown? Prepare for a climactic boss fight with Morgana Blackflame herself, a ghost hellbent on consuming the town in flames once more. 𝐃𝐢𝐬𝐜𝐨𝐯𝐞𝐫 • 13 tragic ghosts, each with chilling backstories • 8-page Ghost Hunting Compendium as a player handout • Solve mysteries and exorcise spirits to lift the curse But it’s not just monsters you’ll have to worry about. The town itself is alive with haunted events and 13 restless ghosts, each carrying a tragic tale. Investigate, exorcise, and piece together the dark history that binds them to this cursed place. To help your players dive deeper into the supernatural, we’ve also included an 8-page Ghost Hunting Compendium as a handy player handout. 𝐏𝐫𝐞𝐩𝐚𝐫𝐞 • 7 homebrew magic items, including a powerful Fated Item with 3 variants • 6 different charms to protect your players from the curse • 9 Magic Item Cards to print and hand out to players, with artwork, in 2.5 x 3.5 inches (MTG-sized) • 43 haunted events to keep players on edge Don’t go into battle unprepared. Arm your adventurers with 7 custom magic items, including 1 Fated Item with 3 powerful variants. Stock up on 6 unique charms to ward off the curse, and keep your party on edge with 43 haunting events that can strike at any time. 𝐑𝐮𝐧 • 17 monster cards for easy reference, with artwork, in 88mm x 125mm (Tiny Epic size) • Ghost Tracking Sheet for smooth management of the adventure • 36 small room cutouts for quick navigation during gameplay • 24 VTT tokens for easy integration into your online games For GMs, we’ve made running the adventure easier than ever. With 24 VTT tokens for monsters and NPCs, a Ghost Tracking Sheet to manage exorcisms, and 17 monster cards for quick reference, everything you need is at your fingertips. Plus, 36 cutouts in the description of every room, provide clear guidance for navigating the sprawling manor. 𝐏𝐫𝐞𝐬𝐞𝐧𝐭 • 7 detailed town locations for investigation • 7 NPC background and roleplay sheets to add depth to the world • 1d12 Superstition Table to bring the town’s eerie atmosphere to life Bring the town of Whitethorn Rose to life with 7 detailed NPC background sheets and 7 town locations, giving your players more ways to explore, interact, and investigate. And for added flavor? A 1d12 Superstition Table to bring out the eerie quirks of the locals. 𝐏𝐥𝐚𝐲 • Battle against the darkness with strategic challenges and eerie storytelling • Solve the murder mystery, lift the curse, and guide your players through an unforgettable experience With The Return of the Blackflame Curse, every decision matters, every room hides a deadly secret, and every ghost has a story to tell. Get your copy now and take your players on a journey into the heart of darkness. This is more than just an adventure—it’s a test of survival.

Snakes fly, stones walk, and colossal monsters burrow in the world's crust - do these omens fore-tell catastrophe? Perhaps so, for now the dark elves walk in the sunlight, wearing armor that turns the shcaprest blades and strongest spells. They are poised to conquer the fabulous Hollow World. But what is this armor? How does its creation involve the ancient, mile-long Great Annelids, as well as those wondrous creatures, the feathered serpents? The mystery's solution draws your heroes across three thousand miles, from ruins to seaports, through the trackless caverns beneath the World's Spine, and finally to the eternal land of Nithia. There, your heroes discover the true meaning of... NIGHTRAGE! Nightrage is the second part of the far-ranging Blood Brethren Trilogy. You can play these three Hollow World modules in any order, or play this 64-page adventure by itself. You need the D&D Hollow World Campaign set to play. Easily adaptable to the AD&D game! TSR 9310

Manthrak's Malicious Steamroller After an experiment with a teapot goes wrong, a wizard's tower rolls through the forest, crushing all beneath it. Its owner, Manthrak the Meticulous wants it back. It's up to you and your companions to stop the tower's rampage before something even worse happens. Manthrak’s Malicious Steamroller is a short, high-octane one-shot adventure module for a party of four or five 4th level characters. With no setting specific details, it can be easily dropped into any campaign, or run on by itself for an action-packed escapade. Included: Full-color 13-page PDF Virtual tabletop maps - Gridded & Non-gridded Accessible & print-friendly PDF A fun, unforgettable experience

Hunt for the Thessalhydra is a short adventure published by Wizards of the Coast as a tie in to the "Stranger Things" franchise and part of the Stranger Things Dungeons & Dragons Starter Set. The adventure features characters, locations, and monsters inspired by that series. The adventure is suitable for characters of level 3-5.
Slain in disgrace, reborn in fury, armed to the teeth: Flame returns! Flame is back - and is he mad! The sequel to "Into the Fire" from Dungeon 1. Pgs. 42-63

Haedirn Lastlight is a respected elven wizard and sage. After the death of his lover Lyonthel, the elf has been overcome with grief and has locked himself away in his study- a small manor on the cliffs of Wailing Crag. Haedirn has not been seen for over a year now, and those that knew him are beginning to worry. Worse still, a band of ogres has been terrorizing the nearby town, slaughtering the town folk and haughtily boasting the elf wizard is dead. The PCs must put a stop to the ogres' attacks, make way to Wailing Crag to root out the rest of their gang, and lay Haedirn Lastlight's tortured remains to rest.

The greatness of a dwarven citadel is measured by its greatness of wealth. The dwarves steadily work mines and forges to fuel the wealth needed to make their presence known throughout the realms. Unfortunately, this also makes them known to those that would seek the opportunity to steal their glory and riches. This story occurs in a place that has experienced this struggle for millennia. New threats emerge as old threats become rivals through the tides of time. This story... your story... is another chapter of this ancient struggle.
Men always seek the blood of monsters. Some spill it to avenge their massacred families. Others swim through an ocean of gore to find treasures worth the envy of kings. A few know blood can be a priceless treasure in and of itself. Alchemy has long used the lifeblood of monstrosities as arcane fuel, and of all the legendary beasts, the blood of the gorgon holds the most secrets. Few know the blood's darkest lore, its ability to draw out the monster within every soul. Those who drink gorgon's blood are forever changed, and the darkest horrors of their mind unleashed. The heroes hunt a deadly murderer who stalks the streets of the Free City of Zobeck after nightfall, and cross blades with a guild of monsters who rule the city from below. Lucky heroes might risk no more than their lives. Unlucky heroes must wager their souls in a game where monsters and men dance close enough to share their blood and their fate.

Centuries ago, a beholder named Yeryl fled from the place of his birth and wandered the countryside in search for a place to call home. After many sleepless nights spent carving out a safe nook for himself in the wilderness, he at last slipped into slumber. In his dreams, he found an ideal place for his lair: long-abandoned ruins hidden amidst a dull and barren valley. Yeryl spent years transforming the place to suit his paranoid designs. Visitors were rare enough, and the few that made it to Yeryl’s lair were quickly destroyed or forced into the beholder’s service, building the lair ever deeper and more magnificent. As time went on, Yeryl finally completed his task. Safe at last, but with nothing to occupy his mind, Yeryl was struck by melancholy; was this lonely and empty life truly what he had chosen for himself? On that day, Yeryl made a decision: next time an adventurer came to his lair, he would welcome them in. With this resolution in mind, Yeryl began to dismantle his traps and replace them with ones he considered to be more fun. Unfortunately, for all his good intents, Yeryl has not yet realised that killing people is a bad way of getting them to like him. Yeryl's Super Happy Fun Murder Dungeon is a highly obnoxious and mildly ridiculous collection of traps, combat and puzzles designed to test your players' wits and patience. It is optimised for a group of four to five 3rd level players, but the text also contains a guide for level adjustments for different sized groups.

THE FIRST SET OF DUNGEONS ON DEMAND ADVENTURES! The first volume of Dungeons on Demand includes the first four dungeons: Bandit's Nest - Level 1 Adventure Dungeon Insidious Experiments - Level 4 Adventure Dungeon Fierce Tempers - Level 8 Adventure Dungeon Lord of Gloomthrone - Level 12 Adventure Dungeon It also includes the following supplements: New Twists on Old Monsters - Gaming Supplement Imbued with Magic - Gaming Supplement The bundle includes hundreds of pages worth of materials and supplements sure to keep your gaming sessions busy!
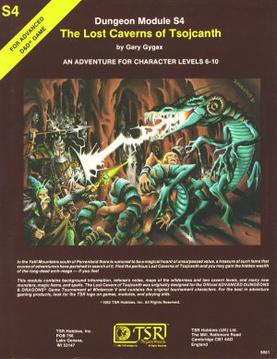
In the Yatil Mountains south of Perrenland there is rumored to be a magical hoard of unsurpassed value, a treasure of such fame that scores of adventurers have perished in search of it. Find the perilous Lost Caverns of Tsojanth and you may gain the hidden wealth of the long-dead arch-mage-- if you live. Module S4, this contains a brief wilderness journey to the caverns, but the bulk is underground. The caverns are noted as a previous lair of the Arch-mage Iggwilv- though she is long gone, her Demonomicon remains. This module marks the first appearance of several monsters and items that would later appear in the Monster Manual 2 and Unearthed Arcana. A labyrinth features in the caves. TSR 9061
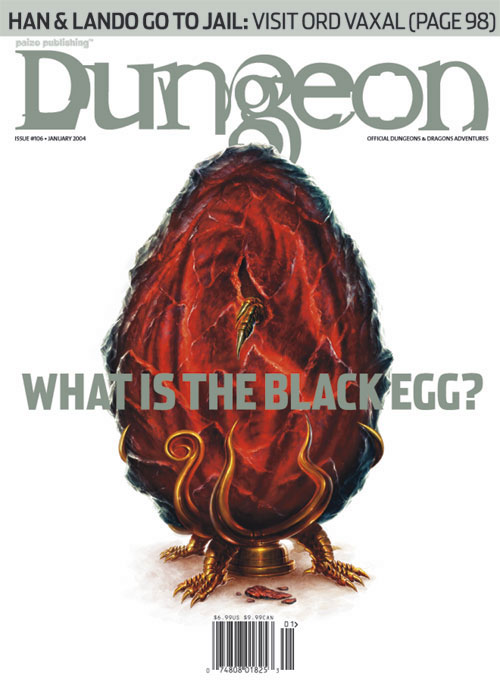
When an ill-favored orb drops from the sky and devastates the countryside, only the PCs stand between an ambitious wizard, a cult of dragons, and a dark ambition that could bring an army of fiendish wyrms into your campaign world! "The screams became overpowered by the sound of the terrible falling star--a black orb of malign energy hurled from the firmament in the dead of night. In that instant, the village of Rhale was utterly destroyed, reduced to a hollow crater of flaming decay. Now, frightened talk of a dark presence descended from above has taken root, though none can put name to the faceless fear that might reside within this terrible orb." While traveling the countryside, the player characters witness an explosive event - the falling of a meteor into a distant hillside. Soon thereafter, they encounter several mercenaries menacing some refugees. From them, the PCs can learn, that a group of dragon worshippers called the Black Covenant are in the area and intend to use the fallen star for their own nefarious purposes. Upon arriving at the crater, the PCs find that the falling star is in fact a massive sphere of iron with an opening in its side. They enter the sphere to find a small complex of rooms protected by numerous traps and guardians. They also battle several members of the Black Covenant, until they make their way to the heart of the complex, where they discover the source of the Covenant's interest in the Black Egg, they try to use it to create a half-fiend red dragon. The PCs must succeed if they wish to prevent the creation of an army of fiendish dragons. Lot's of monstrous NPCs with class levels and templates for enemies (half-black dragon orc warriors level 7, for example) are used in this adventure. Pgs. 57-78
The characters, members of the Clifftop Adventurers’ Guild, have been tasked with acquiring the Chains of Mur’taal, an artifact tied to Thelanis, by their guild handler, Lhara. This artifact is the latest in a series that Provost Nigel Faurious has commissioned the Clifftop guild to retrieve for him. The adventure starts when the characters arrive in Rhukaan Draal via Orien caravan. They’re given a chance to explore a small portion of the city before they head to a local bar to meet their contact provided by Lhara. Accompanied by a local guide, they make their way to the Seawall Mountains, where they’ll have to follow clues and their intuition to find the Valley of the Hero, which conceals the artifact that they’ve been hired to obtain. In order to earn the artifact, characters must first pass three tests laid before them by the Story: The Test of Courage, the Challenge of Wisdom, and the Trial of Honor. Once they finish the tests and collect the artifact, the party heads back toward Rhukaan Draal. But there are Marguul forces in the area, and they don’t intend to let the heroes escape with a priceless piece of their folklore…