A free dual edition (3.5e / 5e) one shot for 3-5 PCs of level 3. A religious PC and their companions are tasked with cleansing an old monastery of the cursed spirits that live there. The players must unravel the history of the temple and its inhabitants in order to forgive or condemn their spirits for their actions. Investigation focused, with unique combat encounters for cleansing the cursed spirits. The players must figure out who the cursed spirits are and how they relate to one another, find the circumstances that led to them being cursed and ultimately decide if each is worthy of forgiveness for their sins. Estimated play time 6-9 hours.
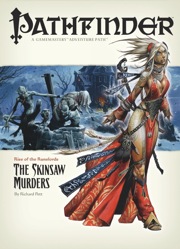
The Rise of the Runelords Adventure Path continues! A sudden string of brutal killings terrorizes the town of Sandpoint, and the killer's mark bears a familiar shape. Investigation leads to the Lost Coast's most notorious haunted mansion, a dilapidated ruin that has become the lair of a monstrous murderer. Yet this killer is but one of many, a member of a group of fanatic cutthroats calling themselves the Skinsaw Men. To defeat the cult, the PCs must travel to the bustling city of Magnimar to unravel the sinister source of these murders before they become the Skinsaw Men's next victims!

Stories of the ancint lost city of Carsail and its fabulous artifacts are legendary. Now, the clerics of a seaside town have proven that some unusual items are indeed from the long forgotten city, but two priests and a mysterious stranger are missing. Players must risk life and limb, breathing beneath the water, to find the lost cities of Carsail and Mylduscor, and unlock the mysteries of the murky deep! TSR 9422
"Ambush at Boxcar Rocks" is a two hour adventure for character level 1-3 (3-6 players) but is easily adapted to challenge higher level PCs by adjusting the spawn rate and the spawn limit. It features one hand-drawn, color map. It can be run as a brutal oneshot gauntlet or a quick side quest to pad the players purses. Deep within the labyrinth of massive, glacier deposited rocks there is a natural cave once used for interring the dead. Now the bones of the pit within stir because of a foolish neophyte. A listless, blood thirsty horde tramples toward daylight and nothing will remain in their wake...
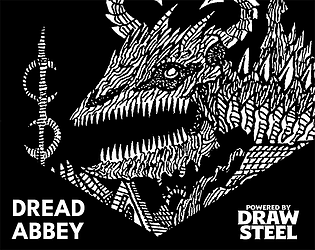
Dread Abbey is a one-shot designed to be played in a single session, taking approximately 5 hours, preferably on an especially spooky evening! The adventure is designed for two to six 2nd-level heroes and can grant up to 6 Victories. Each of the heroes embodies a different character archetype, including the jock, the diva, the nerd, the comic relief, the professional, and the believer. Each archetype grants: * A title * Some role-playing lines the hero might say, which have mechanical consequences in this adventure * Something they can do to participate even if the hero should die * A revised title if the hero should live and continue to another adventure The adventure contains: * 1 optional negotiation with the harbinger * 1 montage test as you sanctify the abbey * 2 combat encounters with undead and a gloom dragon * guidance on abbreviating parts to hasten the adventure if you need to Included in addition to the adventure pdf: * One map of the abbey for use in the montage test * One battlemap for combats in the abbey * Handouts of each of the archetypes for the players
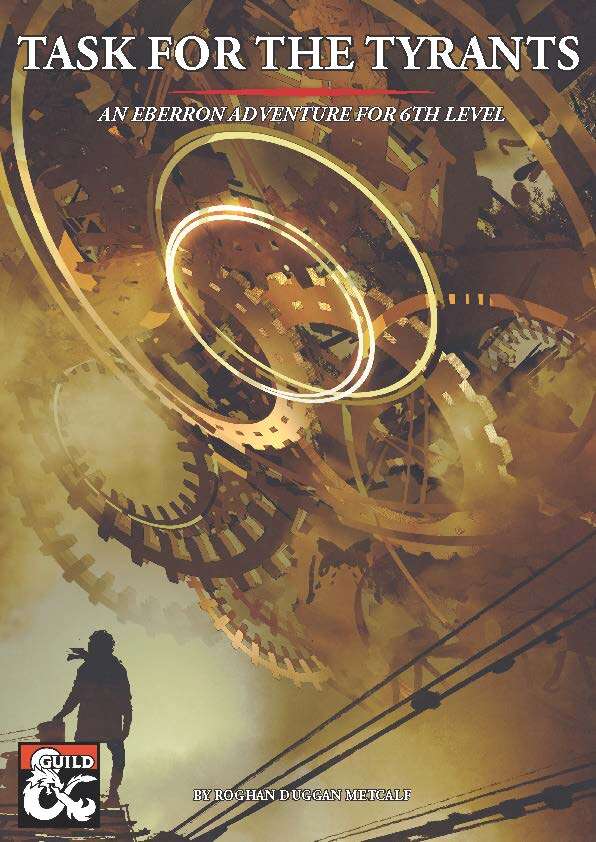
Task for the Tyrants is an intrigue and exploration adventure for a party of 6th level characters. It takes place in the city of Sharn (Eberron), but can be easily adapted to fit any large city in the Eberron setting. A simple reclamation job sends the characters racing across Sharn, from its steam-ridden depths to the operatic splendour of its tallest spires. The characters soon find themselves caught in the midst of a power struggle between the Tyrants, a rogue changeling revolutionary, and the nefarious forces plotting to cast Khorvaire into eternal night: the Dreaming Dark. Will the party reclaim and return the Tyrants’ package, or will they keep it for themselves? In this adventure, you will find: - 22 pages of high-stakes content - 7 to 8 hours of gameplay - A heist on a warehouse filled with goblins and volatile magic - Intriguing side-events to flesh out Sharn - A deal with the Spider, which might cost the players more than just gold…

The Hag's Hexes is a 66 page guide designed by Dungeon Masters Guild luminaries like JVC Parry and Janek Sielicki alongside rising stars and old stalwarts like Matt Butler, Matthew Gravelyn, and Tim Bannock. It was created with one thing in mind: to make hags more than the sum of their (often meager) Challenge ratings, giving them the mechanics, roleplay potential, and weird magic that can inspire campaigns, lay low kings and warlords, and potentially ensnare unwary Player Characters into campaign-changing curses or long-term bargains that force them into terrible moral quandaries! Split into five chapters, the authors have provided everything a DM needs to terrify their players for years to come. The Bestiary features over a dozen monsters; some are new hags, some are their minions or even their mobile lairs, and one of them -- the Shaitan AKA Desert Hag -- was featured in Monsters of the Guild! Bargains & Curses is a chapter filled with ideas that can kick-start campaigns, threaten valued NPCs, or put Player Characters' very existence and morality at stake. Chapter 3 includes two dozen items of wonderment, weirdness, and dread, ranging from fairy tale-inspired items of whimsy to terribly cursed items of horror. Chapter 4 is titled "Filthy, Vile & Downright Dirty" and provides dozens of roleplaying tips to make hags come alive, new mechanics inspired by and expanding on Volo's Guide to Monsters (coven spell lists, aunties, grandmothers, alternative coven members), and ends with useful combat tactics for each of the hags from the Monster Manual and Volo's Guide, as well as tactics for covens. Finally, Chapter 5 presents five encounter groups (with sub-encounters) to give you quick story seeds and monster lists that you can put together in minutes to create a single encounter or to inspire a full campaign, and ends with three full-length adventures -- each with 3-5 encounters -- that showcase many of the new monsters, rules, magic items, and so on that appeared in earlier chapters. Each of these adventures comes with an encounter map meant to act as inspiration for hag lairs, and they include useful mechanical ideas for terrain effects and descriptive keywords listed directly on the map for added inspiration and easy customization! Designed by Tim Bannock. Written by Matt Butler, JVC Parry, Janek Sielicki, and Tim Bannock. Edited by Matthew Gravelyn and Tim Bannock. Cover Art by Elena Naylor. Cartography by Tim Bannock using Inkwell Ideas' Dungeonographer (Dungeonographer is copyright Inkwell Ideas). Layout & Graphic Elements by Elena Naylor with Tim Bannock. Interior Art by Arcana Games, Bruno Balixa, David Lewis Johnson, Dean Spencer, Earl Geier, Filip Gutowski, Jacob E. Blackmon, Joyce Maureira, Petr Kratochvil, Jayaraj Paul, Brian Brinlee, and Wizards of the Coast.

Cookie swarms? Bubble traps? A three-story tree house? The Grandmother Tree is a whimsical adventure about friendship aimed at elementary kids (and kids at heart) who love the problem-solving and adventuring part of playing Dungeons & Dragons and enjoy resolving encounters with less combat. Share your joy of Dungeons & Dragons with the whole family! This two-hour one-shot is suited for characters level 2-3, and includes the following features: -New ‘monster’ and trap that appeal to kids -Full-color maps -Detailed flowchart of the whole adventure to streamline your prep -Can be dropped into any existing campaign or run on its own -Fully playtested by kids -Printer-friendly version of the adventure and maps -Kid-friendly artwork -Interactive mini games your whole table will enjoy -Tips on playing TTRPGs with kids, graciously donated by Anne Gregersen from her best-selling guide, Little Heroes -A portion of the proceeds benefits Extra Life, helping fund children’s hospitals

A dwarven laboratory forgotten for many centuries has finally been rediscovered, but there is sure to be danger lurking within. It turns out some of the other machines within are still active, as are some of the traps and puzzles. Prepare your party for a blend of challenging puzzles and diverse fights in the dungeon that was home to my first player kill.
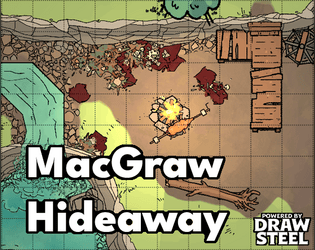
In the Tullow Vale of Vasloria, the MacGraw tribe of goblins terrorize the Baron's Road as it passes through the forest north of Ivywatch, plundering caravans and kidnapping merchants and travelers. The heroes arrive upon an ambushed caravan just as the tribe scurries away with their screaming haul into the forest. Can you save the good folk of Tullow Vale before they meet their end at the hands of the goblins and their cruel leader? In This Quest MacGraw Hideaway is a short, not-full-level-length adventure, or in other words, a quest! This quest is about fighting monsters and being heroic. Combat encounters are built to be complex! The heroes will be expected to spin multiple plates at the same time! The quest will reward up to 6 Victories. Depending on your experience running and your table’s experience playing Draw Steel, it could run around 4 to 6 hours of playtime. 2 combat encounters 1 optional negotiation
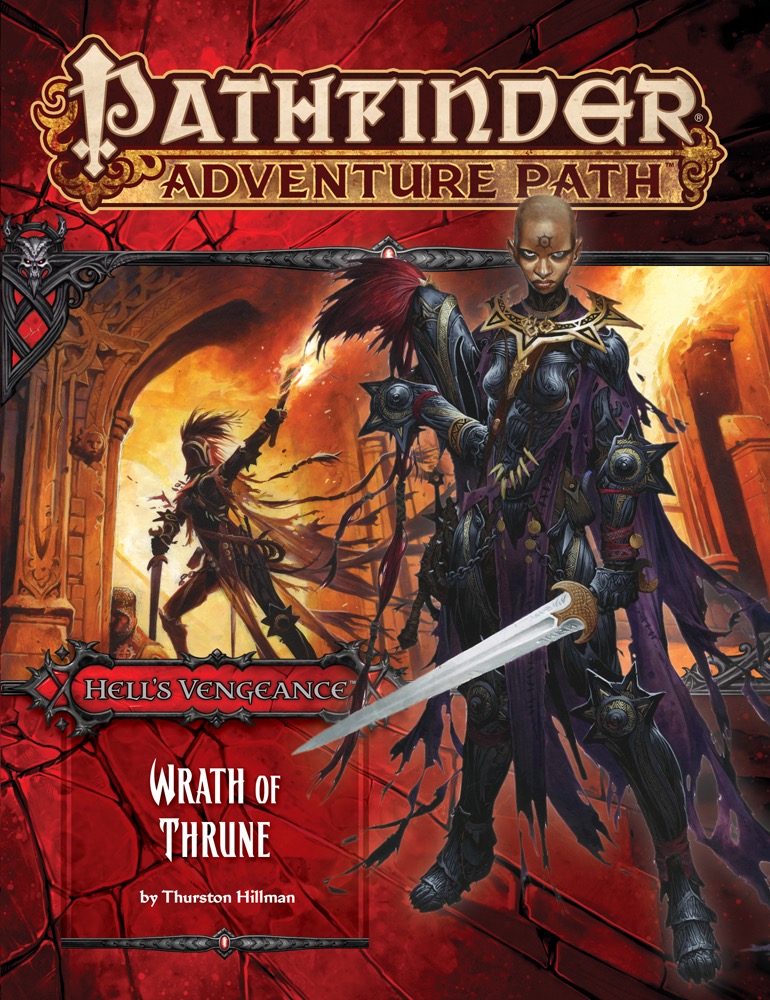
The knightly order known as the Glorious Reclamation continues its crusade against diabolic Cheliax, conquering the town of Kantaria, where the goddess Iomedae once ruled as a mortal. The villainous adventurers, now official agents of House Thrune, must retake the town, depriving the knights of a valuable holy site. Can the evil characters earn greater infamy and prestige by dealing the Glorious Reclamation a serious defeat in their most substantial territorial gain so far, or will the knights' rebellion continue unchecked across Cheliax?

Protect the Future! At the height of Netheril's power, the fortress of Spellgard held many great secrets of the Empire of Magic. Now, only ruins remain... and one last guardian, the near-mythical Lady Saharel, whose prophetic visions draw the desperate and the doomed from across Faerun. But a dark presence in one of Spellgard's intact towers wants to control the power of prophecy for itself and remake the future in its own image.

Great Danger Wrought in Secrecy Legendary forgemasters now serve an evil warlord and his dark purpose. Their hammers ring upon anvils dedicated to remaking a terrible weapon that was destroyed in ages long past. As the very fate of the world is being shaped, only the strongest heroes can shatter the diabolical plan. "Lord of the Iron Fortress" is a stand-alone adventure for the Dungeons & Dragons game, the seventh adventure in a series of eight designed to take players from the beginner to advanced levels of play (although no other adventures need be played to play this one). This adventure contains an additional 16 pages of content for the same price as earlier adventures. Designed to challenge 15th-level D&D heroes, it opens the perilous gateway to planar travel.
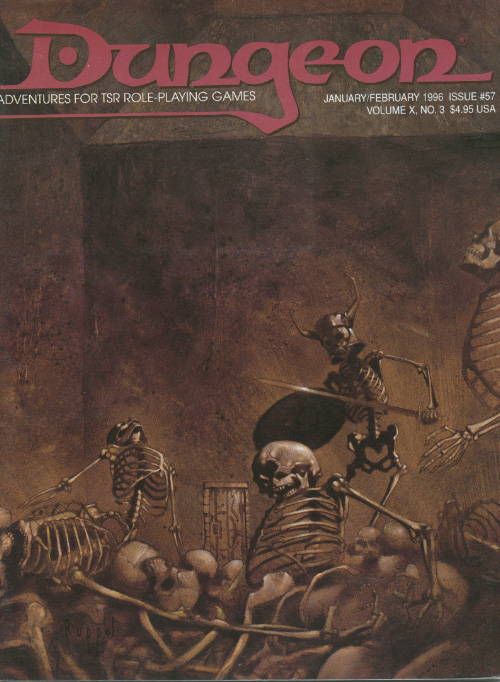
Death and taxes. Only two things in life are certain. The PCs must deal with a corrupt tax collector and his band of thugs in order to save a small village. Pgs. 48-61 & 66

Beasts in the Blizzard After offending that wizard last night, you awake feeling a strange chill in your bones. Perhaps it’s just a figment of your imagination, a physical manifestation of paranoia. As you rise from your bed and look out the window, you think perhaps not.

The Ghost Tribe of Orcs have been driven from their home under the Sword Mountains by some terrible evil and they now see Phandalin as their best option for a new home. The heroes, who are on their way to Phandalin for a much needed rest after their adventures in the Lost Mine, must make it to town in time to warn the inhabitants and help prepare for the orc attack. Orcs to Phandalin is the first of four parts in the After Lost Mine series and will detail the trip to Phandalin. There will be three subsequent adventures: Part II, which details the battle to save the city; Part III, which details the trip to the orc’s cave settlement; and Part IV, detailing the party’s mission to deal with the terror from the Underdark that drove the orcs out of their home.

“Gorgoldand’s Gauntlet” takes place in a cave network in the side of a cliff overlooking a lake and can be inserted easily into any campaign. Gorgoldand’s Gauntlet is a site-based adventure with a pre-dominance of puzzles and traps. The PCs discover a map leading to the Gauntlet and explore it looking for treasure. They test their strength and wits against various traps and puzzles created by a gold dragon who converted a cave network into a proving ground to surreptitiously test the abilities of local adventuring bands. If they make it all the way to the end of the Gauntlet, they’ll have the chance to fight a dragon construct made of the dungeon's treasure hoard and have the chance to gain access to a magic item that can have a significant impact on their adventuring careers. Pgs. 39-51

A fiend lurks among the Black Blade goblins. A shapeshifting barghest fashioned by the General of Gehenna to exact revenge on all goblin-kind. It’s aim: to kill as many goblin leaders as possible… A masked goblin approaches the party asking for help. Two tribe leaders are dead. But a rival for chief has control of the crime scene. Will the party discover the barghest among the goblin ranks? Can they stop this imposter before it strikes again? Adventure Overview The adventure’s story is spread over 4 parts and takes approximately 4 hours to play. The adventure begins with a Call to Action scene. Part 1: Goblin Politics. Krill sends his emissaries to implore help from any strong intermediary. The party is asked to investigate the murder of Thrawn in Dringly’s lair. This is Story Objective A. Part 2: The Opposition. Gain entry into Dringly’s lair and investigate the murder of Thrawn. Gather enough evidence to find the killer. This is Story Objective B. Part 3: To The Lair! Now that the players have determined the barghest (Yeep) is to blame, they need to get to Krill’s lair quickly as he is in imminent danger. This is Story Objective C. Part 4: The Barghest.When the players arrive at the lair, they need to get to Krill and expose and defeat the barghest. This is Story Objective D. Adventure Background A barghest named Yeep has begun its onslaught of attacks against the Black Blade goblins. Starting with Chief Gnar, then his second in command Thrawn, the barghest is moving methodically down the line of command. Krill is now chief. But he has some problems: Two leaders of the Black Blades are dead. Who killed them and why? Is he next? Dringly, the next in command, has decided to take his lair for himself, declaring himself Chief of the Black Blades. Who are the Black Blades? The Black Blades are a tribe of goblins in the local area. They are known for dipping their blades in a dark black substance. It is rumored these blades are poisonous. The Black Blades regularly attack passersby on the road to rob them. The Black Blades have two lairs, one run by a chief who leads the whole tribe, and another overseen by a boss lieutenant. The Black Blades have a well-established pecking order which is how Krill stands to become chief. The next in line is Dringly, who has also declared himself chief and wants Krill dead. Krill suspects that there is something suspicious about two leaders being killed within a day of each other, but he has already burned Gnar’s body without any investigation. He needs to investigate the body of Thrawn, but it is in Dringly’s lair. Krill wishes to avoid direct confrontation with Dringly at the present for three reasons: 1) Any violence would only kill his own tribe members and further divide the lairs. 2) He believes there is still hope for negotiation to reunite the Black Blades. 3) He believes that if he were to attempt negotiations himself, Dringly would kill him. This adventure features: Two maps. Ready for your favorite Virtual Tabletop. A full color pdf. A black and white pdf. One custom monster, a reprint of barghest, all others available in the Monster Manual. Four hours of entertainment involving: roll playing a goblin bard, investigating a murder scene, tracking down a barghest before it strikes again. Applicable to any setting.
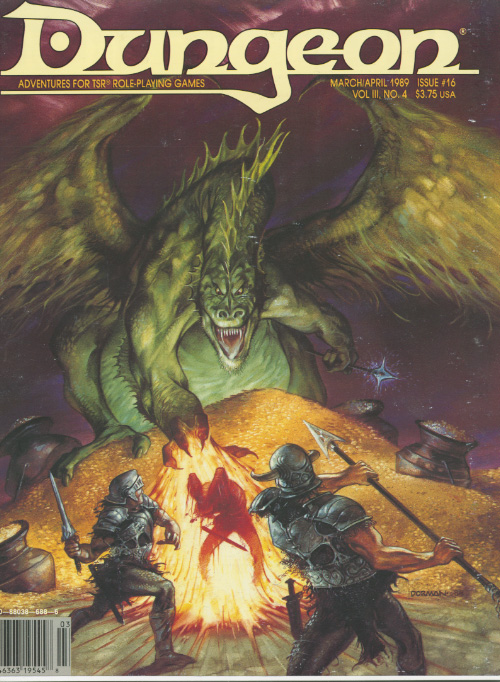
A city of the dead has no business coming back to life. "The dead just want a little respect." The village of Wargrave's only claim to significance is as the resting place of soldiers from a long-ago battle. Now it seems that the dead are stirring. Roleplaying of forces at cross-purposes, with sentient undead. Set nominally in the Forgotten Realms, but the adventure is essentially generic. Pgs. 38-42
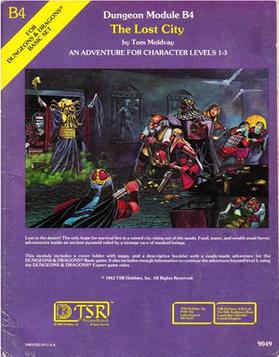
The Lost City is a low-level adventure, in which the only hope of the PCs' survival can be found in a ruined city slowly rising out of the sands. The adventure is set inside a huge step pyramid, with the lower pyramid only sketched out and the city itself described with a list of the major areas and a map. The adventure’s main villain is Zargon, a giant one-eyed monster and his minions. The entire double pyramid, not including the city, contains over 100 rooms. The module is designed to give novice Dungeon Masters experience fleshing out adventures and is only partially complete. Later TSR material hints that this adventure possibly takes place in Mystara, but the material is largely setting-neutral. TSR #9049