
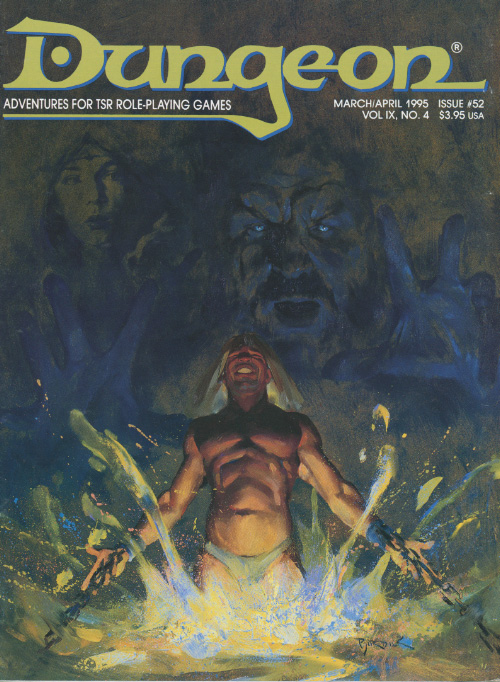
A powerful evil plots to corrupt the fey audience attending a theatrical performance. Her priests pose as convincing performers who set the stage for their master’s arrival in the final act. While staying in the fey community and perhaps as partial reward for some previous accomplishment, the party is invited to the performance. In this dramatic and deadly adventure, the party witnesses a strange performance and the corruption of the fey audience before defeating a herald of darkness and her priests.

With your last adventure complete you head to town to sell off loot, replenish supplies and to find a bard to tell your tale to so that your fame can increase. As the group goes their separate ways you are wandering through the muddy streets when a shriek is heard. You see a man stab a merchant and attempt to escape. With no time to gather your associates you call for your mount (or borrow one) and give pursuit! This scenario is a true solo meaning you don’t need a DM to officiate. It is suggested that a 4th level be used for “meatier” characters or 5th for those of less daunting stats.

The player characters have been invited to compete in the infamous Laureate Trials. The Laureates are a well-known adventuring guild. Once a year, they allow a select group of known adventurers to take part in the Laureate Trials. The prize is becoming an official member of the Laureates, with all the perks and responsibilities that awards. Rumour has it that new initiates will be awarded a coveted Laureate Pin, with special powers of communication. This adventure is a starting module, designed for new players and Game Masters. It should take 1 - 2 hours with a standard group of 4 players. Everything you need to know is contained inside or in the Dungeons & Dragons Basic Rules. It is ideal for helping a beginning group of heroes get started and giving them a motivation for further adventures. Inside, there are Trials to test Agility, Wits and Combat, plus a special encounter at the end which will determine the fate of a forgotten individual.

A Ravaged Land... Villains that really are larger than life... A time for heroes... A decade ago, the land of Geoff was overrun by a horde of giants, ogres, and evil humanoids, its people either slain, enslaved, or driven into exile. Now at last the tide has turned. The time to free the people of Geoff from their servitude to the giantish tyrants has come! But don't forget to watch your step when you confront the true masters behind the giant Clans! Contains the full text of three classic adventures by Gary Gygax: G1, Steading of the Hill Giant Chief; G2, The Glacial Rift of the Frost Giant Jarl; and G3, Hall of the Fire GIant King. Details Eighteen new encounter sites in the war-torn land of Geoff, linked together to form a grand campaign. Provides dozens of hours of gameplay as the heroes struggle to free an entire country from the grasp of giant overlords. TSR 11413
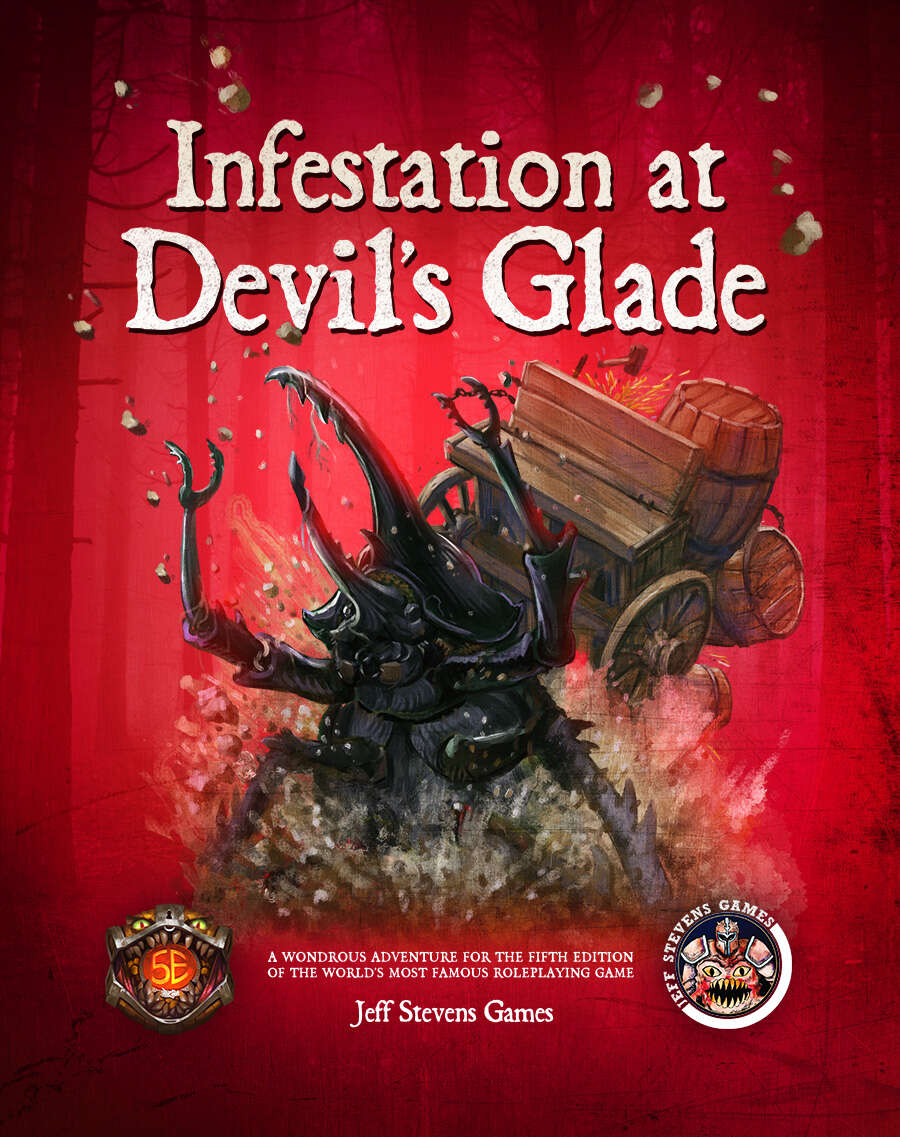
The town of Devil's Glade is under attack! Swarming insects have driven the residents out of their homes and businesses, and giant insects patrol the town square. Who or what has brought these creepy-crawlies to Devil's Glade? What's their motive? Are your heroes brave enough to put an end to the infestation? Infestation at Devil's Glade is a 2- to 4-hour adventure designed for four to five characters of 1st to 4th level, and is optimized for 2nd level characters. Scaling Suggestions are included, allowing you to play this adventure with characters of 5th to 6th level. Infestation at Devil's Glade isn't just a short adventure. We provide you with a location to which your heroes can return, or even use as a home base. The Supplement Includes: Adventure. The main adventure focuses on the heroes cleaning the town of the infesting insects and the villains who brought them. Beginning at The Fork (a tavern where many of the residents have made camp), the characters learn about the infestation of Devil's Glade, and are hired to look into the matter. NPCs. The adventure is filled with fun and engaging NPCs. During the characters' time at The Fork, they have the opportunity to talk with NPCs, help them, and learn more about the infestation. After the heroes return Devil's Glade to normal, the merchants and residents return, giving your characters unique shops to explore and quests to complete. Cursed Mask. The crux of the problem - a cursed mask that slowly transforms the attuned creature into a giant, insect monstrosity, and gives them power over insects. To end the infestation, the adventurers must confront the partially transformed person wearing the mask. Shops & Services. Devil's Glade contains shops and services the characters can explore, including therapeutic mud baths, a diner specializing in eggs, a trinket shop, a candle maker, and a dentist. Side Quests. We provide several side quests for before and after the main adventure, allowing you to increase the main adventure's run-time, and provide you with material for after the main adventure. Maps. The adventure contains maps for the main locations and major side quests. Each map is hand-drawn by Jean Lorber. Art. NO AI! The book is filled with fantastic, original artwork by Matt Morrow Art. Also Included: Map Files. Both grid and non-grid maps are included and available to download. Special VTT Tokens and Assets. Several custom tokens and art assets are included for VTT play.

On a trade road to the city-state of Tyr, a caravan is assaulted by a deadly obsidian shardstorm, forcing the survivors to band together and navigate the wastes to safety. But the force of nature that destroyed the caravan is under the malevolent control of the being known as the Wastewalker, who will stop at nothing to see the end of those that escaped his initial wrath. Can the heroes reach the Ringing Mountains before it’s too late?

Morgansfort: The Western Lands Campaign is the first published campaign setting for the Basic Fantasy Role-Playing Game. This module includes a brief description of the Western Lands: A campaign adventure area consisting of the remnants of a once-great empire, a pair of important free cities, and a vast wilderness territory, plus Morgansfort, a detailed "home base" for adventurers set in the western lands. Also included are three adventures designed for a part of new player characters, comprising a total of six dungeon levels: The Olde Island Fortress: a two-level dungeon environment suitable for beginning adventurers, located near Morgansfort. The Nameless Dungeon: a three-level dungeon designed to be a bit more challenging. The Cave of the Unknown: a one-level dungeon filled with strange monsters led by a fearsome master. This campaign module combines: The Western Lands, a briefly sketched campaign area; Morgansfort, a detailed "home base" for an adventuring party; The Old Island Fortress, a two level dungeon suitable for beginning adventurers; The Nameless Dungeon, a tough three level dungeon; and The Cave of the Unknown, a dungeon controlled by an evil magic-user. This campaign module is highly suitable for starting a new group, even a group of new players. Published by basicfantasy.org

What could happen while traveling the vast Savage Frontier? Just about anything! Encounters in the Savage Frontier includes 24 unique encounters of various difficulty that can be used while the adventuring party travels the Savage Frontier. It also includes several new creatures and magic items, digital hand-drawn maps (10 as downloadable .jpg files), and original artwork. Some of the encounters are short and brief, while others may take you a full gaming session to complete. Available for Fantasy Grounds

𝐏𝐚𝐫𝐭 𝟒 of the Tower of Bondage “The Middle Tower” introduces Olive Slime and Slime Creatures from notable 1e AD&D fame as well as another of Aumvor’s tortured servants. In this adventure you will go deeper into the tower and find: ● 26 encounters ● More enslaved wraiths ● More traps ● More slime ● More phylacteries ● More danger Discover the Undying One’s library and find tools needed to defeat him, if your players are to escape the tower alive. This release also includes a side view of the tower to better understand the layout of the dungeons. 𝐀𝐥𝐬𝐨, 𝐟𝐨𝐫 𝐭𝐡𝐨𝐬𝐞 𝐰𝐡𝐨 𝐮𝐬𝐞 𝐑𝐨𝐥𝐥𝟐𝟎, 𝐜𝐨𝐦𝐢𝐧𝐠 𝐬𝐨𝐨𝐧: Roll20 Map Pack for Roll20, featuring plain maps for players, without the secret doors and other goodies marked. Coming very SOON. Look for it on DM’s Guild.

Sometimes only a hint of an adventure is given to players and more information is required. In FV12 - Monteleone Chariot this is just such a case. As the party reaches town they begin to hear of a mysterious relic from the past civilization and both information and backers must be investigated. Will your party be able to determine facts from fables? Whose interest will they serve in their investigation or will they just try and locate the item for themselves?

When a Thayan research expedition returns from the Glacier of the White Wyrm with only two survivors that are reduced to whispering about an ancient pyramid under the ice, perhaps it is time to discover just what scares the life out of a nation of necromancers. The events of DDEP2 Mulmaster Undone resulted in terrible geographic upheaval all around the southeastern region of the Moonsea. Massive landslides, earthquakes, tidal waves, and gnashing tornados devastated the land and the city of Mulmaster was nearly scrubbed from the face of Faerun. Fortunately, these events also revealed previously hidden artifacts—trinkets, mostly—from the ancient Netherese all around the city. The Thayans have long held an interest in the port city and wasted no time in assisting in the rebuilding efforts. They simply asked that a blind eye be turned to their archaeological interests, and in return they would continue to spend their own resources (at no expense to the Mulmasterites or even the High Blade) to rebuild the city, bigger and better than before. It wasn’t long before their interests paid off with the discovery of a research laboratory beneath the Glacier of the White Worm, far to the east of Mulmaster and nestled in the mountains. The Thayans sent a sizable expeditionary force but only two acolytes returned. The visiting Zulkir has found this particularly troublesome, and with the assistance of Rastol Shan, the head of the Cloaks, has arranged for a mercenary force to perform a more pointed investigation of the area. In return the Thayan noble has promised significant compensation. Upon arrival at the dig site, the characters are quick to discover that the laboratory hides ancient and palpable evil. The purpose of the facility can be discerned with careful investigation, and the effect of the still-active fragment of the Dark Obelisk has empowered (some may say attracted) servants of the Worm that Walks. Danger and death await, certainly, though the characters always have the option of running away and living to fight another day…
Kidnapping and politics as usual? Not so much. Something is different about this job, and you just hope that difference doesn’t get you killed. Contains sexual content.
The heroes have spent the last several days in the quiet, secluded town of Relvaunt. Relvaunt's vineyards, wines, and scenic beauty are the subject of bards's songs, and many travelers journey long miles to visit them. Another site receives far fewer visitors--several miles east of town, partially obscured by woods and hills, stands the wondrous Castle Freitstein. As the heroes depart the town in search of adventure, an elderly couple approaches them. The woman suddenly clutches her chest and collapses in the street and the old man calls out to the heroes for help. Includes castle random encounter chart, a map of castle grounds and isometric castle level maps (four main levels, a tower level and a cellar level).

The main road from the prior government is known as the Queen’s Road and spans the north-south axis of the land. While it has fallen into disrepair it is still used to get to the largest city in Provincia, Queen’s Point. This community sits on the Golleck’s Bay and is filled with opportunities for young adventurers…they just have to get there!

Untamed by the laws of man, the Giantdowns region remains a buffer zone between the ruined empire of Anuire and its northern neighbor, the Rjurik Highlands. The Great Downs themselves are the stuff of legend: Giants, they say, are buried beneath the mounds, awaiting some call to rise and battle once more. But in the meantime, other forces threaten the Downs. A new awnshegh, the humanoid known as Ghuralli, strives to make his small kingdom a rival to the neighboring Gorgon's Crown. His armies of humanoids, giant-kin, and monsters stand ready to strike at the few human settlers brave enough to live in the shadow of the Great Downs. The Rjurik settlers need a leader, someone who can defeat Ghuralli and forge a kingdom out of their scattered clans. They need someone to step forth and become King of the Giantdowns. This 64-page adventure accessory contains detailed information on the Giantdowns region, the people, monsters, and places that can be found within, and several adventures for beginning and experienced characters alike TSR 3142

Beneath the blood moon, a dark monastery appears for one night atop a high plateau. Inside its walls, the mighty black lotus flower reaches its full bloom. Can the characters steal inside the monastery, defeat its sorcerous guardians, and claim the blossom before the sun rises? Monastery of the Shadow Sorcerers is a fiendish sword-and-sorcery adventure and includes: -An extra-planar monastery brooding beneath the blood moon -Sorcerer-monks who move like smoke and strike with fire and blade -Combat cards for each monster, PC, and special treasure -High-quality digital maps for use with virtual table tops

A Kiss to Build a Dream On is a 5e-compatible dream-delve for four level 7 characters. It plays for 3-4 hours. Queen Aisling, newly free of insomnia (see The Trouble with Dreams), has become an avid dreamer. A little too avid in the eyes of some. Under ducal questioning, her Majesty confessed there was something more going on; She’s fallen in love with a man she has seen in her dreams. The adventurers have been assembled to mount an expedition into the Realms of Slumber. With the aid of an uneasy Somnomancer, a magic spell, and an ice pick, a rift to the Realms of Slumber is opened! Warning: die in the Realms of Slumber and you’ll be damned to sleepwalk the rest of your life - a fate worse than death! The heroes are entrusted with an Interdimensional Valise. It functions as a Bag of Holding, except that it can also carry Dream Creatures into the real world. To appease the Queen, the adventurers must get the Man of Her Dreams into the Valise and then return with him to the Waking World. The adventurers will be rewarded with a Knighthood and an Estate in the Vinelands (10,000gp value) if they succeed.

Sacred relics of the monastery, the eyes of the dragon, have been stolen from their rightful place in the eyes of the Ascendant Dragon statue. The elders have chosen one from among their ranks to go and retrieve these two fist-sized emeralds and bring them home.
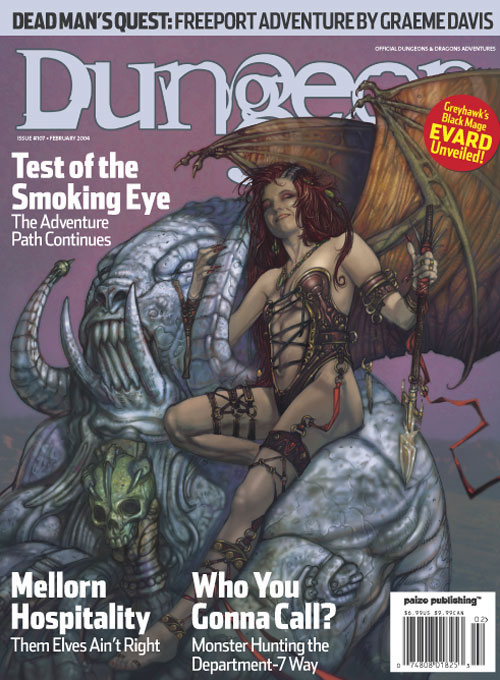
Every seven years, the elven village of Mellorell hosts the Festival of Life, an opportunity to trade, shop, and celebrate with the folk of nearby lands. But a dark secret that could cost the life of fairgoers draws the heroes into a plot that leads all the way to Hades. The core of the adventure is a short thirteen room lair with grimlock guards, a basilisk pet and Malifustal the Night Hag, who guards a portal to Hades. Pgs. 12-33
:strip_icc()/pic4011255.jpg)
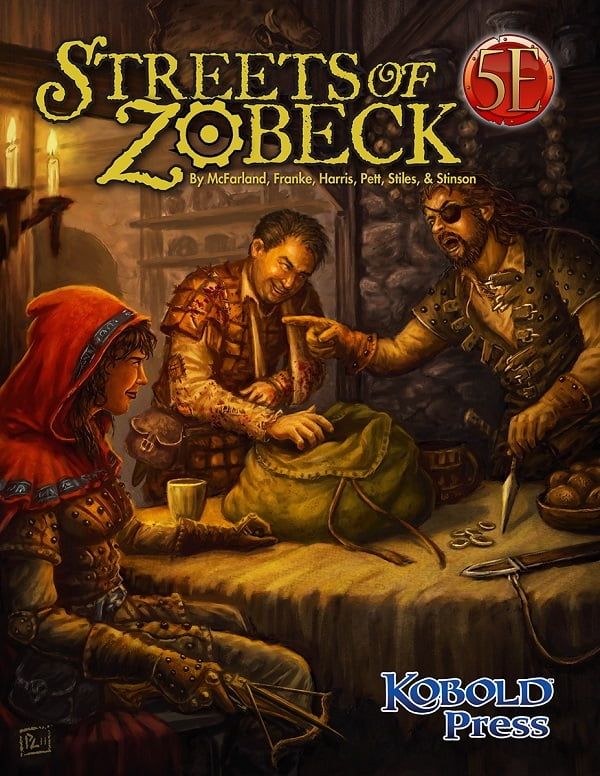
Janos Meer, the powerful underworld figure known as the Beggar King, has vanished. Gribbits - Meer’s right-hand goblin - has tasked a group of neophyte adventurers with getting to the bottom of where his boss has gone, and why. This is easier said than done, of course. The explosive destruction quite accidentally meted out by the Dragon Friends some months prior has made their city a dangerous place. It’s up to the adventurers to follow the clues through the urban chaos, unravel the mystery of the missing Meer, and maybe - just maybe - expose a conspiracy greater than any of them expected. The Gribbits Detective Agency is a Dungeons & Dragons adventure for four 1st-level characters.