
Ra’s Evil Grin challenges adventurers of at least 11th level who are seeking a powerful magic item—the globe of Arden. If a different item suits your campaign better, another appropriate powerful item can be substituted as the final objective. This dungeon culminates in a battle with Dendorandra, a lesser marilith known as a dark daughter. As a lead-in to this adventure, the GM may use a map from another treasure hoard showing the location of the globe (detailed more fully in “The Legend of the Globe of Arden,” below) or a priestly tome describing Arden, the long-dead avatar of Ra, and the wondrous powers of an unknown artifact called the globe of Arden. Such a tome might mention that the globe emits rays as intense as those of the sun, destroying all they touch. In any event, characters should need to consult with sages and oracles to determine the location and history of the globe and dungeon. A sage could also provide a map to the dungeon’s location, referenced in the “The Legend of the Globe of Arden,” below. We set the dungeon on a small, remote island far across the sea, but you can relocate it to suit your campaign. This dungeon provides numerous puzzles, a few traps, and only two monsters. Those monsters, though few in number, should challenge and threaten even the most combat-hardened party—particularly after the party encounters all the vicious creatures that inhabit the Island of the Globe.

What happens when you are invited to a dinner party at the Karnov Mansion during a full moon? Certainly nothing good. The wonderful dinner party, complete with excellent food, drink, and company, soon evolves into a 'cat & mouse' game that has the adventurers fighting for their lives. Will they survive? And will they uncover the secret of the Karnov Mansion? Although the adventure is set in a non-specific location and can be dropped into any campaign, it feels right at home as a Curse of Strahd or Ravenloft one-shot adventure.
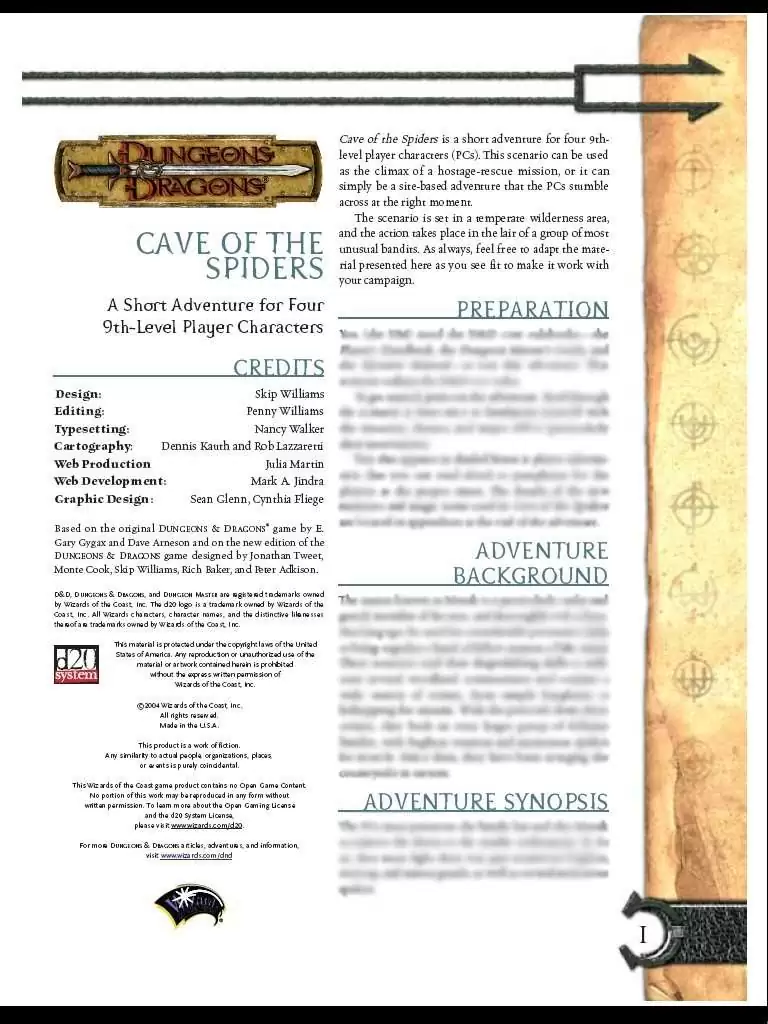
Bandits have been preying on the caravan trade of late, and the number of burglaries and kidnappings is on the rise. Such events might not seem all that unusual, except for the bandits' calling card -- webbing! Can the PCs penetrate the bandit lair and slay the leader before any more locals vanish?
Lurking in the watery depths of a fallen orc tribe's sacred burial cairn amid the bleached, broken bones of savage warriors, honored champions and mighty warlords the forest drakes Arduthal and Ingeirmaugh have made themselves a comfortable, safe home. Periodically emerging to ravage the surrounding countryside their depredations have reached such a level that Baron Liofa Othen begs the PC's to slay the foul beasts. The cairn's remote location, inundated, bone‐choked passageways and the vengeful, possessive ghost of the orc champion Gork Shattershield, not to mention the drakes' mistaken identity as green dragons, all stand in the way of the PCs' victory. A short Pathfinder Roleplaying Game adventure for four 5th‐level characters by Creighton Broadhurst.

"For Blibdoolpoolp!!" "The power of the mind and belief are wonderous, often leading us to manifest things that aren’t real. For the kuo-toa, this power is heightened, allowing their collective belief to manifest gods." Two tendays ago, a paladin of Torm was kidnapped by kuo-toa. In a strange turn of events, she was mistaken for a kuo-toa god, and whisked off to their underground lair. Barria has managed to pose as the god and now shakily leads a small faction of kuo-toa while trapped underground. With her influence being increasingly scrutinized, and with the different kuo-toa sects on the brink of civil war, it’s a dangerous time, even for a ‘god’… The heroes’ mission — rescue the paladin from the kuo-toa oceanic lair before she’s transformed into a kuo-toa god. The kuo-toa are an Underdark-dwelling race of fishlike humanoids. Different sects worship different god-like beings, each god manifested through the strength of a sect’s collective zeal. Such “gods” feature prominently in this adventure. Product Overview ♦ 4 to 8 hours for four to five characters. ♦ Scalable for 3rd-6th level. ♦ High-resolution maps of the Kuo-Toa lair. ♦ 9 new statblocks, including Dire Barnacles and Hypno-Cuddlefish! ♦ Includes plot hooks, handouts, rules for faction combat, and more!
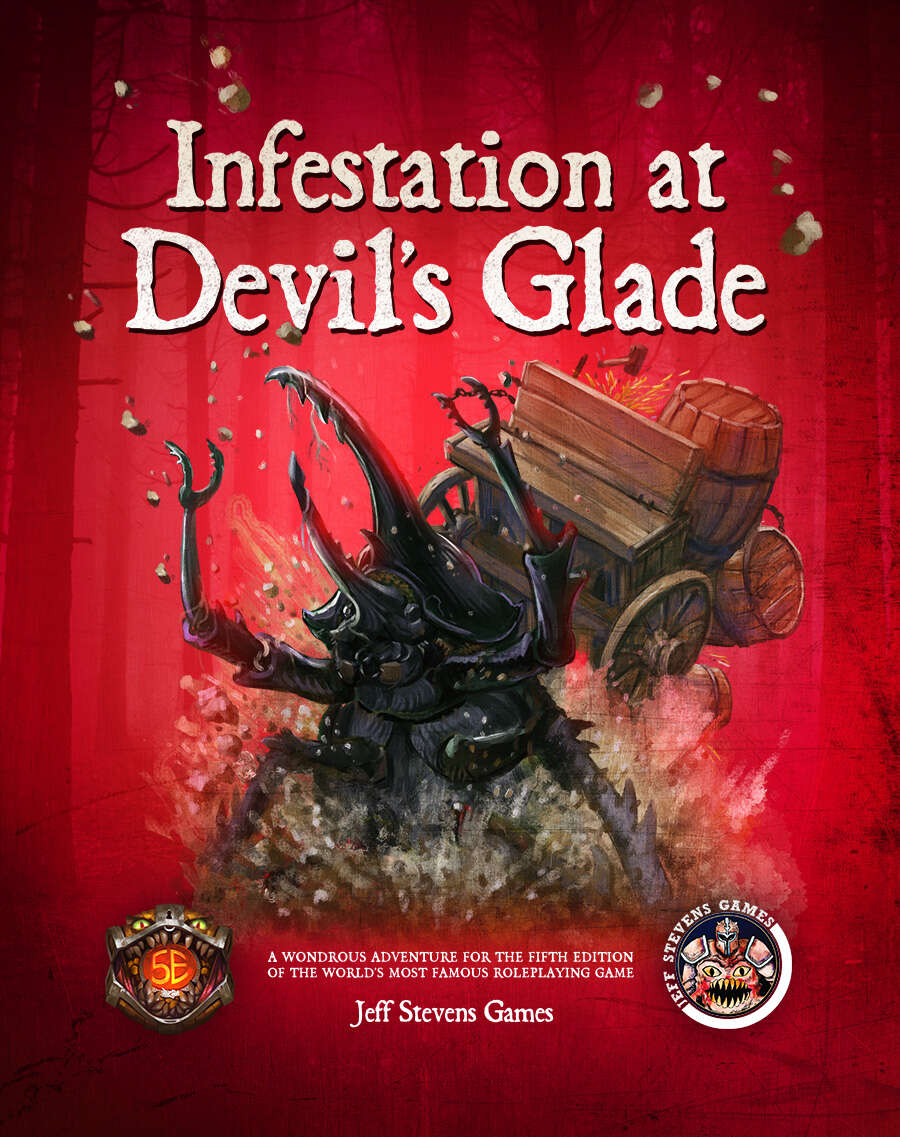
The town of Devil's Glade is under attack! Swarming insects have driven the residents out of their homes and businesses, and giant insects patrol the town square. Who or what has brought these creepy-crawlies to Devil's Glade? What's their motive? Are your heroes brave enough to put an end to the infestation? Infestation at Devil's Glade is a 2- to 4-hour adventure designed for four to five characters of 1st to 4th level, and is optimized for 2nd level characters. Scaling Suggestions are included, allowing you to play this adventure with characters of 5th to 6th level. Infestation at Devil's Glade isn't just a short adventure. We provide you with a location to which your heroes can return, or even use as a home base. The Supplement Includes: Adventure. The main adventure focuses on the heroes cleaning the town of the infesting insects and the villains who brought them. Beginning at The Fork (a tavern where many of the residents have made camp), the characters learn about the infestation of Devil's Glade, and are hired to look into the matter. NPCs. The adventure is filled with fun and engaging NPCs. During the characters' time at The Fork, they have the opportunity to talk with NPCs, help them, and learn more about the infestation. After the heroes return Devil's Glade to normal, the merchants and residents return, giving your characters unique shops to explore and quests to complete. Cursed Mask. The crux of the problem - a cursed mask that slowly transforms the attuned creature into a giant, insect monstrosity, and gives them power over insects. To end the infestation, the adventurers must confront the partially transformed person wearing the mask. Shops & Services. Devil's Glade contains shops and services the characters can explore, including therapeutic mud baths, a diner specializing in eggs, a trinket shop, a candle maker, and a dentist. Side Quests. We provide several side quests for before and after the main adventure, allowing you to increase the main adventure's run-time, and provide you with material for after the main adventure. Maps. The adventure contains maps for the main locations and major side quests. Each map is hand-drawn by Jean Lorber. Art. NO AI! The book is filled with fantastic, original artwork by Matt Morrow Art. Also Included: Map Files. Both grid and non-grid maps are included and available to download. Special VTT Tokens and Assets. Several custom tokens and art assets are included for VTT play.
The abandoned Tower of Ulvarum Orvernus stands atop an asteroid nearly a quarter mile in diameter, located roughly 5 million miles from the planet’s surface. The asteroid maintains Earth-like gravity and a breathable atmosphere, with habitable temperatures. This is all sustained through the harnessed power of a bound Air Elemental and Earth Elemental. If either of these Elementals are freed, the asteroid’s environment will quickly become inhospitable. The PCs may find themselves drawn to the asteroid through a forgotten portal, seeking a way to return home. Alternatively, they might be lured there by rumors of a powerful item or hidden knowledge within the tower’s extensive libraries. A multi-level tower filled with traps and strange encounters including animated armor, alien plant life, giant spiders, and a doppelganger.

In this prelude to the full Princes of the Apocalypse campaign book, adventurers face off against the influence of Elemental Cultists in the hills and canyons of the Dessarin Valley. The four mini-adventures within are only tangentially related to each-other, and instead serve as starting points and hooks for the plots of the complete Princes of the Apocalypse Campaign. Players start in the well-described town of Red Larch; first investigating a local necromancer, then uncovering cult influences within the town, and finally heading off to infiltrate or do battle with two small elemental cultist strongholds. All parts of this adventure can serve as great places to seed hooks for other campaigns.

‘Wyrd’ things are afoot. This town might seem like your ordinary, post-apocalyptic-now-turned-fantasy locale, but it is not! Fell Cults have begun to take over and it is up to the brave adventurers to stop one in particular: the Cult of the Shield Ghul. But the ‘Wyrdness’ doesn’t end there. Though this adventure can be used to facilitate your typical wander-around-and-kill-everyone-to-take-their-stuff-type scenario, it also includes a sinister (and frankly genius) plot, feuding factions, plenty of hyphens, not to mention bizarre NPC’s and situations to either interact with or stab to death.

This deluxe adventure takes heroes into the ruins of Gardmore Abbey, a monastery that was once the base of a militant order of paladins devoted to Bahamut. According to legend, the paladins brought a dark artifact back from a far crusade and stored it in their abbey for safekeeping, and evil forces gathered to assault the abbey and take it back. What the legends don’t tell is that this artifact was actually the Deck of Many Things, a force of pure Chaos. This adventure brings characters into the extensive dungeons beneath the ruins - dungeons that are warped and twisted with the raw forces of Chaos surrounding the cards of the deck.

The ruined Thorp of Rhu once produced honey, apples, hard cider, and mead. Villagers now stay away as they believe Rhu is cursed. Years ago a witch, Katla, was cheated from a reward promised for chasing away an attacking giant. Furious, she waited for her chance at revenge. Over a year, Katla created many small sack dolls and gifted them to Rhu’s children. One night, each doll animated, killed the sleeping adults, and set the village on fire. Now Sorcha, the village elder, asks the PCs to go to Rhu to locate a lost dwarven friend, help a restless soul, and find out what really happened to Rhu long ago. These outsider sack doll spirits take great pleasure in tormenting and slaying weaker creatures. At Rhu, the PCs encounter murderous sack dolls, learn the villagers’ & dwarf’s fate, parlay with spirits, and clash with Bloody Tears, the witch’s minion & spirit familiar. Published by Wicked Cool Games

Driven mad by the darkness of winter, the Prioress of the Red Abbey begins her work. After months of research and work in her lab, she found a way to summon beings of light to push back the darkness, if she could control their destructive natures. The characters find themselves investigating odd deaths, chasing weird weather phenomena and trying to help locals harmed by these creatures of light.

The ruined manor now known as Kobold Hall was once a minor lord's proud holding, a walled keep overlooking the old King's Road. That was years ago, and the lord's name and glories he earned are long forgotten. Today, the place is called Kobold Hall after the malicious humanoids that invest the place. Pgs. 210-219

Utopian Tower is a solo adventure which brings a new PC/player to the small Halfling village of Phebus on their way to a job opportunity. While the PC has time to spare they learn of a haunted tower that has the villagers on edge and is asked to investigate for a reward! While in town the PC meets a bard also headed to a job opportunity leading to a potential fellowship…if they survive! An excellent setting to teach a player new to the game on the basic mechanics. The adventure ties in roleplaying in a town environment, overland and dungeon movement, as well as combat encounters!

In the ruins of Kiris Dahn, a human town, lies a 'Slaying Stone'. The stone is said to have the power to kill any foe, though the stone is consumed in the process. The party will venture into the ruins which are the home to an assortment of goblins, hobgoblins, and kobolds. However, a mercenary band of orcs have been hired (by a benefactor who is not met in the module) to search the ruins for the Stone, and the party must find it first. The party must use caution and stealth to move through the town without alerting the denizens or the mercenaries while searching strategic points around the abandoned town to find the Stone. Eventually, the party should find the stone under the protection of an indifferent Brass Dragon.

Princess Arelina rushed from the tent as total disorder breaks out across the camp. She descends on your party as you struggle to secure you weapons…. Wonderfully descriptive, isn’t’ it. Well, now you can see for yourself with the 3-D DRAGON™ tiles. Use the DRAGON™ Tiles to bring your DUNGEONS & DRAGONS™ an ADVANCE DUNGEONS & DRAGONS™ adventures to life. This package includes 3-D figures, featuring tents, trees, carts, a waterfall, and characters. A sheet of 2-sided tiles including trails, streams, creatures, and other wilderness features. A wilderness mapping grid is included to help you lay out wilderness encounters quickly. The 3-D DRAGON™ Tiles also comes with a special D&D® adventure, “The Revenge of Rusack.” TSR 9145
This is the introductory adventure in the Bugger's Mill campaign. It introduces the characters to the village of Oak Mill along edge of Border Forest and has them hunt down a local arsonist, as well as assist with putting out a forest fire.
From a ruined theater in the run-down Puddles district of Absalom, a goblin hero and self-styled king rules over the nearby goblins. Shifting foundations beneath the playhouse have revealed ruins from Absalom's early history, and the goblin king has put out a call for explorers to search the area and clear out its dangers. The Pathfinder Society has answered the call. They aren't the only group that is interested, however, and they must prove themselves to earn the right to enter these lost chambers.
The Cult of the Dragon leads the charge in an unholy crusade to bring Tiamat back to the Realms, and the situation grows more perilous for good people with each passing moment. The battle becomes increasingly political as opportunities to gather allies and gain advantage present themselves, all centered in Waterdeep. Continuation of Hoard of the Dragon Queen.
We all dream; sometimes we remember them, sometimes we even understand them, but always we’re fascinated by them. As to their worth, how many brave adventurers, skilled traders and successful leaders achieved because they were told by a mentor, “Follow your dreams!” But what happens when those dreams constantly play on your mind? When those dreams begin to take over all your waking hours as well as those dedicated to sleep? When those dreams begin to change your very being with their alternative take on the world around you? The party have a straightforward charge; bring in a rogue wizard! In a kingdom where unregulated and unobserved magic is frowned upon, this could mean anything and anyone, so how do you prepare for the unknown? And what do you do when you don’t like the sound of what you find out when what is known by others comes to the surface? Murder, theft and unstinting self-sacrifice make strange and unsettling bedfellows, and one mage is accused of them all. Yet the person in question seemed such a charming and intelligent child, one you’d want to protect as a parent if you met them as a youngster. Has all that charm gone, all that cleverness been wasted? Surely not? Perhaps the support and encouragement of a guardian is all that is needed. Also included in ""Rogue Wizard"": One of the most bizzare adventures you will ever run Maps by 3x ENnie Award winning Cartographer Todd Gamble Illustrations by renowned graphic novel artist Tim Tyler High Resolution Maps of all Tower Levels and interior New Monster: Undead Ogre Guards New Monster: Grizzly Bear Rug New Monster: Sentinel New Monster: NITNAM New Monster: Tormented Flesh Golem (made of halfling corpses and fully illustrated) New Monster: Black Pudding Knight (fully illustrated) New Spells: Taxidermy Swarm (lesser and greater) Over 10 fully illustrated and in-depth puzzles for your players to solve! Multiple New Traps! New Machine: Bone Grinding Machine New Material: Bonedust