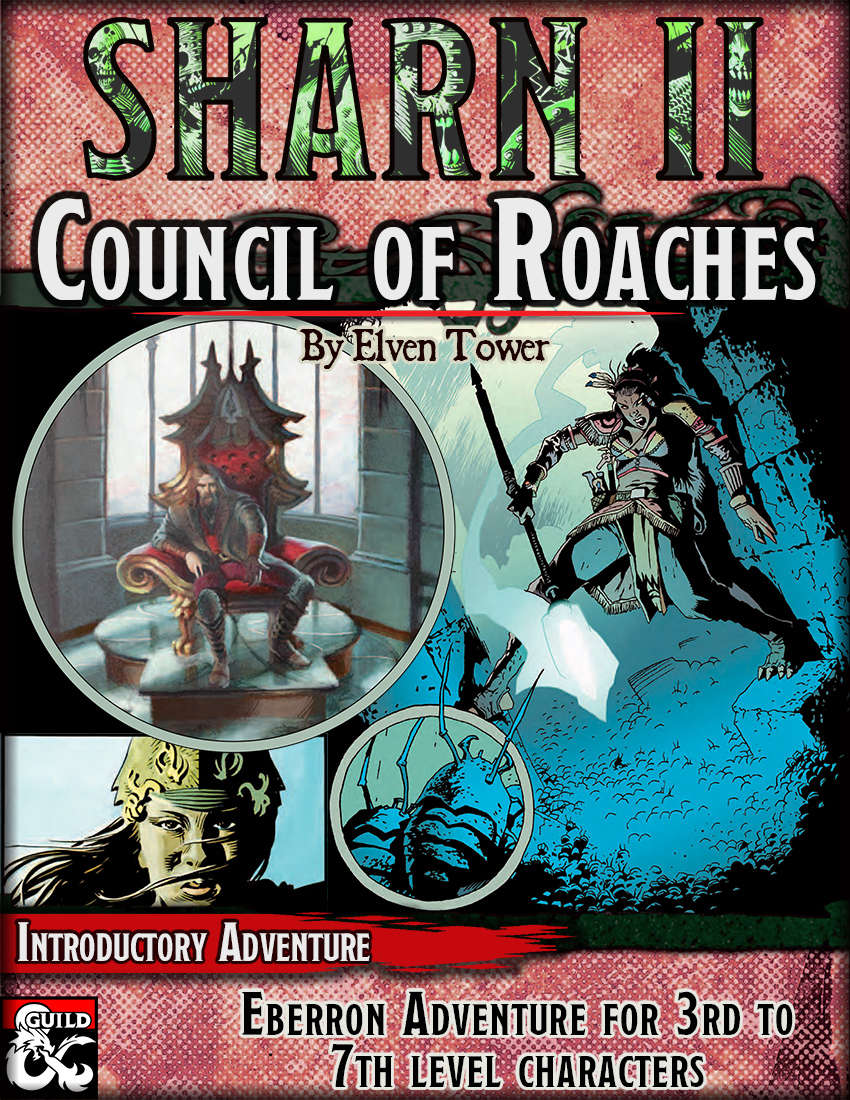
A roach thrall has infiltrated Sharn's highest circle of power, the council, and few have noticed. It's up to our adventurer's, with a little help from a perceptive councilor, to rid Sharn of the growing infestation.

The adventurers now have their own island and port, but they’ll need more than one ship to defend it. When a past rival sends a fleet to attack them, they’re forced to pull out all the stops to defend their island home, scouring the harbors and docks of the Shackles in order to recruit more ships and crews to their flag. Yet when they sail to the attacker’s own island to get their revenge, the adventurers discover a traitor—one whose betrayal threatens not only their own fleet, but the very islands of the Shackles themselves. This volume of Pathfinder Adventure Path includes: • “The Price of Infamy,” a Pathfinder RPG adventure for 11th-level characters, by Tim Hitchcock. • Fleet battle rules that allow players to stand as admirals and commodores directing their own armadas against enemy fleets in large-scale naval warfare, by James Jacobs. • A glimpse behind the gray veil of Norgorber, Golarion’s most secretive deity, by Sean K Reynolds. • Lock-breakers and sea-devils in the Pathfinder’s Journal, by Robin D. Laws. • Four new monsters, by Savannah Broadway, Ryan Costello, Mark Moreland, and Sean K Reynolds.

𝐓𝐡𝐞 𝐟𝐨𝐮𝐫𝐭𝐡 𝐚𝐧𝐝 𝐟𝐢𝐧𝐚𝐥 𝐚𝐝𝐯𝐞𝐧𝐭𝐮𝐞 𝐢𝐧 𝐭𝐡𝐞 𝐔𝐩𝐫𝐢𝐬𝐢𝐧𝐠 𝐒𝐚𝐠𝐚. The orc uprising around Nirzumbil must come to an end! The Mercur trade coster is benefiting too much from the blockade of the dwarven stronghold and threatens to corner the market on iron ore and gems for years to come. If the orc warlord commanding the armies can be slain, the orc forces will surely fall apart. But how to find and kill a warlord who is powerful enough to unite thousands of orcs? This adventure features 5th edition conversions of the krenshar, senmurv, portal drake, and stone flyer.
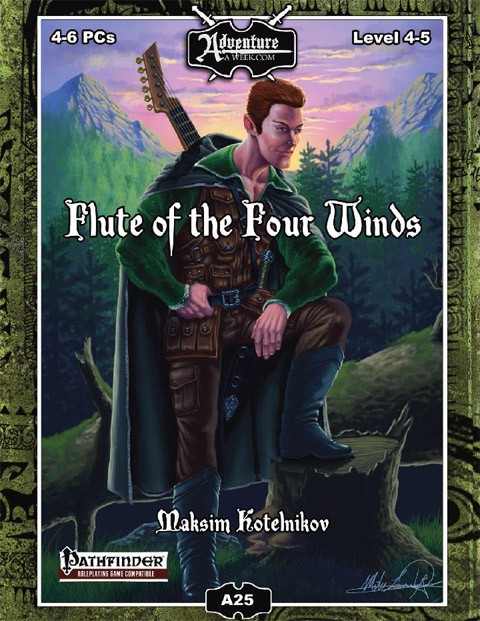
The majestic tree of the Four Winds grew in the forest west of the village of Rybalka, revered by the Vikmordere druids of the Snoqua tribe for its power to control the weather and hold balance with nature. When the Klavek Kingdom invaded the area, a powerful druid named Manahzo transferred the essence of the tree into a magical flute to keep its power safe from the threat of the militaristic Empire. Entrusted with the flute by the Snoqua, he and his wife sought to hide the flute from the reach of the invaders. As they fought the Klavek military they found themselves forced into an old cave system in the mountains of the Vikmordere Valley where they faced not only the Klavek soldiers, but ancient primal horrors. While Manahzo kept the flute out of the invaders hands, he lost his wife in the battle. Manahzo now seeks revenge on the Klavek Kingdom and its citizens located in the village of Rybalka. The PCs find themselves in the midst of an attack on Rybalka by Manahzo and a group of rogue Snoqua warriors. They must fight beside the citizens of Rybalka to repel the attack, and then seek out the Snoqua to find a means to deal with Manahzo and his rogue companions. In the forests outside Rybalka they will face a demonic wolf ally of Manahzo’s before finally engaging him in a direct battle as he executes a final attack on Rybalka. Even if the PCs succeed in defeating Manahzo, the threat does not end as his thirst for vengeance continues even after his passing in the form of haunt on the village. Directed by the Snoqua on how to end the haunt, the PCs must venture to the caves where Manahzo’s wife died to confront the ancient horrors that were responsible for her demise and recover her body in order to give her a proper burial to calm Manahzo’s vengeful spirit once and for all and bring peace to the village of Rybalka. Also included in “Flute of the Four Winds”: Roleplaying opportunities to interact with various NPCs in Rybalka, the heart of the Aventyr campaign setting Two new monsters – The hive-minded Tunnel Horrors and their carnivorous primal kin, the Anglers High resolution encounter maps in a new location, the coal mines north of Rybalka

Constant attacks have been carried out in the forest region near Holyrock. The small town of Taveiro Village was raided by a group of Goblins that are plundering the agricultural region near the city. There is suspicion that there is a lair of these beings near the village, but so far, no one has been able to find the place. The mayor of the city is hiring adventurers to discover and eliminate this band of Goblins. It offers a big reward, in addition to allowing the booty found with these beings to own the heroes. Are you ready for the challenge? ” Goblins Lair is a “One Shot” style adventure, one that you can play in an afternoon or fit into your larger campaign. This adventure is designed for up to 4 players from level 1 to 3. We recommend using the basic BX books or the old D&D books. Have Fun! Published by Voxelhouse

A fiend lurks among the Black Blade goblins. A shapeshifting barghest fashioned by the General of Gehenna to exact revenge on all goblin-kind. It’s aim: to kill as many goblin leaders as possible… A masked goblin approaches the party asking for help. Two tribe leaders are dead. But a rival for chief has control of the crime scene. Will the party discover the barghest among the goblin ranks? Can they stop this imposter before it strikes again? Adventure Overview The adventure’s story is spread over 4 parts and takes approximately 4 hours to play. The adventure begins with a Call to Action scene. Part 1: Goblin Politics. Krill sends his emissaries to implore help from any strong intermediary. The party is asked to investigate the murder of Thrawn in Dringly’s lair. This is Story Objective A. Part 2: The Opposition. Gain entry into Dringly’s lair and investigate the murder of Thrawn. Gather enough evidence to find the killer. This is Story Objective B. Part 3: To The Lair! Now that the players have determined the barghest (Yeep) is to blame, they need to get to Krill’s lair quickly as he is in imminent danger. This is Story Objective C. Part 4: The Barghest.When the players arrive at the lair, they need to get to Krill and expose and defeat the barghest. This is Story Objective D. Adventure Background A barghest named Yeep has begun its onslaught of attacks against the Black Blade goblins. Starting with Chief Gnar, then his second in command Thrawn, the barghest is moving methodically down the line of command. Krill is now chief. But he has some problems: Two leaders of the Black Blades are dead. Who killed them and why? Is he next? Dringly, the next in command, has decided to take his lair for himself, declaring himself Chief of the Black Blades. Who are the Black Blades? The Black Blades are a tribe of goblins in the local area. They are known for dipping their blades in a dark black substance. It is rumored these blades are poisonous. The Black Blades regularly attack passersby on the road to rob them. The Black Blades have two lairs, one run by a chief who leads the whole tribe, and another overseen by a boss lieutenant. The Black Blades have a well-established pecking order which is how Krill stands to become chief. The next in line is Dringly, who has also declared himself chief and wants Krill dead. Krill suspects that there is something suspicious about two leaders being killed within a day of each other, but he has already burned Gnar’s body without any investigation. He needs to investigate the body of Thrawn, but it is in Dringly’s lair. Krill wishes to avoid direct confrontation with Dringly at the present for three reasons: 1) Any violence would only kill his own tribe members and further divide the lairs. 2) He believes there is still hope for negotiation to reunite the Black Blades. 3) He believes that if he were to attempt negotiations himself, Dringly would kill him. This adventure features: Two maps. Ready for your favorite Virtual Tabletop. A full color pdf. A black and white pdf. One custom monster, a reprint of barghest, all others available in the Monster Manual. Four hours of entertainment involving: roll playing a goblin bard, investigating a murder scene, tracking down a barghest before it strikes again. Applicable to any setting.

This adventure is set in the van Richten estate, a free-floating realm in the Mists of Ravenloft. While this scenario serves as the conclusion to the other adventure included in this boxed set, it can also stand alone with relatively minor modifications. Removing most of the monsters and emphasizing the intangible supernatural phenomena makes this adventure especially apt for a Masque of the Red Death campaign. Regardless of where it is set, you may play this adventure many times without it unfolding exactly the same way twice. Suitable for use with the Bleak House campaign or the Masque of the Red Death Setting. Included in Bleak House: The Death of Rudolph van Richten TSR 1141

In this level 6 adventure for 4-6 players the party comes across a man named Johann Dhomm who was transporting animals in cages to his private island where he has a menagerie (a kind of zoo) that he eventually wants to open to the public. But the animals have escaped and he asks the party to try and catch them alive for him. However, the animals are actually quite dangerous and range from Gazers to a Wyvern.

This item was originally created for MaceCon 2018 but has been rebranded as part of the Artifact series. The party meets with the religious leaders of Liverpool and are tasked with recovering a three part artifact known as the "apparta". Their journey takes the PCs through time and space with some rather high level obstructions to deal with!
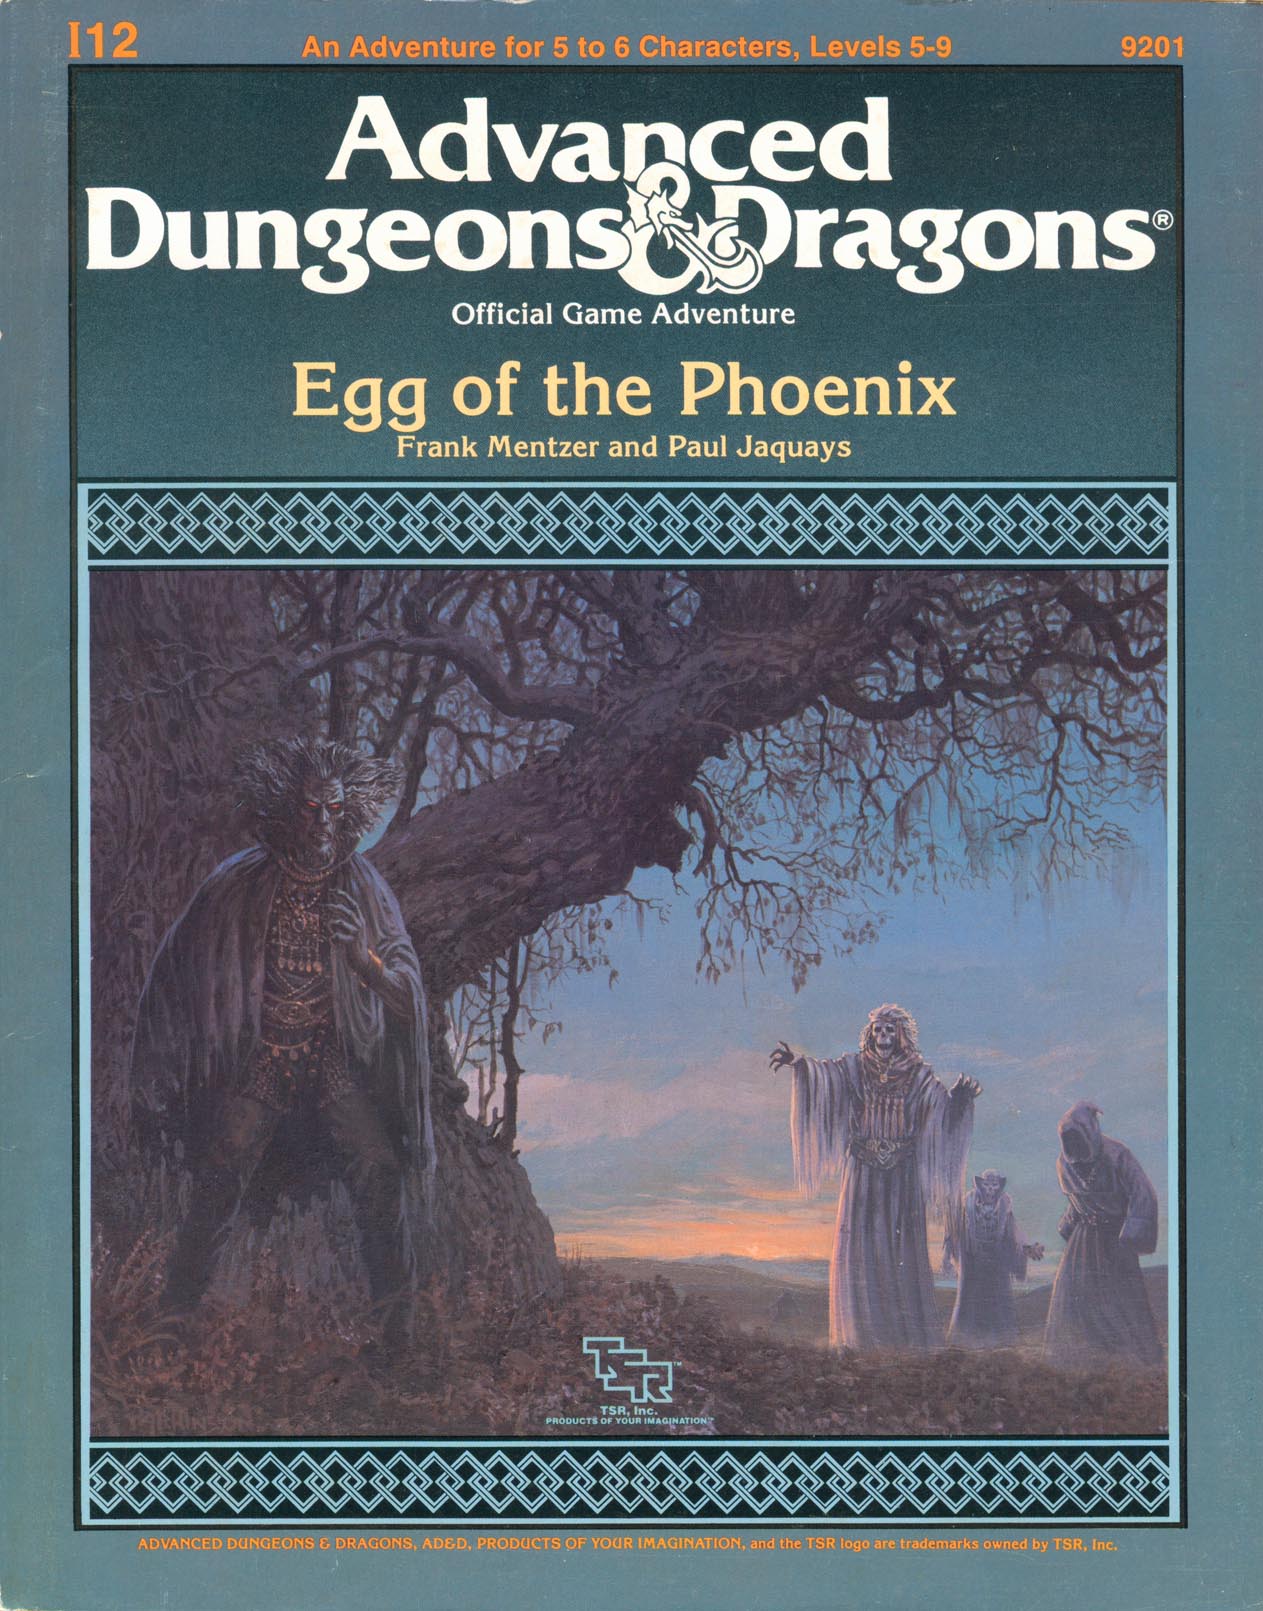
"Come on," they said, "It won't be so tough, just stopping a slavery ring," they said. "I don't know," you said. "Those slaves aren't even entirely human! How do we know they won't try to kill us?" But you went, and now you're having second thoughts. There were the thieves in the lost crypts of Empyrea, raising hundreds of - no, that's too disturbing to think about. There were the three daughters who - no, that's too painful to remember. Now there's this Egg of the Phoenix. What does that have to do with anything? This was supposed to be a cut-and-dried stop-the-slavers job. Who said anything about retrieving lost artifacts? Trudging through forests, traipsing through castles, trotting throug dungeons, traveling through other planes: this has turned into more than your run-of-the-mill adventure. The compensation had better be worth it! Provided, of course, you're around at the end to collect your share. TSR 9201

The hunt for the white hind is the stuff of myth – according to legend, those who can keep up with the mystical stag will discover treasures lost to time. In truth, the heroes in these stories are being tested, but not for anything as simple as stamina. During the hunt heroes face hard fights, questions of morality and opportunities to show their skills.

Lost Among the Crystals is a companion adventure made to go along with the vents unfolding in Folio #15 (WS2 The Forgotten Plateau). It contains the information needed to run a side adventure that will help the characters in their exploration of the Sacred Plateau. The mighty crystal fields of the Sacred Plateau have become a confusing maze amid the now rising vapors of necrotic energy that masks the midlands. Even the keen senses of 'Numphy', the party Triceratops beast of burden, have become dulled. Can the players navigate the crystal maze and find their true goal on the far side? This adventure is formatted to both 1E & 5E gaming rules.

The fabled mines of Dhol Kuldhir once showered the Dalelands, Cormyr, and points beyond with precious gems and expertly crafted jewels. Operating from a hidden complex in the Thunder Peaks, their exquisite craftsmanship was said to rival that of even Thunderholme. Almost as quickly as it rose to prominence it vanished, along with all of the dwarven miners, crafters, and untold riches. Some speculate that the mine ran dry, and the inhabitants abandoned it for a more plentiful location. Others believe that they probably fell victim to one of the many goblin tribes plaguing the area. The truth, however, is much more grave. Centuries later, the nearby town of Keen is beset upon by unlikely thieves, the local innkeeper charges a small band of unlikely allies to investigate the string of burglaries. What they uncover leads them to the long-lost dwarven mine. In the darkness, they will have to brave insidious traps, cunning monsters, and the dreaded new lord of Dhol Kuldhir.

This module is the first of a series of High Forest adventures. It includes a description of the village of Merric, including detailed NPC's. Merric has always been at risk of raids by the local Gnolls, but now word has come that the Orcs of the Greypeak mountains are massing to invade High Forest. The elders of Merric have decided to hire and groom an adventuring group to ensure they have a balancing force against the invasion. Soon it becomes clear that there is something far more dangerous than Orcs threatening High Forest and if the children of Merric will ever be safe again, someone needs to stand between them and the evils that lurk in the dark.

Lost Laboratory of Kwalish explores an alternate expedition into the Barrier Peaks. The legendary inventor disappeared in the peaks eons ago… as it turns out, finding a crashed planar ship and studying its technology to fuel his own experiments—only now, Kwalish’s lost research is desperately needed! This adventure explores two locations within the Barrier Peaks, and includes new monsters, magic items, and spells, plus sci-fi trinkets, random encounters, and even rumors of the area submitted by the player community! Further featuring new art, maps (from Claudio Pozas), and even a cartoon (from Jason Thompson)—as well as the famed suit of powered armor, as edited by Jeremy Crawford on the Dragon+ livestream! Best of all, all monies that Wizards of the Coast receives from sales of this PDF are donated to Extra Life. Your purchase of this adventure goes to a truly great cause!

A newly constructed temple of Bahamut lies along a road outside a rural township. As the PCs approach the place, a scream for help erupts within it. Pgs. 60-65

Will You Venture Into the Low Crater? When the party stumbles across a ragged, battle-scarred band of knights they are amazed to hear that the hardy veterans were soundly beaten by mere kobolds. The crafty little fiends have set up in the rubble of a fallen Earthmote thought to be home to a long-dead dragon and - more importantly - its horde. When the Sable Spears charged in to drive them out, however, they were confronted with ambushes, traps and a whole lot of pain. Dare you venture where the Sable Spears failed, and explore the Low Crater in search of treasure, glory and adventure? Or will you join the sheepish ranks of adventurers turned aside by the prospect of tangling with Kobolds? Take your party through an adventure that will teach them that CR isn't everything, and that even the weakest foe can prove dangerous when they're cornered (though having the power to animate long-dead dragon bones helps too, of course).

A shadow hangs over the dark and dreary town of Squill. Townsfolk are being murdered in their beds without any explanation and the local graveyard has become a dangerous, haunted place. Consumed by fear, the men and women of Squill have begun casting evil glances at a young orphan boy. The victims, it seems, all had links to the lonely child, and none of them were good. A local priestess, however, wonders if the heart of the darkness consuming the town lies in a necromancer slain nearby only a few months ago...

Heroes are needed in the mountainside town of Shibai—though thought to be spared from the horrors of the demonic Mists of Akuma, recently the supernatural haze has started to fall onto the settlement and a monster lurks through the evil fog. Despite the presence of the infamous Mubo Brothers, hired by the local mayor, a Sukochi bengoshi calls upon the party to get to the bottom of what ails Shibai. The truth of the matter lay within Robai Shita Temple, though what the adventurers find inside may see them undone!
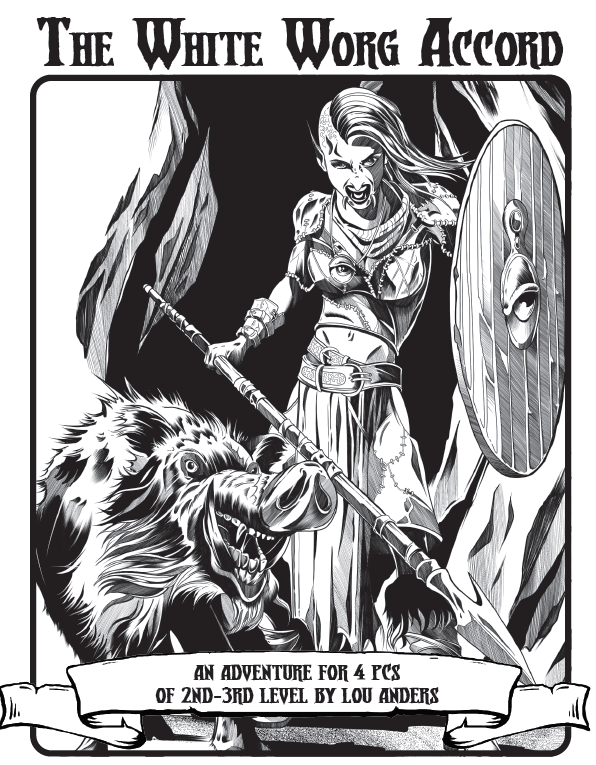
The noble dwarf Wulfstan vom Meer seeks adventurers to travel on his one remaining ship to the clan’s village, and to protect his vessel against any threats at sea. When they meet the White Worg Reavers, he wants the party to negotiate for the loan of two longships and their crew. Vom Meer offers 500 gp to anyone willing to undertake this task. It seems like easy money. However, the Wolfheim clan has troubles of its own—a group of trollkin bandits known as the Mossback Raiders have been competing with the White Worgs for territory west of Wolfheim. Their rivalry is coming to a head. When the PCs arrive at the White Worg homestead, they learn that the reaver dwarves are recovering from a recent attack. Their homestead has been sacked and vom Meer’s kinsman, Knud Stoneson, has been slain. Without a family connection, the clan’s chief will agree to vom Meer’s proposal only if the PCs will help rid them of that troublesome band of trollkin. If the PCs are to succeed in their task and help vom Meer, then a reavin’ they must go! This adventure for the 5th Edition of the world’s first RPG is meant for four 2nd and 3rd-level characters. Designed by Lou Anders, with cartography by Dyson Logos and cover art by Phil Stone.