An ettin has begun terrorizing the hamlet of Newkeep, stealing cattle and smashing homes—and flattening anyone who tries to stop him. Meanwhile, a mysterious riddle has appeared on the walls of the local shrine—a riddle which may hold the key to vanquishing the ettin.
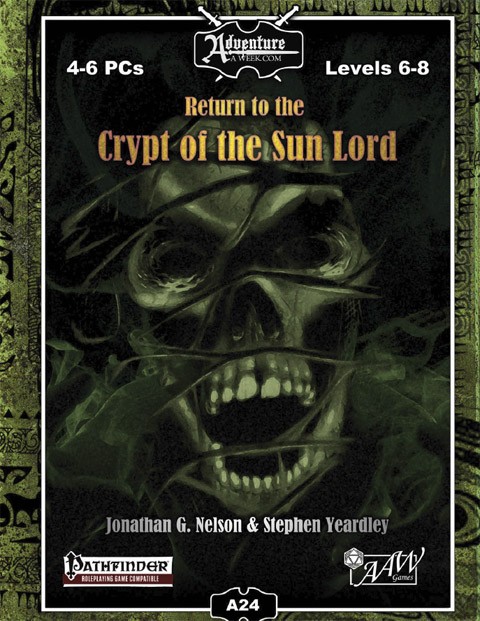
The temple bells rang out, their crystal hollow-overtones calling gently to the dispersed worshipers dwelling within the underground sun temple. The Temple of the Sun was itself an enigma, a place dedicated to the sun but hidden far underground, shielded from the mighty rays of the light of life, forced to do so for both secrecy and protection. Internal holy radiance was the heart of the temple, bathing Flaesuros' children with the light of the holy orb of light, emanations from a Sliver of the Sun, an actual piece of the massive orb of life above; this was the logic behind the temple's secrecy, her many levels of protection and traps, the reason why priests who fervently revered light now clung to the shadows. This adventure includes: Puzzles to keep your players engaged and inspired New monsters including the Skeletal Ash Beast Ancient runes which can be used to solve puzzles and advance in the crypt A new magic item which may be donned by a single PC to great effect An artifact which has the potential to either change the world or destroy it

Do you want your players to feel like they are in a zombie movie, struggling against a deadly horde that tries to surround them, overpower them, and bear them down to the ground to be devoured? This is an adventure that can threaten even the stoutest of characters, and is not recommended for parties of levels 12 or below unless they are larger than normal. This module is designed to take 4-8 hours of play and cover a single day, depending on the party’s speed of play and how thoroughly they decide to explore. It includes suggestions and some plot hooks that can be used to tie this easily into a variety of long-running campaigns, or it can be run as an indepdent adventure. The players will come upon a sacked town, figure out what happened, track an item whose theft has ominious implications for the region, and explore a partly-flooded old temple to end the threat. It's primarily combat-focused, but there are a few areas where exploration and route choice makes a difference, as well as traps if the party goes for the optional temple treasury. The antagonists in this module are mostly ghasts and ghouls, but the module title and cover page are deliberately selected to not spoil this. These are greater ghouls and ghasts that can challenge higher-level characters, backed up by mobs of lesser ghouls that can surround, paralyze, and devour the weak and unlucky, led by a Warlord whose aura can drive even the stout-hearted into forgetting their plans in a moment of madness.

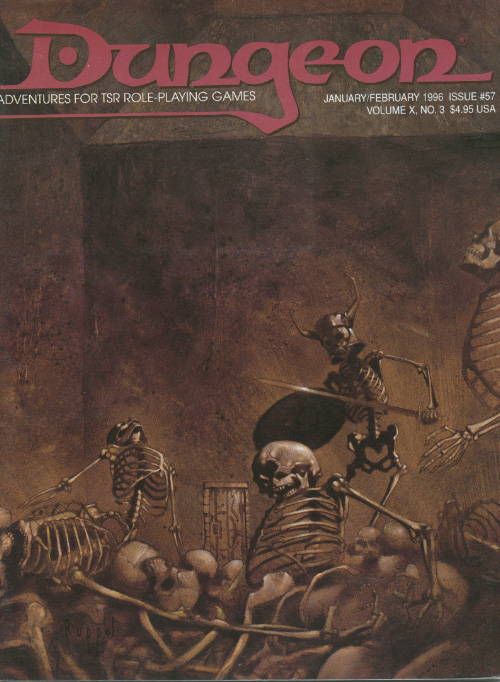
An introductory adventure set in and under Shadowdale after the Time of Troubles. The subject of the adventure is the tunnels connecting to to Tower of Ashaba that are rumored to connect to the underdark.

Your sleek cloudskate skims across the Skysea. It is midnight. All day long, the glass sea soaked up the scorching desert sunlight. Now, that heat lifts your ship a few inches off the glass and fills its sails. The only sound you hear is the soft swish of the diamond-edged rudder as it cuts a path across the Skysea. One thousand years ago, the wizard Martek knew that you would come to find his Sphere of Power. Now, one of his glowing Star Gems shows you the way. The starlight, reflected in the glass beneath you, flickers peacefully. Suddenly, the Skysea before you bursts up into a thousand shards of splintered glass, showering into the moonlight! A horrible creature is silhouetted against the moon. You strain against the rudder to keep your ship upright. Too late! Your cloudskate tips onto one runner, and then tumbles over, skidding to a stop on the glass. As your companions struggle to right the ship, you turn and face the monster. You must hold the creature back to give them time. Without the ship, none of you can get off the glass before the sun rises in the morning. Martek's prophecy spoke of heroes, tests, and dangers. Are you the heroes? What are the tests? What dangers and riches lie ahead? This adventure can be played by itself, or as the third and final part of the Desert of Desolation series. For character levels 7-9. TSR 9054

Once a paradise at the heart of dwarfdom, the Valley of the Cracked Helm has lain forgotten for ages, lost to the vagaries of natural disasters, goblin invasions, and generational benders. Over the years since, its name has invoked only shame—furtive, deep-seated dwarven shame—for the valley is where the wild dwarves dwell. . . Valley of the Cracked Helm is an off-beat scenario for old-school style games involving a hidden valley filled with tribal dwarven nudists and exploitative prospectors. It is formatted as a double-sided tri-fold brochure that contains everything needed to run the module. It includes: A ready-to-run module suitable for ongoing campaigns and one-shots. A detailed pointcrawl of the Valley of the Cracked Helm. Dwarves Gone Wild! (This pointcrawl scenario can be dropped into any classic fantasy campaign allowing gratuitous dwarven nudity. More setting than adventure, it encourages/requires referees to improvise or develop content further to fit their own needs. Low-level PCs may need to be lucky or clever to survive.)

With your past exploits being noticed the acting ruler of Dilad has requested your presence. An envoy of the leader has met with you and asked you to investigate a growing issue. The city of Acre is in a large scale building operation but limestone from the quarry has stopped coming. Delays will be costly and the party has been asked to go to Fecknic and discover what the problem is. You can’t really disappoint the top dog of the nation can you?

Tieflings are raiding a dwarven expedition under a shield of magical darkness, but if the PCs can supply the dwarves with giant scarab beetles capable of generating potent bursts of magical light, they might just survive. Unfortunately, they'll need to escort the herd of giant beetles through the Underdark first. A D&D adventure for 3rd-level characters.

You don't know where - or what - you are. You wake up in a dungeon. But how did you get there, and why? This adventure is for a solo paladin character, on a quest to gain a war horse. The character is suffering from amnesia and believes him/herself to be a normal fighter to begin. The quest begins with the character in the middle of an adventure in a dungeon, but not remembering how they got there. After defeating several undead including an intelligent zombie leader, the paladin gains a magic stone to summon a paladin mount. Pgs. 28-35

The Haunted Hamlet and other hexes details four unique modular locations for your game. Made for old school essentials, but can easily be used with other old-school systems or even 5E. The four locations detailed in the zine focus on gameable content and being easy to use at the table. The locations are not connected to one another and can be sprinkled onto your campaign map however you like, or run as one shots. The PDF is graphic and art heavy and utilizes random tables and other tools to make it easier for GMs to run in a pinch. Details: 40 pages Single column text 8.5 x 5.5 aspect Black & White Bookmarks Four hex locations Random tables A rival NPC party A sky merchant A one page town Two hirelings

This side trek encounter challenges the heroes to recover a precious item from the lair of an evil hag. Estimated play time - 2 hours. This product contains a pair of encounters designed to challenge 4th level PCs. It also includes an extensive backstory, new monsters and new magic items to add to your campaign. The encounters are easily adapted to almost any campaign setting. The text includes optional changes that DMs may consider when running the adventure for their own campaigns. This side trek encounter is the final chapter of a three-part "Fey's Bargain" encounter series.

The ancient forest known as the Wildering Woods has a reputation for confounding those who dare venture through it. When a series of unusual events befall a nearby lumber camp, the player characters are asked to seek out a mysterious wizard rumored to reside within. As the adventure unfolds, it soon becomes apparent that big trouble awaits them inside the forest. What's included: 1 fanciful adventure divided into single-page sections for easy running 2 fully-colored maps with unlabeled versions for players (made with assets from 2-minute Tabletop) 3 custom creature statblocks with clickable links for quick access Content Warning: Violence, death, abduction around the Wildering Woods, a fey-inhabited forest whose residents are being terrorized by a delusional hill giant who believes he is a wizard.
A prescription for evil. The king's question is, "Do you make house calls?" To Cure a Kingdom is an adventure for ADnD, set in and around a small city state that is suffering from a deadly disease of magical origin. The party must set out into the swamps in search of a cure. Features monsters with psychic powers as well as extra-dimensional travel. Adventure may be connected to further Underdark adventures with relative ease. Pgs. 8-25
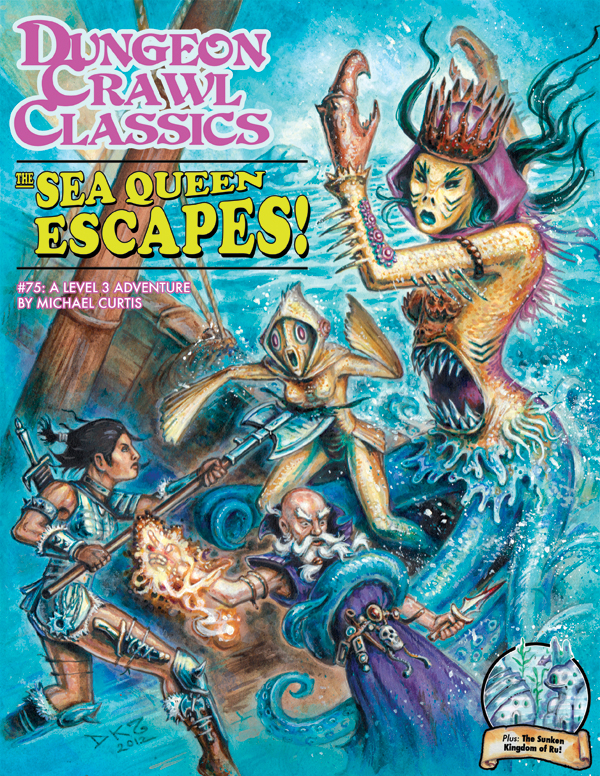
Evil lurks beneath the ocean! For years it has slumbered, but now it rises once again, threatening to wash over the surface world like a monstrous wave. Only a handful of stalwarts stand between the nefarious schemes of the deep and a world drowned in sorrows, but first they must navigate a wizard’s sanctum, a magical prison, and the most unusual dungeon they’ve ever faced! Can they stem the tide in time or will they lose themselves forever to the Sea Change curse?

Hanging out in the city of Acre has gotten mundane and the old adventuring itch is flaring up. Your fruitless search for jobs quickly changes as a farmer locates you. He indicates that he has a minor farming problem with a land shark that the party can deal with. Once this job is completed, the party is approached by more opportunities!
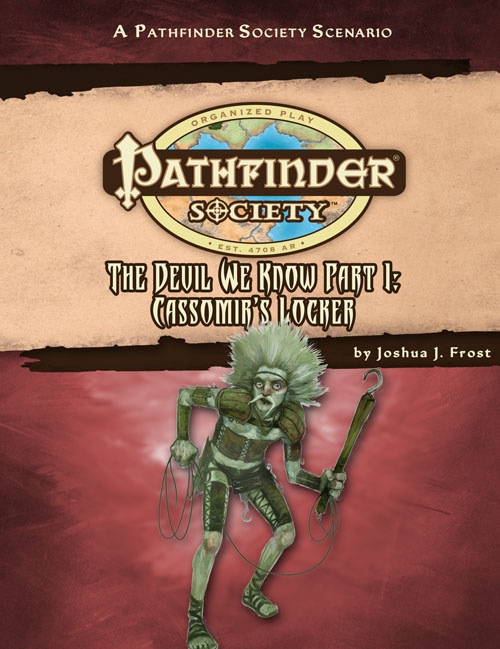
Part 2 of the "The Devil We Know" campaign arc. Cassomir's Locker is a Pathfinder Society Scenario designed for 1st to 7th level characters (Tiers: 1–2, 3–4, and 6–7). The Pathfinder Society dispatches you to the catacombs called Cassomir's Locker to find the source of a rat cult breeding monstrous vermin. After clearing Cassomir's dank sewers and delving into the dirty dungeons below, will you find the artifact that powers Cassomir's Locker or bring about the destruction of Taldor's most important port?
The 13th Circle is an epic battle with one of the archfiends of legend, the demon Baphomet. Designed for Tier 3-4 characters (levels 15-17) and set in the Dread Domain of Kachelior, the adventure requires the party to navigate the mysterious and maddening mazes that protect the demon's castle, and battle fiends of all kinds to reach his throne room. But will they discover the truth of his machinations? Word has spread through the small collection of towns within the Grey Shade that a cult of Baphomet has been preparing something for their master within his palace. The players will travel to Baphomet’s palace, and make their way through the massive forest maze that surrounds it. They will find the corpse of one of the previous heroes enshrined near the center which hints towards the true purpose of the cultists. They will then have to infiltrate the dread palace either stealthing or fighting their way through the defenses. They then must make it past Baphomet’s Lieutenant, Aphalos, the Godeater. The characters defeat Aphalos or persuade him to leave his master to his fate. Once they enter the chamber, Baphomet’s plan is made clear. He wishes to create a maze within time, thus trapping this world in the same cycle of pain and doom as before.

Dead of Winter is a 1st-level adventure It is designed as a side quest for Dungeons & Dragons 5th Edition As the adventurers are traveling a lengthy road between destinations, a bitter winter storm blows in. Lucky for them, there is a small roadside hamlet just ahead, where the party can take refuge from the harsh elements. The mood in the local tavern is grave, as this is a sad night for the villagers. It is the first anniversary of the murder of a town hero; A murder that was never resolved. Strange events begin as soon as the adventurers arrive and will lead them to clues which just may solve a year old murder and lay an anguished soul to rest.

Civil War Unrest. Turmoil. Rebellion. As above, so below - the cataclysmic events of the Wrath of the Immortals echo throughout the Hollow World setting. The Milenian Empire, with its classical Greek culture, has not escaped. Already the streets are un-safe, and the omens are getting worse... The emperor is dead... long live the emperor! But is the new emperor a man of the people, or a tool in the hands of malevolent powers? Walk carefully, for no stranger is safe upon the streets these days, and adventurers least of all! The mood of the capital city is turning ugly. Minions of the new emperor look on uncaring, while citizens disappear and philosophers fall to heedless mobs. The old emperor's elite guards are disbanded and scattered. Disorder reigns, and restless citizens threaten open revolt. And yet... a whisper is heard. Civil war can be averted. An ancient artifact, the Milenian Scepter, can rally those who would serve the Empire best. But the Scepter has been lost for generations, and who can say where it might be? The trail leads into the depths of the city, and across a dangerous wilderness to a forgotten oracle. For the lucky and the bold, perhaps it will lead to... THE MILENIAN SCEPTER This stand-alone adventure is compatible with the Wrath of the Immortals boxed set and the accessory HWR3, The Milenian Empire. You will need the D&D Hollow World boxed set to play this adventure. Easily adaptable to the AD&D game. TSR 9378

In this scenario, the adventurers pass through magical portals into a series of interlinked chambers. The characters are encouraged by a young scholarly mage to voyage into the Sea of Pastures, to explore a mysterious island connected with a number of recent shipwrecks and disappearances. The island is grassy and windblasted, but eventually the characters discover a stone door leading into a subterranean complex. There, they discover 18 rooms linked by secret passages and magical portals. Most of these rooms have been ransacked by a variety of other survivors, human and monstrous. These survivors are likewise trapped within the labyrinth and are either eking out a miserable existence there or else desperately searching for a means of escape. Also within the building are a number of extraplanar creatures, collectively known as gingwatzim, who can shift between various forms: an energy form (glowing ball of light), an inanimate form (usually a magical weapon), and an animate form (an animal or monster). Eventually the characters may find the exit, and are once again deposited on the dreary islands to await rescue. TSR 9110