
The small town of East Crystal Shores sits opposite the lake where Zombie Curse occurred. If the party participated in that adventure and the Crypt of Kendal Furfoot they will be quite familiar with the area. In the Filbar campaign this area was used as a go between for different adventures. This offering allows a safe haven for the party while still being close enough to excitement. Several small encounters are available just outside of town.
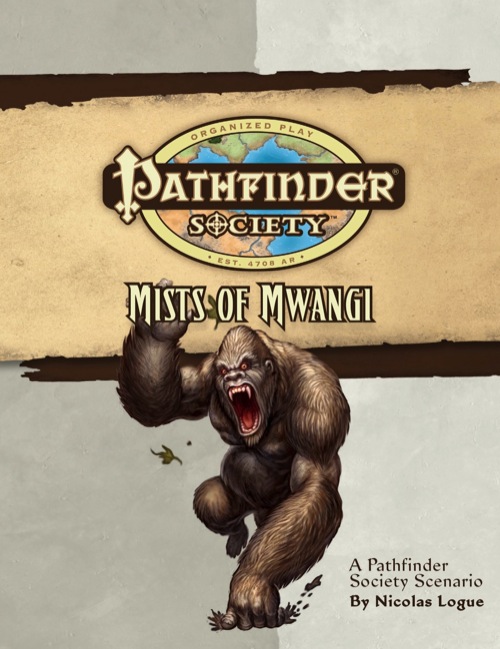
Pathfinder Lugizar Trantos recently returned from the Mwangi Expanse with haunted eyes and a pack full of strange idols. Absalom's famed Blakros Museum purchased his pieces and Lugizar vanished. The strange monkey idols he pulled from the misty jungles of Mwangi carry with them a fell curse, and now their power has laid claim to the museum. Can the Pathfinder Society uncover the source of the curse in time, or will the Blackros Museum be forever lost to the mists of Mwangi?

A scourge has recently fallen upon the house of Lord Gabiru Fuson as his family’s servants began disappearing, one slain in the street by a fallen hero known as the Scorpion Samurai in a widely-talked of murder that has sparked a wave of public dissent and ridicule. The dishonored adopted son of Lord Gabiru has evaded authorities for years but the tide of blood his sword washes onto Soburin is growing ever higher—the adventurers are called upon by the Fuson bengoshi Yukari Nishioka in secret, brought into service to strike down the murderous brigand in an ambush she has set on Shjiki Island. As they lay in wait however a local outcast brings information to light that reveals there may be other bait in the village of Shinjitsu… This exciting adventure (set in the Mists of Akuma campaign setting) begins in the snowy hideaway village of Yukinokyu where the PCs are approached with a curious message—orders delivered by a local Kizuato bengoshi's servant, hiding the authority of a Fuson Herbal Master's directives! The adventurers must sneak into the prefecture to the north, traveling through Hidaretei Pass where three dangerous ogres dwell. After reaching the town of Kakasu they are bid to meet the state functionary in a distant grove and are waylaid by an oni and its adeddo-oni retinue before clandestinely infiltrating the island-village of Shinjitsu. Once there they must bait and capture the Scorpion Samurai, stopping him and the dark ritual he has planned before the evil he unlocks transforms the fallen hero into an unstoppable monster! What you'll find in this fully-illustrated 33 page module: The story of Hinjuku Nagaro, dishonored orphan son and bloodsoaked warrior known as the Scorpion Samurai! A compelling and action-filled adventure in 3 acts that take the PCs across the continent of Soburin before upending a plan that might save one of the world's most powerful nobles from certain doom! Rules for the supernatural haze and two new attributes integral to Mists of Akuma: Dignity and Haitoku. More than a half dozen NPCs and monsters ranging from adeddo-oni to the deadly Scorpion Samurai and his duplicitous ally, a penanggalen! Five maps for every major encounter in Hidaretei Pass, Kakasu, the Fuson Forest, Shinjitsu, and Ikatteiru Cave!

The little fishing town of Saltmarsh is threatened! Why are lizard men gathering force nearby and why have they been buying large quantities of weapons? A party of bold adventurers must answer these questions or the people of salt marsh will never live in peace! Danger at Dunwater is the second part in a series of three modules designed and developed in the United Kingdom for beginning adventures with the AD&D rules. Its plot follows direct from that of the first part (Module U1 - The Sinister Secret of Saltmarsh.) TSR 9064

The residents of Castle Gealladh have been visited by an ominous banshee with a warning: “Leave or die”. Your adventuring company finds themselves drafted by a wizard named Milo Tenpenny and tasked with investigating the castle and ridding it of undead. In your investigation, you will find that there is more to this warning than it seems — and that something far worse than spirits haunt this castle.
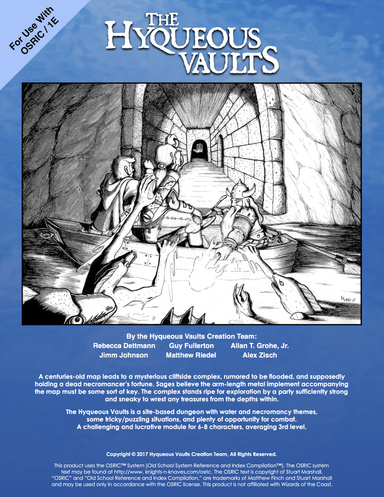
The Hyqueous Vaults is a site-based dungeon with water and necromancy themes, some tricky/puzzling situations, and plenty of opportunity for combat. A challenging and lucrative module for 6-8 characters, averaging 3rd level. A centuries-old map leads to a mysterious cliffside complex, rumored to be flooded, and supposedly holding a dead necromancer’s fortune. Sages believe the arm-length metal implement accompanying the map must be some sort of key. The complex stands ripe for exploration by a party sufficiently strong and sneaky to wrest any treasures from the depths within. Written in celebration of OSRIC’s 10th Birthday.

One of the original D&D classics, "The Isle of Dread" is a hex crawl wilderness adventure. It focuses on surviving primitive beasts, dinosaurs, and pirates while uncovering the mystery of the island's inland city, where a great treasure awaits. From the cover: "This module contains maps and background material for the Isle, fifteen new monsters, and suggestions for further adventures. In addition, The Isle of Dread contains a map and background information for a large continent, and eleven smaller maps for encounters on the island itself. In this module, players will push their way through dark jungles and treacherous swamps to discover the lost plateau, and the final secrets of - the Isle of Dread!" TSR 9043

Yegor Bonecruncher is the most ferocious hill giant in the land. When he begins terrorising the small village of Frickley, the inhabitants have only one hope - the legendary warrior, Jahia Giantslayer. The PCs undertake a dangerous trek through the High Forest to find her, battling wild fey magic all the way. But can Jahia live up to her own legend?

In "The Brazen Bull," whilst traversing one of the seedier neighbourhoods of Khromarium, your party are solicited by a greasy-haired Pict. He offers to sell you a sheaf of magical lotus that allows one to see the future or to brew potions that empower the imbiber with sorcery. He beckons you to follow Jeffrhim into a dilapidated building ...

Burial in Baldur's Gate is a 6-8 hour Dungeons & Dragons adventure for characters of levels 1-2, for use as an introduction to Baldur's Gate: Descent into Avernus or as a standalone module. A simple errand to help a friend reveals a mystery that will lead the characters to a grisly charnel house and the cults of the Dead Three. This is why you never do anybody a favor in Baldur's Gate. The adventure has everything you need to start a new campaign in Baldur's Gate, including: - a new adventure hook for Descent into Avernus - two short introductory dungeon crawls in the Lower City - notes for transitioning into Descent into Avernus - new motivations for characters to continue on to Avernus - four creature and NPC stat blocks, including the carrion crawler larva - a map pack with two maps by Dyson Logos Burial in Baldur's Gate also includes suggestions for combining this adventure with Escape from Elturel if you want to run a mixed party of characters from Baldur's Gate and Elturel.

A storm of unparalleled fury has been ravaging the peaks of the Earthspur Mountains for a tenday, and the Monastery of the Yellow Rose sits in its eye for now. Some monks have fled the monastery to the safety of Mulmaster and beseech you to convince their more obstinate brothers to retreat to the city before the eye of the storm shifts, and the monestary is in terrible danger. Can you brave the elements and convince the monks to escape?

Bracing for a terrible winter, the adventurers find themselves snow-locked in the desolate Archbarony of Blackmoor. Will they venture into the treacherous Land of Black Ice to rescue an enslaved people? Be sure to check out the sequel "The Clockwork Fortress" in Dungeon magazine #126. Pgs. 16-35

The PCs have traveled to the Nine Hells to confront an outpost of devils responsible for slave raids on their homeland. In this realm of burning ash and fire-streaked skies, the infernal legions prepare constantly for war. Pgs. 138-143

The battles of the Blood War have raged for longer than mortals have known life, the conflict's savagery and hatred fueling the dreams, desires and obsessions of the multiverse. One way or another, the war spills through all the layers of existence, and little escapes its influence. Some clashes have consequences that shake the Lower Planes. Others are far less meaningful - they're fought solely for the sake of violence and killing. "The Field of Nettles" is set in the aftermath of an especially pointless battle. The adventure rips the player characters from their comfortable lives and thrusts them into the Blood War full force. The goal is to cross one of the more infamous battlefields, seeing the scope and the power of the fighting - and hopefully coming away with a greater understanding of just how big the Blood War is. The adventure is designed for a party of 4-6 PCs of 5th-8th level. The characters don't get to save the multiverse, nor do they find the key to unlock the dark of any great secrets. But they might come to realize their importance (or lack of it) in the scheme of things. On the fickle borders of the planes, that can be worth almost as much.

A trap that perhaps works too well. No matter how much loot you take, you never took anything at all. Confused? Wait until you try this dungeon. The players are hired to investigate and clear a tomb of a time wizard. This tomb is heavily guarded both by creatures and traps, and some sages are concerned that the defenses are lasting longer than they were supposed to. Unknown to the sages, the wizard, Sur-in Am, bound a time elemental to guard the treasures of the tomb. This guardian's duty is to frustrate robbers by returning stolen items to their original place and also reset traps in the tomb. Pgs. 26-36

The party that has made their way along the causeway has arrived on the edge of the sea and has been summoned by the high priest. The party has been asked to help in a mission on Borsk Isle. The group will be providing security to the mountain temple as a relic is going there to be destroyed. The island is home to a variety of creatures, most of which will be aggressive…up for a challenge?

A fiend lurks among the Black Blade goblins. A shapeshifting barghest fashioned by the General of Gehenna to exact revenge on all goblin-kind. It’s aim: to kill as many goblin leaders as possible… A masked goblin approaches the party asking for help. Two tribe leaders are dead. But a rival for chief has control of the crime scene. Will the party discover the barghest among the goblin ranks? Can they stop this imposter before it strikes again? Adventure Overview The adventure’s story is spread over 4 parts and takes approximately 4 hours to play. The adventure begins with a Call to Action scene. Part 1: Goblin Politics. Krill sends his emissaries to implore help from any strong intermediary. The party is asked to investigate the murder of Thrawn in Dringly’s lair. This is Story Objective A. Part 2: The Opposition. Gain entry into Dringly’s lair and investigate the murder of Thrawn. Gather enough evidence to find the killer. This is Story Objective B. Part 3: To The Lair! Now that the players have determined the barghest (Yeep) is to blame, they need to get to Krill’s lair quickly as he is in imminent danger. This is Story Objective C. Part 4: The Barghest.When the players arrive at the lair, they need to get to Krill and expose and defeat the barghest. This is Story Objective D. Adventure Background A barghest named Yeep has begun its onslaught of attacks against the Black Blade goblins. Starting with Chief Gnar, then his second in command Thrawn, the barghest is moving methodically down the line of command. Krill is now chief. But he has some problems: Two leaders of the Black Blades are dead. Who killed them and why? Is he next? Dringly, the next in command, has decided to take his lair for himself, declaring himself Chief of the Black Blades. Who are the Black Blades? The Black Blades are a tribe of goblins in the local area. They are known for dipping their blades in a dark black substance. It is rumored these blades are poisonous. The Black Blades regularly attack passersby on the road to rob them. The Black Blades have two lairs, one run by a chief who leads the whole tribe, and another overseen by a boss lieutenant. The Black Blades have a well-established pecking order which is how Krill stands to become chief. The next in line is Dringly, who has also declared himself chief and wants Krill dead. Krill suspects that there is something suspicious about two leaders being killed within a day of each other, but he has already burned Gnar’s body without any investigation. He needs to investigate the body of Thrawn, but it is in Dringly’s lair. Krill wishes to avoid direct confrontation with Dringly at the present for three reasons: 1) Any violence would only kill his own tribe members and further divide the lairs. 2) He believes there is still hope for negotiation to reunite the Black Blades. 3) He believes that if he were to attempt negotiations himself, Dringly would kill him. This adventure features: Two maps. Ready for your favorite Virtual Tabletop. A full color pdf. A black and white pdf. One custom monster, a reprint of barghest, all others available in the Monster Manual. Four hours of entertainment involving: roll playing a goblin bard, investigating a murder scene, tracking down a barghest before it strikes again. Applicable to any setting.
Captain Brunswick’s Manor is a dark, dream-infused adventure where players unravel the mysteries of a haunted noble estate. As they navigate twisted corridors, confront eerie foes like the Dreamborne Wyvern and Auntie Sol, and face mind-bending trials in a nightmare-filled dream realm, the party must find a way to free Captain Brunswick and his daughter from their cursed slumber. With multiple routes through the manor and unique magical rewards, this adventure offers both intense combat and chilling roleplay. Boss Fights: Engage in memorable battles against Captain Brunswick, the Dreamborne Wyvern, and the malevolent Auntie Sol. Puzzle Encounters: Solve challenging trials that mix dream and reality, testing both wit and strength. Legendary Weapon: Unlock Tulva, the Tide Bringer, a powerful magic weapon that evolves with its wielder.

Wanderers emerge out of the desert in the dead of night, bending low against the driving sandstorm. They are adventurers, heroes whose tale has yet to begin. And they are in trouble. For he last three days, a raging sandstorm has harried you. Your faces and hands are rubbed raw by the driving sand. Worse, not once has the sun risen in that time: 3 days worth of unbroken night. Finally, something rises out of the yellow-black haze. A massive structure, outlined in moonlight. The heroes are TRAPPED in a cursed land, harried by sandstorms. They stumble apon a ruined city and a DARK TOMB that lies beneath. Can they find a way to escape this land? Or are they doomed to be drowned in the SORROW OF THE SAND LORD?
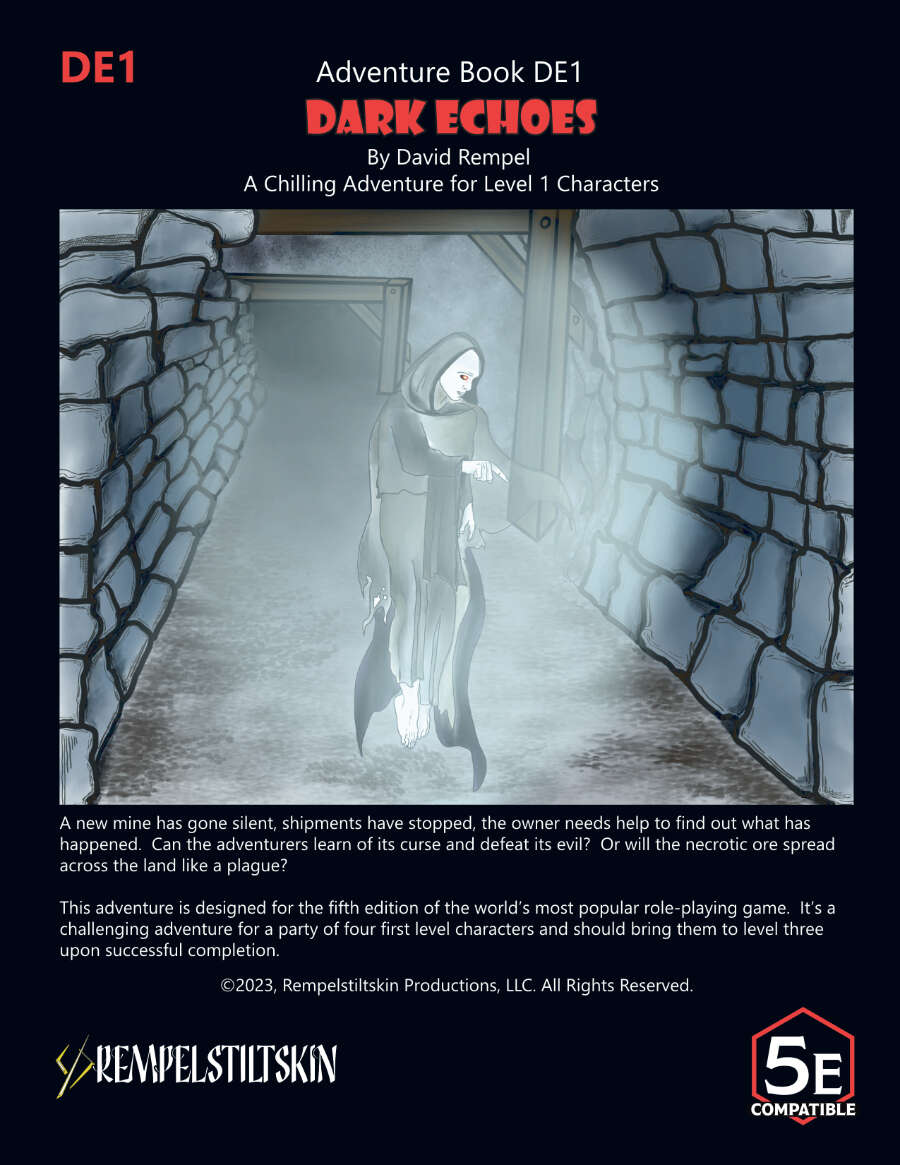
A centuries old evil has been cultivating an environmental disaster deep under the earth, waiting for the time when it will be unleashed on the world. A new mine has been created above and has broken the seal. The owner of the mine has lost contact with their foreman and shipments have stopped, and it’s up to an inexperienced but eager group of adventurers to investigate. This adventure is designed to present a challenge for a group of four veteran players using first level characters. While there are opportunities for roleplay scattered throughout, this adventure is heavy on the exploration and combat pillars of fifth edition. Death is a real and ever-present threat as they investigate the mine and the dangers below. Success and survival should bring them to the third level, and they may have found some treasure well worth the effort. So much so that they may become targets themselves from unscrupulous and more experienced NPCs. Written to be a seed for a larger campaign in any high fantasy setting, the outcome of this adventure could have world-changing consequences. It introduces a new and growing threat that, given enough encouragement, greed, time and apathy, could consume the world and beyond.