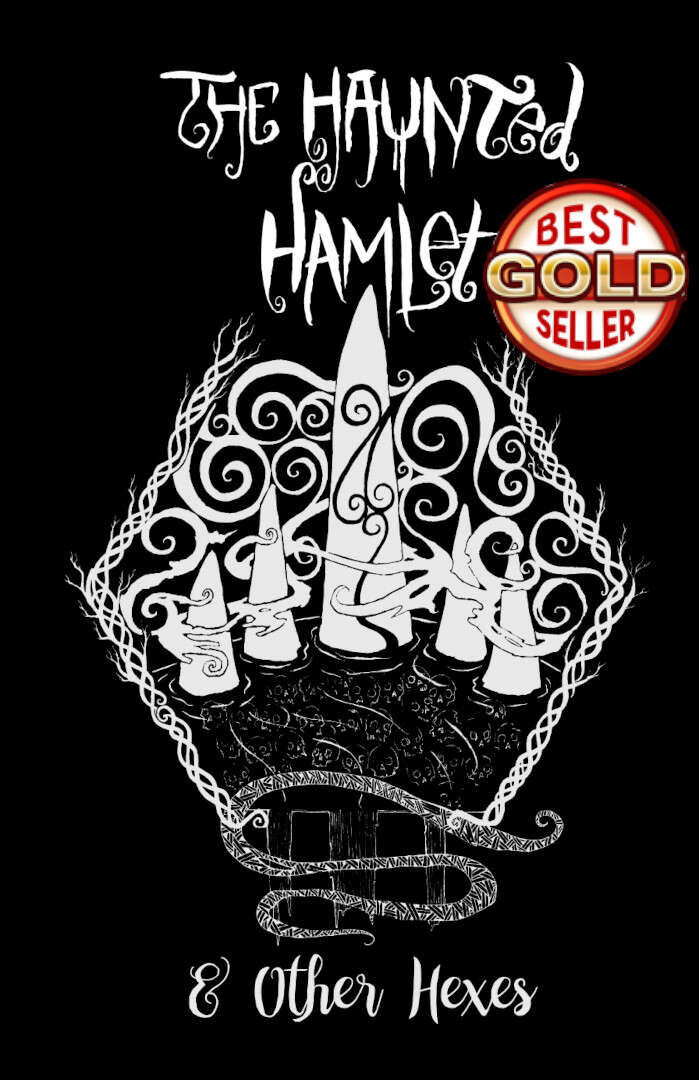
The Haunted Hamlet and other hexes details four unique modular locations for your game. Made for old school essentials, but can easily be used with other old-school systems or even 5E. The four locations detailed in the zine focus on gameable content and being easy to use at the table. The locations are not connected to one another and can be sprinkled onto your campaign map however you like, or run as one shots. The PDF is graphic and art heavy and utilizes random tables and other tools to make it easier for GMs to run in a pinch. Details: 40 pages Single column text 8.5 x 5.5 aspect Black & White Bookmarks Four hex locations Random tables A rival NPC party A sky merchant A one page town Two hirelings

It's the little things that count. Obnoxious little problems can easily become obnoxious big ones. Although designed as a companion to "Grakhirt's Lari" (which appeared in issue#1), a copy of that module is not required to enjoy this one. Pgs. 3-8

Barbarian legends tell of five magical blades of measureless power. The more civilized cultures of warmer climes believe these tales to be nothing more than delirious dreams of frost-bitten brains. "Those frozen louts- they're trying to scare respect out of us!" At least that's what they want to believe. Three of the legendary blades of Corusk have been unearthed, and their powers have proven to be all that the tales claimed. You have been given these to use in the quest for the remaining two blades. However, word has spread to the peoples of the neighboring areas, and two groups are working against you to prevent your securing these swords. Beware the Hold of the Stonefist and the Rovers of the Barren! Only so much time remains for you to locate the last two Blades of Corusk ... and your enemies are on the horizon. Find the blades, and reclaim your birthright of honor and respect; fail, and be outcast from your tribes for life. The choice is yours. TSR 9337

Blinsky's Toyshop is our take on what happens to Blinsky and Piccolo during, or after the Curse of Strahd campaign. Blinsky, the toymaker in Vallaki with the cute monkey wearing a pink tutu, received a large inheritance from a long-time client. The client, Obtavius Swat, a retired adventurer and avid collector of toys, left his entire estate to Blinsky. The estate included coin, precious gems, art, and his collection of toys, some made by Blinsky and others he acquired during his travels. Blinsky used the fortune to pay a wizard to create a small island in the middle of Lake Zarovich, located just outside of Vallaki. He then paid masons and workers to build a fantastic new toyshop, which he designed to be an experience for both the young and old alike. Though the number of children in Barovia was increasing, mostly imparted to the devil Strahd’s downfall, Blinsky wanted to touch the inner child of the adults in the city. He wanted happiness. He wanted smiles. He named the castle Blinsky’s Toyshop of Marvels. One of the toys, a small silver tiara kept in a black satin-lined ivory jewelry box, was such a lovely piece. Blinsky couldn’t stand the thought of leaving it in the box. He already had enough gold and losing the small tiara wouldn’t be a large loss, so he decided to give it to his monkey – Piccolo (see Creatures of the Toyshop). He smiled at the thought of her running around in her pretty, shiny tiara. Sadly, as Barovian luck would have it, trapped inside the tiara is the sole of an evil gnome wizard named Aribetha Strangge. In his old age, Obtavious Swat forgot that he and his fellow adventurers used the tiara to imprison the gnome’s soul. Yesterday, when Blinsky placed the tiara on Piccolo’s head, silver tendrils cascaded from the tiara and into poor Piccolo’s skull, allowing Aribetha to control the monkey. Now, Aribetha has incapacitated Blinsky in the toyshop’s tower, brought many of the toys to life, and imprisoned or killed many of the workers and customers. The adventure includes costumes (which the character may wear), Strahd Hand Puppets, and a possessed Piccolo.

The player characters are part of a local militia that is investigating a series of werewolf attacks on local villages. Forced by a winter storm to seek refuge in the village of Moondale, the PCs find themselves trapped with the murderous beast, and must determine the werewolf's true identity before they become its next victims. TSR 9336
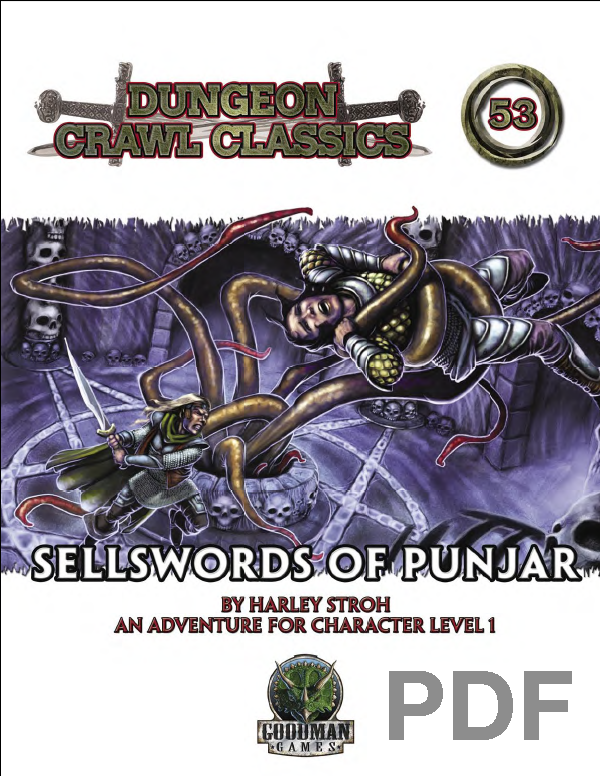
Deep within the heart of the slums, in the rat-ridden city of Punjar, the Beggar-King weaves his plots. Unearthing rites best left forgotten and offering up sacrifices to the loathsome Lords of Shade, the Beggar-King’s ambitions threaten to unleash a horde of shadow-horrors upon Punjar’s huddled masses. You and your fellow companions must bring the reign of the Beggar-King to an end. Your quest will take you from the rooftops of Punjar to its filthiest alleys, and beneath the streets of Punjar to the fetid heart of the city, where even the bravest of sellswords will tremble before the fell secrets of the Beggar-King of Punjar. An introductory adventure designed specifically for first level characters, Sellswords of Punjar is an urban Dungeon Crawl Classic unlike any other. It includes a full-color double-sided battle map to allow your characters to fully experience the perils of Punjar! This stand-alone adventure can also be used to launch a campaign in the epic fantasy world of Áereth.

Dutch "Boss" Tillinghast, leader of the Sea Lord's Guard, is as corrupt as he is powerful. When his disloyal and understaffed Guard fail to capture a magic-using thief, Tillinghast turns to mercenaries--i.e., the PCs. "Thieves and Liars" is a short "interlude" adventure designed to be played between Terror in Freeport and Madness in Freeport.

Vampires in service to Shar, the Mistress of Night, are somewhere in Vanrakdoom. You must locate them without drawing the attention of the other residents of this dangerous place. Part Two of the Undying Threat trilogy. A 4-6 Hour Adventure for Tier 3 Characters. Optimized For: APL 13

A new threat preys on the local trade road. Rumored to have ties to the legendary undead wizards, Vecna and Acererak, Geoff the Dread Tailor has awakened to garner his revenge on the living. A group of stalwart heroes must arise to put an end to the Dread Tailor’s depravations or all will be lost. This adventure includes: a small village of friendly allies, an optional haunted ruin to discover, an entire lair of creatures (with map!) to explore, three new magic items, two new monster descriptions, interactive document links, and more fun than a bag of scorpions (don't ask)!
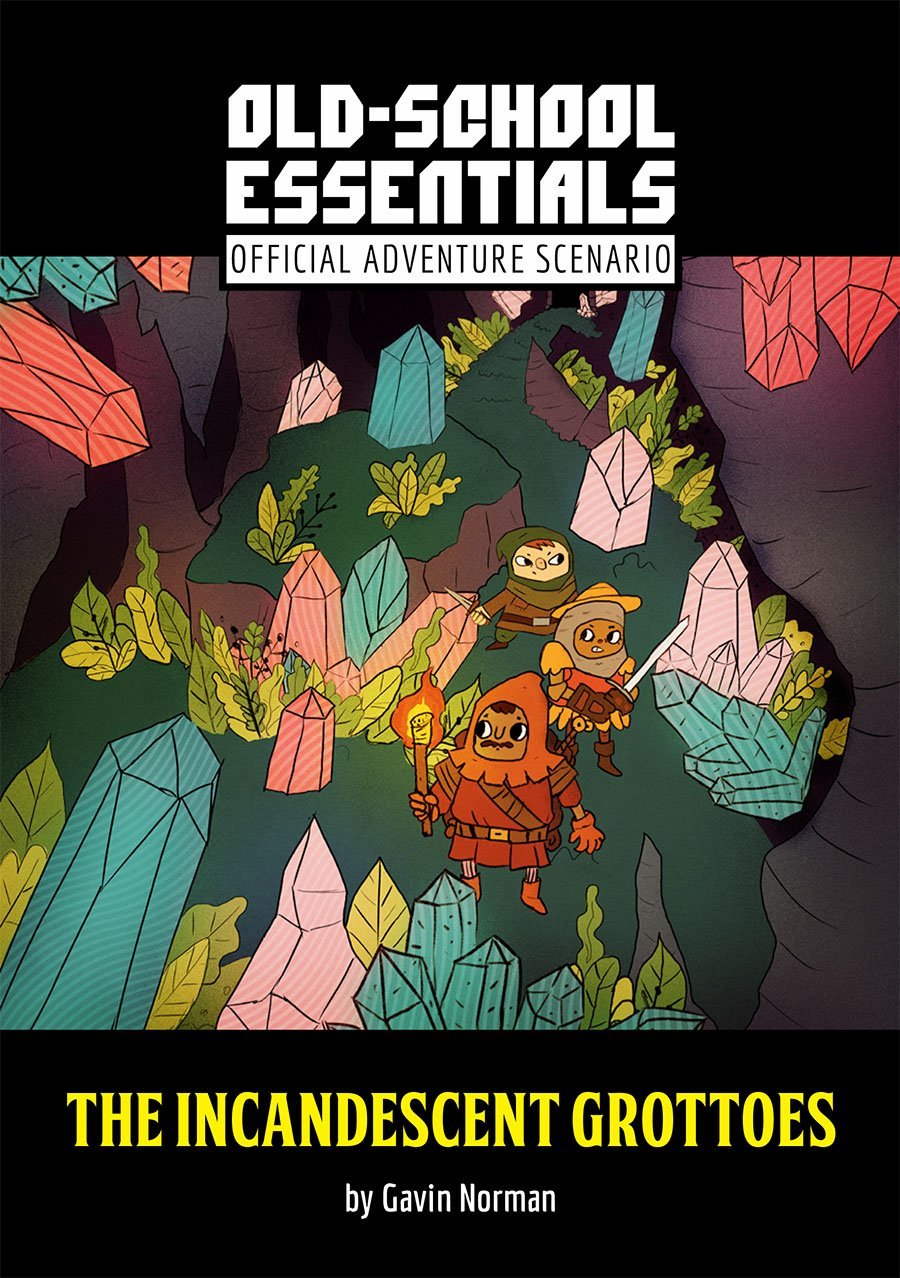
A bubbling stream cascades into a hole in the earth, leading to a series of underground watercourses and scintillating grottoes. Adventurers who delve within may discover odd mosses and fungi, a ruined temple complex, and the lair of a crystal-eating dream dragon.

It's feeding time at the zoo and you could be the main course! Raven Aldritch, mysterious and beautiful, runs the Aldritch Research Centre and Zoo for her father, a powerful mage. He enjoys turning dangerous creatures into terrifying monstrosities. But daddy is away and the magical shields that hold the creatures in their enclosures have failed. These monsters are rampaging through the research centre endangering the lives of the innocent workers. Raven desperately needs help to regain control, and she’s willing to pay the right group of adventurers handsomely. Will you come to her rescue? An adventure for the world’s greatest roleplaying game. Fifth edition compatible. A one-shot for a party of Level 3 adventurers

Nobody complained when the raids by goblins stopped. Until word got around that the monsters had been slain by other monsters! Our heroes have been sent to investigate and remove any remaining threat. Published by Fortiter Games.

In PS1 - Barrow of the Culder, your newfound companions were offered a paying job as adventurers. With your victory complete it is now time to get paid. The only problem is that your benefactors are not in Merrydale, they are in Upton. With a payday in sight you head out on the Highway to Upton. As an ancient sage once said “It’s not about the destination, it’s about the journey” In this case the journey is going to be the adventure!

In this prelude to the full Princes of the Apocalypse campaign book, adventurers face off against the influence of Elemental Cultists in the hills and canyons of the Dessarin Valley. The four mini-adventures within are only tangentially related to each-other, and instead serve as starting points and hooks for the plots of the complete Princes of the Apocalypse Campaign. Players start in the well-described town of Red Larch; first investigating a local necromancer, then uncovering cult influences within the town, and finally heading off to infiltrate or do battle with two small elemental cultist strongholds. All parts of this adventure can serve as great places to seed hooks for other campaigns.
For hundreds of years, Aknar Ratalla's tomb remained undisturbed, the Black Blade safely hidden within its vaults. Can a band of adventurers use the tomb's guardians and traps to keep it that way? Long ago, Aknar Ratella brought pain and desolation down upon the land. His reign of ruin was finally ended by an unlikely alliance of the forces of law: a band of devils and devas slew the warlord but were unable to destroy his dangerous weapons and relics. They chose instead to hide these potent artifacts of evil in a remote tomb, selecting a devil and a deva to stand guard over the tomb for the rest of time. For many centuries, the tomb stood unspoiled... but now, a new player has entered the scene. After infiltrating the tomb themselves, a band of adventurers must become its guardians and use its denizens and traps to prevent a monstrous gnoll chieftain from claiming the deadly artifacts hidden within for his own nefarious glory. Pgs. 58-80

Prince Zeech, the ruler of the town of Alhaster and lord of the domain of Redhand, is throwing a party. Bandits, slavers, pirates, and worse have been invited, along with a mysterious woman who holds the key to the coming apocalypse. "The Prince of Redhand" is the eighth installment of the Age of Worms Adventure Path, a complete campaign consisting of 12 adventures, several "Backdrop" articles to help Dungeon masters run the series, and a handful of poster maps of key locations. For additional aid in running this campaign, check out Dragon's monthly "Worm Food" articles, a series that provides additional materials to help players survive this campaign. Issue #340 of Dragon presents guidelines for what the PCs can do to dress to impress, and perhaps eke out a few precious bonuses on their Diplomacy checks. Pgs. 48-79

Haedirn Lastlight is a respected elven wizard and sage. After the death of his lover Lyonthel, the elf has been overcome with grief and has locked himself away in his study- a small manor on the cliffs of Wailing Crag. Haedirn has not been seen for over a year now, and those that knew him are beginning to worry. Worse still, a band of ogres has been terrorizing the nearby town, slaughtering the town folk and haughtily boasting the elf wizard is dead. The PCs must put a stop to the ogres' attacks, make way to Wailing Crag to root out the rest of their gang, and lay Haedirn Lastlight's tortured remains to rest.
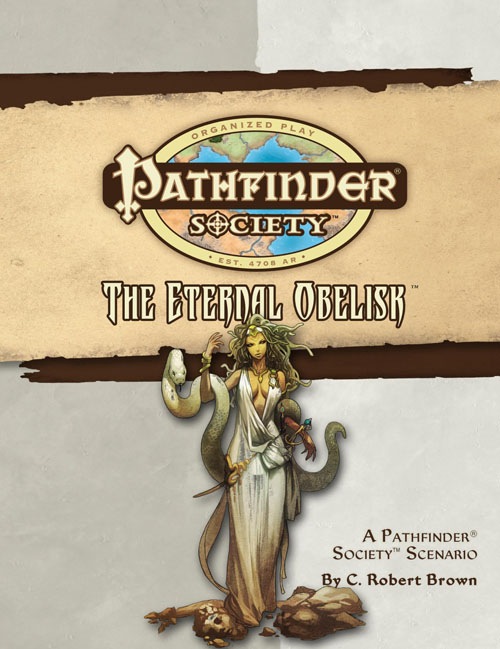
When the Pathfinder-obsessed daughter of one Qadira's most powerful trade princes goes missing trying to impress the Society, her father angrily demands the Pathfinders track her down or face expulsion from Katheer. Tracking the missing princess leads you to an underground complex filled with traps, tricks, and a creature so powerful, she's lived for a thousand years. Can you save the princess and uncover the power of the Eternal Obelisk?

Rumors of a rampaging sea monster have ground shipping traffic to a halt in the harbor. The players discover that the Jade Lionhas gone missing near Skyhorn Lighthouse and learn they must brave the open seas and cutthroat enemies in order to save the crew from a murky fate! The Secrets of Skyhorn Lighthouse is an adventure for 5th-level characters. It includes: Four new monsters: eelfolk, eelfolk hunter, eelfolk scourge, and eelfolk stormcaller Negotiations with pirates, underwater combat, and shark attacks! A carefully crafted format to make running the adventure easy and customizable Combat cards for each monster, PC, and special treasure Digital maps for use with Virtual Table Tops
At Death’s Door is a dungeon crawl that takes place almost entirely in the upper chambers of the Lair of the Keeper. This lair belongs to an ancient dracolich that perhaps styles themselves after the legends of the Keeper, or perhaps even inspired them. Stormhome. The player characters are called to the home city of House Lyrandar to meet with Guild Handler Lhara regarding their quest for an artifact tethered to Dolurrh, the Realm of the Dead. The Descent. Traveling by airship over the horrors of the Demon Wastes, the party descends into a vast canyon to find the Lair of the Keeper. After agreeing on a pickup point, the party skydives into the hellish landscape and hides to avoid the notice of a would-be god, then explores the surrounding area. The Lair of the Keeper. The bulk of the adventure takes place in the upper chambers of a dracolich’s lair in a manifest zone tied to Dolurrh, the Realm of the Dead. Surviving the horrors of this place is the main challenge of the adventure. The Ghaash’kala. There is one last challenge standing between the players and their escape to the airship. The orc tribes called the Ghaash’kala consider it their holy duty to protect the rest of the world from the horrors of the Demon Wastes. They will attempt to stop anything from escaping the Wastes, unfortunately including our heroes.