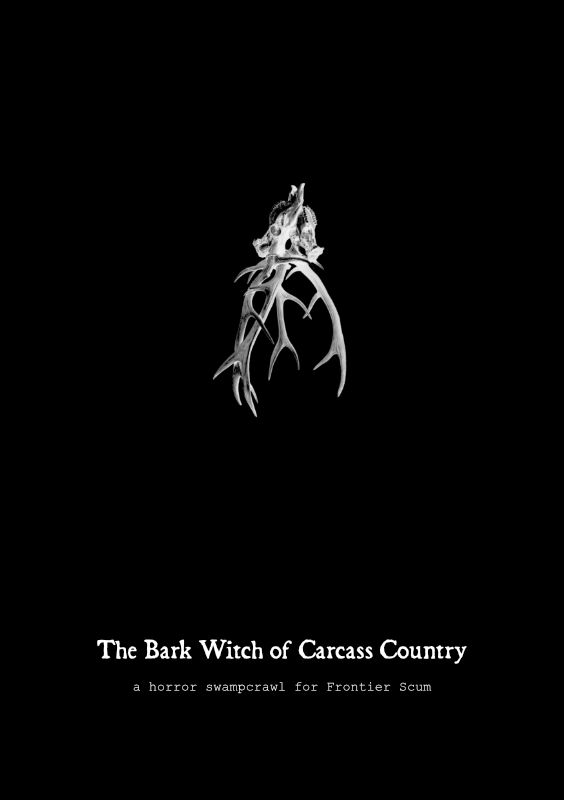
The Bark Witch of Carcass Country is a procedural pointcrawl for FRONTIER SCUM. It consists of tables encompassing: Adventure hooks to lure scum to the swamp Antagonist motivation to add depth and guide the story Locations that provide (un)safe spaces for PCs Exploration via an overloaded, exploding encounter table that escalates the plot Mundane and strange creatures with full stat blocks Signs of the Bark Witch to sow dread and chaos The module can be run purely randomly, as a pick-and-choose toolkit, or anywhere in between. Depending on the rolls and approach, it works as a one-shot or a multi-session adventure. The Bark Witch of Carcass Country is an independent production by Walton Wood and is not affiliated with Den of Druids. It is published under the FRONTIER SCUM Third-Party License. FRONTIER SCUM is copyright Den of Druids

A political wedding is threatening a major source of income for the Thieves Guild Ebonclad. Ebonclad would like to see the affair disrupted and the couple never wed. Such a job may be risky, and its outcome could very well start a war if done poorly or without subtlety. That’s why a team of promising agents has been assigned to handle it. The mission’s goal is to disrupt the upcoming wedding of Camilla Swain and Le’Nal Beshiin, to ensure Ebonclad keeps a revenue stream open that their marriage would surely close. The caveat is, neither the bride nor the groom are to be harmed. This will mean the party will have to come up with a method to disrupt the wedding as it’s happening, while avoiding suspicion. As a bonus, the party members can rob wealthy guests or steal wedding presents. The mission is open-ended, giving the players full reign to decide how they will work towards a successful outcome. It lets you work to guide player decisions based on the information presented here, or improvise results based on the players’ actions.
/pic5652045.jpg)
Deep within the dark recesses of the Tomb of Nihalar, the final resting place of elven kings, the weapon of the wood elves of Imfe Aiqua stirs. Two individuals are drawn to the weapon—but only one can accept it. Who will take up the glaive of the revenant king and become the ruler of the forgotten elven city? Glaive of the Revenant King is a 3rd-level Fifth Edition adventure for 3-5 characters. Characters who survive the adventure should reach the 4th level by the adventure's conclusion. This is the major side quest in the Hand of Eight adventure path. It can be played as the kickoff for the larger adventure setting or as a one-shot adventure for your players. The campaign is intended to be set in the DMDave crowdsourced campaign world of Omeria. However, it can just as easily be inserted into any other mysterious, untamed wilderness. The adventure is written by renown Fifth Edition author, DMDave Hamrick. It's 40 pages of fast-paced fantasy adventure that includes zombie hordes, horrible monsters in dark forests, battles with orcs, and tombs filled with dangerous traps.
A very big problem from a very small source. Pay the toll or feed the troll' seems pretty obvious. Too bad that it isn't. A tricky gnome has used illusions to fleece anyone crossing a bridge, posing as a fearsome troll. To direct more traffic across his bridge, he has also set fire to the Great Bridge downstream. The players find the Great Bridge burned and follow this detour. At the bridge, the players will fight with the illusory troll. After a few rounds, it flees back to the gnome's lair under the bridge, and the players will need to deal with a combination of the gnome and his traps if they investigate. Pgs. 22,23 & 69
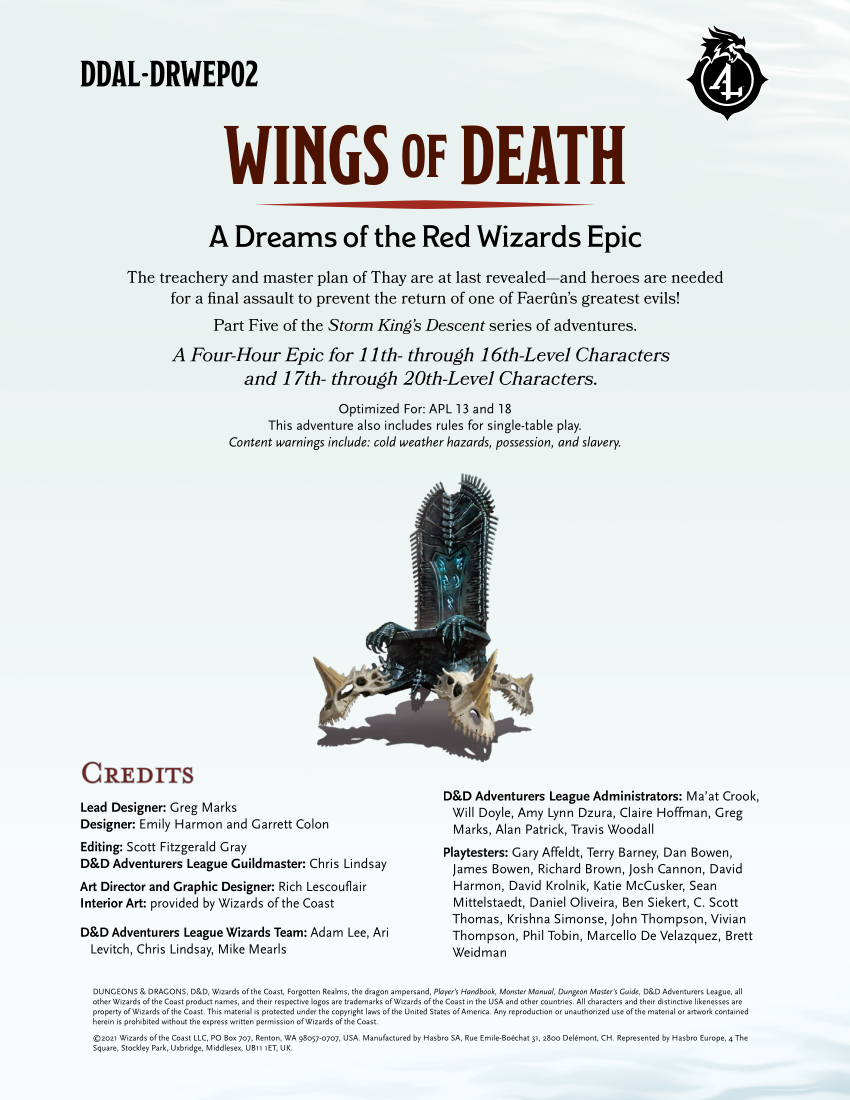
A Dreams of the Red Wizards Epic The treachery and master plan of Thay are at last revealed—and heroes are needed for a final assault to prevent the return of one of Faerûn’s greatest evils! Part Five of the Storm King’s Descent series of adventures. A Four-Hour Epic for 11th- through 16th-Level Characters and 17th- through 20th-Level Characters. Optimized For: APL 13 and 18 This adventure also includes rules for single-table play. Content warnings include: cold weather hazards, possession, and slavery
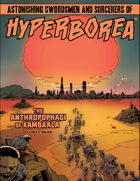
Ancient port city on the edge of a desert. The city is stratified by social class and some of the slaves have formed a cannibal cult to Kthulhu. City + hexcrawl + dungeon. The Anthropophagi of Xambaala™ takes players into an action-packed realm of adventure: the mythical world of Hyperborea, a sword-and-sorcery campaign setting inspired by the fantastic fiction of Robert E. Howard, H.P. Lovecraft, Clark Ashton Smith, and others. This adventure is inspired by Robert E. Howard’s “The Man-Eaters of Zamboula” and by various short tales of H.P. Lovecraft and Clark Ashton Smith. It is designed for use with Astonishing Swordsmen & Sorcerers of Hyperborea ™(AS&SH™), a role-playing game descended from the original 1974 fantasy wargame and miniatures campaign rules as conceived by E. Gary Gygax and Dave Arneson. AS&SH is compatible with most traditional fantasy role-playing games (c. 1974 to 1999) and their modern simulacra, such as OSRIC™ and Swords & Wizardry™. This work is both a setting and an adventure. The setting describes the town of Xambaala, noting key people, locations, and local lore. The adventure proper provides players with a variety of environments and the several factions fighting over them for their own goals. With a bit of skill and luck, stalwart adventurers may emerge richer and maybe wiser. The situation that will develop in Xambaala will be determined by the players’ choices.
In the dark days of the Chaos War, a band of heroes sets forth to recover the famed Chaos Reaver - a sword said to possess the power to banish creatures of Chaos from the land. Converted to 3.5e from the original SAGA version published in Polyhedron UK #7 (1999).
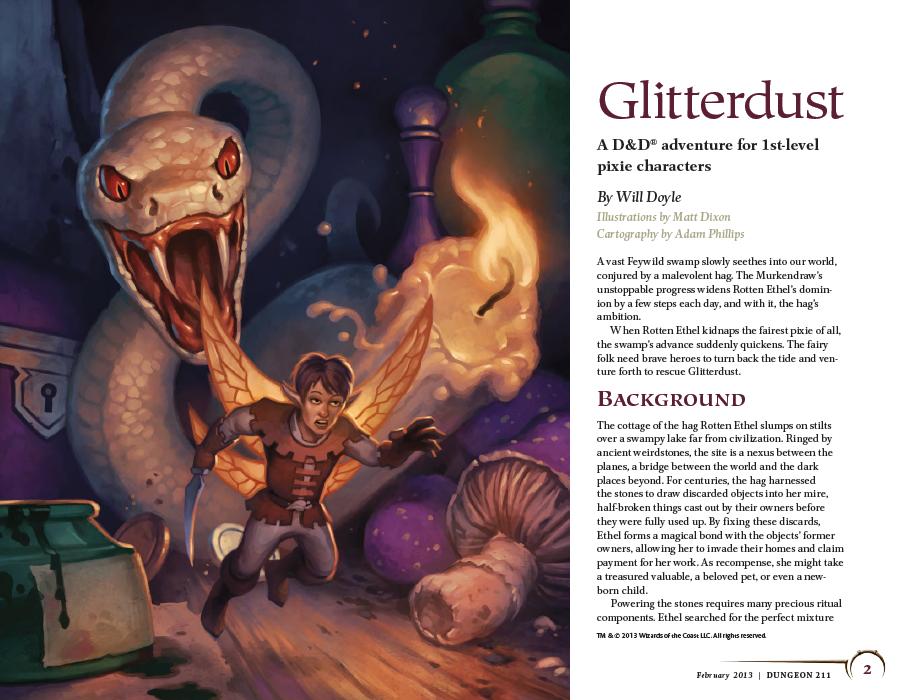
A vast Feywild swamp slowly seethes into the mortal world, conjured by a malevolent hag. The Murkendraw's unstoppable progress widens Rotten Ethel's dominion by a few steps each day, and with it, the hag's ambition. When Rotten Ethel kidnaps the fairest pixie of all, the swamp's advance suddenly quickens. The fairy folk need brave heroes to turn back the tide and venture forth to rescue Glitterdust.

When the adventurers are tasked with destroying a symbol of Demogorgon, they end up falling foul of the great mage Mordenkainen himself – or at least a simulacrum of him. Will they agree to help maintain the great Balance of the Blood War, even if means sacrificing innocent lives in the process?

Your party has just spent the better part of the day travelling in dismal weather and you've just located an appropriate place to camp when, out of the drizzle filled sunset, the terrifying screams of a woman can be heard through the patter of rain through the trees. Great! You're cold, miserable, and now you have the moralistic compulsion to investigate and render assistance to a damsel in distress. What you don't realize is that morals and damsels always means more trouble than what you may be willing to pay. Will your party survive long enough to see the dawn through the Screams at Sunset?

Aumvor is aware of the intruders and sends a warning with a powerful fire ball. Satisfied that the party has lost interest, Aumvor returns to his vault where he can safely leave his remains and travel the planes in search of greater power. Perhaps the PCs that survive the blast may have the upper hand. Growing closer to the final chapter, the party of adventurers will find that the only way out is into the tank for a swim. Aumvor the Undying has hidden here in this dungeon for centuries, waiting for his chance to resurface as the emperor of Netheril. The time has passed slowly and Aumvor’s powers are waning. He has hidden phylacteries well, but what use will they be if he has no vessel I which to dwell. Aumvor makes a final effort to kill the party before returning to his vault to wait in ambush for them. In “𝐏𝐚𝐫𝐭 𝟓 The Lower Tower”, you will find the secret at the bottom of the tower, 16 exciting and deadly encounters, and a lot of zombies floating in cadaver soup. Ever fight zombies while swimming and dodging specters? Here is your opportunity. Also coming soon, Roll 20 Map Pack for The Tower of Bondage.

Villagers have gone missing! A mix of clues, superstitions, and omens point to the brooding citadel of the emerald sorcerer. This silent monolith has sat undisturbed atop a windy ridge for centuries. Legends say that a green-skinned sorcerer dwells there, where he conducts strange experiments and builds enigmatic machinery. His green-skinned constructs patrol the grounds of his citadel, and he is seen only rarely when he ventures out on nefarious errands that end in horrid screams and strange lights coming from his citadel. Now it is time to penetrate his inner sanctum…

All of the Treasure, None of the Traps is an adventure that includes a single gauntlet of traps that contains twelve traps; meaning that it has either one or twelve encounters. The adventure consists of a long, twisting corridor with all of the traps set off, but these traps are reset by the PCs when they reach the center of the area. Pgs. 32-34

Just when you thought it was safe to take a long rest. She's Back! The terrifying SEQUEL to the PLATINUM bestselling, and Dragon+ Magazine featured horror adventure: The Haunt. The Haunt 2 is both a one-shot, and a sequel that can be run as either. Long, long ago St. Greycastle’s Hospital served the city through the years, mainly treating the wounded and sick among the militia. Over time, the lower basement was converted into a sanatorium, housing those who became maddened from enduring the violent, brutal orcs raids which plagued the region during that time. This was the place where Gertrude, the night hag, tormented patients, and created her masterpiece, the Evil Doll. Now, after all of these years, Montarthas Manor has finally fallen, and the Evil Doll has been wounded. She has returned to the only familiar and safe place she remembers, to lick her wounds and plot her next move. Her presence in the hospital awakens the evil inside, creating a nightmarish charnel house of terror. In addition, the hospital itself feeds on fear. Do your players have what it takes to enter the haunted and evil hospital, to finally end the haunt and terror of the Evil Doll?! Published by P.B. Publishing.
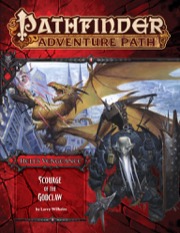
Now bound to Queen Abrogail by infernal contracts, the villainous adventurers are tasked with destroying the Glorious Reclamation's headquarters in the former citadel of the Hellknight Order of the Godclaw, where they face a gold dragon ally of Iomedae herself! Only if they can survive the terrible onslaught of this fearsome foe and secure the citadel from the revolutionaries can the vile characters succeed at their quest—to perform an evil ritual, using the dragon's head to craft a legendary weapon capable of defeating the Glorious Reclamation's army of valorous knights once and for all.

Mother Haggle is an elderly crone who runs a Lost & Found Emporium on the edge of the Misty Forest. The old lady pays her mercenaries well, and attracts all kinds of talent to send on her various errands. Mother Haggle doesn't deal in world shaking problems, but it's uncanny how often simple tasks like "fetch that cow" or "bring me a boggle" end in embarrassment, grievous injury or death. As she always says, it really can't be helped. Using the streamlined Plausible Complications and Unlikely Disasters layout, Mother Haggle's adventures are one-sheet wonders ready to pick up and play with groups of the specified level. Mother Haggle wants her cow back. It seems to get lost a lot, but she doesn't care how much she has to spend as long as her darling gets home safe. Included in Mother Haggles's Notice Board - The Missing Cow are six standalone bovine adventure seeds in which Mother Haggle's cow needs rescuing. She should really keep that cow in a better pen, or lock the gate or something, but who needs common sense when you have money and mercenaries?
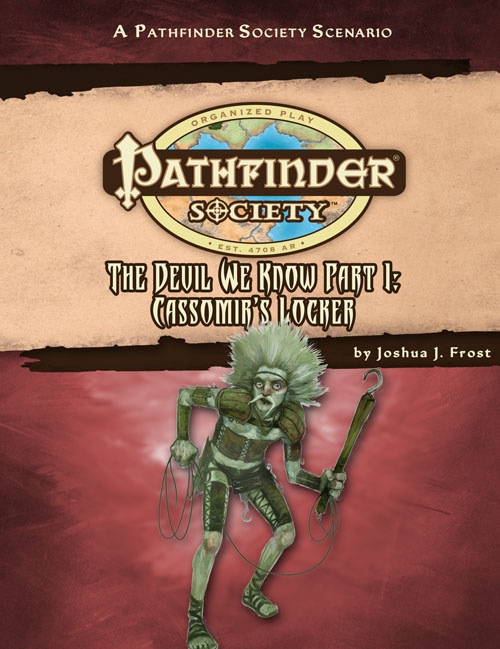
Part 2 of the "The Devil We Know" campaign arc. Cassomir's Locker is a Pathfinder Society Scenario designed for 1st to 7th level characters (Tiers: 1–2, 3–4, and 6–7). The Pathfinder Society dispatches you to the catacombs called Cassomir's Locker to find the source of a rat cult breeding monstrous vermin. After clearing Cassomir's dank sewers and delving into the dirty dungeons below, will you find the artifact that powers Cassomir's Locker or bring about the destruction of Taldor's most important port?

Summoned from across the multiverse, a small group of heroes must enter an ancient pyramid and prevent the Elder God Nyarlathotep's return to power. A Lovecraft-themed oneshot.
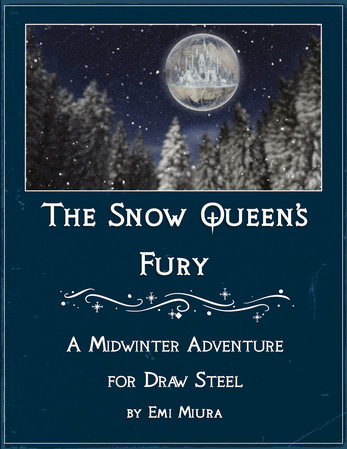
A midwinter adventure for Draw Steel. Battle dangerous ice monsters, explore a strange fey realm, and negotiate with a powerful archfey to save a village from endless winter! This one-shot takes about 3 to 4 hours to complete and is balanced for three to six 1st-level heroes. Includes notes on how to adjust for a shorter session length or for higher-level heroes (up to level 8). Heroes can earn up to 3 victories. The Snow Queen's Fury is designed to introduce players to the core mechanics of Draw Steel—basic power rolls, combat, negotiation, and montages—in an easily digestible order. It's a great beginner one-shot, but would also work well as a seasonal interlude for an ongoing campaign. The adventure includes: - a charming midwinter festival with plenty of roleplay opportunities - one combat - one negotiation - one montage And your files will include: - battlemaps for all combat encounters (including a Christmas variant) - a reference map for the director - custom statblocks (including malice abilities!) for new ice-themed monsters - a PDF version and an Obsidian vault version of the adventure, for easy reference mid-session - a bonus level 10 solo statblock for the Snow Queen herself, just in case your heroes decide to do something really foolish
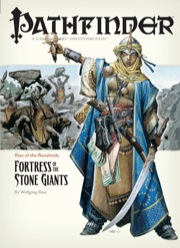
The Giants are on the March! The Rise of the Runelords Adventure Path continues! Driven to battle by a maniacal warlord, the once-peaceful stone giants of the Storval Plateau threaten to destroy the sleepy town of Sandpoint. Will fast action and quick wits be enough to save the defenseless community? Yet, even if the giants' initial raid can be repelled, only by striking at the heart of their titanic war machine—the black-towered fortress of Jorgenfist—can the menace be quelled. But who knows what mysterious bloodlust spurs the usually peaceful giants to war, or what mysteries lie beneath their ancient fortress?