
Kidnapped! The cursed Baron von Hendriks has kidnapped your betrothed. Now the madman wants as a ransom your Alandah's weight in unrefined gold! How are you going to pay? The baron himself has been kind enough to provide you with that answer: streams of raw gold gush from a burning mountain somewhere in the Sea of Dread. All you have to do is find this mysterious mountain. Unfurl the sails! The open sea awaits you and your crew as you sail from the city harbor. But beware! The Sea of Dread has more than earned its title over the centuries. Can you survive the perils of the sea? Will your crew mutiny before you reach the Burning Mountain? Or will you have to throw crew-members overboard just to make room for the gold? Solo adventure. "Lathan's Gold" is a real innovation in solo adventure design, considerably more complex than any of the gamebooks then being produced. Though the adventures uses the typical trope of numbered paragraphs, its paragraphs are divided into six types: "S"pecularum, "U"rban", Island "E"xploration", "C"oastal", "T"rade Routes, and "V"oyages. Players can jump between the sections, then return, in slightly freeform ways. Players are also required to keep track of hit points, money, and treasure (which were typical for the more advanced gamebooks), and rations, days remaining, and hull points (which were not). Another freeform element, quite unusual for gamebooks, is the "wandering monsters" table, which introduces semi-random encounters. TSR 9082
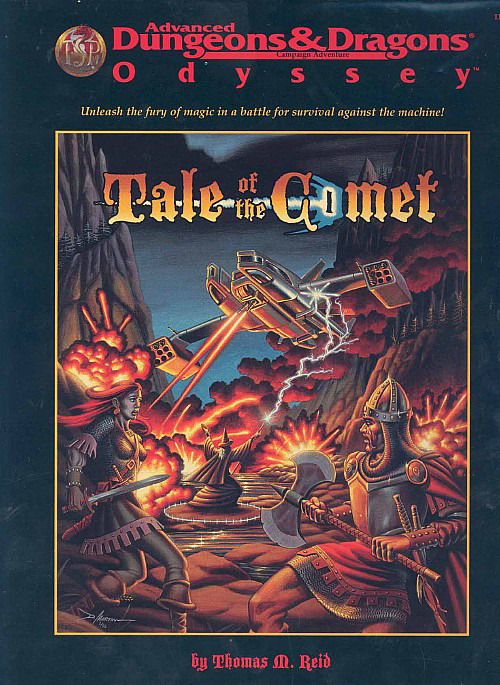
Strange lights in the sky, prophecies of doom, and a threat unlike any other draw the heroes to Aston Point. In this small frontier town, the fate of the world will be decided. If the heroes and their strange new allies defeat the invaders, they must then pass through a portal to another battleground, a metal city on a far-distant world, where aliens fight desperately against death machines that threaten to overwhelm all organic life. So trade in your sword for a blaster rifle, your sling stones for a few high-explosive grenades, and see what happens when you mix magic with high technology. This box contains A 32-page book, The Cast and Props, describing new, high-tech equipment, detailing the battleground of the Rael-Overseer war, and explaining how to mix fantasy and science under the AD&D game system. Two 64-page books, The Tale Begins and Crossing Over, presenting the grand adventure that is the Tale of the Comet. Eight sheets of charts, maps, art, and statistics for the players and the DM. Two posters, one a double-sided map of the regions where the action takes place and the other an illustration of all the technological terrors the heroes will have to face in the course of the adventure. TSR 1143, From 1997

Somewhere under a lost and lonely hill of grim and foreboding aspect lies a labyrinthine crypt. It is filled with terrible traps and not a few strange and ferocious monsters to slay the unwary. It is filled with rich treasures both precious and magical, but in addition to the aforementioned guardians, there is said to be a demilich who still wards his final haunt (Be warned that tales told have it that this being possesses powers which make him nearly undefeatable). Accounts relate that it is quite unlikely that any adventurers will ever find the chamber where the demilich Acererak lingers, for the passages and rooms of the Tomb are fraught with terrible traps, poison gases, and magical protections. Furthermore, the demi-lich has so well hidden his lair, that even those who avoid the pitfalls will not be likely to locale their true goal. In the far reaches of the world, under a lost and lonely hill, lies the sinister TOMB OF HORRORS. This Labyrinthine crypt is filled with terrible traps, strange and ferocious monsters, rich and magical treasures, and somewhere within rests the evil Demi-Lich. TSR 9022
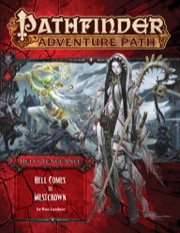
Cheliax's largest city, Westcrown, has fallen to the Glorious Reclamation, and the evil adventurers are sent to reclaim the metropolis in the name of House Thrune. Armed with the legendary weapon they created from a gold dragon's head, the nefarious characters confront the Glorious Reclamation's forces and break its siege of a nearby Hellknight citadel. Once the army is defeated, the villains enter Westcrown, where they must undermine the chivalrous knights' rule of the city. Finally, they face the founder and Lord Marshal of the Glorious Reclamation to end the rebellion and restore the Thrice-Damned House of Thrune's rule over the empire of Cheliax.
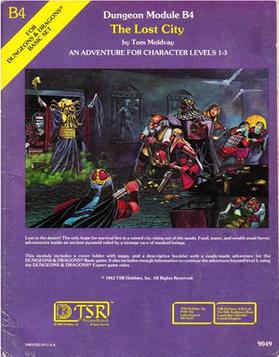
The Lost City is a low-level adventure, in which the only hope of the PCs' survival can be found in a ruined city slowly rising out of the sands. The adventure is set inside a huge step pyramid, with the lower pyramid only sketched out and the city itself described with a list of the major areas and a map. The adventure’s main villain is Zargon, a giant one-eyed monster and his minions. The entire double pyramid, not including the city, contains over 100 rooms. The module is designed to give novice Dungeon Masters experience fleshing out adventures and is only partially complete. Later TSR material hints that this adventure possibly takes place in Mystara, but the material is largely setting-neutral. TSR #9049
Strange calamity has come to the Moonstone Reach. What was once a foreboding forest is now completely underwater, the gods Umberlee and Mielikki locked in dispute over the wondrous biome. Umberlee calls forhomage and claims dominion over what she sees as rightfully hers.
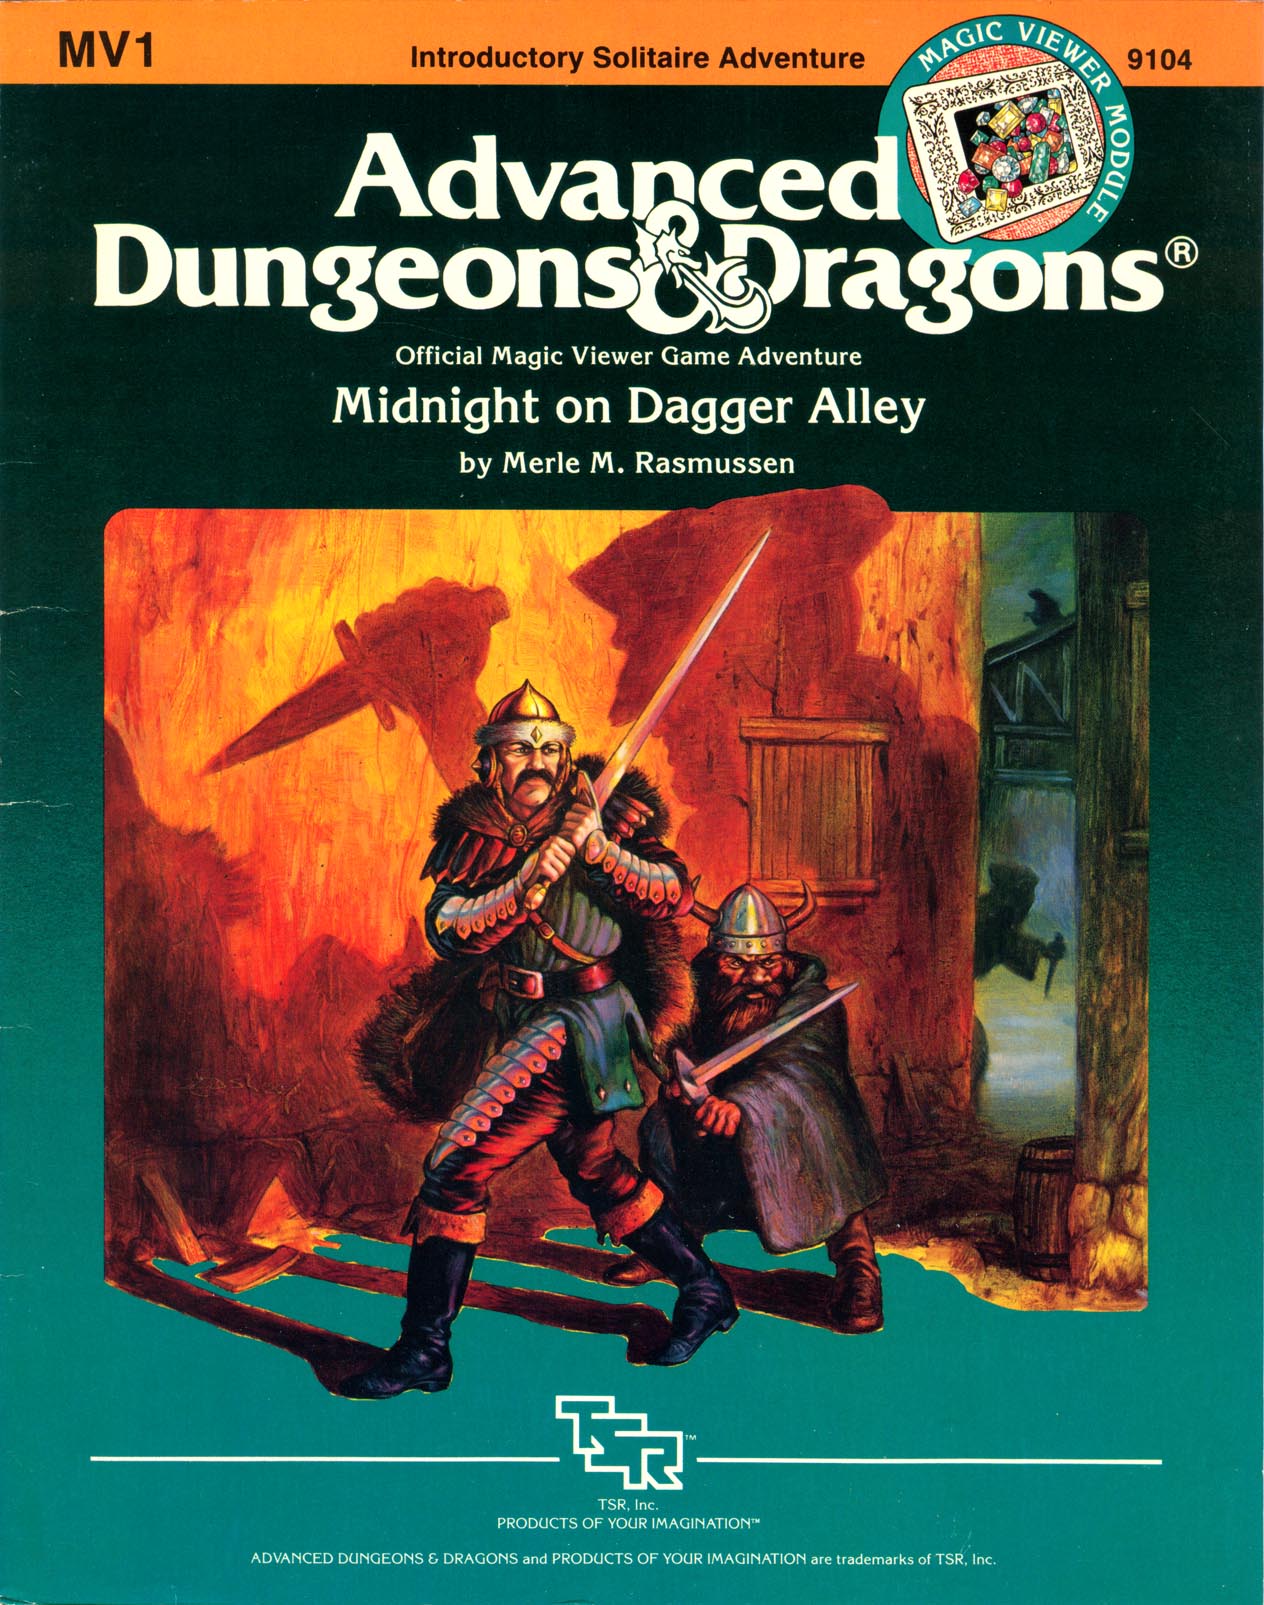
As darkness presses into the narrow, muddy alleys of Goldstar, silent shadows slip out of hiding. Now is the hour for cutpurses and cutthroats to creep into the night to do their work. Would-be victims bar their doors and lie sleepless in their dingy hovels waiting for dawn. Your task sends you into this dismal, dangerous place after sundown. No moon lights your steps as you scurry past yowling cats in smoke, fog-filled alleys. Above you and beneath you lurk unseen encounters. Somewhere ahead in the despairing gloom lies your goal, if you can survive Midnight on Dagger Alley. TSR 9104

The wizard Kavorquian is dead. But certain items belonging to his adopted son were in the wizard's keeping at the time of his demise. Now someone must venture into the silent vaults of Kavorquian's stronghold and recover the missing property. Queen's Harvest picks up its story where B11, King's Festival, left off. It can be played as a sequel to that adventure or as a complete adventure in itself. It is tailored for beginning Dungeon Masters and players and contains helpful hints on adventuring and the land of Karameikos. The story develops simply, but ultimately leads the player characters into the nether reaches of Penhaligon's politics to confront Ilyana Penhaligon, mad pretender to the throne! TSR 9261

This adventure is about a quest to save a city that disappear underneath there feet in a power play by a wizard from another plane. The previous ruling wizards are trapped in magic coins scattered nearby and help defeat the evil wizard on an inverse material plane and end with the players going into the middle of a sun to convince the ruling fire elemental to give the city back. TSR 9204

A shadow from the past, the Ghost Tower of Inverness has loomed ever larger in the mind of the great Seer of Urnst, Now he has convinced the Duke that an expedition should be organized to go to the ancient keep and recover its greatest treasure — the fabled Soul Gem. TSR 9038

Somewhere in the heart of the steaming jungle lies the answer to the whispered tales - rumors of a magnificent city and foul, horrid rituals! Here a brave party might find riches and wonders - or death! Is your party brave enough to face the terrors of the unknown and find the Forbidden City! TSR 9046
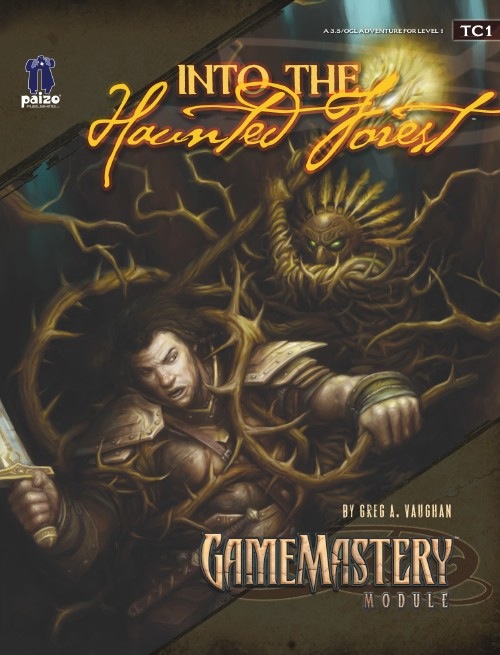
A barroom brawl at a country inn causes the destruction of a priceless relic and the heroes are responsible. Now they must chase down a host of ancient artifacts, lost in a haunted wood, to repay their debt. While the heroes search for the items to clear their name, another group of scoundrels plots their downfall from the depths of the mysterious forest. Only one group will emerge victorious. The Forest King is long dead and no one has seen his priceless regalia in many years, lost as it is to the depths of his haunted domain. Now the objects must be found if justice is to be served, but an eternal guardian stands watch, ready to deal with all intruders.

"The southlands of Eor are being despoiled. Merchants will no longer run their caravans on the main highway past the quiet village of Waycombe. The peasants are fleeing their lands, and all are demanding protection from the powerful Count of Eor. The goodly count has sent a troop of his trusted fighters to exterminate the brigands believed responsible for these outrages, but weeks have passed, and still there is no word from this force. Now John Brunis, Count of Eor, has turned to you for aid. After taking counsel with the High Priest of Eor, he believes that a small party of cunning, bold adventurers may succeed where armed might has failed. You find yourselves faced with many mysteries! Why has robbery suddenly erupted in the peaceful southlands? How could mere brigands be as powerful as the foes described to you by their numerous victims? Is this really mere robbery? Or is there some truth to the rumors, told only in hushed whispers, about the beginnings of a hideous plot being hatched by an ancient, vile, and evil foe of all mankind?" Eor is beset by marauders and lizardmen of a boldness not seen in years. Hired by the Count of Eor, the party is tasked with tracing the source of these foes and eliminating them for the safety of the realm. After a set piece combat in Count Brunis's castle, the party must trek across Eor's wilderness, eventually coming to the Great Southern Swamp beyond the village of Waycombe. With further exploration they can locate the Ancient Temple which serves as the tomb and stronghold of Sakathas, the vampiric LIZARD KING! TSR 9055

Continue your duet campaign or add something new! Wake up in a druid colony and embark on a quest for trust and truth with plenty of political intrigue, hidden plots, and exciting combat along the way! Second Glance picks up where our first adventure, First Blush, left off and invites the PC to explore their world, test their growing abilities, and get to know their mysterious crystalline companion. However, this adventure can be inserted into any campaign setting and scaled accordingly. Second Glance is part of D&D Duet’s mission to bring you high-quality, ready-to-play material that supports adventuring parties of 1 Player and 1 DM. This adventure is written for a second-level character in a one-on-one 5th edition D&D campaign. It lets the PC explore a druid grove and observe its mysterious residents before traveling to a too-perfect town with twisted secrets. They’ll take on a calculating magistrate, addled cleric, and dark forest creatures but find that other, more ancient mysteries lie in wait just beneath the surface. Everything you need for your own two-person game is inside! This product includes: -A 2nd or 3rd-level adventure adaptable to any setting -Stat blocks for FOUR new creatures and three NPCs -A region map, two settlement maps, and two site maps to aid the PC’s investigations -A fully realized town complete with shops, fleshed out NPCs, and places to explore -Side-quests for curious adventurers or those fond of gold and magical items -Detailed backstory for the ancient warrior sheltered inside the PC’s treasured amulet -A custom magical item And helpful tips for DMing a one-on-one game This adventure is perfect for those looking to begin or continue their duet campaign. It could also serve as a story hook, session zero, or multiclassing narrative for a PC who wants to become a druid. Published by D&D Duet.

Barbarian legends tell of five magical blades of measureless power. The more civilized cultures of warmer climes believe these tales to be nothing more than delirious dreams of frost-bitten brains. "Those frozen louts- they're trying to scare respect out of us!" At least that's what they want to believe. Three of the legendary blades of Corusk have been unearthed, and their powers have proven to be all that the tales claimed. You have been given these to use in the quest for the remaining two blades. However, word has spread to the peoples of the neighboring areas, and two groups are working against you to prevent your securing these swords. Beware the Hold of the Stonefist and the Rovers of the Barren! Only so much time remains for you to locate the last two Blades of Corusk ... and your enemies are on the horizon. Find the blades, and reclaim your birthright of honor and respect; fail, and be outcast from your tribes for life. The choice is yours. TSR 9337

Through seven gates lie seven realms. In seven realms stand seven guardians. With seven guardians lie seven symbols. From seven symbols comes one key. Alpahaks the Dark desires that key, by which he plans to release death and chaos into the realms of man. Your party may be all that stands between life and death. Will you heed the lunatic ravings of a dying madman? Travel to the top of Guardian Mesa, and enter the Septahenge. Gather the mystic symbols, create they key, and defeat the Carnifex, before it's too late... TSR 9174

The PCs are looking to gain entry to the Glantri School of Magic, after the initial admission tests they are drawn into a commotion where one of the other students is being attacked by an evil sorceress. He tries to flee but but is killed, and the PCs are framed for the murder. The authorities are called and bribed to just kill the PCs, they flee and are chased and taunted by the evil sorceress. Eventually, during one of her attacks, she opens a weak spot in the ground and the heroes are dropped into the warrens under the school. They must navigate the warrens, which are shrouded in magical darkness, defend against further attacks, and find escape where they can prove their innocence.

Devastated in a war with a nearby wizards' school, the Fighters' Academy has since been surrounded by a foul and dank swamp - the Gloomfens. Since the climatctic battle between the wizards and fighters, the tower has decayed. The spirit of the head of the academy haunts the building, eternally plotting his revenge on the wizards who killed him. his loyal sutdents remain faithful to him even in death. Other foul undead have made their home in the rotting, spacious academy. From their lair, they make forays into farmsteads near the swamp in search of victims to feed their unspeakable appetites. The Problem of these terrible attacks by the savage undead will not stop until the evil that has found a home at the tower is burned from the face of the land forever. Will your party heed the call and help the town of Melinir? Will they be able to clear the former Academy of its undead? The Fighters' Academy is the first in a three part adventure, The Haunted Tower. Or, it can be ran as a stand alone adventure. The choice is up to you. Part of TSR 1081 The Haunted Tower

While investigating rumors of a dangerous blue dragon wreaking havoc in the deep desert, the heroes tumble under the sands into the magically sealed dome of an ancient palace. The temporarily weakened dome reseals above them, and they are left to explore the golden palace of Zahadran, once seat of power for the legendary Caliph Ardishir the Magnificent. But the dome is weak because it has been assaulted by the mythical storm demon Azi Dahaka and his trapped minions, evil creatures that were sealed under the magical dome to keep them from ravaging an unsuspecting world.
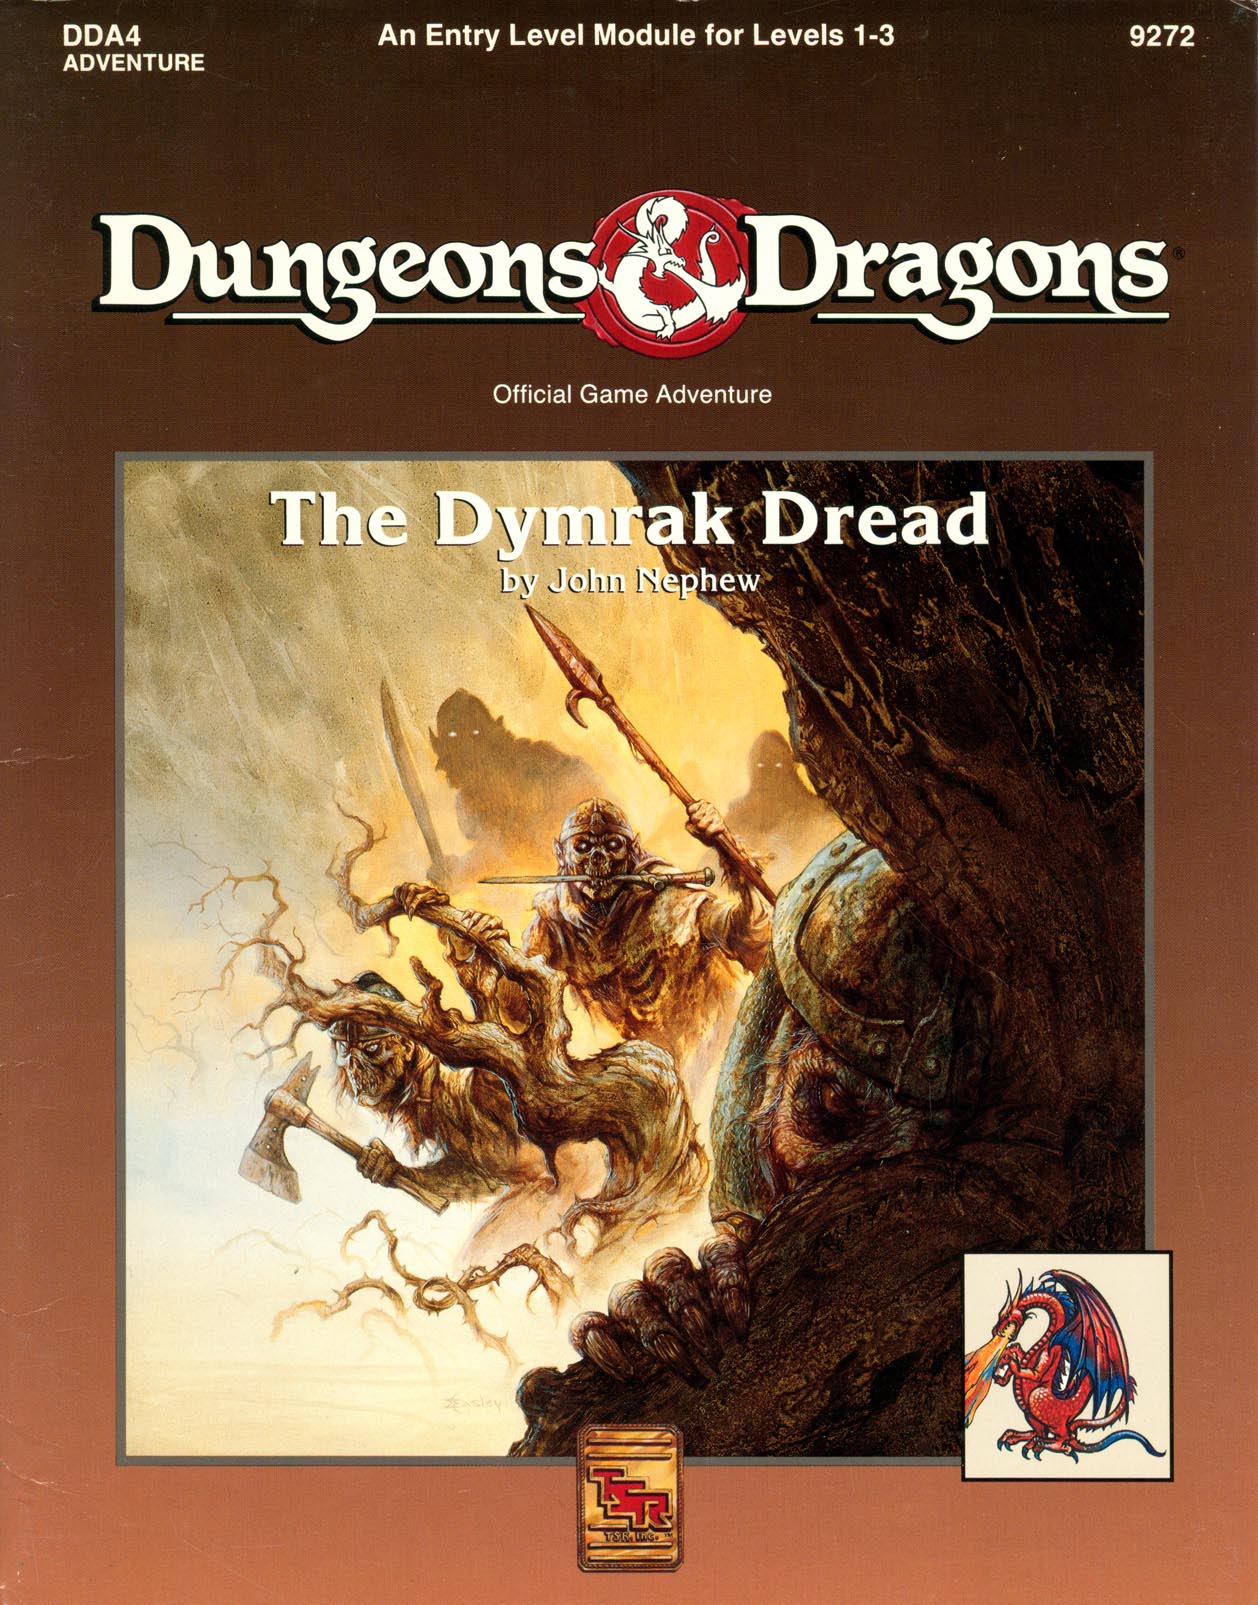
Adventure Lies Ahead, Deep in the Heart of the Dymrak Forest Are you ready to meet the Lord Forester's challenge: to put an end to needless death and destruction by doing away with the goblin war chieftain, Kosivikh, and his evil band of raiders? Eager to prove yourselves as new adventurers and to collect a sizable bounty, you travel to the goblins' dungeon in the Dymrak Forest - a place that has captivated your interest for years, a place where few have dared to venture. Only you and your fellow adventurers can put an end to the rampant bloodshed and return peace to the territory. This module is recommended especially for beginner Dungeon Masters and players who are interested in dungeon exploration. Can be used as a follow-up to the DDA3, Eye of Traldar module or it can stand alone Features easy-to-follow rules on dungeon adventuring in the heart of the Dymrak Forest. TSR 9272