
Blinsky's Toyshop is our take on what happens to Blinsky and Piccolo during, or after the Curse of Strahd campaign. Blinsky, the toymaker in Vallaki with the cute monkey wearing a pink tutu, received a large inheritance from a long-time client. The client, Obtavius Swat, a retired adventurer and avid collector of toys, left his entire estate to Blinsky. The estate included coin, precious gems, art, and his collection of toys, some made by Blinsky and others he acquired during his travels. Blinsky used the fortune to pay a wizard to create a small island in the middle of Lake Zarovich, located just outside of Vallaki. He then paid masons and workers to build a fantastic new toyshop, which he designed to be an experience for both the young and old alike. Though the number of children in Barovia was increasing, mostly imparted to the devil Strahd’s downfall, Blinsky wanted to touch the inner child of the adults in the city. He wanted happiness. He wanted smiles. He named the castle Blinsky’s Toyshop of Marvels. One of the toys, a small silver tiara kept in a black satin-lined ivory jewelry box, was such a lovely piece. Blinsky couldn’t stand the thought of leaving it in the box. He already had enough gold and losing the small tiara wouldn’t be a large loss, so he decided to give it to his monkey – Piccolo (see Creatures of the Toyshop). He smiled at the thought of her running around in her pretty, shiny tiara. Sadly, as Barovian luck would have it, trapped inside the tiara is the sole of an evil gnome wizard named Aribetha Strangge. In his old age, Obtavious Swat forgot that he and his fellow adventurers used the tiara to imprison the gnome’s soul. Yesterday, when Blinsky placed the tiara on Piccolo’s head, silver tendrils cascaded from the tiara and into poor Piccolo’s skull, allowing Aribetha to control the monkey. Now, Aribetha has incapacitated Blinsky in the toyshop’s tower, brought many of the toys to life, and imprisoned or killed many of the workers and customers. The adventure includes costumes (which the character may wear), Strahd Hand Puppets, and a possessed Piccolo.

Everyone in Moonfern Ford knows to avoid the Tainted Grove, a place of darkness and evil amidst the sylvan beauty of Cormanthor. When a young hunter goes missing in the forest, things in the village take a dark turn. Part 3 of the Elvenflow Saga.

It all begins with a simple request (doesn’t it always?) from an old farmer. The request – protect his cattle herd from vicious wolves. Simple enough for the brave adventurers, right? But it doesn’t stay that way. Not at all. Soon, the adventuring party will find themselves in the thick of it as they solve puzzles, avoid traps, fight for their lives, and endure witty taunting. And in the end, they discover an artifact that may, or may not, be useful to them. This adventure includes a cursed shield, a new undead creature, and a new artifact. Total party experience earned is approximately 14,500.

An ancient legend, a missing wife, and a broken heart that time won’t mend. Part 4 of the Evenflow Saga

The Nobriskovs are a proud and pious noble family beset by troubles they wish to keep quiet. When their angelic daughter is abducted by duergar slavers, the player characters are asked to surreptitiously rescue her from her captors. However, the distinction between predator and prey blurs as they discover the noble scion's secret. What's included? 1 hair-raising adventure divided into single-page sections for easy running 3 fully-colored maps with unlabeled versions for players (made with assets from 2-minute Tabletop) 4 statblock variations for cursed creatures in addition to detailed mechanics on implementing a more virulent strain of lycanthropy 6+ ending permutations based on what the player characters do and how they do them Content Warnings: Violence, death, abduction, slavery, horror

Do you want your players to feel like they are in a zombie movie, struggling against a deadly horde that tries to surround them, overpower them, and bear them down to the ground to be devoured? This is an adventure that can threaten even the stoutest of characters, and is not recommended for parties of levels 12 or below unless they are larger than normal. This module is designed to take 4-8 hours of play and cover a single day, depending on the party’s speed of play and how thoroughly they decide to explore. It includes suggestions and some plot hooks that can be used to tie this easily into a variety of long-running campaigns, or it can be run as an indepdent adventure. The players will come upon a sacked town, figure out what happened, track an item whose theft has ominious implications for the region, and explore a partly-flooded old temple to end the threat. It's primarily combat-focused, but there are a few areas where exploration and route choice makes a difference, as well as traps if the party goes for the optional temple treasury. The antagonists in this module are mostly ghasts and ghouls, but the module title and cover page are deliberately selected to not spoil this. These are greater ghouls and ghasts that can challenge higher-level characters, backed up by mobs of lesser ghouls that can surround, paralyze, and devour the weak and unlucky, led by a Warlord whose aura can drive even the stout-hearted into forgetting their plans in a moment of madness.

You wake up in a pitch-dark cavern... The stench of bodies fills your nostrils. The crack of bone and the sound of teeth rending flesh are the only sound you hear. Something is feeding nearby...something you can't see. We Eat in the Dark is a deadly adventure for 3rd or 4th level characters. Navigate the caves of the Darkshard Abattoir, where light sources are muted and creatures hid invisibly in the dark. Fight for your life against troglodytes empowered by a mysterious artifact and other cavern hazards. Includes an appendix for limited starting gear for a more lethal challenge. A perfect murder-happy one-shot for your players to question your friendship.

Ill winds blow over Wayward. The men drink apart from their wives, while a mysterious traveler sows discontent between married couples. The Wayward wives have had enough and are plotting revenge. Part 2 of the Evenflow Saga.
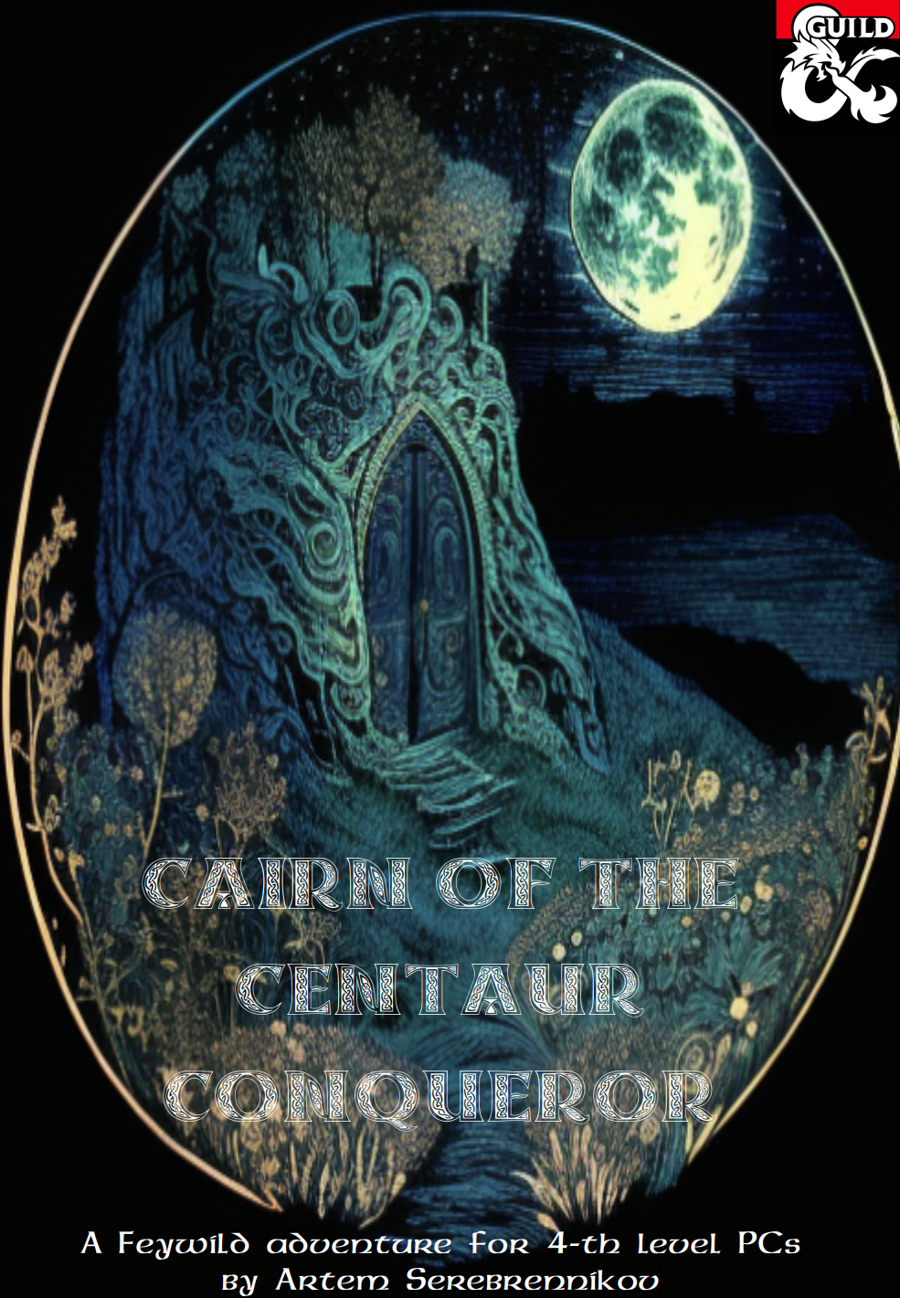
A tenday ago, the human settlers of Olostin’s Hold started hearing strange noises coming from the distant White Stag Hills. Noises of battle. Incessant sounds of thundering hooves, clashing steel, flying arrows, and screams of agony heard from miles away. Could those be the awakened spirits of the past? And if so, what could be done to lay them to rest? The answers are found in Cairn of the Centaur Conqueror, a Feywild dungeon that only appears once every 777 years...

A gang of ogres is raiding a farming community, stealing crops and livestock, and advancing closer and closer to the town, and the townsfolk need your help!
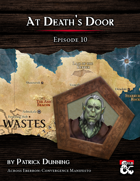
At Death’s Door is a dungeon crawl that takes place almost entirely in the upper chambers of the Lair of the Keeper. This lair belongs to an ancient dracolich that perhaps styles themselves after the legends of the Keeper, or perhaps even inspired them. Stormhome. The player characters are called to the home city of House Lyrandar to meet with Guild Handler Lhara regarding their quest for an artifact tethered to Dolurrh, the Realm of the Dead. The Descent. Traveling by airship over the horrors of the Demon Wastes, the party descends into a vast canyon to find the Lair of the Keeper. After agreeing on a pickup point, the party skydives into the hellish landscape and hides to avoid the notice of a would-be god, then explores the surrounding area. The Lair of the Keeper. The bulk of the adventure takes place in the upper chambers of a dracolich’s lair in a manifest zone tied to Dolurrh, the Realm of the Dead. Surviving the horrors of this place is the main challenge of the adventure. The Ghaash’kala. There is one last challenge standing between the players and their escape to the airship. The orc tribes called the Ghaash’kala consider it their holy duty to protect the rest of the world from the horrors of the Demon Wastes. They will attempt to stop anything from escaping the Wastes, unfortunately including our heroes.

Gyldrith the Great is coming, and she is not happy. How long have you been down in these caves? Days? Weeks? More? Time is hard to track this far underground. And so much has happened since you descended into the tunnels beneath Dhonin’s Lookout. Now, you stand guard at the Great Gate of Naakrasad. Exhausted from your past battles, and your narrow escape from the cat and mouse games of the ancient deep dragon, Gyldrith. You can hear the hoots and hollers of her horde of bloodthirsty minions just beyond the city walls. A battle is coming, a battle against great odds. A battle that will test your mettle like none before. And you wonder if you are up to the task. A massive battle ranging across the small city of Naakrasad in the Underdark. Giant map of the city of Naakrasad with close-up details of the major battle sites in the adventure. Several new monsters, including the vicious Half-Ogre Hound Master and his deadly Hell Hound pets. Unnumbered maps, including the entire city of Naakrasad, to use in your favorite VTT.

Includes a Multiplayer version and a Dungeon Master + 1 Player version. A village on the outskirts of the Glimmerwood hires a brave adventurer(s) to destroy the eggs of a green dragon who has taken root in the forest. Although this sounds like a bold and unwise move, the village elders have a second agenda: implicate a menacing band of orcs who also dwell in the forest. There are several ways to use this adventure: •Introduce a new player to the world of Dungeons & Dragons •DM an experienced player through a single character adventure •As a one-shot adventure while DMing a group of new or experienced players

A city deep in the woods is plagued by a series of beheadings of the leadership. A twisted bargain and a dark secret are threatening to destroy this town forever. Your adventuring party finds themselves brought in to help stop the Dullahan who has been summoned against her will to enact political revenge.

The mining town of Glister has had a prosperous year, and people have been coming in search of work and wealth. A call has gone out for help in some local matters, but getting there is no easy task. Catch the caravan and travel through treacherous Thar! A 2-Hour Adventure for 1st-4th Level Characters Part 1 of Kossuth’s Kiss

Are your player's moving out of Velkenvelve? Enjoying a stroll along the shores of the Darklake? On a day trip from Gracklstugh to Neverlight Grove? Sightseeing near Blingdenstone? Then Journey Through the Center of the Underdark is for you. Journey Through the Center of the Underdark contains several detailed encounters ideal for fleshing out traveling days between locations in Out of the Abyss. Furthermore, these encounters could be readily inserted into any 5th Edition Dungeons & Dragons Underdark oriented Forgotten Realms or home campaign setting. Designed for a party of 4-6 fourth through sixth level characters, with easy notes for adjusting encounter difficulties for lower or higher level groups, Journey Through the Center of the Underdark should provide 8-10 hours of exciting in game adventure. Written for your Rage of Demons Out of the Abyss campaign, Journey Through the Center of the Underdark is ideal for any descent into the depths your characters might take. Enjoy!

Escape from Elturel is a 6-8 hour Dungeons & Dragons adventure for characters of levels 1-2, for use as an introduction to Baldur's Gate: Descent into Avernus. Pilgrims and travelers flock to the holy city of Elturel to bask in the light of its second sun. But when the Companion starts to malfunction, the characters must escape the doomed city before it is pulled down to the Nine Hells. In the aftermath, a caravan of refugees needs their help to find a safe haven in that notorious hive of scum and villainy, Baldur's Gate! The adventure has everything you need to start a new campaign in Elturel, including: - a new adventure hook for Descent into Avernus - short introductory encounters set during and after the fall of Elturel - a skill challenge for escaping Elturel as it is pulled down to Avernus - resources, encounters, travel activities, and NPCs for a caravan to Baldur's Gate - notes for transitioning into Descent into Avernus - two creature and NPC stat blocks - a map pack with two maps by Dyson Logos Escape from Elturel also includes suggestions for combining this adventure with Burial in Baldur's Gate if you want to run a mixed party of characters from Elturel and Baldur's Gate.

This is an introductory adventure to Eberron and Sharn. It is written for 3-6 characters of levels 1 to 5. This adventure showcases the versatility of urban adventures in Sharn. The adventure takes a party of characters from the lowest and more dangerous parts of the city, the lower wards and The Depths, to the highest and most exclusive neighborhoods in the upper wards and the Skyway. This adventure has it all. There are roleplaying opportunities, underground exploration, interesting NPC's, a flying chase scene on flying vessels, and a BBEG with enough charisma to captivate any player.

Deep in the Marsh of Chelimber lie the ruins of a great wizard’s tower. SEER has received intelligence, which she imparts via her emissary Hsing, that deep beneath the marsh in the remains of an old tower is knowledge of older magics. This could be just what Parnast needs to resist the onslaught of Bad Fruul and his armies!

Everyone who’s anyone has heard of Starburn Academy. The elite boarding school is famous for teaching students to excel in magic, history, fighting, and anything else a precocious child in the city of Seledor needs to know. But now, one instructor at the school is using his position to carry out a nefarious plot which is at best unethical and at worst deeply dangerous. The only people standing in his way are a mage with an unreliable reputation and the handful of talented children she picked off the street to infiltrate the school and get the evidence needed to take him down. That is, you.