
This adventure is now Adventurers League legal and uses the code DDHC-MORD-01. Any player content within is NOT AL legal. Embark on a rescue mission into the heart of the Shadowfell in this adventure for the world's greatest role-playing game! This 8-to-12-hour adventure for 5th to 10th level characters takes heroes from the elf village Dripping Leaves in Cormanthyr Forest to a drow outpost to the Shadowfell. Along the way they contend with new creatures and story elements found in Mordenkainen's Tome of Foes. This product is written in the D&D Adventurers League style and features nine monsters from Mordenkainen's Tome of Foes plus one original monster and one original magic item. This is a DMs Guild Adepts product. The DMs Guild Adept Program was started and is managed by Wizards of the Coast. It brings together some of the best talents creating for the DMs Guild for creative development. DMs Guild Adepts products are identified by the gold ampersand logo.

'The Sunken Village of Little Corth' is a 2nd level Dungeons and Dragons adventure centred on a time-paradox puzzle. The PCs travel across a necrotic marsh (the Grey Creeping) to a sunken village where, upon being transported back 2000 years into the past, they must prevent a necromancer freeing Orcus (demon prince of Undeath) from the imprisoning veils of the spirit plane. If only it was as simple as that, for the PCs must also contend with deactivating a giant mechanical orrery, and be sharp enough to realise that the useful items that helped them survive the Grey Creeoing must be found and placed for their 'future-past' selves.

Wanderers emerge out of the desert in the dead of night, bending low against the driving sandstorm. They are adventurers, heroes whose tale has yet to begin. And they are in trouble. For he last three days, a raging sandstorm has harried you. Your faces and hands are rubbed raw by the driving sand. Worse, not once has the sun risen in that time: 3 days worth of unbroken night. Finally, something rises out of the yellow-black haze. A massive structure, outlined in moonlight. The heroes are TRAPPED in a cursed land, harried by sandstorms. They stumble apon a ruined city and a DARK TOMB that lies beneath. Can they find a way to escape this land? Or are they doomed to be drowned in the SORROW OF THE SAND LORD?

The Feystone Shards is an adventure for characters from levels 5-8, optimized for 4-6 player characters. This moderate length campaign should have 20+ hours of gaming, all focused around the Forgotten realms area of Red Larch. The Heroes are tasked to find five fragments of a shattered Orb, once worshipped by a faction of Elves. The search will take the party to a haunted Citadel, as they seek the scattered remnants of the Feystone. From a city of Stone Golems, to an alchemist's underground lair - the players will face obstacles and enemies that will challenge their very resolve. The Heroes will need to discover the secrets of the bauble's fey magic, finding the lost Elvin city where the Orb was once worshiped as a God. Join in the hunt for the Feystone Shards, and see if your characters are ready to transcend common Heroes...and become Legends.

This adventure is designed as a side quest that can be inserted into an ongoing adventure or campaign. It involves a series of three linking scenes (and an optional fourth research scene between the others) that can be placed in between the action of whatever other event the party is undertaking. Ideally the scenes of this side adventure should be spread out and inserted into the game over several sessions of play.
Night of the Scarecrow is a fairy-tale adventure for Tier 1 characters (Levels 1-3), loosely based on the Russian story Vasilisa the Beautiful. The party must seek for assistance from the ferocious hag Lucinda Lilywhite in order to discover how to defeat a monster of nightmares, and must complete three deadly tasks to gain her help. The village of Nalva is no stranger to creatures of horror. All kinds of bogles and shadows find their way there from time to time. But when a new and unfamiliar creature appears and starts snatching locals into an unknown dimension, their normal defenses are insufficient. The only solution they can think of is to brave the forest and beg the assistance of the local hag, Lucinda Lilywhite. A fearsome creature in her own right, Lucinda has a reputation for burning visitors to ash when they are insufficiently polite to her. But by all accounts she keeps to her bargains, and if found in the right mood, perhaps she will provide the advice and help they need.

In an enchanted forest glade you come across two goddesses locked in a fierce debate. The muse of art and the muse of history want you to help them settle their quarrell once and for all, and they're not taking no for an answer. This is a single forest encounter.

Corruption grows in what used to be the Dayawlongon archipelago's most sacred island. When a wanted fugitive flees to the blighted holy land, the player characters are asked to chase after and apprehend the renegade. As the adventure unfolds, it soon becomes apparent that the roots of corruption run deep. This can be run as a standalone adventure or as a sequel to the Between Tangled Roots adventure from Journeys Through the Radiant Citadel. What's included? 1 infectious adventure divided into single-page sections for easy running 2 fully-colored maps with unlabeled versions for players (made with assets from 2-minute Tabletop) 3 new creature statblocks with clickable links for quick access 4+ ending variations based on what the player characters do throughout the adventure Content Warnings: Abduction, betrayal, corruption, death, disease, mental manipulation, violence
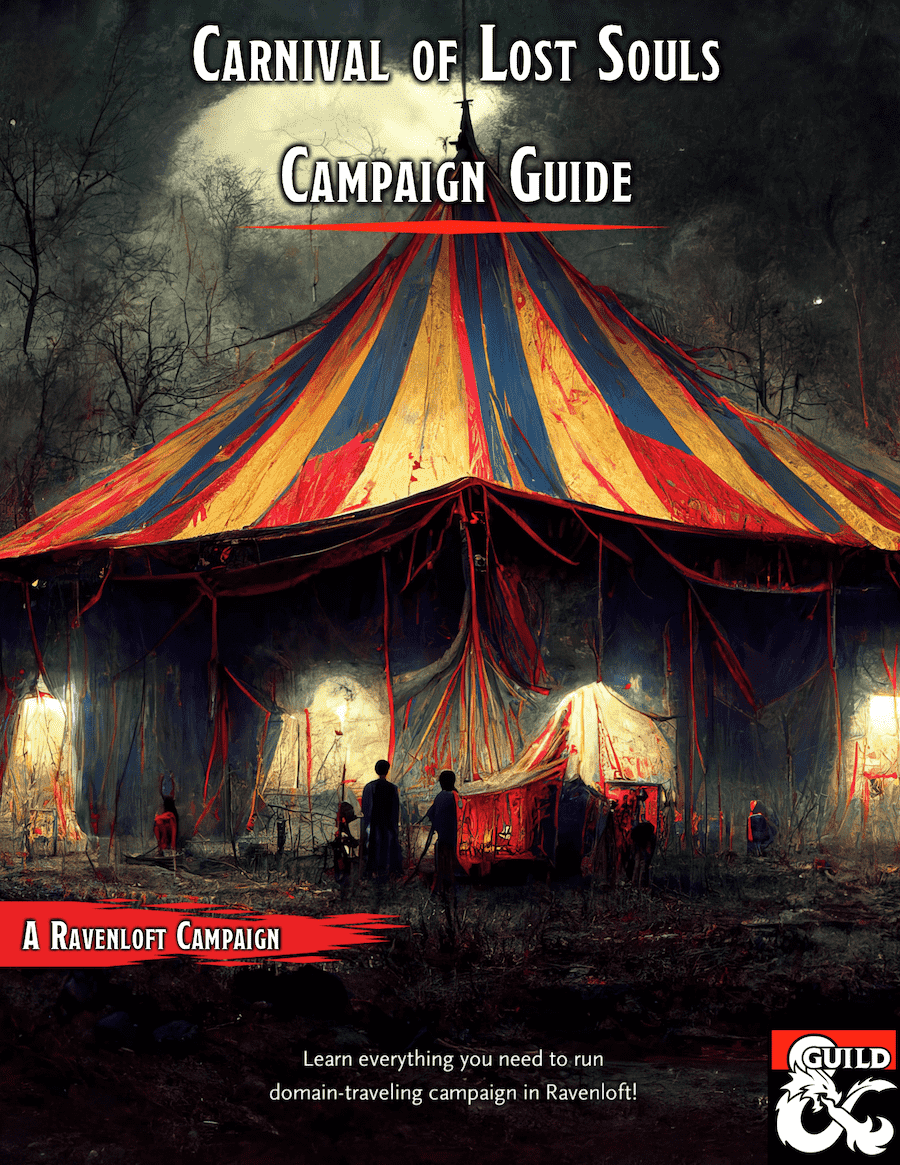
Ravenloft: Carnival of Lost Souls Campaign Guide is a guide for Dungeon Masters who bought our other products from the Carnival of Lost Souls campaign series. It connects together all the modular one-shots we released previously into one grand campaign. It also offers guidance about expanding the scope of the campaign with your own ideas. Ravenloft: Carnival of Lost Souls Campaign Guide features: - Starting adventure to kick the things off and get the characters to know the Carnival - In-between interludes and short encounters, which help to flesh out the Lost Souls NPCs more and add depth to the campaign - Grade Finale - an epic showdown with The Caller in the Mists! - Full description for each of the Lost Souls and what happens to them as a result of players’ actions - Check out the modular adventures of the series: Lamordia: The Hardest of Hearts, Dementlieu: Dance with the Devil, Kalakeri: The Forbidden Temple and Valachan: Hunter’s Moon! Disclaimer: We are a team of writers from Ukraine, so the unprovoked war and senseless aggression of the terrorist state of russia influenced our initial timelines significantly. The release of the Campaign Guide marks also a year since the start of the full-blown war. At the moment, we are as safe as we can ever be under the constant threat of missile strikes, and extremely proud that we managed to finish the whole campaign! We are hopeful that the victory is close at hand, and in the new, whole, and peaceful Ukraine, we will create even more cool adventures! ;) Made in Ukraine

In a distant dimension of existence, a collective of Modrons run experimental tests to find the answer to one question: What draws adventurers to places known as "Dungeons"? Hijacking the travel of adventuring parties, these Modrons subject them to a series of tests in their artificially created dungeon. Deadly combat, logic puzzles, "moral" challenges, and a plot about a kidnapped "Maiden" Modron by an "Evil Wizard Construct" can be found within. But not all is as it seems... Leading the experiment is a rogue Modron officer named the Creative Director, who has gone mad and morphed the tests into an elaborate death trap for adventurers. Seeking revenge against those it considers responsible for its “imprisonment”, it pits the adventurers against ever escalating challenges. Who will defeat the Creative Director and put an end the mad tests?

It’s been a long, arduous trip, but you’re finally here—Baldur’s Gate. You’re not out of peril yet, however, even if you’re leaving the lawless wilds behind you, the streets of the Gate still run red with blood. But you quickly find that arriving at the city wasn’t the biggest challenge at all, now you must convince the city’s rulers to grant asylum to you and those in your charge. Part One of the Betrayal is in the Blood series of adventures. A Two-to-Four-Hour Adventure for 1st through 4th Level Characters (APL 3).

A spirit is attacking a town — no one knows why, but they’re determined to be rid of her. The adventuring party is recruited to investigate. However, what appears to be a simple haunting turns into a story of justice. Pgs. 43-59
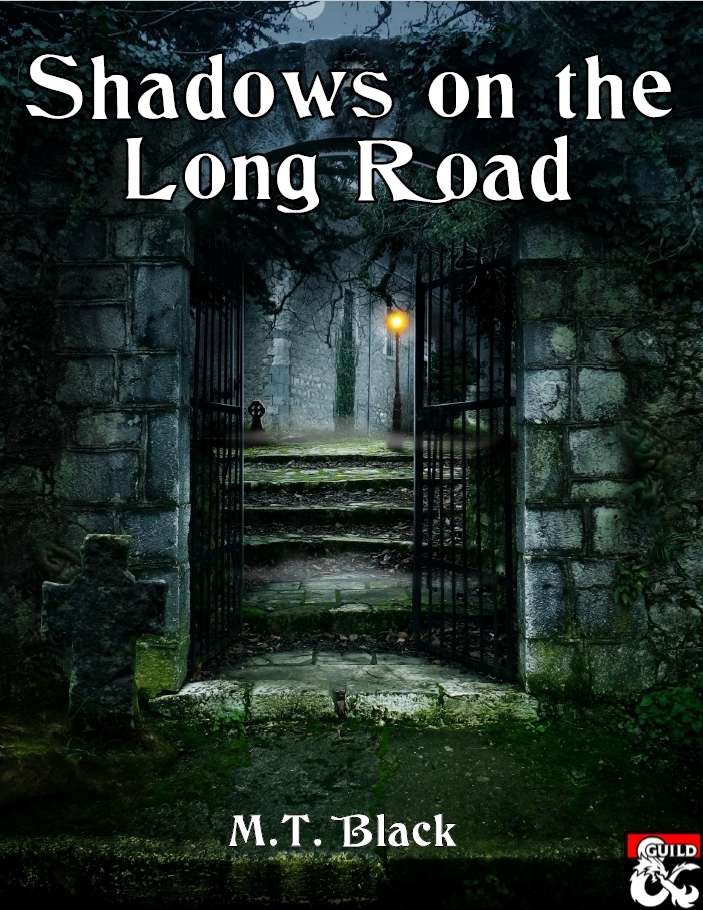
Travellers are going missing on the Long Road, on the 100 mile stretch between Triboar and Longsaddle. Our heroes investigate and discover a haunted mansion with a dark history and a gruesome secret. Their quest brings them to the very gates of hell itself, where an infernal abomination presents them with their greatest challenge yet... Inspired by a Clark Ashton Smith story.

Blinsky's Toyshop is our take on what happens to Blinsky and Piccolo during, or after the Curse of Strahd campaign. Blinsky, the toymaker in Vallaki with the cute monkey wearing a pink tutu, received a large inheritance from a long-time client. The client, Obtavius Swat, a retired adventurer and avid collector of toys, left his entire estate to Blinsky. The estate included coin, precious gems, art, and his collection of toys, some made by Blinsky and others he acquired during his travels. Blinsky used the fortune to pay a wizard to create a small island in the middle of Lake Zarovich, located just outside of Vallaki. He then paid masons and workers to build a fantastic new toyshop, which he designed to be an experience for both the young and old alike. Though the number of children in Barovia was increasing, mostly imparted to the devil Strahd’s downfall, Blinsky wanted to touch the inner child of the adults in the city. He wanted happiness. He wanted smiles. He named the castle Blinsky’s Toyshop of Marvels. One of the toys, a small silver tiara kept in a black satin-lined ivory jewelry box, was such a lovely piece. Blinsky couldn’t stand the thought of leaving it in the box. He already had enough gold and losing the small tiara wouldn’t be a large loss, so he decided to give it to his monkey – Piccolo (see Creatures of the Toyshop). He smiled at the thought of her running around in her pretty, shiny tiara. Sadly, as Barovian luck would have it, trapped inside the tiara is the sole of an evil gnome wizard named Aribetha Strangge. In his old age, Obtavious Swat forgot that he and his fellow adventurers used the tiara to imprison the gnome’s soul. Yesterday, when Blinsky placed the tiara on Piccolo’s head, silver tendrils cascaded from the tiara and into poor Piccolo’s skull, allowing Aribetha to control the monkey. Now, Aribetha has incapacitated Blinsky in the toyshop’s tower, brought many of the toys to life, and imprisoned or killed many of the workers and customers. The adventure includes costumes (which the character may wear), Strahd Hand Puppets, and a possessed Piccolo.
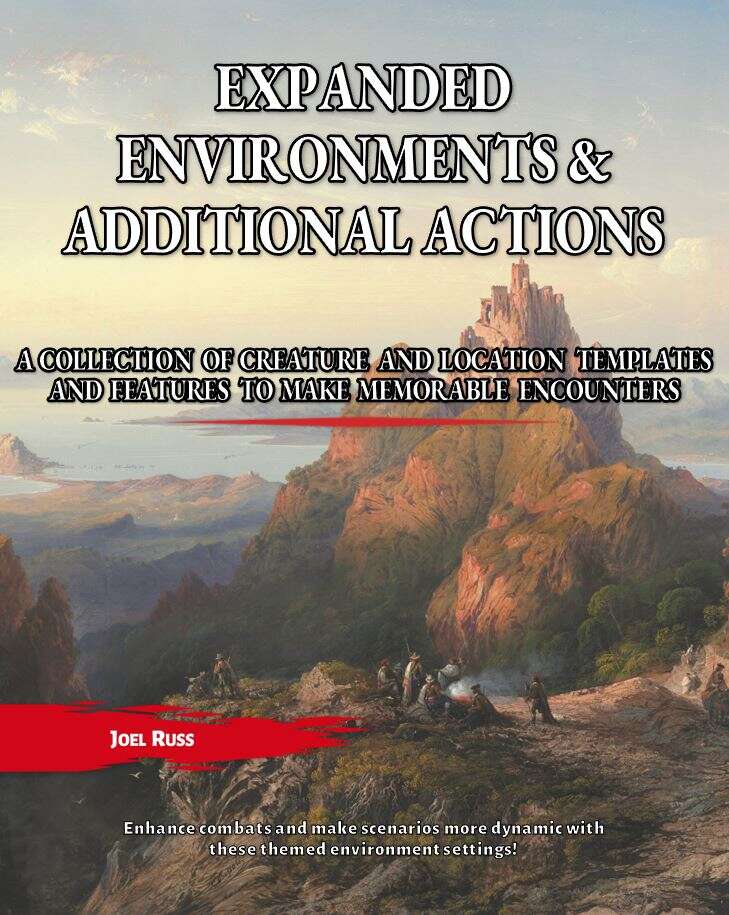
Give your game’s locations a character all their own! Build encounter themes, emphasize magic places, and connect it all to the monsters living there with Expanded Environments and Additional Actions. Use traits to make creatures stand out and enhance their bond with the land, then add lair actions to reinforce the connection and escalate the fight. New interactions encourage a race between players and monsters to gain the upper hand using the environment around them with additional options in combat. In non-combat encounters, regional effects keep the feel of magic heightened in the surrounding area. Grab characters’ attention, and limbs, in the clutches of fallen armies on the ancient battlefield. Apply library traits and lair actions to a dragon to create an encounter with a bookwyrm. Tempt characters with the allure of enchanted gold in the treasure hoard. Bend fire itself to your will in the heart of a volcano. With Expanded Environments and Additional Actions ties “where you are” to “what & how you fight” with 21 environment templates for attributes and abilities you can apply to existing monsters and places that include all of the following: 80 lair actions that give the terrain a role, and often a roll, in the fight. 75 traits so familiar monsters gain new tricks and special features. 73 regional effects to add to the wonder of the world between combats 64 interactions for players or monsters to make the most of their surroundings This supplement was designed for dungeon masters who want more dynamic combat and more magical encounters. The collection started as my own expansion of the environments found in MCDM’s Flee, Mortals! but can be used on its own (along with the existing D&D 5e rules).

The Blistering Forge Situated atop Mount Marazbor, an active volcano, it the dwarven lava-forge once known as Citadel Grungharaz. Once, this great armoury produced hordes of weaponry for dwarven regiments in far off lands, but now it has been taken over by rampaging fire giants. Are you capable of infiltrating the Gauntlet of Flame?

While exploring for hints of the Kobolds lair, an unexpected plea changes everything. This is the fourth and final adventure in a miniseries with the following adventures being: A Chance Encounter The Mystic Circle An Urgent Rescue In addition to the adventure, there are a few of maps of the adventure area as separate jpeg files. There is also a printer friendly version of the adventure.

A cleric has tirelessly tended to the medical needs of his fellow villagers for decades. There have been occasional cases of madness among his charges over the years, enough to cause rumors, but now there is an outbreak, including people known for years to be quite sane. Can you discover the source of these terrible troubles and return the village to normal life?

Deep beneath the streets of a bustling trade town, trouble is brewing—or rather, fermenting. A mischievous band of cheese-obsessed goblins has taken over the sewers, swiping every wheel, wedge, and slice of cheese they can get their sticky fingers on. Their leader? The grotesquely gluttonous Sewer Mermaid, a bloated monstrosity ruling over her rancid dairy domain. This silly, over-the-top dungeon crawl is packed with cheesy hazards, slippery chases, and goblin-fueled chaos. Inspired by the absurd Cheddar Goblin ad from Mandy and a bizarrely captivating sewer mermaid miniature, this adventure is a perfect low-level romp for groups who enjoy laughter alongside their loot. What’s Inside? A lighthearted yet challenging adventure for Level 2 adventurers. Unique enemies, including teleporting Cheese Goblins and a boss who weaponizes rotting dairy. A sewer dungeon filled with traps, puzzles, and absurdly pungent dangers. Multiple adventure hooks for easy integration into your campaign. Perfect for a one-shot or a side quest in any city-based campaign, Cheese Goblins will have your players questioning their dietary choices for years to come. Will your party put an end to the Great Cheese Heist, or will they become just another tale of lost adventurers… swallowed by the stink?

Elven Tower presents a compilation document of all the content for DMs running Out of the Abyss module. This guide has been very well received by the DMs community. I have gotten great response during the creation of this content. The guide is over 60 pages long and contains hoards of information, guides, suggestions, and general information for DMs running this module. It now has clickable table of contents and bookmarks for all the different chapters for easy navigation. There are maps for Gauntlgrym, Sorcere Tower, Vizeran's Tower, Karazikar's Maw as well as some very needed flowcharts and infographics to better understand the adventure. The guide also features some maps drawn by me (Elven Tower) to supplement the missing illustrations for important locations.