
Valachan: Hunter’s Moon is a slasher/gothic horror adventure for 4-5 level characters of 8-9th level. It can be played over the course of 6-8 hours and should roughly take one playing session, if the party is quick, or two if the party is progressing slowly. This is the fourth and final part of the Carnival of Lost Souls campaign, which can also be played as a standalone adventure. Valachan: Hunter’s Moon features: Fully fleshed out Trial of Hearts with dangerous encounters along the journey Rules for sabotaging rival parties before the Trial New custom monsters to make combat encounters truly memorable and exciting High-quality maps, also available in universal vtt format Check out the previous adventures in the series: Lamordia: The Hardest of Hearts, Dementlieu: Dance with the Devil and Kalakeri: The Forbidden Temple! And look out for the special Campaign Guide, which will explain in detail how to best set up and play the campaign. However, if you want to start your campaign right now, don’t worry - we have included a short appendix at the end of each adventure that will explain the basics! Disclaimer: We are a team of writers from Ukraine, so the unprovoked war and senseless aggression of the terrorist state of russia influenced our initial timelines significantly. However, we are now as safe as we can ever be under the constant threat of missile strikes, and determined to finish the whole series! And after that - who knows, maybe even more cool adventures will follow ;)

This quest is for a party whose members all perished in the same encounter. The loss of an entire party is hard to recover from and often spells the end of an adventure. However, with the assistance of the enigmatic Raven Queen, the party’s tale might not be over just yet. The characters must wander through the Fortress of Memories; confront their pasts, present selves, and possible futures to return to life. Includes a quest-related NPC that a player can control if they're waiting for their character to be resurrected.
A reclusive widow is in over her head with supernatural forces. Discover the twisted secrets of the Margaster family and put an end to an evil threat before it overruns the city! The party's plans to steal some magic items from a rich noblewoman go awry when they find out she's made a horrible deal with a fiend to smuggle an army of Cambions into the city, bypassing Silverymoon's protective wards. Can the party stop her and defeat the fiends, or will they end up as a few more human sacrifices? This is as an expansion for Storm King's Thunder, but can easily be dropped into any campaign. Made for a party of 3-4 characters around levels 6 or 7. Content Warning! This adventure is pretty dark, and may not be suitable for all tables. The adventure's backstory involves a woman being driven mad by bearing fiendish children.

The party seeks out Commodore Krux at the Happy Beholder. After speaking with the patrons, the party learns that Krux has disappeared and gets a lead to check out his ship, the Second Wind. At the ship, the party learns from Fel Ardra and Flinch that Krux is being held prisoner by the Amoebros in a cave on the underside of the Rock of Bral. The party infiltrates the Amoebros’ lair, gets past the guards, and learns of the animal experimentation performed by the gang. In a final climactic scene, the party rescues Krux from Ripples, the wicked boss of the plasmoid gang.

In a distant dimension of existence, a collective of Modrons run experimental tests to find the answer to one question: What draws adventurers to places known as "Dungeons"? Hijacking the travel of adventuring parties, these Modrons subject them to a series of tests in their artificially created dungeon. Deadly combat, logic puzzles, "moral" challenges, and a plot about a kidnapped "Maiden" Modron by an "Evil Wizard Construct" can be found within. But not all is as it seems... Leading the experiment is a rogue Modron officer named the Creative Director, who has gone mad and morphed the tests into an elaborate death trap for adventurers. Seeking revenge against those it considers responsible for its “imprisonment”, it pits the adventurers against ever escalating challenges. Who will defeat the Creative Director and put an end the mad tests?
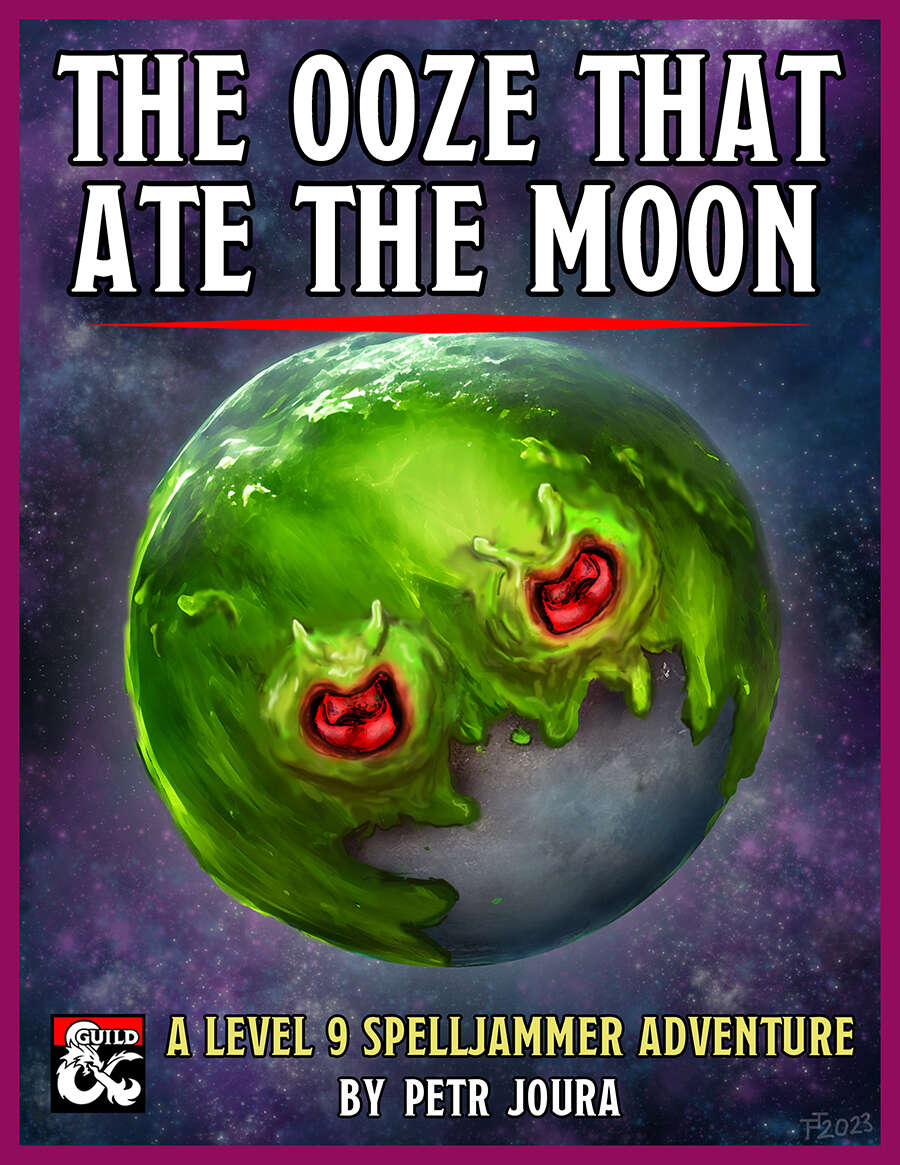
The moon is turning green. A colossal tide of green slime has begun to engulf it, threatening to dissolve it entirely. As it does so, a tide of demonic madness begins to engulf the lands below. As the green shadow flows across the night sky, the world turns mad. The source? An insane cult of plasmoids dedicated to Juiblex, the demon lord of oozes and slimes. Soon the moon may be gone, the first part of a mad plan to dissolve the multiverse into the primordial slime of the Abyss. If only some heroes could appear before it’s too late... The Ooze That Ate The Moon is 5th-edition Dungeons & Dragons adventure based on the Spelljammer campaign setting. It is an investigative high-orbit pulp thriller paired with the wacky zaniness of Spelljammer, and every playthrough is likely to be different. It is designed for four 9th or 10th level characters and to be run in 3 to 6 three-hour sessions, or 2 to 3 longer sessions. It can be run as multi-session one shot or as part of an ongoing campaign. It fits perfectly after the events of Light of Xaryxis, but is written so as to be easily incorporated into any non-Spelljammer campaign. It requires the 5th Edition Spelljammer boxed set to run. Gameplay is based around investigation and roleplaying, with a good smattering of combat in the later acts. The climax of the adventure presents the players with a problem that has no clear solution. They’ll have to use all their wits and resources to overcome it, but can they do so in time?

The Hardest of Hearts is a gothic horror adventure for 4-5 characters of 5-6th level. It can be played over the course of 6-8 hours and should roughly take one playing session if the party is quick, or two if the party is progressing slowly. This is the first part of the Carnival of Lost Souls campaign. It can also be played as a standalone adventure. The Hardest of Hearts features: - Exciting journey through the cold wilderness of Lamordia, which features a special travel system and survival rules - Exploration of the old mansion which has been taken over by the vicious local gang - the Corpse Collectors - Several custom diseases to challenge your players - Moral dilemma at the end of the adventure which the characters will have to solve - New custom monsters to make combat encounters truly memorable and exciting - High-quality maps, also available in universal vtt format Look out for the next adventures in the Carnival of Lost Souls series: Dementlieu: Dance with the Devil, Kalakeri: The Forbidden Temple and Valachan: Hunter’s Moon! They will be released over the course of the next two months. Once all four adventures are out, we will also release a special Campaign Guide, which will explain in detail how to best set up and play the campaign. However, if you want to start your campaign right now, don’t worry - we have included a short appendix at the end of each adventure which will explain the basics!
After crash-landing onto the Material Plane, a strange, otherworldly ship brings with it an unexpected wave of piracy, hideous creatures from the bottom of the Trackless Sea, and a notorious foe who has been awakened from the deep, intent on destroying the world as you know it. The adventurers must set sail along the Sword Coast, fending off the pirate attacks while putting together the fractured puzzle that will reveal the true villain.

A quick-paced exploration of the magic tower, home to the great Solomon, the Master Conjurer, an expert in fiendology. Adventurers have to find Control Orbs to disable the tower's security system before it destroys them, and discover the secrets of the tower in the process. Their progress will be ushered by a seemingly helpful entity with nefarious intent - Zarloxar, the blue Abishai. The success of adventurers could also finally spell freedom to the fiend... or not if players, under stress, will realize the trickery in time. Part of "Detailed Encounter" series - each "Detailed Encounter" - features new monsters with unique stat blocks, new magic items, a custom battle map, and detailed NPCs. It also has story hooks and advice enough, to quickly turn it into a separate adventure!

A continuation of the mere of Dead Men Adventures started in the Brood of Uthtower, or a standa alone adventure in the Mere of Dead Men or other setting. Can be adapted for characters in tier I and II. This adventure located in the Mere of Dead Men has the adventurers combatting the new inhabitants of the Wilfhill House, which has been given form by some very ancient magic items given to them by an old and revenge driven group of Orcs who have partnered with an Ancient Black Dragon. The adventure comes complete with the following: - Full 18 page PDF adventure file. - 4 Parchment style maps (DM and Player versions) ready for VTT use. - 4 Printer Friendly style maps (DM and Player versions) ready for VTT use. - 1” diameter tokens ready to be cut out for use in person as well as files for use in a VTT - 5 new magic items - 11 stat blocks for the creatures used in the adventure
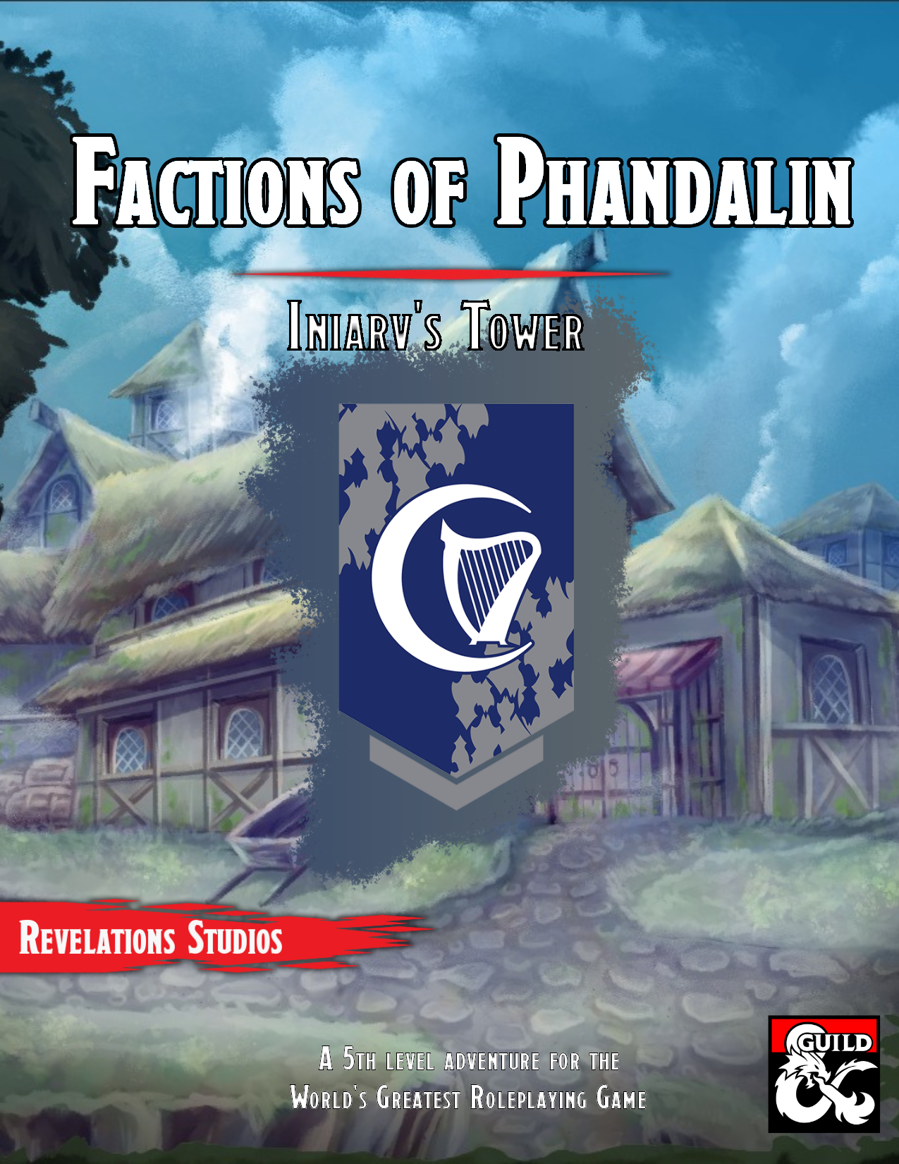
This book goes over the various rules around the faction of the Harpers in Phandalin and the Forgotten Realms, making it easy for any new or veteran DMs to integrate it more into the core stories being told, and making the faction feel more useful for the players that choose to join. The adventure sees the characters on a mission to Iniarv's Tower, sent to search for the artifact, Bowgentle's Spellbook, and rescue the fellow Harper member, Brodven.

A fiend lurks among the Black Blade goblins. A shapeshifting barghest fashioned by the General of Gehenna to exact revenge on all goblin-kind. It’s aim: to kill as many goblin leaders as possible… A masked goblin approaches the party asking for help. Two tribe leaders are dead. But a rival for chief has control of the crime scene. Will the party discover the barghest among the goblin ranks? Can they stop this imposter before it strikes again? Adventure Overview The adventure’s story is spread over 4 parts and takes approximately 4 hours to play. The adventure begins with a Call to Action scene. Part 1: Goblin Politics. Krill sends his emissaries to implore help from any strong intermediary. The party is asked to investigate the murder of Thrawn in Dringly’s lair. This is Story Objective A. Part 2: The Opposition. Gain entry into Dringly’s lair and investigate the murder of Thrawn. Gather enough evidence to find the killer. This is Story Objective B. Part 3: To The Lair! Now that the players have determined the barghest (Yeep) is to blame, they need to get to Krill’s lair quickly as he is in imminent danger. This is Story Objective C. Part 4: The Barghest.When the players arrive at the lair, they need to get to Krill and expose and defeat the barghest. This is Story Objective D. Adventure Background A barghest named Yeep has begun its onslaught of attacks against the Black Blade goblins. Starting with Chief Gnar, then his second in command Thrawn, the barghest is moving methodically down the line of command. Krill is now chief. But he has some problems: Two leaders of the Black Blades are dead. Who killed them and why? Is he next? Dringly, the next in command, has decided to take his lair for himself, declaring himself Chief of the Black Blades. Who are the Black Blades? The Black Blades are a tribe of goblins in the local area. They are known for dipping their blades in a dark black substance. It is rumored these blades are poisonous. The Black Blades regularly attack passersby on the road to rob them. The Black Blades have two lairs, one run by a chief who leads the whole tribe, and another overseen by a boss lieutenant. The Black Blades have a well-established pecking order which is how Krill stands to become chief. The next in line is Dringly, who has also declared himself chief and wants Krill dead. Krill suspects that there is something suspicious about two leaders being killed within a day of each other, but he has already burned Gnar’s body without any investigation. He needs to investigate the body of Thrawn, but it is in Dringly’s lair. Krill wishes to avoid direct confrontation with Dringly at the present for three reasons: 1) Any violence would only kill his own tribe members and further divide the lairs. 2) He believes there is still hope for negotiation to reunite the Black Blades. 3) He believes that if he were to attempt negotiations himself, Dringly would kill him. This adventure features: Two maps. Ready for your favorite Virtual Tabletop. A full color pdf. A black and white pdf. One custom monster, a reprint of barghest, all others available in the Monster Manual. Four hours of entertainment involving: roll playing a goblin bard, investigating a murder scene, tracking down a barghest before it strikes again. Applicable to any setting.

The mining town of Glister has had a prosperous year, and people have been coming in search of work and wealth. A call has gone out for help in some local matters, but getting there is no easy task. Catch the caravan and travel through treacherous Thar! A 2-Hour Adventure for 1st-4th Level Characters Part 1 of Kossuth’s Kiss

In the Lodge, things are simple. They can look like you. They want to BE you. And in their home, the only thing standing between you and death is six millimeters of glass. Can you escape the Polished? Find out in Six Millimeters, a thrilling horror adventure for the world's greatest roleplaying game! Take 4-6 of your friends through the Lodge, an extradimensional space overrun by nightmarish beings that can strike from any reflective surface. Shardlings revel in the paranoia caused by their reflective horrors, sowing doubt and mayhem until the opportune moment presents itself. Panes, meanwhile use their impressive stature to quickly overwhelm their foes. Spellcasters especially are in for a nasty surprise! This adventure is intended for 1st-level characters and uses milestone advancement to ensure they reach 3rd-level throughout the course of the game. For players who take their time investigating the Lodge and discovering its dreadful past, this adventure may take 7-9 hours to complete. Given the adventure’s horror elements and milestone advancement, Six Millimeters is easy to use as a starting scenario to the Curse of Strahd adventure. Content Warning: Suicide, Self Mutilation

Your investigations into weird occurrences in Waterdeep's Field Ward leads you to the source of a disease that suddenly breaks out. You are the only ones who know of the cure, but you won't be able to procure it if you remained quarantined like the rest of the ward. The clock is ticking for you and your allies.

Fight off an ambitious young green dragon in this expansion for Storm King's Thunder! This adventure is designed for the Storm King's Thunder campaign and is intended to give your players extra content during Chapter 3. It will bring your party to Wealdham, a small town located in the Westwood. There, they will face off with Veratrem, a young green dragon that has taken control of a local kobold tribe. If the adventurers think they can easily take the weak creatures, they have a surprise coming to them... Veratrem's Tribal Siege is a 5-8 hour adventure for Tier 2 Characters (optimized for APL 6). It has enough material for 1-2 full sessions, depending on how thorough your party is. Alternatively, Veratrem's Tribal Siege works very well as a standalone adventure for players who are not familiar with Storm King's Thunder at all.

A group of orcs has decided to start ambushing travellers on a forest road between two prosperous towns. Led by the enigmatic "Big Man" these orcs focus on robbing people, but tend to avoid violence. When the characters stumble upon this band of orcs robbing a halfling, do they give up their money to save him? Or risk the halfling's life to attack these bandits?

"The trees bend, twist and rearrange themselves as the sun fades, replaced by a single massive moon hanging high in the sky. You find yourself somewhere altogether different with bigger more gnarled trees, everything more vibrant with color in the bright moonlight. The bold browns, purples and blues around you don't feel real, more like something from a beautiful painting. Yet here you stand..." This is a one-shot adventure through one of the twisted fairy tale baronies of Thelanis. In it, the players find themselves in a strange land seeking an item they know little about. They will encounter a village whose people have been turned to shrubs, be shrunk down to a 20th of their size in a garden of tiny trees, fight a tree which is also a beholder, and come face to face with the Lady in Shadow herself. The adventure is for four level 5 players (though adjusting for 3-6 players would be minimal effort) and is expected to take around five hours. It is a great introduction to the planes of Eberron for DMs and players alike. It includes: * An exciting mystery to unravel * Three vicious new monsters to fight: earth bear, topiary beast, and the treeholder * Simple rules for running a skill challenge * A series of detailed maps for each combat encounter and an image for the puzzle encounter
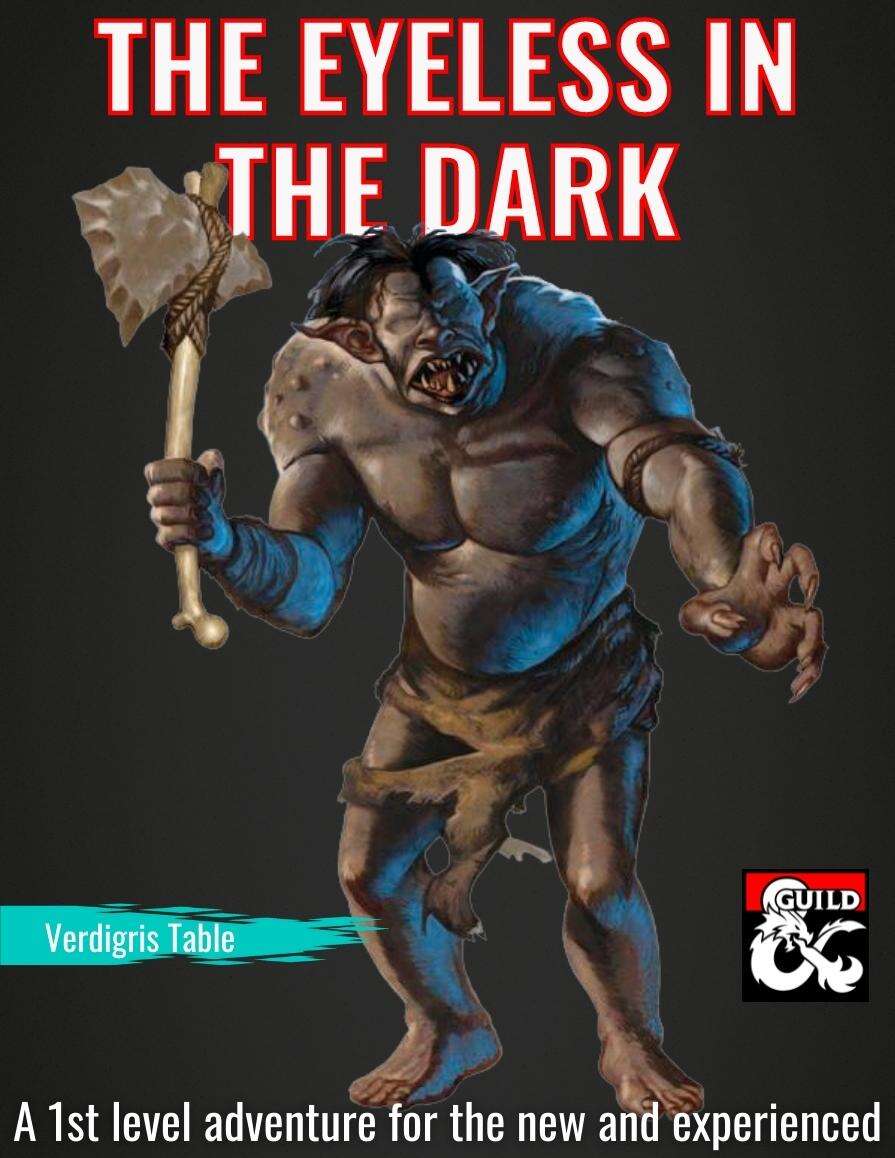
A cave-in at the dwarven mine exposed a passage into the eerie, alien world that lies deep below the surface. Monsters poured out of the darkness and killed many before the surviving miners made it back into the light. Now they seek brave adventurers to face the dangers down in the dark depths. As a one shot or the first adventure of a new campaign, The Eyeless in the Dark carries new and experienced players away from the light of the ordinary surface world and down into the fantastical dark depths where here there be monsters. Chock full of adventure, as well as design notes for Dungeon Masters that will help novice and veteran DMs provide their players with an exciting and memorable game night, and leave them eager for the next session. Use this adventure in combination with the Integrated Hill Encounters and/or the Forest and Grasslands to create an open world sandbox of adventures that can fill many sessions of a campaign.

As an ominous comet passes over Toril, a young researcher from Candlekeep goes missing. In darker corners of the Realms, eldritch horrors stir, answering the call of a dead god. Will the heroes be able to save the scholar before they succumb to an Elder Evil from beyond the reaches of sanity? This single session adventure is perfect if you are looking to introduce science-fiction themes into your game or just enjoy Lovecraftian horror. It has copious references to the Spelljammer setting and could be used as a springboard into that campaign setting. The Call of Atropus requires Mordenkainen's Tome of Foes to run effectively.