
A whimsical, urban romp inspired by the works of HP Lovecraft, Neil Gaiman and TS Eliot. Meet a host of strange and new characters such as the Worg Lord and the Wayside Oracle, while exploring Neverwinter's famous Clockwork Carnival and the notorious Sideshow Alley.

A short adventure meant to be inserted into Storm Kings Thunder set on the small island group known as Red Rocks along the Sword Coast. The adventure faces the players of against a coven of hag sisters who have been threatening the region for some time. Hags of the Red Rocks is a encounter and mini-dungeon meant to be dropped into the D&D Adventures League Season 5 - Storm King's Thunder, but can easily be an evenings play for any group travelling along a treacherous coastline.

Meaningful decisions, unexpected twists and memorable characters are the foundations of this dark 4-hour adventure for 5th to 10th level characters. A chance encounter on an unassuming road leads to a dangerous and lucrative opportunity. But what seems simple on the surface turns out to be much more below. Thrust into a world where every enemy has an enemy and everyone has their own dark motive, the only chance to survive is to ally with the right foe. Sometimes “doing the right thing” comes only in shades of black. Six Summoned Swords is a stand-alone adventure that begins on the side of the road leading to Phlan and can be easily accessed by any adventurers traveling through the Moonsea region. In addition to a world full of intrigue and complex character choices, purchasing this adventure includes: An Official Adventurers League magic item certificate Printable portrait cards with roleplaying tips for important NPCs Gridded reference maps for combat encounters Condition icons to help track character status Special Certificate Holder ideal for event play NEW: Season 8 Item Unlock Handout - prints 9 to a page, one for every player! * Looking for an adventure to run at your special game day or convention? This adventure includes a “certificate holder” that features specially created art of the adventure’s magic item. When printed in colour and on card stock, it perfectly frames the official AL magic item certificate from this adventure and makes for an unforgettable souvenir. About the Swords Below the Moonsea Saga The saga consists of three adventures, with this adventure serving as a stand-alone prelude. The series continues with Six Striking Swords and Six Swords Unbound, the two of which should be played in tandem.

A Halloween themed adventure for characters levels 3rd to 4th, meant for a single 3-6 hours session. The pumpkin-farmers of Goldgrain are in for terror, as in a rather ironic turn of events, their crops rise to harvest them instead. What's causing the pumpkins to become alive and angry? Is it the curse of a long dead witch? Or is it something even more sinister? Why are they dragging the corpses of their victims away, and to where? Who commands them? Soon enough, they'll find out answers to those questions, or perish under the wrath of the haunted crops.

A behir has been hired to destroy the herds of aurochs necessary to feed the hobgoblin city of Glip Dak. Patrols and scouts continue to go missing, forcing the hobgoblins to hire mercenaries to track this behir as they recall their troops to the capital to maintain order as food riots break out.

The ruined wizard tower in the Marsh of Chelimber may hold a clue to defeating the super-intelligent hill giant, Bad Fruul, and prevent him troubling the town of Parnast. To find the tower, adventurers must overcome the watery magic of the fetid marsh and discover or clear a route to the ruins of a previously lost tower.

The door slams open so hard that the wall shakes and the hinges groan. To everyone’s astonishment, a goblin staggers in. He is badly wounded, with dried blood covering about half of his body. Only a moment before the air was full of the rattle of dice, the slap of cards, and cries of victory and defeat. Now the Gambling Golem is dead silent. The goblin lurches toward your table then collapses right in front of you. “Help me,” he croaks, looking up at you with bloodshot eyes. “I’ll make you rich!”

Dracula, the Lord of Shadow and Darkness, has covered the land in shadow and dispatched armies of monsters and undead from his magical castle. His armies threaten to overrun major cities and plunge the world into a literal Dark Age. The last of the vampire-hunting clan that traditionally opposed him has disappeared, and still the armies advance. He must be stopped. If that's not enough motivation, it is well-known that his castle is full of magical items and great riches... but also great danger. If you've ever wanted D&D and Castlevania to meet, look no further. This adventure is exactly what you wanted. Every area of the castle poses different and unique challenges to keep the party engaged and on their toes. Written for the DM as a ready-to-run adventure, it is designed for four to six characters. The adventure starts at level 3 at the outer defenses of the castle, and ends with the party advancing to level 13 after defeating Dracula in an epic battle. The adventure includes documentation to help even a new DM succed, including suggestions for how to run each of the area "boss" monsters in combat. There are approximately 50 new enemies and over 3 dozen new magical items. It also comes with a list of suggested music for many areas of the castle, and a 25-page campaign log recounting an actual tabletop play-through of this adventure from the DM's perspective.

Lord Blackmoor's son has been kidnapped, and is being held in the crypts beneath an ancient fortress. Can our heroes rescue the boy before he is sacrificed in a diabolical ceremony? The party responds to a plea for assistance from Lord Blackmoor, whose son Willet has been kidnapped. Blackmoor desperately needs someone to mount a rescue mission. The party journeys along the old East Trail, facing bandits and dangerous obstacles before delving beneath the ruins of Firestone Keep, encountering fearsome enemies and ancient magic. Finally, the party must fight for their lives as the truth about Willet’s abduction is revealed.

In this adventure, designed to last for a 3-4 hour session, the player characters encounter (or are directed to) a mysterious object in the mountains: A strange, silvery disc around one hundred feet across. If they make it past the deadly laser turrets and the very hungry sole survivor who lurks inside the only viable entry, they can explore the derelict craft. They will find several magic items, including a solar-powered laser pistol, as well as evidence of the ship's dead masters: The brain-eating illithid. But with technology comes other ways to stay alive over long periods of time, and the greatest danger is accessed by pushing the only lit button in the entire ship...

The heroes have been captured by Alaethryia, a blue dragon caught in a centuries-old war with a mummy lord. With Alaethryia at their backs, the heroes must put the mummy to rest and escape the Tomb of the Defiler in this classic dungeon crawl.

House Tarkanan and the Trust have embroiled the Sharn underworld in a silent war, the result of which has dire consequences for Zilargo. The characters must fight their way through assassins, aberrant dragonmarks, information brokers, and fancy parties in this conflict between shadow organizations.
Baldur's Gate Break-Ins collects three heist and infiltration adventures for characters of levels 3-5, for use as a continuation of Burial in Baldur's Gate or as standalone modules. This collection fleshes out several locations around Baldur's Gate, providing adventures in every quarter of the city: Crash the world's worst dinner party in Eomane House! Contend with a criminal operation, a murderous raid, and a Feywild crossing in Jopalin's! Break up a blood-drenched cultist lair in Hamhocks Slaughterhouse! This book includes adventure hooks for running each location separately or as part of a campaign, a guide to running heist and infiltration adventures, three possible group patrons for the party, maps and rosters for each location, more than a dozen creature and NPC stat blocks, and a map pack with player and DM maps by Dyson Logos.

This module features 5 locations ready to be put in any D&D 5e game. It features these 5 locations: - An old warehouse (lvl 1) An old building occupied by a gang of Kenkus that are trying to build a mechanical way to fly. - Ruined Sanctum (lvl 2) A decayed temple lost to time, some decades ago it was breached by some blights and they still use it as a resting place and a trap for adventurers. - The Lunar dove (lvl 3) A small and secretive brothel used by the elites. Unbeknownst to them, however, the Owner spies and hoards secrets to use to their advantage. - Cave of Mending (lvl 4) A cave with a magical healing lake, protected by a Druid that uses it to heal the wildlife from the surrounding area. - The temple to Xotarr (lvl 4) A hidden temple to an evil God where the cultists partake in calculated sacrifices.

*THIS IS A D&D NEXT/5E PLAYTEST ADVENTURE* Imani, a Turmishan wizard and former adventurer, seeks the aid of heroes to infiltrate Dretchroyaster’s lair and recover the Diamond Staff of Chomylla—the key to powerful magic and wisdom locked away for thousands of years. In addition to his own sagely interest in the lore of lost Uvaeren, Imani recognizes the dangers of such powerful magic falling into evil hands. The dracolich has secured the staff in his lair’s cen- tral chamber, using ancient wards of protection that can be bypassed only by four artifact-idols once belong- ing to a cult of Bhaal. Each group of adventurers enters the dungeon through a different section of the dun- geon—a forgotten temple of Bhaal, a vast underground lake, a troglodyte village, or Dretchroyaster’s vaults. Dretchroyaster’s lair is no simple set of caverns and ancient ruins. It sits atop a source of great power and energy, which the dracolich and his Cult of the Dragon allies hope to use to unlock the secrets of the staff. Only by undertaking a unified assault against Dretchroyas- ter’s lair can the adventurers hope to recover the Diamond Staff and survive the dracolich’s fury. The adventurers must make their way through the lair and recover the Bhaalite idols that will help unlock the Diamond Staff, all the while dealing with the lair’s creatures and avoiding the dracolich as he pur- sues intruders. Entering the Chamber of the Diamond Staff, the heroes must overcome its magical wards and claim the staff before being slain by the dracolich and his servants.

Includes a Multiplayer version and a Dungeon Master + 1 Player version. A village on the outskirts of the Glimmerwood hires a brave adventurer(s) to destroy the eggs of a green dragon who has taken root in the forest. Although this sounds like a bold and unwise move, the village elders have a second agenda: implicate a menacing band of orcs who also dwell in the forest. There are several ways to use this adventure: •Introduce a new player to the world of Dungeons & Dragons •DM an experienced player through a single character adventure •As a one-shot adventure while DMing a group of new or experienced players
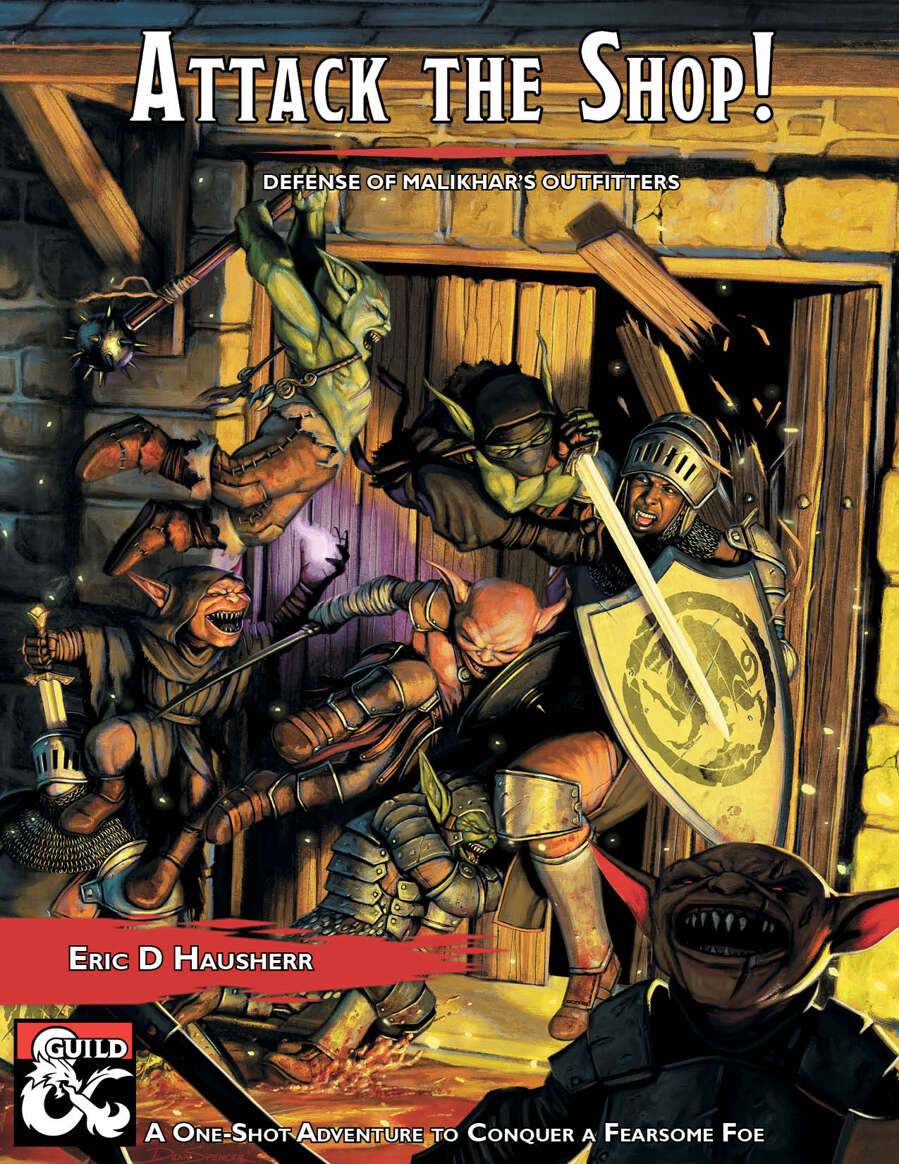
Attack the Shop! is a Dungeons and Dragons adventure optimized for four to five player characters. The adventure is designed to play in one session of approximately four to five hours. Five premade fourth level characters are included to facilitate getting into the action quickly. The adventure takes place in the city of Scornubel in the Forgotten Realms but can be placed in any city without trouble. The characters are mercenaries hired to take an overnight job that pays very well. The instructions from the employer, Malikhar, are simple. Keep the cargo safe in his shop for the night and get paid handsomely.
The village of Hillthorpe has been under the "protection" of a rough sleeping stranger. The extortion began with demands for a bushel of wheat or a basket of apples, accompanied by threats of rats and mice being sent to ravage the sick and sleeping, and to ruin the stores. Over time, the demands escalated, reaching the point where the village could no longer afford to pay without starving to death over winter (3 sacks of grain, a barrel of ale, and all the ripe cheese you have each week!). As a result, the village is seeking outside help.

"Ribbons of blood dance through the air, tracing wide crimson arcs before fraying into thousands upon thousands of bright red droplets. The cheerful tavern atmosphere evaporates in a moment, rent apart by screams and cries. A woman with grey hair stands near the bar, grasping at the dagger in her throat with fingers made slippery by blood. She sways and collapses. More screams. A man stands before her. He is holding the hilt of the dagger, but lets it slip from a gory hand as the woman falls. He freezes for a moment, then spins and sprints away, knocking aside people as he goes. A young, flaxen-haired woman at the back of the tavern cries out, “Stop him! Stop him!” as he approaches the entrance – the entrance where you and your comrades are standing. What do you do?" A lonely outsider murders a popular village local before a room full of witnesses. But could he be innocent? The Lurker Beneath Red Larch is a 4-6 hour adventure for characters of 3rd-4th level. It is full of roleplaying, problem solving and challenging combat encounters.

Beyond the western mountains, the orcs generally kept to themselves. Over the years they built their civilization. They enriched themselves through magic and music, and followed a doctrine of peace and acceptance that was empowered by the dangerous mountain range on one side and the swirling seas on the other. Their quiet society was shattered when a djinni named Hasteth was summoned by their elder mages. Hasteth was a creature of pure evil and perverted the wishes that it granted. In time, the orcs were able to trap the djinni within an enchanted ceramic jar called the Annihilation Hold, but not before their entire way of life was torn asunder. Many centuries have gone by and the orcs are scattered to the wind, with few recalling their proud nation. The hidden complex containing the Annihilation Hold has been discovered. Tales of wealth and magic fill the rumors the adventurers overhear. Will your adventurers brave the hazards inside to claim the riches?