CORE 1-2 With the identity of a murderer confirmed, heroes are needed to track it down to its home. As it turns out, it might be a longer journey than first imagined. Part Two of The Chaos in Melvaunt. The characters enter Mechanus via a portal in Melvaunt with the aim to infiltrate a modron army encampment. They must then flee the camp in a chase scene.
Baldur's Gate Break-Ins collects three heist and infiltration adventures for characters of levels 3-5, for use as a continuation of Burial in Baldur's Gate or as standalone modules. This collection fleshes out several locations around Baldur's Gate, providing adventures in every quarter of the city: Crash the world's worst dinner party in Eomane House! Contend with a criminal operation, a murderous raid, and a Feywild crossing in Jopalin's! Break up a blood-drenched cultist lair in Hamhocks Slaughterhouse! This book includes adventure hooks for running each location separately or as part of a campaign, a guide to running heist and infiltration adventures, three possible group patrons for the party, maps and rosters for each location, more than a dozen creature and NPC stat blocks, and a map pack with player and DM maps by Dyson Logos.

The quest: find a woman's son who has been missing for 10 years. She's only just received a map that may lead to his last known whereabouts. An adventure for characters that features battles, environmental hazards, and roleplaying. The 38-page PDF includes hand-drawn maps, art, stat blocks, and a battle stat tracker. The overall adventure is 15 pages. This adventure has even been test played by four DM's from around the world.
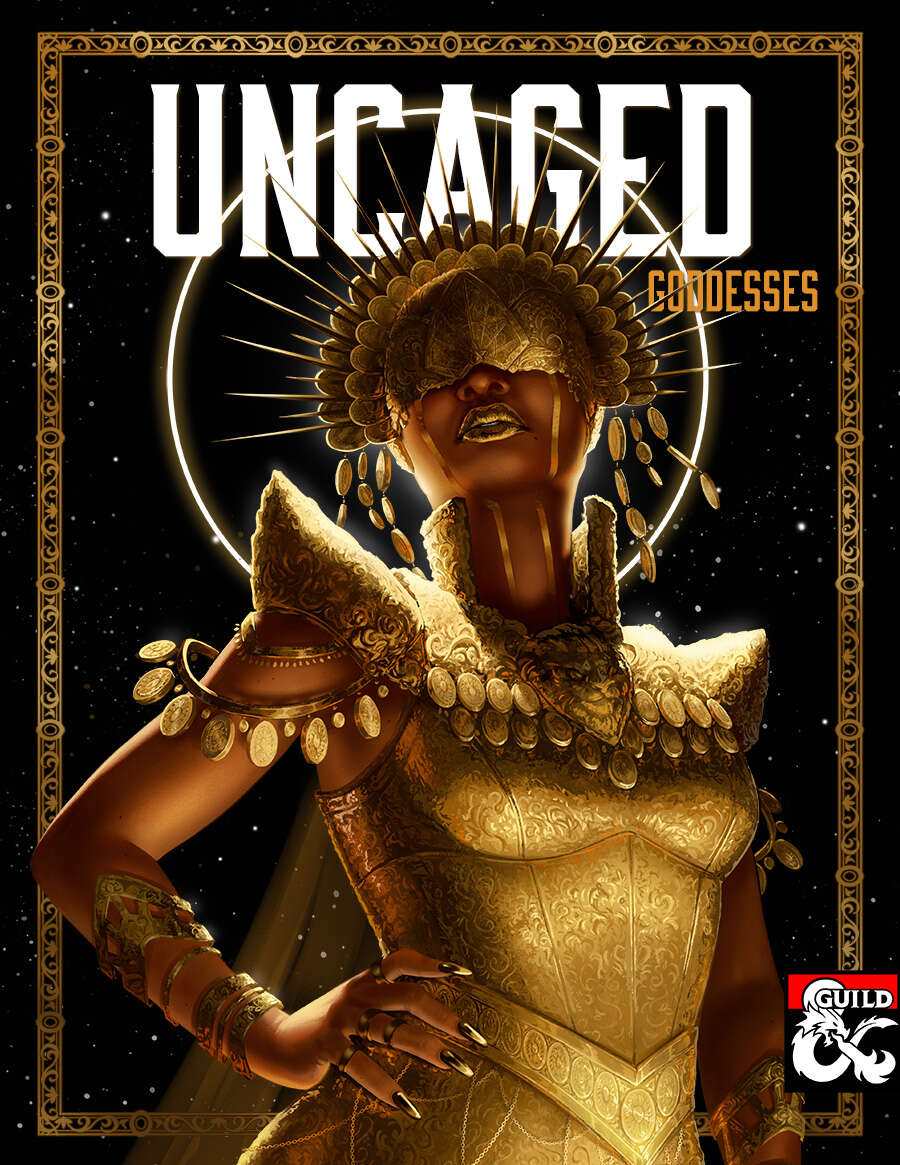
The kuo-toa are a piscine race with a psychic affliction that makes them behave erratically and invent gods when feeling threatened. That same affliction gives them the power to bring those gods to life. Blibdoolpoolp is the most widely worshipped, and thus most powerful, of their gods. Blibdoolpoolp views the kuo-toa as her children despite having been born after them. Like all good mothers, she nurtures and protects. One of her chief concerns is understanding the kuo-toa’s psychic affliction, which causes them to undermine themselves whenever they strive for greatness. She discovers that a corrupted elder brain deep in the Underdark has a connection to the race; though the connection gives them psychic powers, it also turns them into powerless thralls, explaining their self destructive behaviors. Constrained by the same leash on her children, Blibdoolpoolp seeks adventurers to destroy the elder brain. Its death would free the kuo-toa, but potentially at great cost: if the kuo-toa lose their powers, will Blibdoolpoolp die?

The yuan-ti anathema, Hessatali, calls out to his yuan-ti faithful from his prison in the Abyss. His network of vipers has uncovered the ruins of ancient Ss’tatha’lass and the Fane of Hessatali, a fountain of pure venom that will return the demi-god to life. Above the buried ruins of Ss’tatha’lass, yuan-ti agents have moved to control the politics of Scornubel. The characters fall into a complex yuan-ti plot that spans the breadth of the realm, pits the heroes against the forces of the Abyss, and explores the culture of the yuan-ti.

The Riverlands Kingdom is a peaceful place. Generations ago it was a thriving and rich trading empire. Now it is a sleepy region of farms and a few craftsmen. Dotted with villages and a few towns along the numerous rivers, protected by a wall of rugged mountains, a wild forest and a vast steppe, little of note occurs here from generation to generation. All that is about to be shattered, an ancient evil has arisen and undertakes to bring wrath and destruction to the Riverlands in a pledge to conquer the rivers and kill those who reside between them. The peace is about to be shattered, the harmony destroyed, the balance disturbed.

Modrons, Mephits & Mayhem is a Dungeons & Dragons 5E tier 2 adventure for three to five characters of levels 5-8. It is primarily set in a modron-designed research facility that has been abandoned by its creators but retains guardians that are still active. Additionally, two groups have broken into the facility with their own goals in mind; the githyanki and their red dragon cohort are antagonistic and provide the main source of combat in this adventure, while a modron traveling with a few mephits may prove friendly although ultimately troublesome. Inspired by adventure games in which the protagonists explore baroque, esoteric technological fortresses, and seeded throughout with factions that sport competing and often bizarre goals, Modrons, Mephits & Mayhem is sure to test the mettle of any group of players, and will provide endless amusement for Dungeon Masters seeking something different from the typical hack-and-slash dungeon crawl. This 70-page adventure features: *Two wilderness areas, random wilderness encounters, and a massive, interlinking 3-level dungeon filled with bizarre puzzles. *Ancient machinery powered by elemental portals, all of which can be activated, turned off, or manipulated by the player characters and the various factions within the modron facility. *Planar creatures like githzerai and githyanki, modrons, mephits, and elemental guardians, skillfully placed into the High Moor area of the Forgotten Realms setting. *Monsters and NPCs that have detailed (yet easy to run!) personalities and goals that will provide tons of roleplaying opportunities. *Notes and sidebars on running the NPCs with added complexity, or simplifying the NPCs' motives to make the adventure more straightforward. *Tactics notes for every single encounter! *An appendix that features all monster stat blocks, and both tagged (DM) and untagged (Player) versions of the dungeon maps. *Wilderness hex map by Elven Tower Cartography! Three interlinked dungeon levels by Dyson Logos...and one of them is a flying fortress! Cover art by Patrick E. Pullen!
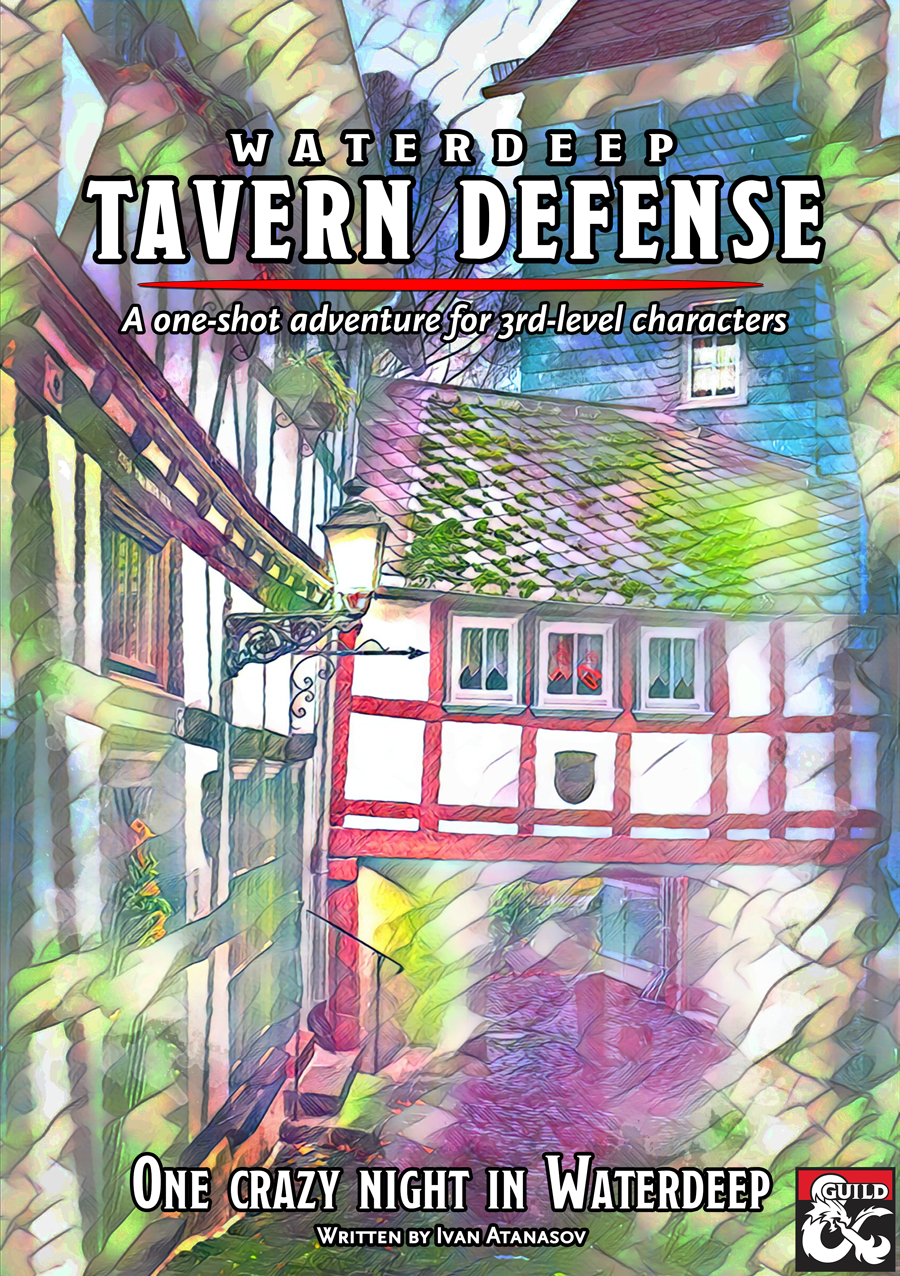
One crazy night in Waterdeep. Start as tavern bouncers. End up on the Astral Plane. All in one crazy night in Waterdeep. The party has been hired for a simple mission: make sure the Slumbering Prince tavern doesn't get wrecked during the rowdy Midsummer Festival. And what better motivation than 200gp per person for a single night of work. Sound too good to be true? Well, here's the catch: all damages to the tavern are to be deducted from that amount. And there is no shortage of festival-goers looking to unwind by wrecking other people's stuff. Over the course of the festival, the party must deal with drunken wizards, vain bards, loud goliaths, incompetent parade goers, complaining neighbours, disruptive satyrs, aspiring cultists, and a full-on tavern brawl. As well as an unusual number of strange slugs crawling around. Slowly they become aware there is something off about the Slumbering Prince. And when a reckless noble disturbs the secrets beneath the tavern, our heroes must soon delve into the hidden dungeon themselves. Down below, they discover the terrible threat: a planar rift that can only be opened on Midsummer's Eve, and the slumbering demigod that awaits beyond, the great astral slug Cthumbra!

It’s been a long, arduous trip, but you’re finally here—Baldur’s Gate. You’re not out of peril yet, however, even if you’re leaving the lawless wilds behind you, the streets of the Gate still run red with blood. But you quickly find that arriving at the city wasn’t the biggest challenge at all, now you must convince the city’s rulers to grant asylum to you and those in your charge. Part One of the Betrayal is in the Blood series of adventures. A Two-to-Four-Hour Adventure for 1st through 4th Level Characters (APL 3).

A city deep in the woods is plagued by a series of beheadings of the leadership. A twisted bargain and a dark secret are threatening to destroy this town forever. Your adventuring party finds themselves brought in to help stop the Dullahan who has been summoned against her will to enact political revenge.

Deep in the swamp, villagers claim something unnatural is happening at a large manor on the edge of town. A suspicious owner whose wife died years ago is attempting something dark and terrible, and it's up to the party to stop him. The true fun of this adventure lies in the house itself, which is filled with hidden references and homages to the works of Edgar Allan Poe, with the author himself filling the role as the suspicious home owner.

Wildspace is rife with tension as various factions seek to gain the upperhand against their rivals. When a highly advanced spelljamming ship is uncovered within the Doomspace system, the player characters are asked to claim it before other groups can take it for themselves. However, the party may soon come to realize that their greatest adversary might be the ship itself. What's included: 1 high-octane adventure divided into single-page sections for easy running 4 fully-colored reference maps with unlabeled battlemap versions for players (made with assets from 2-minute Tabletop) 4+ ending variations based on the player characters' decisions Content Warnings: Death, entrapment, mental manipulation, violence may soon come to realize that their greatest adversary might be the ship itself.
Ashvale is a simple village, full of people who live their simple lives without knowing anything about the world outside their simple valley. But there is one thing that they know: animals can sense danger. And, for the last few days, animals have been running out of the woods. Characters are hired to investigate and must venture into the forest. But the culprit, a dryad, may have a good reason for chasing all of those animals away.

The Kingdom of Halruaa’s past is a mystery. The disappearance of the entire kingdom during the Spellplague and its subsequent return has always been looked upon as feat of magic that will never be replicated and Halruaa’s Council of Elders has dedicated itself to ensuring that this magic remains hidden. rumors are starting to surface that someone may have found a way to duplicate the feat and this has made faction leaders throughout Toril nervous, especially when recent communications with Faction agents in the area have grown silent. What can be discovered in the Kingdom of Halruua? Are the rumors true or is there something else entirely happening? The Discarded Gem is a 3 to 4-hour adventure for characters level 1 - 4.
In this adventure, designed to last for a 3-4 hour session, the player characters encounter (or are directed to) a mysterious object in the mountains: A strange, silvery disc around one hundred feet across. If they make it past the deadly laser turrets and the very hungry sole survivor who lurks inside the only viable entry, they can explore the derelict craft. They will find several magic items, including a solar-powered laser pistol, as well as evidence of the ship's dead masters: The brain-eating illithid. But with technology comes other ways to stay alive over long periods of time, and the greatest danger is accessed by pushing the only lit button in the entire ship...
The town of Medeira was once a thriving and bountiful place. Over the last six months, what once appeared to be alive, is now slowly withering away into nothing. Crops are failing. Disease plagues the townsfolk. Nearby water sources are drying up. And everything traces back to the goddess that the town worships, a creature that most adventurers will recognize as… Medusa. Only she can return the town to its former glory. Or perhaps she’s destined to bring ruin. If only someone could get to her and find out.

This 4 to 6 hour module goes from Saltmarsh to Baldur's Gate in a race against time. A dark vision warns of a terribly cataclysmic event in Baldur's Gate and the characters are hired to deliver supplies before its too late. This adventure can be adjusted for any Tier 1, 2, or 3 party. It is intended to help usher characters from the Saltmarsh area to Baldur's Gate, just in time for Descent into Avernus. A challenging voyage they should give them a wild ride with new challenges at sea.

Attacks by the undead are on the rise in and near the swamp. Rumr has it that the swamp was once an elvish settlement, lost long ago to ruin and sunken into the marsh. But one structure, at least, has yet to be consumed by the swamp. And a long dead cultist of Orcus, buried in that forgotten mausoleum, has returned from the dead. Includes A short adventure for 4-5 characters of 3rd to 4th level A map of the Nightshine Mausoleum Stat blocks for all monsters Unnumbered map suitable for use in your favorite VTT.

The town of Warlorn is often thought of as a peaceful one. Not much happens there, and it is usually considered a place of peace were parties could convene to make truces or were the hurt could always come to find someone to care for them. Perceptions can often be incorrect however. The church of Ilmatter, God of Suffering, acts as an effective government in the town. Illmaters tenants are that to help all those who have suffered and to take on their suffering so that they may be healed. To them suffering is truly Holy, and to take suffering on from another is seen as the greatest way to prey to their god. Not everyone is as virtuous as a god, even his own followers, and humanity in taking on holy suffering is still left with desires; lusts that can be corrupted. When the Duchess of Manipulation who delights in corrupting church men spoke to the leader of this clergy of Ilmater, it was no difficult task for her to find a loophole in Illmaters word that she could exploit. If suffering was holy, then truly it should be those that do not yet understand Ilmater’s ways that should feel this suffering. Using a cultist of hers, she was able to create a child that could later be used as an ingredient for a portal right to her layer of hell. It’d be two birds in one stone; corrupt a devoted followers of a god she hated to later take their souls as her own, and create a portal that she could use to cross both herself and her armies to the material plane. When the players enter the scene, the child will have already been kidnapped, and the child’s mother will be hanging up fliers giving out a reward to anyone that can find her child. The players will find themselves needing to infiltrate the Church of Ilmater into its secret underground cult so that they can save the child and stop Glasya from finding her way to the Material Plane.

This side trek encounter challenges the heroes to recover a precious item from the lair of an evil hag. Estimated play time - 2 hours. This product contains a pair of encounters designed to challenge 4th level PCs. It also includes an extensive backstory, new monsters and new magic items to add to your campaign. The encounters are easily adapted to almost any campaign setting. The text includes optional changes that DMs may consider when running the adventure for their own campaigns. This side trek encounter is the final chapter of a three-part "Fey's Bargain" encounter series.