
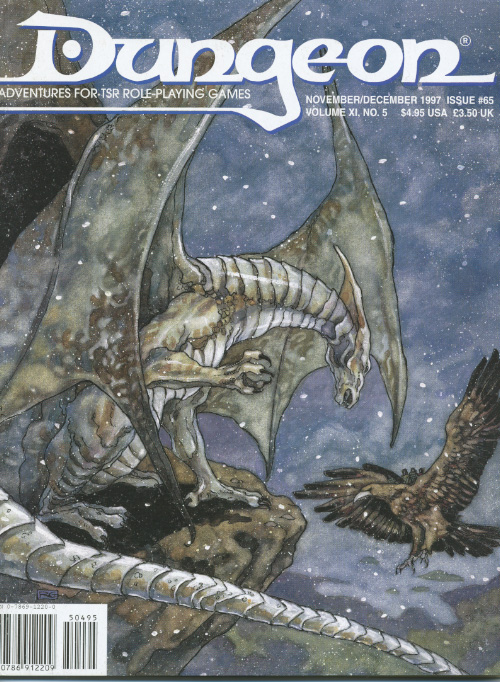
Retrieve the bones of a dracolich to save the life of a paladin. The epic conclusion of the Mere of Dead Men series. Set in the Mere of Dead Men region of the Forgotten Realms.

For the past several days, dozens of strong earthquakes have rocked the coastal area surrounding the underground Temple of Poseidon. Since the first quake, there have been a growing number of reports of strange events and macabre occurrences throughout the area. Several families near the temple have abandoned their farms and refused to return. They claim to have been terrorized by inhuman specters who prowled about their farms late at night. One of the farmers says he found a farm animal crucified and eviscerated in a ritualistic fashion on his front porch. Following the first tremors, all communications with the Temple of Poseidon, seemingly the center of the troubled area, were cut off. Messengers dispatched to the temple to request guidance from the Holy Oracle located there have not returned. Now the darkness has spread to this town. Unnatural births have occurred. Strange cries can be heard in the night, and there is a cowl around the moon. Magical divining has proven useless in naming the dark forces that invade. Many of the townspeople have already abandoned their homes and those who remain have but one recourse left: They have sent out a cry for hardened adventurers, experienced in dispatching evil. They must travel to the temple to discover the fate of the men there, and, if possible, elicit their help in destroying the growing heinous power. Pgs. 31-46
Sleepwalking can be dangerous in the town of Aberdale. Pgs. 50-51 & 65
The village of Wistil is known for only two things: amiable halflings and tasty red apples. Someone has spoiled this year's crops and the halflings are scrambling to figure out how to respond. A band of stout folk set out from the town searching for answers; but, they have gone missing. The heroes are called in to investigate. Includes a random encounter sidebar, an overland map, and a map of the hill giant's hovel.
Nothing living guards this island - that's the problem. The party must clear a burned out abbey, only recently the home to a group of evil clerics.
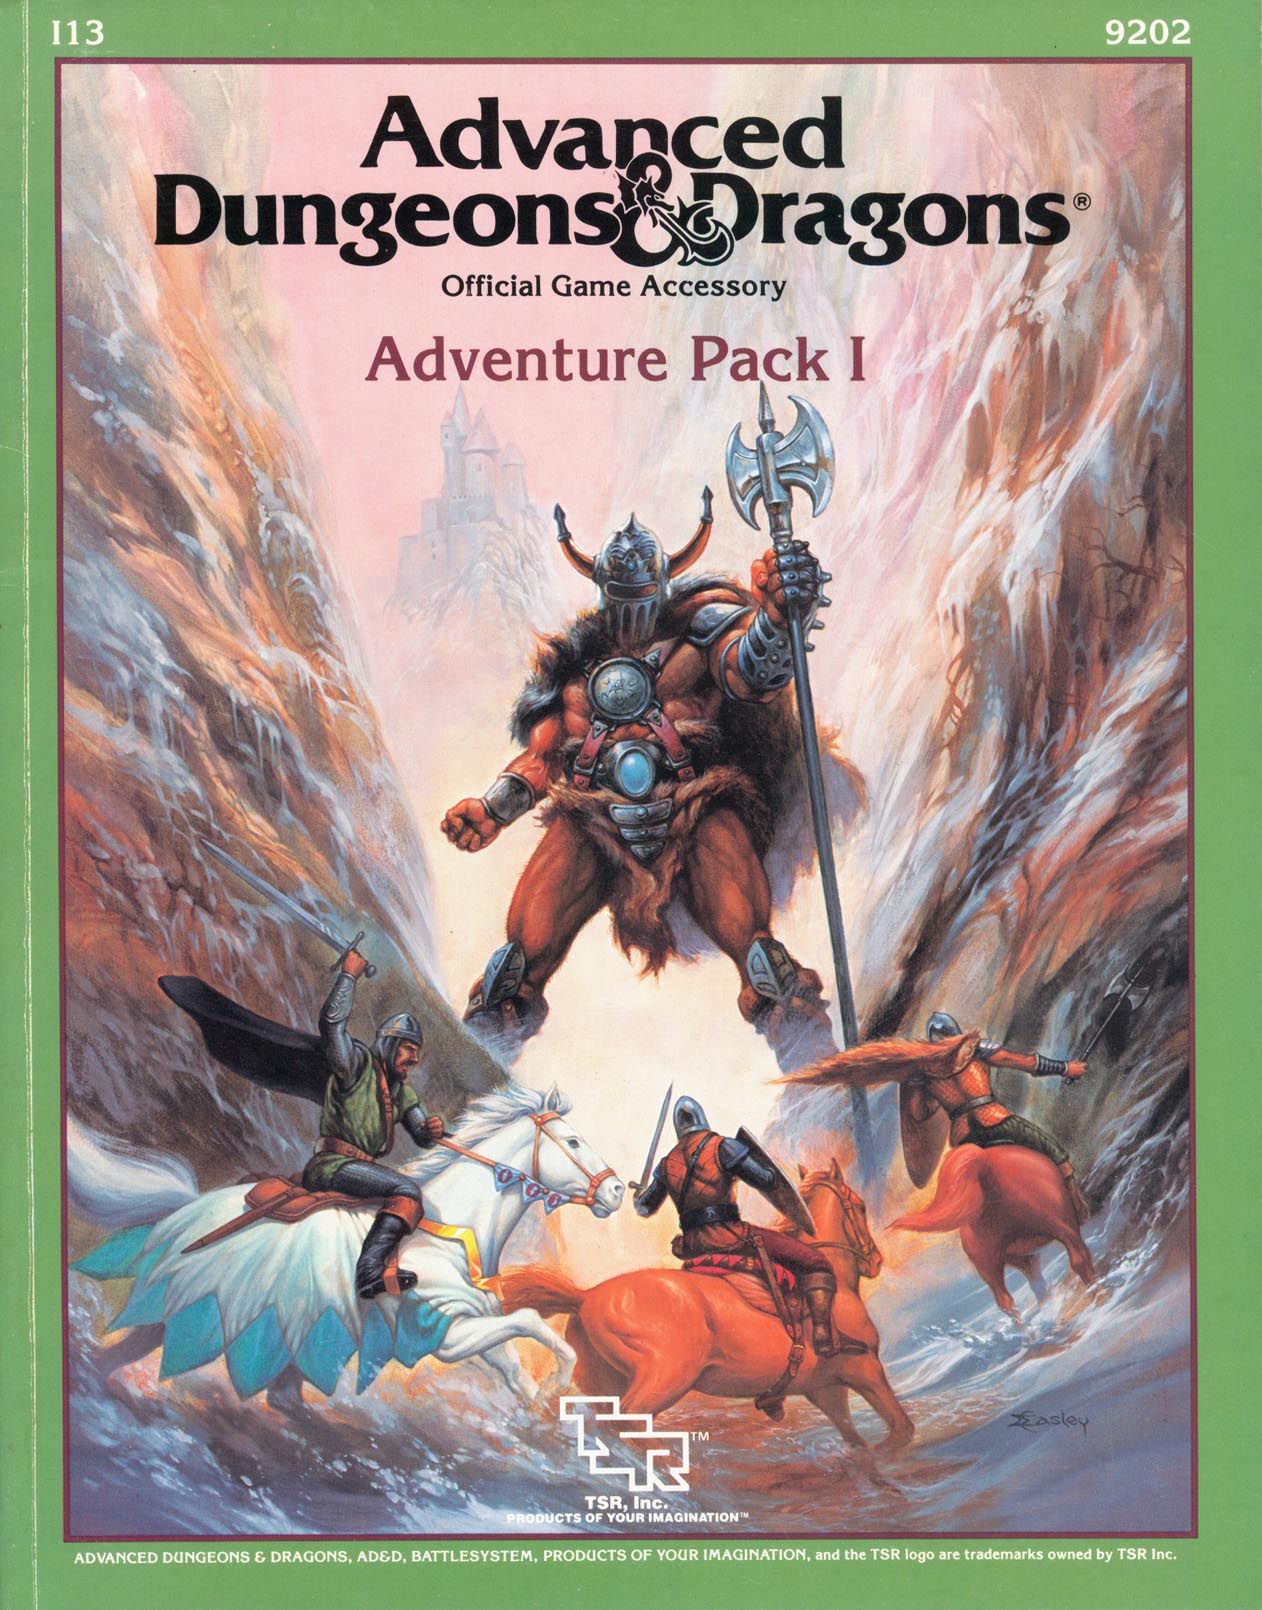
Adventurers who care where their next meal is coming from will enjoy sinking their teeth into this mystery. Included in I13 Adventure Pack I - https://www.adventurelookup.com/adventures/i13-adventure-pack-i TSR 9202

He wanted a scabbard - but got the shaft. If the book is to believed, there's a magical sword - completely unguarded! - ripe for the taking. This short adventure starts with the players finding a diary describing the final resting place of Hrothgar and his powerful intelligent sword. In a quest for the sword, the players investigate a small cavern system and find the sword in a gelatinous cube. Pgs. 32-37

When a wizard makes a mistake, he makes a MISTAKE. Hirward the Wizard has a little problem on his hands - and it's destroying his fortress, followers and future. A good mix of character types is strongly advised, but paladins, rangers, dwarves, and gnomes may not be comfortable sparing the lives of Hirward’s kobold assistants. A generally neutral party composed of humans and half-orcs will stand the best chance of completing Hirward’s Task. This not a standard "hack-and-slash” adventure. The PCs will have to do some fighting to he successful in completing the module, but most of the time they must use their brains to figure out the best way to complete their mission. Pgs. 45-64
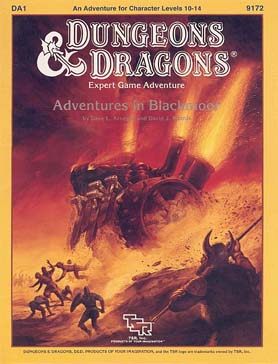
On every side the storm clouds gather. To south and east, the Great Empire of Thonia plots to end Blackmoor's independence and reclaim its lost province. To the west, the implacable Afridhi are on the move. To the north, the evil Egg of Coot prepares to cross the thundering sea and once again bring fire and sword into the heart of the small kingdom. Beyond the realm of the Egg, the hated Skandaharian Raiders are building longships and preparing to fall upon Blackmoor's unprotected coast while its tiny army turns to meet these other threats. Into this time of black despair, there steps a band of adventurers who clutch strange swords and wear the most curious armor?and who claim that Blackmoor sank beneath the ice 3,000 years ago! TSR 9172
"It shines in the night. Ogres run in terror of it. It kills by sight and by touch. It never stops hunting - and it's hunting for you." Vengeance denied in life is reborn in death. Druida Glanadyl, a female elf adventurer, seeks aid from the PCs in avenging the mysterious deaths of her family members. The horror that haunts Elfswood can be attributed to a spirit (odic) of a vengeful cleric, Irkthorn Balin. Pgs. 16-28 & 64

The adventure begins one moonlit night, when PCs are walking in the vast moors south of the city. The Darker the Knight, the more ghosts will walk...

'Help wanted: Fearless crew to stop undead pirates. Pay bills before applying." The first thing you'll hear is dead silence. The party must hunt down a ghostship disrupting commerce in the trade port of Koll. At least, everyone thinks it's a ghostship, the party may discover otherwise.

The heroes arrive at the eponymous Keep on the Borderlands, a fortress on the edge of civilization built to stave off the chaos and evil of the wilderness. Using it as a home base, a party can make forays into the surrounding wilderness, encountering monster and marauder alike. The centerpiece of the adventure is certainly the CAVES OF CHAOS, a network of tunnels and caverns found in the walls of a nearby but isolated ravine. It is here that hordes of evil humanoids have made their home. Through combat and negotiation, the players can try to explore and map out these caves, perhaps with the aim of accumulating valuable treasure or even cleansing the land of evil creatures. However, even the Caves are not all they seem. Beyond the goblins and kobolds lurk dark horrors: cults dedicated to fiendish chaos and a Minotaur's enchanted labyrinth await the unprepared adventurer. But for the hero who is brave, clever, and fortunate in equal and sufficient measure, great treasures and glory await in the Caves of Chaos that lie beyond the Keep on the Borderlands! TSR 9034

Part 1 of an Expert-level quest into a hostile wilderness. This adventure takes place in the Known World of the D&D game, as outlined throughout the D&D game rule books and modules. The DM may find it useful to consult the Companion and Masters Sets, as well as most of the X-series of Expert Set modules. D&D Expert Set module X9, The Savage Coast, would be especially helpful, as Tortles of the Purple Sage could easily serve and continue that module's direction and plot like, adding a previously undescribed area (the Great Northway) to the Known World. The DM may also place the areas and events of this adventure within an existing campaign setting, as long as the geographical areas of the campaign match those set forth here. Pgs. 40-62
The enemy you hunt may not be the enemy you find. A midnight encounter with a halfling guerilla and a vengeful magic-user. Pgs. 33-38

Into the Drachensgrab Mountains! Hot on the trail of the marauding slavers, you and your fellow adventurers plunge deep into hostile hills. Spurred on by your past success, you now seek the heart of the slaver conspiracy. But hurry! Your must move quickly before the slavers recover from your previous forays and attack! This module was originally used for the official Advanced Dungeons & Dragons Tournament at Gen Con XIII and is the third of four in a series of related tournament modules. This module contains a challenging scenario, the tournament scoring system, plus nine pre-rolled, playtested tournament characters. Also included are large scale referee's maps, notes, and background information. A3 is a complete adventure in itself, but it is also a companion to A1 (Slave Pits of the Undercity), A2 (Secret of the Slavers' Stockade), and A4 (In the Dungeons of the Slave Lords). TSR 9041
Dirty rotten scoundrels. Carn Perrin needs an exterminator. A city is plead with ware rats. Its up to the party to find their lair and kill the rat king. Pgs. 38-55

The Well of Souls. . . That's what Zugzul babe the Afridhi call the evil artifact that he had taught them to make. They must call it the Well of Souls, and they must carry it before them into every battle? and they would be mighty. Thus said the god of the Afridhi, Zugzul the One. So the Afridhi did as they were bade. Seeking the volcano called the Hill of the Hammer in the far Barrens of Karsh, they built in its heart a great forge. There, as Zugzul had promised, efreet came to help them make the mighty artifact. There, amid vile, unholy rites, they bound the souls of men into its very substance, and, for the red-handed work that must surely follow hard upon its completion. Many were the men who guarded the Hill of the Hammer during the days of making? for their foes in hated Blackmoor would try to unmake that which they had wrought. Yet, it was not men that would keep the Well of Souls from destruction, but a prophecy? that the artifact would be unmade only by the hand of one as yet unborn! TSR 9205

In this scenario, the adventurers pass through magical portals into a series of interlinked chambers. The characters are encouraged by a young scholarly mage to voyage into the Sea of Pastures, to explore a mysterious island connected with a number of recent shipwrecks and disappearances. The island is grassy and windblasted, but eventually the characters discover a stone door leading into a subterranean complex. There, they discover 18 rooms linked by secret passages and magical portals. Most of these rooms have been ransacked by a variety of other survivors, human and monstrous. These survivors are likewise trapped within the labyrinth and are either eking out a miserable existence there or else desperately searching for a means of escape. Also within the building are a number of extraplanar creatures, collectively known as gingwatzim, who can shift between various forms: an energy form (glowing ball of light), an inanimate form (usually a magical weapon), and an animate form (an animal or monster). Eventually the characters may find the exit, and are once again deposited on the dreary islands to await rescue. TSR 9110
A very big problem from a very small source. Pay the toll or feed the troll' seems pretty obvious. Too bad that it isn't. A tricky gnome has used illusions to fleece anyone crossing a bridge, posing as a fearsome troll. To direct more traffic across his bridge, he has also set fire to the Great Bridge downstream. The players find the Great Bridge burned and follow this detour. At the bridge, the players will fight with the illusory troll. After a few rounds, it flees back to the gnome's lair under the bridge, and the players will need to deal with a combination of the gnome and his traps if they investigate. Pgs. 22,23 & 69