
Red dragons. Storm giants. Dragon rulers. Frost giants. They're all here, in this book, in complete, ready-to-play mini-adventures. No matter what level your characters are, there is something here for you (and them). Need a diversion? Want to spice up a long-running campaign? Want to play, but don't have more than an hour or so? This is the book for your gaming group. As DM, you have everything you'll need to play right at your fingertips. As players, you'll have challenges worthy of your characters. This book has something for everyone. This product includes a random spell generator for dragons, complete with instructions. Contains 14 adventures. TSR 9211
Sometimes things are not what they seem. While the PCs are sailing through pirate-infested waters, a crewman spots the floating wreckage of a sailing ship. Two survivors are standing on the deck waving frantically. The survivors — an eccentric old man, and a noble woman, claim to be merchants from Waterdeep, but are in fact pirates. During an attack on a merchant vessel, the old man, a mage, had missed with a fireball and hit their own ship causing serious damage and killing several crew mates. As punishment, the pirate leader left them marooned on the wreckage, taking the ship they had attacked. This is a short module focused on roleplay. Combat is unlikely as the pirates have no reason to attack or threaten their rescuers. The female survivor seeks a hidden treasure, which could provide a hook for ongoing adventure. While the module isn't explicitly written for solo play, it could be easily adapted for any group size provided the power balance between rescuer and pirate is maintained. Pgs. 24-25

"Tyr is free! Tyr is free!" Such is the heady cry that echoes from the darkest warrens to the gleaming chambers of the Council in that ancient city. Now is your chance to savor life released from the oppressive gloom of the sorcerer-kings-but for how long? New forces threaten the newly-born independence of Tyr, as outside forces march upon the city. King Tithian is determined to resist, but there are others on the Council of Advisors less eager to risk their wealth and lives for the cause of independence. It falls upon you to help mobilize and lead the citizen-army of Tyr on the road to Urik. In Road to Urik, the city-State of Tyr has thrown off the yoke of the sorcerer-king Kalak and declared all slaves free, but the neighboring city-state of Urik is amassing its own armies to conquer Tyr. In the first part of the adventure, the PCs must negotiate with various factions of the city in order to win their support for the war effort. In the second part the PCs leading a scouting force ahead of the main army, and the choices and successes in the first part will affect the troops they lead here. Finally, they will need to fight and lure away the Urik army's own scouting force, letting the army of Tyr ambush them. The second and third part make heavy use of the Battlesystem rules, which were pushed pretty heavily in the early Dark Sun books. Like many Dark Sun adventures, the module makes heavy use of handouts that come in a flip-book along with the main adventure. This adventure is a sequel to Freedom. It stands on its own, but the plot of the adventure is based on the events of Freedom and the novel the Verdant Passage, so you can't really run them in reverse order. Much like Freedom took place concurrently with The Verdant Passage, Road to Urik takes place just before the events of The Crimson Legion, the second novel in the Prism Pentad. TSR 2406

The king has hired adventurers to investigate the sudden rash of giant attacks and strange phenomena around the town of Bywater. Meanwhile the townsfolk believe an evil witch is directing the attacks and only the magic sword of the town's founder can defeat her.

Tyr has been freed, and the mighty army of Urik has been turned back. These are new and strange times, indeed. Now Urik has become home - at least for a while - and there are new markets to shop, new streets to explore, and, oh yes, preservers to meet. Preservers, the keepers of good magic, have sent a mysterious summons. They are ready to embark on a new and dangerous plot to thwart sorcerer-kings and bring new life to Athas. To associate with preservers is dangerous to say the least, but when the king's templars uncover the schemes, a death mark falls upon all involved Will a desperate journey across the wastelands, with the templars in hot pursuit, end in victory or chaos? The answers lie in the hearts of mighty heroes and the resources of Arcane Shadows. In this adventure, the PCs find themselves in Urik, perhaps as a result of the war between Tyr and Urik that took place in Road to Urik. There, they become involved in a ritual meant to help a nascent Avangion (a very powerful wizard/psion of a generally benign type) reach the next stage of its development, but the ritual is interrupted by Urik's templars. The Avangion-to-be is left in a cocoon, and the PCs are tasked with bringing it to a new location in the wilderness where the ritual can be completed. They need to get the cocoon to the ritual location before it's too late, while evading pursuit as well as dealing with any wilderness dangers on the way, plus the evil machinations of a raiding tribe seeking the wizard for their own dark purposes. The adventure is fairly rail-roaded with a series of set encounters between points A and B. Like other Dark Sun adventures, it comes with a set of handouts. Unlike the previous adventures in the series, Arcane Shadows is not tied to the Prism Pentad novel series, nor is it really tied to the previous adventures. You can easily play it as a stand-alone without affecting the earlier ones. TSR 2410

An evil cult with a trick up its sleeve. A missing tome, a trail of clues and an unusual cult. Lawful-good characters, especially paladins are recommended for this adventure. Clerics of Aphrodite, Hanali Celanil, Hera, and lshtar have a special interest in despoiling the cult of Shami-Amourae. [Note: Adventure contains statistics for the Demigod Succubus, Shami-Amourae] Pgs. 19-27

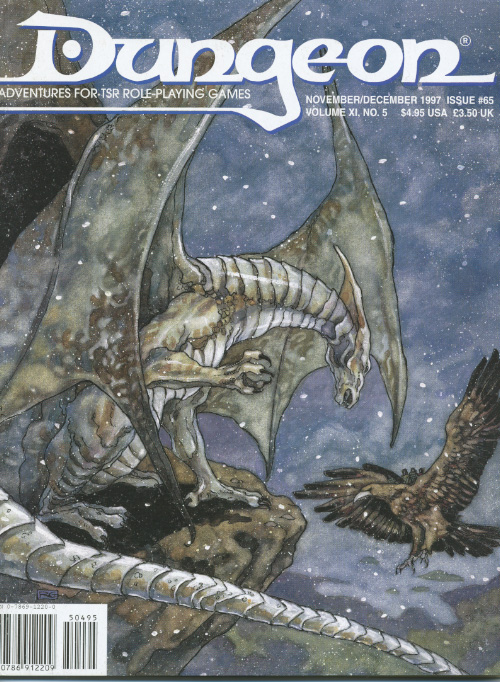
What's waiting for you at the bottom? Adventurers are more than welcome - they're nourishment! Pgs. 4-15

At last- an opportunity to avert the threat to the little town of Saltmarsh! The real enemies have been identified-- evil, cruel creatures, massed in force and viciously organized. Can the brave adventurers thwart this evil and ensure the safety of Saltmarsh? The Final Enemy is the final part in the series of three modules designed and developed in the United Kingdom for beginning adventures with AD&D rules. Its plot follows directly from those of the first two parts (U1 - The Sinister Secrets of Saltmarsh, and Module U2 - Danger at Dunwater.) TSR 9076
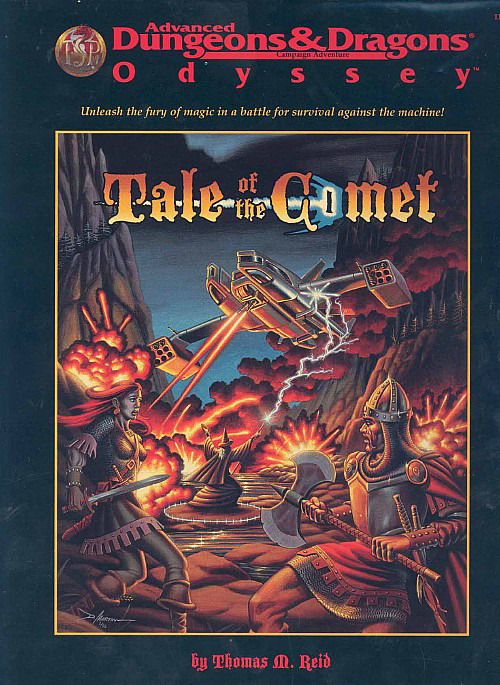
Strange lights in the sky, prophecies of doom, and a threat unlike any other draw the heroes to Aston Point. In this small frontier town, the fate of the world will be decided. If the heroes and their strange new allies defeat the invaders, they must then pass through a portal to another battleground, a metal city on a far-distant world, where aliens fight desperately against death machines that threaten to overwhelm all organic life. So trade in your sword for a blaster rifle, your sling stones for a few high-explosive grenades, and see what happens when you mix magic with high technology. This box contains A 32-page book, The Cast and Props, describing new, high-tech equipment, detailing the battleground of the Rael-Overseer war, and explaining how to mix fantasy and science under the AD&D game system. Two 64-page books, The Tale Begins and Crossing Over, presenting the grand adventure that is the Tale of the Comet. Eight sheets of charts, maps, art, and statistics for the players and the DM. Two posters, one a double-sided map of the regions where the action takes place and the other an illustration of all the technological terrors the heroes will have to face in the course of the adventure. TSR 1143, From 1997
The players are tasked by a mysterious Wizard's servant quest to recover the two gems of the Twofold Talisman: the Heart of Light and the Ebon Stone. The quest for the Heart of Light takes the adventurers to the Wizard's own mansion. Pgs. 43-54

Lots of stronghold assaults and shipboard travel/encounters in this one. This adventure's deep political basis might be seen as an introduction for the domain-focused adventures of Companion-level play. This adventure is for use with the Dungeons & Dragons Basic, Expert, and Companion Rules, and includes the intrigue of engaging with nobility's lands and agendas. Intro: All is not well in the kingdom of Vestland. Not only is the king dead and the holy Sonora Crown missing, but the heir to the kingdom was lost at birth and no on knows where to find him. As if this wasn't bad enough, the forces of the Ethengar Khanate, never on the best of terms with Vestland, are now massing on the borders, hoping to take advantage of Vestland's plight. To complete the rosy picture, traitors from within also threaten to speed the downfall of the High Kingdom. Sounds like a job for you. You must find the long-lost heir to the kingdom and recover the Sonora Crown, the mystical device without which a king cannot be crowned. Standing in your way are traitors and spies from within and invaders from without the kingdom of Vestland. Time is running out! Can you save Vestland from disaster? TSR 9218

TSR 9375, from 1992

Old fog giants never die - they just slowly fade away. The House of the Brothers is an AD&D® game scenario for 3-6 characters of levels 6-10. Parties composed of less-experienced players should have higher levels, while seasoned players may be able to handle this adventure with lower-level characters. This scenario is designed to fit into the WORLD OF GREYHAWK™ Fantasy Setting. It takes place in hex M5-127 on the WORLD OF GREYHAWK boxed-set maps, three hexes north of Loftwick in The Yeomanry, on the border of the Jotens mountain range. If desired, this encounter may be used to expand a campaign using the supermodule GDQ 1-7 Queen of the Spiders, or it may stand alone. Of course, the scenario can be easily adjusted to fit into nearly any campaign world. The entire adventure may be dropped into a single evening's play. Pgs. 26-31
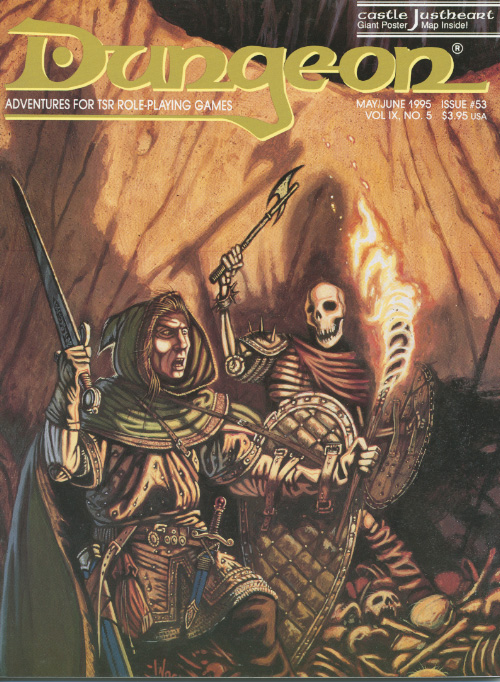
"While staying in the quant rual town of Keswig, the PCs are approached by a troubled young woman named Elexa Justheart. Elexa has just returned from the Galhanor Crusades--a war fought against giants and humanoids in the distant Galhanor Mountains. After serving six months as a cleric in a series of major battles, she recently arrived home to find her uncle's castle occupied by evil brigands." -- from the module. Includes overland maps and maps of the tower and castle.

An expansion on the original Tomb of Horrors with plot and explanation. Contains a facsimile of the original adventure. The Dark Intrusion is causing the dead to rise from their graves. This is linked to a being known as the Devourer. Following the trail of Desatysso, a wizard who followed a similar quest, the players must enter the Tomb, and beyond that, the cursed City that Waits and the Fortress of Conclusion.
"The adventure begins shortly after the PCs arrive in the village of Whitebirch, located just one mile outside Bunglewood, a thick forest. Unless the adventurers prefer to camp by the side of the road, the only rooms in town are available at The Swanmay's Song, a local inn. Shortly after nightfall, a wounded traveler staggers into the inn." -- from the module. Includes overland map, ambush site map, and cave system map.
While traveling a mountainous road, the party hears a "song, echoing faintly through the hills around you--a single, achingly beautiful feminine voice that burns its sorrow straight into your gut. The words are Elvish, but you don't have to speak that language to understand the sense of loss and heartache that fills every note." --from the adventure. Includes map of the tower.
Two thieves' guilds fight to the death - with you in the middle. Run silently; the Midnight Stalkers are after you. Escape from the Tower of Midnight is an AD&D* game module for 2-6 thieves of 2nd-4th level. The Dungeon Master may change the names of the thieves’ guilds, countries, deities, and so forth to fit the individual campaign. Note that all player characters are assumed to have been imprisoned at the start of the adventure; little or no equipment will be available at first. This module is well suited for tournament use. Adventure Background It must be assumed, for the sake of the adventure to follow, that the PCs have no way of avoiding capture by the Midnight Stalkers. However, the DM may find a way to play out this adventure and have some or all of the PCs captured, allowing any who escape to attempt to rescue their comrades. Pgs. 16-27

"... an Adventure to Challenge the Bold..." Screams echo in the night, the charred remnants of a village are mute by day. From the decaying lands of the Pomarj, slavers have struck again! The adventure that began in the Temple of Elemental Evil now sweeps southward across the Wild Coast and into the desolate lands of the inhuman Pomarj. Slave raiders scour the countryside, leaving death and destruction in their wake. Daring adventurers strike into the heartland of the foe to harry the villains and bring retribution and justice to the land. This product contains the completely revised Aerie of the Slavelords series of adventures. Also included are new challenges and new scenarios detailing the Wild Coast, the city of Highport, the blasted lands of the Pomarj and the Drachensgrab Mountains. TSR 9167

Through seven gates lie seven realms. In seven realms stand seven guardians. With seven guardians lie seven symbols. From seven symbols comes one key. Alpahaks the Dark desires that key, by which he plans to release death and chaos into the realms of man. Your party may be all that stands between life and death. Will you heed the lunatic ravings of a dying madman? Travel to the top of Guardian Mesa, and enter the Septahenge. Gather the mystic symbols, create they key, and defeat the Carnifex, before it's too late... TSR 9174