
Despite the adventurers’ best efforts, more creatures joined under Bad Fruul’s banner. No longer content to simply attack caravans or isolated homesteads, the hill giant warlord descends upon Parnast at the head of a great force of humanoids. SEER warns the adventurers (directly now) in time to rally the town and prepare defenses, but a heroic effort is required to break the siege.

The Raven Queen’s servants often seek out mighty allies. One of these is the black dragon Quetzallus, who resides in a deep cavern on the Shadowfell guarding a stream of souls flowing into the Raven Queen’s realm. But a death knight named Raxikarthus, betrayed by the Raven Queen in life, now seeks to enslave this dragon for his own purposes. He madly believes that he can stand against the Raven Queen, and seeks allies of all stripes—even her own servants—to do so. The death knight has found a pathway into the Shadowfell thought closed by mortals. Beneath a decayed keep, the undead dragonborn has reopened this portal and led his forces into the Shadowfell itself. The PCs are called in to beard the death knight in his lair. They find it abandoned, but discover a strange passage in the lower reaches. Pgs. 162-167
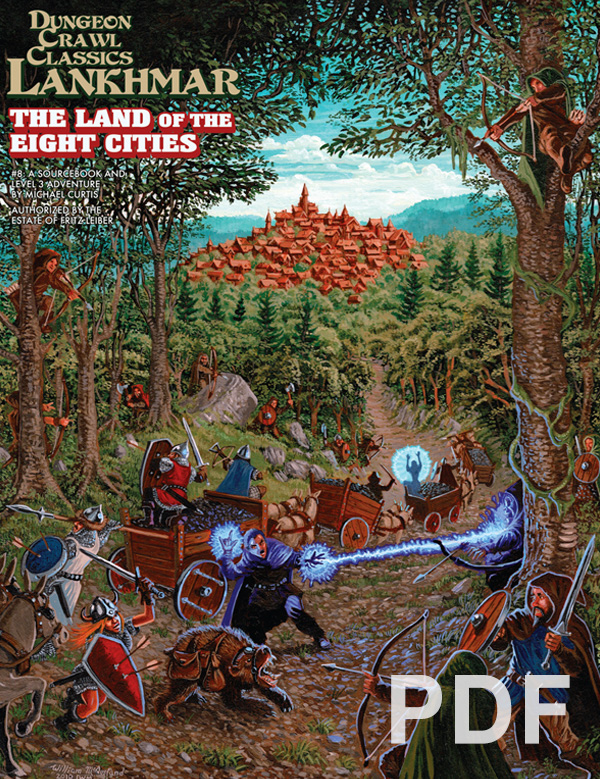
This adventure is intended for 2 to 3 3rd-level PCs originally from Lankhmar, but can easily be adjusted to accommodate adventurers from other locales. Guidelines are also provided for scaling the adventure for up to six PCs. The events of this adventure lure the party from their home in the City of the Black Toga to an abandoned watch tower on the coast of the Inner Sea, not far from Ool Hrusp. After completing this scenario, they may find reason to further adventure in the Forest Land.

Your group of fledgling adventurers has come together from their respective backgrounds to seek out their fame and fortune in the wilderness. Upon their initial foray they uncover the lost ruins of a forgotten city. Little do these young adventurers realize that they may come into contact with a page and cover of the relic known as the Codex of Gamber Dauch!
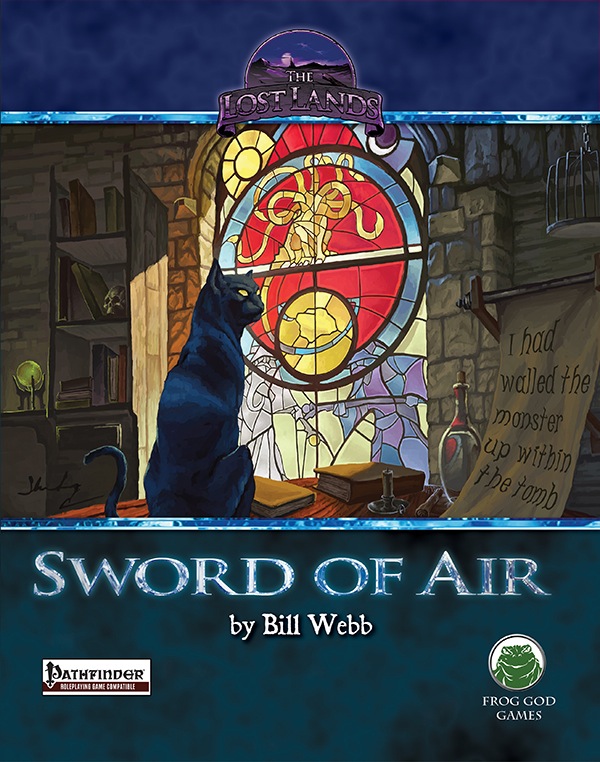
What is the Lost Lands? The Lost Lands is the home campaign world of Necromancer Game's and Frog God Game's own Bill Webb. This campaign has been continuously running since 1977. Many of the adventures published by Necromancer Games and Frog God Games are directly inspired by this campaign. They have evolved over the decades, and more material continues to flow from it as the dice keep rolling. Sages and wizards of legend speak of the Lost Lands—many of the players who have lived and died in Bill's campaign over the years now have a place in history (in the books). Frac Cher the dwarf, Flail the Great, Bannor the Paladin, Speigle the Mage, and Helman the Halfling are well known to the fans of Bill's work. This is the game world, and these are the adventures in which the players of these famous characters lived and died. Hundreds of players over the past 35 years have experienced the thrills and terrors of this world. The Sword of Air is the centerpiece of the Lost Lands. Currently, this epic tome consists of several parts: 1. The Hel’s Temple Dungeon—kind of like Tomb of Horrors on crack. This six-level, trap-and-puzzle infested dungeon formed the basis of Bill's game through his high school and college years. Clark Peterson’s very own Bannor the Paladin spent several real life months in the place, and, sadly, finished the objective. This is where the fragments of the fabled Sword of Air can be found…perhaps. 2. The Wilderness of the Lost Lands extending to the humanoid-infested Deepfells Mountains and providing detail about the nearby Wizard’s Wall. This so-called “wall” was raised by the archmages Margon and Alycthron harnessing the Spirit of the Stoneheart Mountains to raise the land itself, creating a massive escarpment to block invaders from the Haunted Steppes. These archmages are actual player characters from the early 1980s who live on in the legends of the Lost Lands. Over 70 unique encounter areas are detailed, and each one is a mini-adventure in itself. New wilderness areas may be added based on bonus goals described below! 3. The Ruined City of Tsen. Legend has it the city was destroyed by a falling meteor. This place forms an aboveground dungeon area the size of a city, with over 100 detailed encounter areas. It’s a very dark place…even at noon. 4. The Wizard’s Feud—This campaign-style adventure pits the players in a long-running series of intrigues and battles between two archmages. Which side will they take? Their actions all play into the overall quest, and could well determine which side wins. Law and Chaos are not always what they seem, and if the wrong decisions are made, the entire ordeal could fail. Remember, one of the wizards WANTS Tsathogga to win. 5. New monsters, new demons, new spells, and new rules for various aspects of play. 6. The Tower of Bells. This dungeon is the result of the workshop Bill ran at PaizoCon 2013, where the participants assisted him in building an old-school dungeon. Visit the tower and discover the secrets of the “artist” within. Beware: those entering may never come out!
An inexperienced eladrin leader leaves herself dangerously exposed to her enemies. An exiled hag schemes to rebuild her army. A bog troll conspires to overthrow. A child is kidnapped. PCs find themselves in the middle of a power struggle between competing forces, each seeking to dominate the feywild territory known as the Unbound Regions. Trapped in the feywild until they complete the quest, the adventurers must deal with the curious culture of the fey by striking deals, battling opponents, and ultimately deciding which competitor they will support.

A friendly little cottage and a dreadful secret. As the adventure begins, the PCs are on a journey through temperate, wilderness hills -- perhaps toward a destination of importance in the ongoing campaign, or they might merely be wandering in search of heroic opportunities. Pgs. 20-25
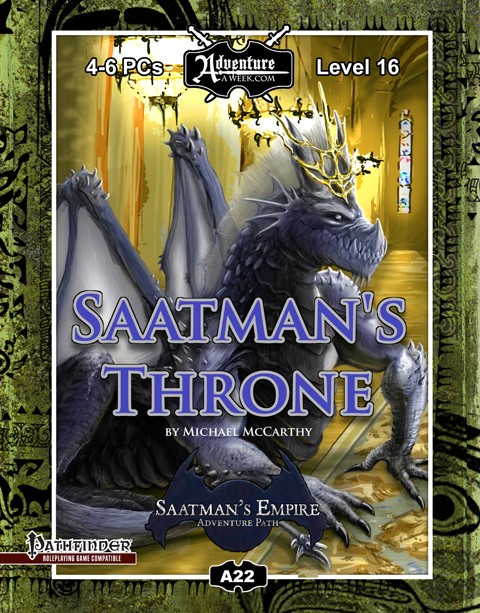
Nearly two thousand years ago, in the land which now holds the Klavek Kingdom, a different power ruled the land. The Saatman Empire was a land unlike any seen before or since: it was a place where dragons ruled as gods, each in their own kingdom keeping lesser races as cattle. And above all of these god kings stood and watched the Saatman, an emperor among god-kings. Eventually, the humans rose up, and great heroes struck down Saatman, bringing the empire to the ruins it was today, and scattering their servants. But not destroying them. Now, a cult still dedicated to the dragon-god-emperor has returned the ancient dragon to life. In revenge of his own empire, he has declared war on the Klavek Kingdom – and commanded the death of all humankind. Can the party stop the genocide, and turn his own allies against him? Also included in “Saatman’s Throne”: A detailed system for reputation and infamy amid a city warring houses – all of which lay claim to dozens of mad wizards! The city of Gustavin, where dragons are gods and feuding houses control every coin. The Scrollblade, a powerful weapon that can store any magic it chooses Radiant Elixir, and endless source of magical power, at a steep price A great and terrible spell, Genocide A stitched-together monstrosity, the Serpens Appendix: Gods and Kings detailing hidden secrets in the Klavek Kingdom Maps by ENnie award winning cartographer, Todd Gamble

Your fame has garnered you more attention than you can handle but a specific job opportunity is one that you cannot pass up on. Two nations have had a peaceful and lucrative trading agreement for years along with the city of Conifestatia. That has recently changed with the appearance of a Green Dragon taking up residence in the area. With your fame on the line, looks like you guys are going Dragon huntin'!
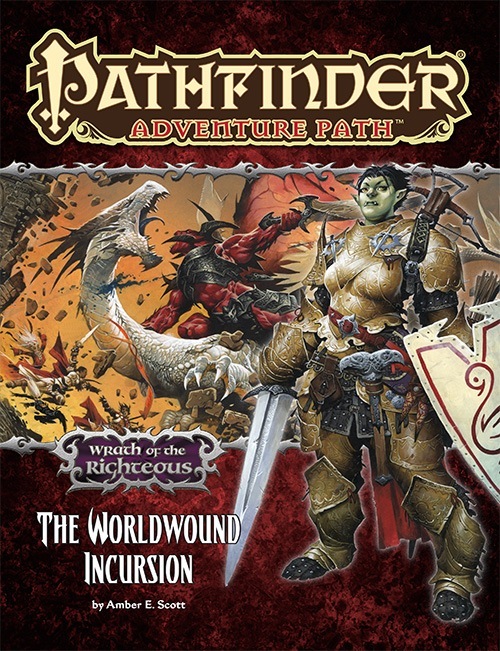
For more than a hundred years, the demon-infested Worldwound has warred against humanity, its Abyssal armies clashing with crusaders, barbarians, mercenaries, and heroes along the border of lost Sarkoris. But when one of the magical wardstones that helps hedge the demons into their savage realm is sabotaged, the crusader city of Kenabres is attacked and devastated by the demonic hordes. Can a small band of heroes destined for mythic greatness survive long enough to hold back the forces of chaos and evil until help arrives, or will they become the latest in a long line of victims slaughtered by Deskari, the demon lord of the Locust Host?

Over a millennium ago, a clan of dark elves broke away from their evil kin and fled from the city of Menzoberranzan. Though many lives were lost in the initial exodus, the large numbers of the renegade band ensured that they were more successful than any could have hoped. And yet, the drow that finally arrived into the surface world found themselves shunned at every turn by those unable to see past their appearances. Just as their hope was beginning to wane, a song rang out through the night, beckoning the way to the sea and to a silver ship waiting amidst the dark waves. Many years have passed, and little knowledge remains of the strange island that the dark elves came to call their home, but the wicked Lolth forgets nothing. Evil magic converges upon El’tara and begins to steal away the light of hope. Whether through fate, mere coincidence or perhaps divine intervention, a band of adventurers find themselves standing at the shores of this land in the time of its greatest need. This adventure should run for approximately four to five hours and may be played either as a one-shot or as part of an ongoing campaign. It contains guidelines for running the adventure at any level from 1st to 8th and for a variety of group sizes.
Task for the Tyrants is an intrigue and exploration adventure for a party of 6th level characters. It takes place in the city of Sharn (Eberron), but can be easily adapted to fit any large city in the Eberron setting. A simple reclamation job sends the characters racing across Sharn, from its steam-ridden depths to the operatic splendour of its tallest spires. The characters soon find themselves caught in the midst of a power struggle between the Tyrants, a rogue changeling revolutionary, and the nefarious forces plotting to cast Khorvaire into eternal night: the Dreaming Dark. Will the party reclaim and return the Tyrants’ package, or will they keep it for themselves? In this adventure, you will find: - 22 pages of high-stakes content - 7 to 8 hours of gameplay - A heist on a warehouse filled with goblins and volatile magic - Intriguing side-events to flesh out Sharn - A deal with the Spider, which might cost the players more than just gold…

The PCs are sent to investigate a sculpture of the goddess Ezra with seemingly miracle-granting powers. The investigation takes the heroes on a pilgrimage to a forgotten chapel, where they encounter a terrible plague, a wererat police force, death, resurrection, mist horrors, and the miracles of the statue itself.

A quick-paced exploration of the magic tower, home to the great Solomon, the Master Conjurer, an expert in fiendology. Adventurers have to find Control Orbs to disable the tower's security system before it destroys them, and discover the secrets of the tower in the process. Their progress will be ushered by a seemingly helpful entity with nefarious intent - Zarloxar, the blue Abishai. The success of adventurers could also finally spell freedom to the fiend... or not if players, under stress, will realize the trickery in time. Part of "Detailed Encounter" series - each "Detailed Encounter" - features new monsters with unique stat blocks, new magic items, a custom battle map, and detailed NPCs. It also has story hooks and advice enough, to quickly turn it into a separate adventure!

In this adventure, the heroes face the sinister Baron Metus, the vampire who took the life of Van Richten's son, Erasmus. Metus, with Daclaud Heinfroth, has been doing the bidding of the ghost of Madame Radanavich in her quest to destroy Rudolph van Richten. But Metus has his own reasons for seeing van Richten destroyed as well. Included in Bleak House: The Death of Rudolph van Richten TSR 1141
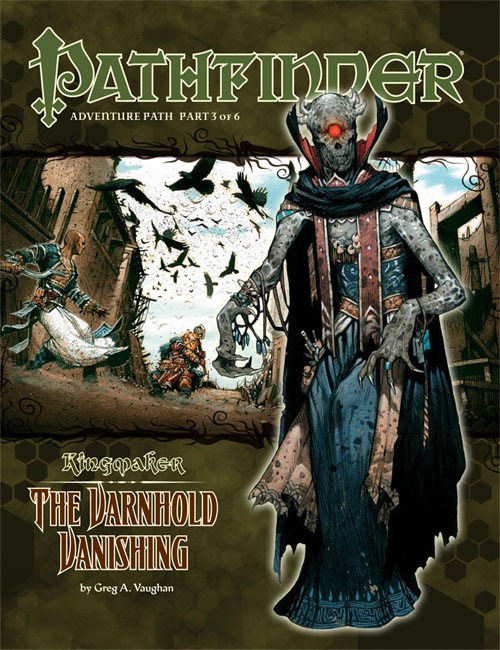
The Stolen Lands consume many wanderers—the perils of its rugged wildernesses and hidden mysteries prey upon even the wariest of travelers. Founded upon one of the most savage frontiers, the colony of Varnhold defied the many dangers of this harsh region. At least, it did until all the residents of the fledgling community completely disappeared. Now it falls to the PCs to discover what became of their eastern neighbor, a secret steeped in generations-old hatreds and the mysteries of an empire long crumbled to dust. Can they uncover the terrible secret behind this shocking disappearance before the same calamity befalls their own land?

The village of Farleigh's Well is the target of a vindicative fey noble. The villagers have been seen parading through the Misty Forest, leaving their crops to rot in the field. The characters must contend with powerful fey creatures on their home plane in this action-packed adventure. What's Inside: A highly adaptable single session adventure. Two original NPCs with full stat blocks. Two original magic items. Detailed combat tactics and roleplaying hints for novice and experienced DMs alike. Two brilliant maps to help you bring the adventure to life. Choose from either the Full version with art and page design or the Lite version for easy printing.
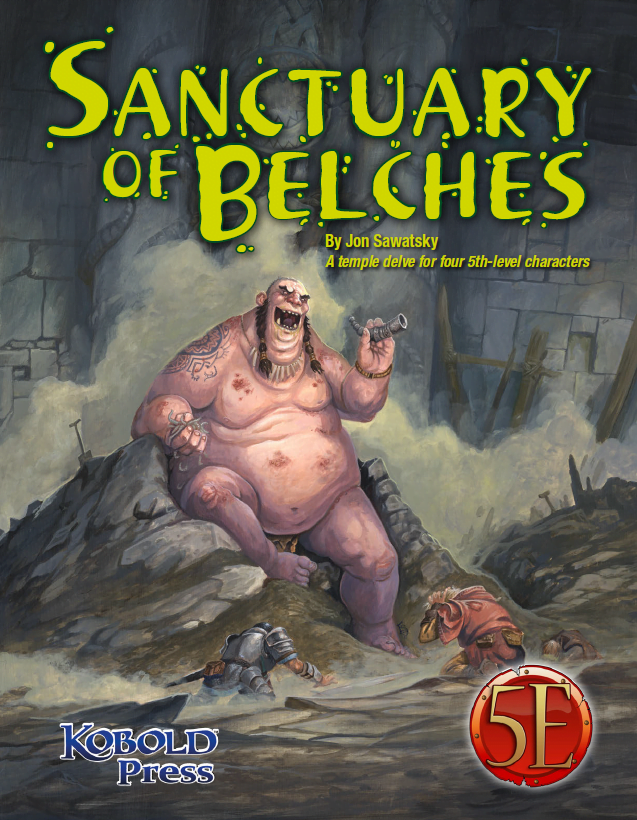
The trouble began several weeks ago when a duergar excavation team went to work in a long-abandoned temple. Drawn to the temple by stories of riches and artifacts, the duergar hired several giants as laborers before cracking the temple’s sealed doors. The largest of the giants, a loathsome Thursir mutant named Huppo, used his acidic vomit to expedite tunneling into the temple’s collapsed hall of worship. Then, Huppo found the horn—an unusual instrument made from a single piece of stone, with a mouthpiece so intricate only a master carver could have made it. The horn became the giant’s obsession. Seeing only the horn’s potential sale value, the dwarves demanded Huppo turn it over to them, but Huppo refused. To force compliance, the dwarves stopped feeding the gluttonous brute, but Huppo had already found his own source of food; in deep areas of the temple, worms were chewing out of the rocks, and Huppo ate them by the fistful. He also played the horn. Then, after several days of blowing the horn and devouring the strange worms, Huppo released a belch so noxious the dwarves had no choice but to lock him in a sealed chamber and carefully consider their next move. The horn’s call, however, had caught the attention of passing nomadic orcs. They set up camp outside the temple entrance in the hope of finding the horn and its player. That’s the current situation at the temple: the giant refuses to stop blowing the horn and belching out deadly clouds of stomach gas; the dwarves are frightened and edgy while their leader is obsessed with malevolent whispers; orcs are threatening to overrun the place; and the population of worms grows steadily as something awakens deep in the stone beneath the sanctuary of belches.

In Necromancer’s Last Stand, your high level party is placed into the middle of a several decades old conflict. A new plan has developed as the forces of good begin to make headway. Called to the general’s tent you and your associates are asked to accept a hazardous ‘end around’ move to attempt to take out the evil leader. The way will not be easy and a plethora of challenges lay between the general’s tent and victory. There will not be attack and retreat opportunities and you know you’ve only got one shot at ending the violent conflict.
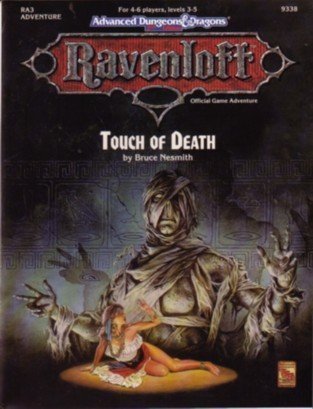
You find yourself in the burning wastelands of Har'Akir - where nothing is as it seems. The desert is a powerful foe, but in Har'Akir an ancient evil is awakening and the desert will be the least of your worries. As withered hands cast off ancient shrouds, little can save you from their touch of death. TSR 9338