
When the adventurers are tasked with destroying a symbol of Demogorgon, they end up falling foul of the great mage Mordenkainen himself – or at least a simulacrum of him. Will they agree to help maintain the great Balance of the Blood War, even if means sacrificing innocent lives in the process?
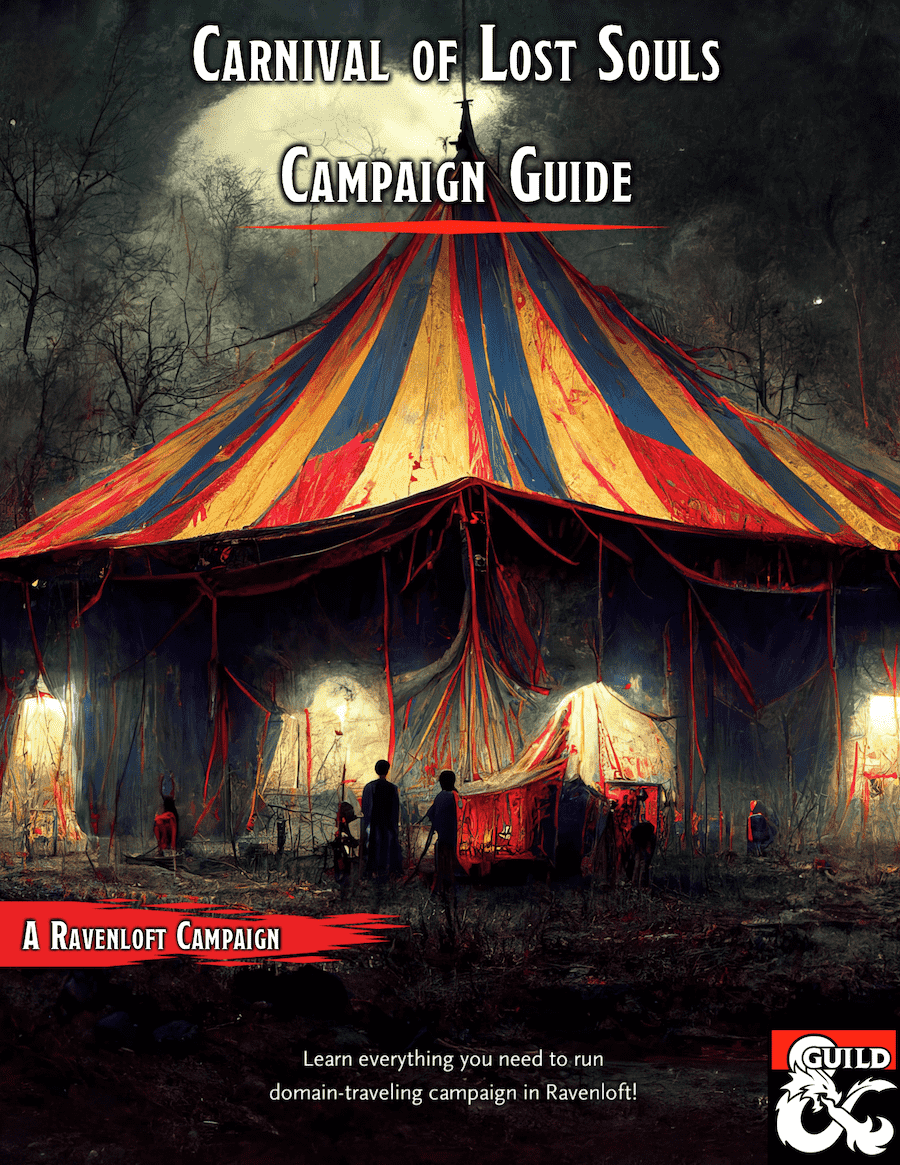
Ravenloft: Carnival of Lost Souls Campaign Guide is a guide for Dungeon Masters who bought our other products from the Carnival of Lost Souls campaign series. It connects together all the modular one-shots we released previously into one grand campaign. It also offers guidance about expanding the scope of the campaign with your own ideas. Ravenloft: Carnival of Lost Souls Campaign Guide features: - Starting adventure to kick the things off and get the characters to know the Carnival - In-between interludes and short encounters, which help to flesh out the Lost Souls NPCs more and add depth to the campaign - Grade Finale - an epic showdown with The Caller in the Mists! - Full description for each of the Lost Souls and what happens to them as a result of players’ actions - Check out the modular adventures of the series: Lamordia: The Hardest of Hearts, Dementlieu: Dance with the Devil, Kalakeri: The Forbidden Temple and Valachan: Hunter’s Moon! Disclaimer: We are a team of writers from Ukraine, so the unprovoked war and senseless aggression of the terrorist state of russia influenced our initial timelines significantly. The release of the Campaign Guide marks also a year since the start of the full-blown war. At the moment, we are as safe as we can ever be under the constant threat of missile strikes, and extremely proud that we managed to finish the whole campaign! We are hopeful that the victory is close at hand, and in the new, whole, and peaceful Ukraine, we will create even more cool adventures! ;) Made in Ukraine

Every fifty years, a pair of storm titans met to pray in an isolated and well guarded cloud temple. This time, they have obtained a copy of the fabled Ritual of the Primordial Gate and are exploring its secrets in hopes of bringing a lost primordial to the world. Divine messengers are sent to the PCs to enlist their aid in disrupting the storm titans’ efforts.

Within the pages of this book, you will find three mini-dungeons, all with a common theme. They are all set in dangerous and exciting cave systems. Not only will you be able to drag and drop these mini-dungeons as you need, but this book will also provide a suggested campaign structure and tie-ins to each of them for those witty Dungeon Masters who wish to run them all together. 1. Lizard Folk Tunnels - APL2 to APL5 A daring rescue mission to save two young children from the grasps of a tribe of lizardfolk who's evil intentions are to sacrifice their captives to their evil god. 2. The Cavern of One-Eye - APL4 to APL7 A cave system riddled with orcs as described in Volo's Guide to Monsters. Players will need to think on their feet in this one. 3. The Lair of Frostingbite - APL5 to APL8 Snow-oxen are being stolen from the farmers of Sleet-Town, tracks lead into the ancient and abandoned mine shaft within a nearby mountain. Killer Kobolds, Quaggoth slaves and a ferocious White Dragon await. Published by P.B. Publishing

This exploration adventure is planned to be played by 4-5 level 4 characters. They will venture into the temple of Amaunator to cleanse it of corruption, give rest to its inhabitants and recover a precious lost artifact English and Spanish

A shrewd, spell-using green dragon has taken over the deepest chamber of a limestone cave as his lair. The dragon has persuaded a tribe of troglodytes to live in the outer chambers as a sort of "protective buffer" in return for gifts of magical treasure. The troglodytes cherish the useless bits of magic without realizing their modest worth. The outer chambers of the cave are protected by the troglodytes, the beetles and centipedes the troglodytes raise as cattle, and wild creatures. The green dragon uses traps, illusions and magical devices to protect his inner chamber. Wyrmhaven is the second dragon's lair to conquer. Part of TSR 1073 The Dragon's Den

What happens when you are invited to a dinner party at the Karnov Mansion during a full moon? Certainly nothing good. The wonderful dinner party, complete with excellent food, drink, and company, soon evolves into a 'cat & mouse' game that has the adventurers fighting for their lives. Will they survive? And will they uncover the secret of the Karnov Mansion? Although the adventure is set in a non-specific location and can be dropped into any campaign, it feels right at home as a Curse of Strahd or Ravenloft one-shot adventure.

Blinsky's Toyshop is our take on what happens to Blinsky and Piccolo during, or after the Curse of Strahd campaign. Blinsky, the toymaker in Vallaki with the cute monkey wearing a pink tutu, received a large inheritance from a long-time client. The client, Obtavius Swat, a retired adventurer and avid collector of toys, left his entire estate to Blinsky. The estate included coin, precious gems, art, and his collection of toys, some made by Blinsky and others he acquired during his travels. Blinsky used the fortune to pay a wizard to create a small island in the middle of Lake Zarovich, located just outside of Vallaki. He then paid masons and workers to build a fantastic new toyshop, which he designed to be an experience for both the young and old alike. Though the number of children in Barovia was increasing, mostly imparted to the devil Strahd’s downfall, Blinsky wanted to touch the inner child of the adults in the city. He wanted happiness. He wanted smiles. He named the castle Blinsky’s Toyshop of Marvels. One of the toys, a small silver tiara kept in a black satin-lined ivory jewelry box, was such a lovely piece. Blinsky couldn’t stand the thought of leaving it in the box. He already had enough gold and losing the small tiara wouldn’t be a large loss, so he decided to give it to his monkey – Piccolo (see Creatures of the Toyshop). He smiled at the thought of her running around in her pretty, shiny tiara. Sadly, as Barovian luck would have it, trapped inside the tiara is the sole of an evil gnome wizard named Aribetha Strangge. In his old age, Obtavious Swat forgot that he and his fellow adventurers used the tiara to imprison the gnome’s soul. Yesterday, when Blinsky placed the tiara on Piccolo’s head, silver tendrils cascaded from the tiara and into poor Piccolo’s skull, allowing Aribetha to control the monkey. Now, Aribetha has incapacitated Blinsky in the toyshop’s tower, brought many of the toys to life, and imprisoned or killed many of the workers and customers. The adventure includes costumes (which the character may wear), Strahd Hand Puppets, and a possessed Piccolo.

SEER has been rescued along with Ulcaster, the infamous Archmage that founded a wizard's school that is now in ruins in the foot hills of the Cloud Peaks. However, while leaving to get the two to safety a cloud ship arrived, unloading a shipload of pirates on the ruins. SEER knows what the are after and needs the heroes to stop them and their leader.

Enter the world of Dungeons & Dragons without spending a penny! This fourth-level adventure is designed to work with the free basic rules offered by Wizards of the Coast. You and your friends can explore, battle and roleplay without having to buy anything other than snacks, drinks and maybe some pizza for the DM! Will You Right a Wrong? When a powerful magic item is stolen from a wealthy farming association, the leaders turn to a band of reliable and - most importantly - discrete adventurers to retrieve it. Their journey takes them into a cave system filled with sickness and rot, and thrusts them into a debate over applying magical solutions to practical problems. Where will their loyalties fall when forced to make a tough choice? Includes: Hi-res copy of dungeon map Print-friendly version Continue the path to adventure!

The Known Gnomes are a Gnomish adventuring party who must use their size to save Lady Kaja Foss from a horrible fate. This module is a level 5 primed adventure that requires an entirely Gnomish player character party. Come Gnome it up! This module was inspired by the porter Known Gnome by Off Color brewery located in Chicago, Illinois. 'The Known Gnomes' is meant to be fun and zany module for those looking to crack skulls and be silly. Included in a separate link (https://www.dmsguild.com/product/256719/The-Known-Gnomes-Maps--Extras) are: Maps Keeper Maps (Color & Low-Ink BW) Player Maps (Color & Low-Ink BW) Trap Prop

An evil oracular being has taken up residence in a lonely valley. The only access to the valley is through a thick, dead wood whose shadows draw out foul memories from those who travel there. The oracle, Lurinax, has recently divined the season in which the world will end. This knowledge is greatly prized by many, so the evil fortune teller hides in his lair, protected by maddening winds and the souls of those he slew to obtain his knowledge. In this grim and dark adventure for tenth- and eleventh-level PCs, the party must travel the trail of shadows, face the manifestations of Lurinax’s victims, and finally the evil oracle himself.

After hunting for the Pirates of Ebor along the coastline, you witness a strange event. A great colossus is seen as you travel along the coastline and you are informed that it is the “Artifact at Gegios”. As you put into port, you make inquiries and decide to investigate further, after all, an artifact is usually useful! Is your party strong enough to uncover the truth of this legend?
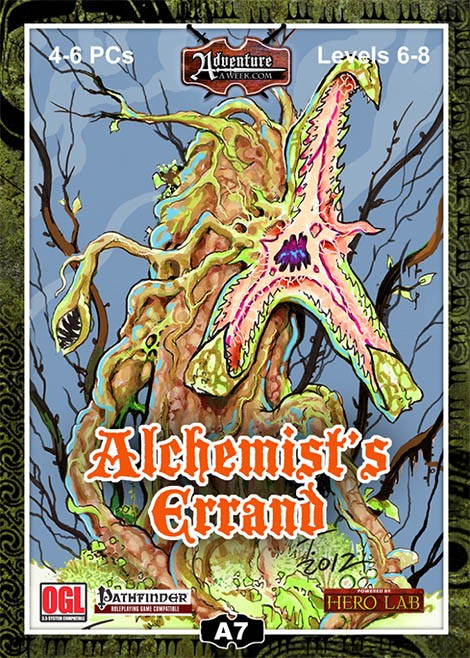
Sometimes it is the simplest of tasks which end up taking much more of time and energy than they should. When the party is asked by the local sage to collect some rare flora, it feels like relatively easy money; a journey into the woods they’ve traveled before, a conversation with someone they’ve met before and then on to gather the crop. The characters can hear the Thirsty Serpent tavern calling them after a brisk afternoon’s work. But the PCs’ plans go awry when it turns out nothing is quite that straightforward. Deals have to be struck, foes defeated, anger and scorn dealt with and then the whole process gone through again. When there is duplicity at every turn and double-crossing is done with relish, the PCs have to keep their wits and weapons equally sharp. Dealing with someone who is prepared to cross the line between humiliation and harm at a moment’s notice is a tough challenge; this quickly becomes about much more than mere mushrooms!

A family has been abducted and the village of Myrehall needs help in getting them back. This is the third adventure in a miniseries with the following adventures being: A Chance Encounter The Mystic Circle A Dark Veil Falls

The wedding was meant to unite poweful families from Everlund and Silverymoon. "Til death do us part" comes sooner for some couples than others when undead hordes and a feral demilich are uninvited guests. The Dead Wedding is a short, 3 to 5 hour adventure for characters level 14 to 16. The adventure contains maps for Moonshadow Keep and the crypt of the demilichess Regetta Arch Therm, deadly traps, and RP hooks that enable players to use high-level non-combat abilities.
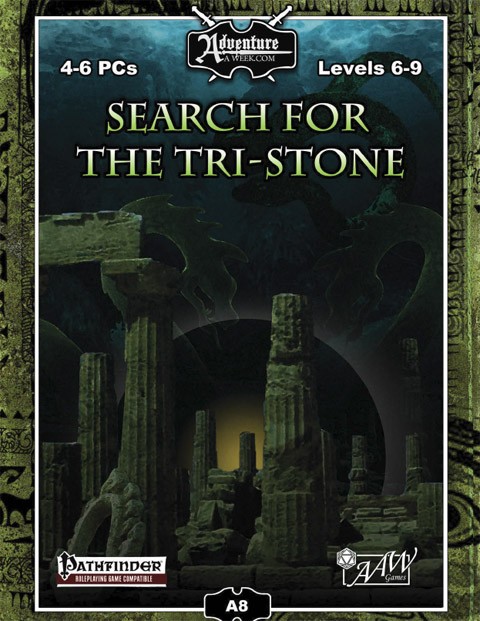
When you are successful , your reputation will spread farther and more widely than you might imagine. And when that reputation reaches those who believe that “the enemy of my enemy is my firend,” you might just find yourself working with and for some interesting people. So when the village go-between for the mayor of Rybalka and local Vikmordere tribespeople asks the party to recover an item, you can’t be sure exactly who you are going to earn your coin from. The PCs find themselves having to tread a very thin line to be successful with this job; the Monachy’s agent in Rybalka is very interested in what they are doing, as are other, less friendly tribes; but the PCs don’t know this. In fact, there is much they don’t know and they will only become aware of some of the implications of their actions when potential problems become reality. Of course, if they’d know they were meant to find a ship buried in a cliff face, defeat its entire crew before finding great beauty in physical and material form, take what belongs to a king and then return unnoticed through territory claimed by old enemies and new allies, they would have prepared quite differently, wouldn’t they? Ah, hindsight is a wonderful thing… Also included in ""Search for the Tri-Stone"": Maps by 3x ENnie Award winning Cartographer Todd Gamble New Runic Language introduced through a Runestick which PCs may use on their journey to decode puzzles and find clues in their search for the Tri-Stone High resolution map of the Thingallor Burial Shrine New Monster: Zombie Handmaidens Numerous New Maps and Illustrations! New Magical Items: Sword and Shield of King Rytan New Artifact!

A storm of unparalleled fury has been ravaging the peaks of the Earthspur Mountains for a tenday, and the Monastery of the Yellow Rose sits in its eye for now. Some monks have fled the monastery to the safety of Mulmaster and beseech you to convince their more obstinate brothers to retreat to the city before the eye of the storm shifts, and the monastery is in terrible danger. Can you brave the elements and convince the monks to escape? An eight-hour adventure for 5th-10th level characters.

A fiend lurks among the Black Blade goblins. A shapeshifting barghest fashioned by the General of Gehenna to exact revenge on all goblin-kind. It’s aim: to kill as many goblin leaders as possible… A masked goblin approaches the party asking for help. Two tribe leaders are dead. But a rival for chief has control of the crime scene. Will the party discover the barghest among the goblin ranks? Can they stop this imposter before it strikes again? Adventure Overview The adventure’s story is spread over 4 parts and takes approximately 4 hours to play. The adventure begins with a Call to Action scene. Part 1: Goblin Politics. Krill sends his emissaries to implore help from any strong intermediary. The party is asked to investigate the murder of Thrawn in Dringly’s lair. This is Story Objective A. Part 2: The Opposition. Gain entry into Dringly’s lair and investigate the murder of Thrawn. Gather enough evidence to find the killer. This is Story Objective B. Part 3: To The Lair! Now that the players have determined the barghest (Yeep) is to blame, they need to get to Krill’s lair quickly as he is in imminent danger. This is Story Objective C. Part 4: The Barghest.When the players arrive at the lair, they need to get to Krill and expose and defeat the barghest. This is Story Objective D. Adventure Background A barghest named Yeep has begun its onslaught of attacks against the Black Blade goblins. Starting with Chief Gnar, then his second in command Thrawn, the barghest is moving methodically down the line of command. Krill is now chief. But he has some problems: Two leaders of the Black Blades are dead. Who killed them and why? Is he next? Dringly, the next in command, has decided to take his lair for himself, declaring himself Chief of the Black Blades. Who are the Black Blades? The Black Blades are a tribe of goblins in the local area. They are known for dipping their blades in a dark black substance. It is rumored these blades are poisonous. The Black Blades regularly attack passersby on the road to rob them. The Black Blades have two lairs, one run by a chief who leads the whole tribe, and another overseen by a boss lieutenant. The Black Blades have a well-established pecking order which is how Krill stands to become chief. The next in line is Dringly, who has also declared himself chief and wants Krill dead. Krill suspects that there is something suspicious about two leaders being killed within a day of each other, but he has already burned Gnar’s body without any investigation. He needs to investigate the body of Thrawn, but it is in Dringly’s lair. Krill wishes to avoid direct confrontation with Dringly at the present for three reasons: 1) Any violence would only kill his own tribe members and further divide the lairs. 2) He believes there is still hope for negotiation to reunite the Black Blades. 3) He believes that if he were to attempt negotiations himself, Dringly would kill him. This adventure features: Two maps. Ready for your favorite Virtual Tabletop. A full color pdf. A black and white pdf. One custom monster, a reprint of barghest, all others available in the Monster Manual. Four hours of entertainment involving: roll playing a goblin bard, investigating a murder scene, tracking down a barghest before it strikes again. Applicable to any setting.
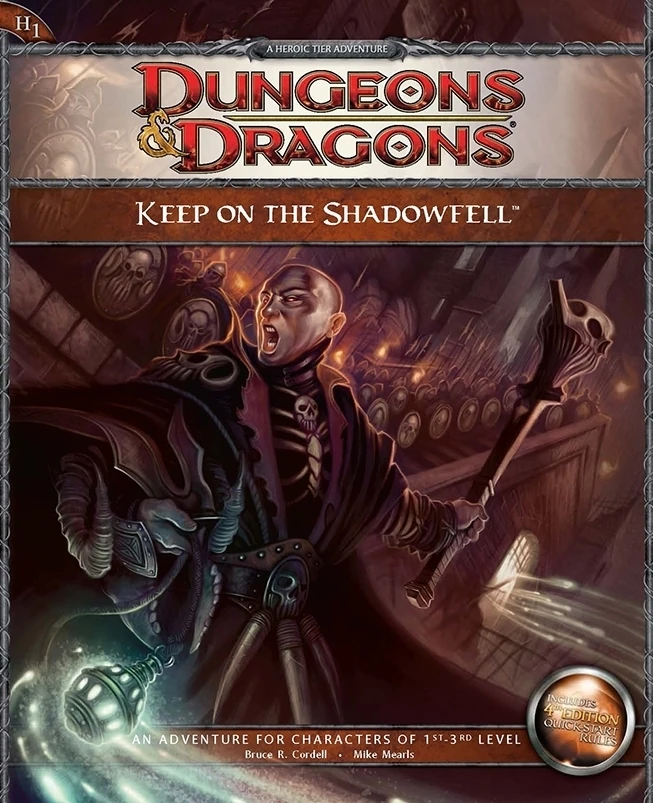
Darkness looms near Winterhaven! Kobold brigands have grown ever bolder in their attacks, marauding the once peaceful town, and a known explorer has been missing ever since their departure to the excavation site of a dragon burial site. When the party investigates, they will discover that the kobold's leader, Irontooth, bears a tattoo of a ram-headed demon. This is a troubling portent, for the townsfolk will report that this can only mean the dread god Orcus, master of death, has an active cult in that ruined keep! It is up to the party to enter the Keep on the Shadowfell and put a stop to the cult's fell machinations before it threatens all the realm. There they will fight the evil priest Kalarel, Scion of Orcus and seal off the vile portal to the dark realms he is master of. Should the heroes seize victory, glory and treasure are sure to be theirs. But first they must endure the challenges of that dreaded KEEP ON THE SHADOWFELL!