
New to Loudwater, the heroes learn of a tower locked in ice in the nearby wilderness. Traveling there, they discover that the tower’s master left many surprises behind for the unwary. Also available with e 5e solo conversion: https://www.dmsguild.com/product/247505/DD-Solo-Adventure-Menace-of-the-Icy-Spire-5e-Solo-Conversion Pgs. 4-22

This is the laboratory of High Alchemist Sureves Epans. He led a group of alchemists in research for many years, but recently there was a bit of a mishap. He discovered his wife was cheating on him with one of his employees and while in a drunken stupor trying to create a discreet potion to deal with the two of them, he let loose an infectious plague on the lab which turned all but a lucky few in the facility into shambling husks of their former selves., fused with their own creations as their minds turned to know but one thought - rage. This dungeon has rules to modify all encounters for a group of players levels 4 through 6 and is intended for a party of four. If you have more players, feel free to adjust the difficulty up one level for each additional player or simply tune the monsters to your needs. This dungeon contains many original enemies, a unique puzzle, and an environment that is meant to bring a sense of terror and anxiety on your players. I consider this to be the Horror-themed adventure of the module so feel free to add some creepy music and extra details along the way to bring the area to life (or death).

Tired and sore, you struggle over the burning sands toward the long-forgotten city. Will you reach the place in time to save yourselves from the evil efreeti? The sun beats down, making your wounds stiff and worsening the constant thirst that plagues anyone who travels these waterless wastes. But there is hope - are those the ruins over there? In the midst of broken columns and bits of rubble stands a huge statue. This is the place! You've found it at last. Gratefully, you sink onto the sand. But there is no time to lose. You must hurry. So with a quavering voice you say the magic words. And then you wait... A hush falls over the ruins, making the back of your neck prickle. Then, out of the east, a wind rises, gentle at first but quickly growing stronger and wilder, until it tears at your clothes and nearly lifts you off your feet. The once clear sky is choked with white and grey clouds that clash and boil. As the clouds blacken day turns to night. Lightning flashes followed by a menacing growl of thunder. You are beginning to wonder if you should seek shelter, when all of a sudden there is a blinding crash and a bolt of lightning reduces the statue to dust. For a moment, silence. The, out of the statue's remains, soars a blue flame. Its roar deafens you as higher and higher it climbs, until it seems about to reach the clouds. Just when you think it can grow no larger, its shape begins to change. The edges billow and soften, their roar lessens, and before your eyes materializes a gigantic blue man. This adventure can be played alone or as the second part of the Desert of Desolation series. For characters level 6-8. TSR 9053

The Cave on Foggy Hook is the first of three connected adventures in the village of Hookholm and is aimed at busy or first time Dungeon Masters. This adventure is designed for 3-5 1st level characters and can be played in a single 3-5 hour session excluding character creation. In this adventure the party will find themselves in Hookholm, a small coastal village rebuilding after a devastating storm almost wiped it off the map. The village is located on the inner curve of the Foggy Hook, a spit of marshy land jutting into the Grey Sea. Beset by the sort of calamities that new adventurers will be able to sink their teeth into and will offer opportunities for roleplaying, puzzle solving, exploration and combat. Includes 5 maps in a number of variations, a brand new monster in the vicious Kuo-toa Feral, and a new chase complications table for chases through swamps or marshes.

A lone king arrives at the city's bustling harbor with hopes of negotiating peace for his people in a distant land. But an assassination attempt puts his mission in danger and reveals the king's hidden enemies. Can the characters protect King Rami and help him gain the political influence needed to achieve a lasting peace treaty? Treaty of the Tiger King is a diplomacy-focused, urban one-shot for 1st-3rd level characters. It take about 3-4 hours to complete and includes: -Social events, intrigue, and hidden assassins -Respect-earning mechanics that influence a treaty negotiation -Combat cards for each monster, PC, and special treasure -High quality digital maps for use with virtual tabletops

Heat beats down from the blazing summer sun and the adventurers are hot on the trail of a fugitive, ordered by the bengoshi Akia the Iron Shell to hunt down the charismatic cult leader Shinjirarenai. Soon after routing the foul oni-touched mage however the mystery deepens, forcing the PCs to chase across southern Soburin after a curious stolen shipment until the true powers at work are revealed and the party realizes they are but pawns in an ancient conflict, pieces on a gameboard between two Imperial Siblings! Mists of Akuma is an eastern fantasy noir steampunk campaign setting for 5th Edition where the last continent of the world has embraced a fear for technology, what might be the only means to save them from the primordial fog spreading across Soburin and corrupting its peoples, transforming them into fearsome adeddo-oni—should the adventurers achieve victory at all in this merciless and unforgiving land, it is sure to pyrrhic. WHAT'S INSIDE THIS ADVENTURE MODULE: A mystery adventure that takes the party across three prefectures of Soburin (Korusu, Yokuba, and Ikari, all detailed within) and into the river city of Nesuto before meeting two of the most powerful creatures to ever tread upon the world! The continental map of Soburin by Michael McCarthy as well as 11 play maps for Nesuto, two teahouses, encounters in the badlands, mountains, or jungles, two shops, a city street, a building being used for a ritual, and an enchanted cavern. The supernatural Mists of Akuma, the misted condition, and two new attributes (Dignity and Haitoku).
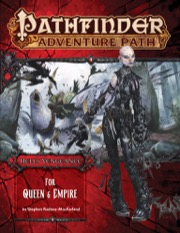
Her Infernal Majestrix Queen Abrogail II of Cheliax summons her agents to the city of Egorian to address the current crisis with the Glorious Reclamation. Upon arriving in the bustling capital, the adventurers find themselves swept up in the cutthroat politics of the imperial court. To impress the queen and secure a royal audience, the wicked characters must scour the City of Thorns to root out and eradicate a secret organization that works to free halfling slaves. But to truly earn Queen Abrogail's trust, the adventurers must perform a sacrifice for the queen to renew House Thrune's contract with Hell, and there are many—both within the court and without—who wish to see the monarch dethroned.

Sinister Forces Terrorize a Town The town of Brindinford is in the midst of its annual street fair. Joy and merriment abound - until calamity disrupts the celebration. Are rival gangs responsible? Is the government sliding into tyranny? Or is a nightmarish plot about to come to fruition? "The Speaker in Dreams" is a stand-alone adventure for the DUNGEONS & DRAGONS® game. Player characters are in for a wild ride in this river town. Leave the dungeon behind: the terrors lurking in Brindinford are more challenging by far! In The Speaker in Dreams, the town of Brindinford is besieged by evil forces under the command of Ghaerleth Axom. A street fair is interrupted by an attack, which serves as a distraction for the villain's forces to attack the keep of the local baron. This provides an entry point for the player characters into the main quest to discover the secret alliances trying to take over the town. The Speaker in Dreams is an event-based, rather than site-based, adventure.

This side trek encounter challenges the heroes to recover a precious item from the lair of an evil hag. Estimated play time - 2 hours. This product contains a pair of encounters designed to challenge 4th level PCs. It also includes an extensive backstory, new monsters and new magic items to add to your campaign. The encounters are easily adapted to almost any campaign setting. The text includes optional changes that DMs may consider when running the adventure for their own campaigns. This side trek encounter is the final chapter of a three-part "Fey's Bargain" encounter series.

Are your player's going fishing in the Underdark? Booked a ride with the Kua Toa Travel Agency? Taking a cruise on the Darklake? Well then Journey Through the Center of the Underdark 2 - The Darklake Strikes Back is just what the Leemooggoogon ordered! Like the first Journey, The Darklake Strikes Back contains several encounters designed with Out of the Abyss traveling days in mind, but easily inserted into any 5th Edition Dungeons & Dragons Underdark setting. Unlike the first Journey, The Darklake Strikes Back has a mid sized three level dynamically defended dungeon, complete with a dragon at the bottom! This complex is right at home on the Darklake but could also readily be inserted into your Tyranny of Dragons campaign as well. Written for a party of characters levels 4-6 with notes included for adjusting encounter difficulties for lower or higher level groups Journey Through the Center of the Underdark 2 - The Darklake Strikes Back should provide 6-10 hours of gameplay excitement!
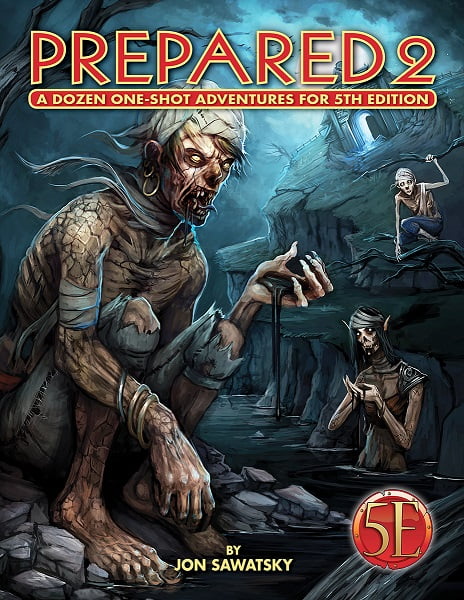
The nefarious master wrestler Dib, the goblin, is "terrorizing" the streets of the town (or city). Since his defeat in his roadside fortress, the would-be chieftain has plotted his revenge. Gathering to him a new batch of dim minions, Dib has transformed a stolen merchant wagon into a machine of war. The wagon is powered by several goblins inside who, while devoted to Dib, lack the strength to pedal the thing quickly or consistently. Dib's plan to wreak a path of havoc through the streets has resulted in something a bit more disappointing. In this light-hearted and quirky adventure for four first- or second-level PCs, the party must confront the war wagon, gain entry to it, and defeat its defenders—the lives of several potted plants and a few market stalls depend on it!

The Free City: a shining gem in the crown of cultured civilization. Beneath the surface of this bustling metropolis is a rot, festering in the darkness, manipulating the lives of those unaware of its presence. Now a small adventuring band from out of town may be in over their heads. Their actions in Diamond Lake have attracted the wrath of one of the city’s hidden masters. A gang of infiltrators and an enigmatic mastermind plot their destruction, and only tracing the rot to the root can stop the onslaught. "The Hall of Harsh Reflections" is the fourth installment of the Age of Worms Adventure Path, a complete campaign consisting of 12 adventures, several "Backdrop" articles to help Dungeon masters run the series, and a handful of poster maps of key locations. For additional aid in running this campaign, check out Dragon's monthly "Worm Food" articles, a series that provides additional materials to help players survive this campaign. Check out issue #336 of Dragon for five attractions to tempt your PCs to spend some of their hard-earned loot. This issue of Dragon also features an Ecology of the Spawn of Kyuss, one of the central creatures featured in this campaign. Pgs. 34-60

In the kingdom of Minoxia, the dragon Oxitorus rules the people with a disease his breath causes. A rebel approaches you and implores you to investigate a lead he has on a cure. The travel through Minoxia's swamp will be difficult, and you can't trust anyone, as the tyrant's spy network has roots everywhere. What will become of you, even if you succeed?

The people of Northwood’s Rest need help. Winter is coming, and something’s been slaughtering the livestock. Surely it must be the orcs of the Northwood! Heroes are needed to hunt them down. Will you answer the call? Welcome to Hunted! The latest adventure from the critically acclaimed platinum best-selling author Tony Petrecca. Hey, that’s me! I’ll stop with the 3rd person talk now. My last release, Killer Kobolds, was all about unadulterated, non-stop run and gun action, and quite purposefully contained absolutely no moral quandaries. Its theme was simple - Kidnapping Kobolds needed killing… now go! The result was an absolute blast, but with Hunted! I wanted to explore notably different themes. With Hunted! Exploration, investigation, and role play go hand in hand with unexpected twists and turns to present an adventure I’m quite proud of. Worry not, action hounds, as there’s plenty of combat to be had, but with Hunted! mindless murder hobo’s need not apply. Set in the frontier town of Northwood's Rest, a simple thorpe on the edge of a forest, Hunted! lends itself to easy insertion into any campaign setting and would make an excellent side quest for Storm King's Thunder. With direct tie ins to Acererak, Hunted! fits naturally within any Tales of the Yawning Portal campaign. Scaled for a party of 4-6 adventurers of levels 5-7, Hunted! can be easily tweaked to accommodate parties of lesser or greater strength. Featuring gorgeous cartography by Ennie award winner Elven Tower Cartography, beautiful art, a bevy of new creatures, new locations, several potential plot twists and a fun new magic item, Hunted! should provide six to ten hours of outstanding Dungeons and Dragons 5th Edition adventuring fun.

The door slams open so hard that the wall shakes and the hinges groan. To everyone’s astonishment, a goblin staggers in. He is badly wounded, with dried blood covering about half of his body. Only a moment before the air was full of the rattle of dice, the slap of cards, and cries of victory and defeat. Now the Gambling Golem is dead silent. The goblin lurches toward your table then collapses right in front of you. “Help me,” he croaks, looking up at you with bloodshot eyes. “I’ll make you rich!”

This adventure can be used as stand-alone or continuing the arc started by Death in Freeport. Terror in Freeport leads the PCs deeper into the intrigue they began to glimpse in Death in Freeport. The investigation takes them from the corridors of power to the bowels of the underworld, with terrifying insights into who really controls the city. They discover that the Brotherhood of the Yellow Sign has its claws in the town's power elite, but thanks to some clever camouflage by Sea Lord Drac. they may not find out just whom the serpents control until it's too late. As the adventure begins, the PCs are contacted once more by a very nervous Brother Egil. He tells them that while staying with Lucius one evening, he awoke to find a burglar in the roomstealing a scroll. Egil is certain that the Brotherhood have penetrated further into Freeport than anyone imagines. He wants the PCs to investigate Milos's other ties to the city and find out what's being done about the temple of the Unspeakable One. The PCs search the cultist's lodgings and discover it has been carefully gone over, and several possibly incriminating books are missing. But the burglars overlooked one thing: a Tome with a diagram of the Lighthouse of Drac sketched onto the back page, marked with the letter V. Upon leaving Milos's lodgings, the PCs come upon a gang of orcs beating up a hapless messenger. They lend a hand, only to discover they've been tricked - the messenger makes off with Milos's book! A chase through the back streets leads them to the boarded-up building the y discovered in Death What they find isn't encouraging. There is a guard posted out front, courtesy of "V"- -Verlaine. head of the Captains' Council. Meanwhile, down below, the cultists continue to have the run of the caverns-— in fact, they have been shipping their unholy relics to Verlaine's own home!
Someone kidnapped Lady Anilah Salhar—the Chelish wife of Dremdhet Salhar, one of Osirion's many Grand Ambassadors to Absalom—and sold her into slavery. With Salhar holding delve permits over the heads of the Decemvirute, the Pathfinders are sent to assist the Osirian Ambassador. Venturing into Absalom's darkest corners to save Lady Anilah, the Pathfinders must face the secrets of the Slave Pits to avoid becoming slaves themselves.
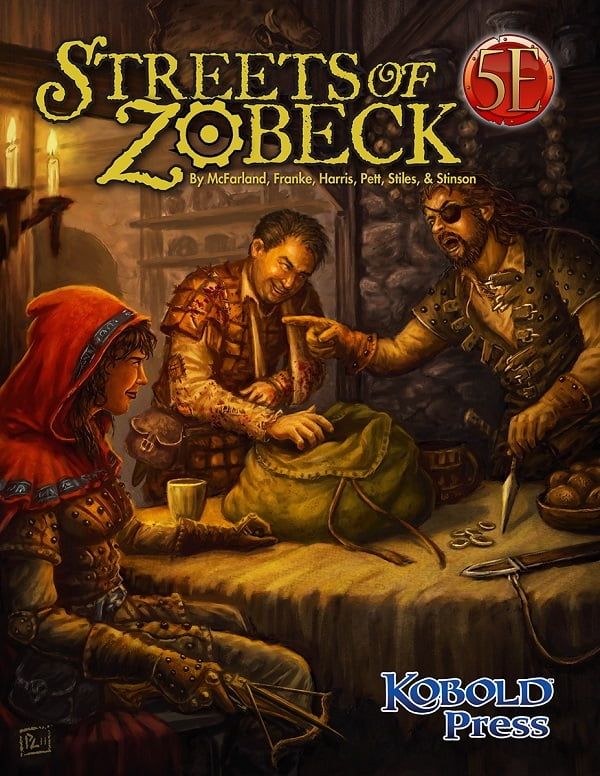
What happens when adventurers become the owners of a brothel? When a roguish associate asks them to attend an oligarch’s party in his place? What lurks in the Cartways besides kobolds? And what will you say when another thief tells you the only way to find a treasure is to become hunted by the Praetors? Dark dealings, my boys, and a knife in the guts might be the price. Whose guts? Might be yours if you cross the wrong one of the Nine. How much evil should be done for the greater good? How many sinful men should die to save a pure soul?

The shifting desert sands have revealed an ancient obelisk from a forgotten age, an obsidian monolith whose presence is having an unsettling effect on the surrounding desert. Ancient dead arise from the dunes, dangerous jackalweres launch attacks on caravans and villages, and the mysterious Order of the Obsidian Eye has flocked to the unearthed ruin for reasons no doubt dire. What monstrous portents do these events foretell?

The adventurers are asked to search for a local temple official who has not returned after leaving to search for a hidden treasure vault. On their way, they are attacked by some Kobolds and chase the fleeing monsters to the hidden entrance. The adventurers explore the ruins and discover what has become of the missing temple official.