
At the end of the Hateful Wars, Lord Sandor led his army into the Barrier Peaks in pursuit of a host of goblins and orcs. He and his army vanished, and now a group of adventurers follows his footsteps to discover what doom fell upon him and his men. Pgs. 30-46
Come on up for a bite. Sometimes the adventure comes to you. The local inhabitants of a large town have been disappearing and its up to find what is causing and bring back the people that have disappeared. Pgs. 48-59

Adventures from the Potbellied Kobold provides you with fifteen unique adventures to use as one-shots, additions to your current campaign, or inspiration for a new campaign. We've even included a way to link several of the adventures, allowing you to run a short and quick campaign. The adventures use basic 5E creatures, custom creatures, and several Kobold Press creatures. Each adventure is written for a specific party level, but we've also included suggestions on how to adjust each adventure for a weaker or stronger adventuring party. In addition to fun adventures, you'll also find a few new magic items and NPCs to add to your game.

Located at the division of land between the Duchy of Starryshade and the famed Horselords is the historic Mystic Wood. Home to the site where the peace treaty was signed between the two countries this area is rumored to have a strange effect on magic. Information has reached the local thane that a gathering, or conclave, of humanoids is to occur this weekend. He has dispatched his military but they are too far to be of use. He has heard of your growing fame and asked your party to investigate this rumor and take appropriate action.

Will your party survive the frostbite Frostbite Gauntlet? A sequel to The Great Trial, this module is an arctic, highly challenging gauntlet focused on exploration and combat, planned for fours 10th-level characters. The adventure can be also run as a one-shot or as part of any campaign for that level. For more information on The Great Trial, see at the end of this page. The module is divided in two parts: Chapter 1 The gauntlet itself, the party will be taken to a demi-plane against their will and from there, they have a simple goal: leave. However, a powerful undead guardian will make things difficult. The party needs to find some of the sources of power of Deathwings, the guardian, to weaken it and have a chance against it. Chapter 2 After leaving, the group will arrive at a cave complex made of stone and ice. A ancient dracolich names Icingdeath will chase the party, squeezing through the tight tunnels, always on the party' heels. Once out, the party is greeted by Aenor and offered their rewards.

Lord Galveston's lands are plagued by murders. For the past several months people have been disappearing. Some bodies have turned up, their corpses found along the banks of the river. Strange tracks of a cat-like creature have been found around the villages, and rumors abound that a charon fiend, a dreaded beast of chaos, has come from the nearby wood and settled in the area. The latest victim is the Deacon of the Four Saints Church in Capendu. His body, found in the river, sent the alarmed villagers in search of aid. The adventure unfolds in the lands of the aged Lord Galveston and plunges everyone into a twisted tale of wild beasts and the restless dead.

A perfect side-quest adventure for a party based in Phandalin or after completion of Lost Mines of Phandelver. Unravel the malevolent mysteries of Knacker’s Knothole! A party of four to six 5th level characters meet Knacker, the ancient awakened grandfather oak, who was introduced in Volo’s Vetted Vendors. He has a request: one of his cherished death’s heads is missing and he implores the party to find out what happened to it. Although Knacker suspects the people of Phandalin, the party’s investigations ultimately reveal a much more sinister threat. The party must investigate the disappearance while an unseen foe attempts to thwart their efforts with ambushes and misdirection. It is not long before there are more disappearances, and the party must use its ingenuity to prevent open hostilities. This adventure is part of a new series based on Volo’s Vetted Vendors and Elminsters Excellent Establishments. It can be played as the final part in this series, and it is also ideally suited to a party that has just completed Lost Mines of Phandelver. This is a 5-7 hour adventure that will advance the party to 6th level. This full-color 60-page adventure includes: * 29 pages of adventure content. * 2 pages of convenient NPC summaries. * 8 beautiful maps suitable for use with any VTT (separate files are included for all maps, including both high- and low-resolution versions). * Many random tables including adventure hooks, customers at Knacker’s Knothole, rumors, random encounters, chase complications and battle events. These tables can provide inspiration for other adventures and campaigns as well! * 20 pages of monster and NPC stat blocks.
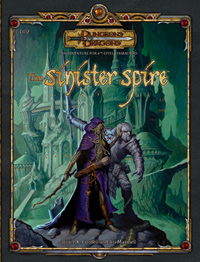
The waters of a sunless sea meet a pebble-strewn shore, beyond which opens a wide Underdark vista shimmering with pale cave-light. Titanic columns as big as castles march miles into the misted distance. The wide, steeply sloping base of the nearest colossal column is carved with streets, walls, and elaborate structures, many with gaping, empty windows. A few glimmer with faint illumination. Are you brave enough to explore the spire-city and face the terrors that lurk within? Part 2 of the Barrow of the Forgotten King series. Followed by Fortress of the Yuan-ti.
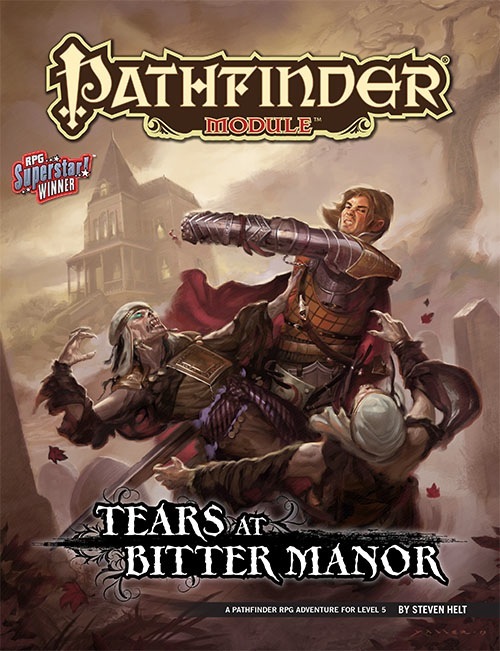
Bleak days have come to the Taldan city of Cassomir and nearby settlements, with a wave of depression and rage sparking horrific acts of violence. When retired adventurer Taergan Flinn doesn’t show up to meet with his old companions, the PCs are called upon to investigate, leading them into a swirling maelstrom of horror and tragedy.

Long ago, a small but mighty humanoid kingdom existed in what is now the local wilderness. Bugbear and ogre warriors fought brutal wars of expansion, earning great fame and amassing considerable fortunes from their predations. Those who died in battle were buried in large tomb complexes dug into hillsides and honored as patrons of the living. Among these tombs was the large tor known as Hightower. Though it was neither the largest nor the most famous of the kingdom's tombs, Hightower did represent a typical example of this kind of structure. As happens to all such nations, the cruel humanoid kingdom eventually fell to a more powerful foe that razed all its cities and outlying fortifications. Of the tombs, only Hightower escaped destruction -- largely because it was an unimportant monument in a remote location. A few tribes of humanoids that survived the devastation tried to use it as a fortress, but the humans with whom they clashed defeated them soundly and sealed the entrance with a huge, round stone to ensure that the tor could no longer be used as a base. Since then, Hightower has served as a landmark for travellers in the know, but it has otherwise been largely forgotten. But the electrical storms that have plagued the area in recent days have been quite severe, and a few weeks ago, a stray lightning bolt broke open the stone seal. Tonight, yet another terrible storm is sweeping through the wilderness, driving all creatures to take shelter where they can find it. Hightower looms on the horizon, and its door is no longer blocked. Will the PCs dare to enter its silent halls?

This adventure is scaled for level 1 characters. The ruins of a flying castle teeming with goblins is heading to the peaceful village of Barrowmist. It is up to the heroes to get up there and stop it before the castle lands in the village and chaos ensues. The group will enter into the ancient struggle between elves and orcs. Not only can they claim the ruins as their home, but the heroes will be asked to go on a quest to repair the castle and use it to find the Misty Isle, a legendary elven realm stolen by Gruumsh, god of the orcs. This adventure is the beginning of the Litany of Arrows adventure path. It can be run on its own or as a linked part to the larger story.

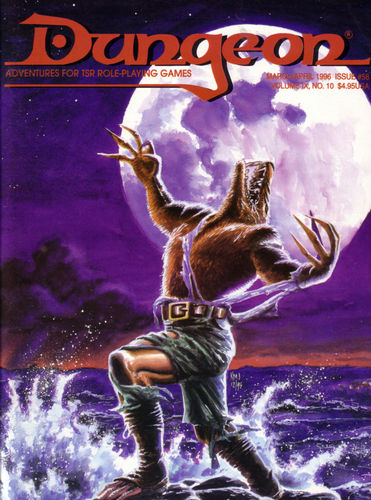
The Sea Witch is a short adventure for four 10th-level characters. The difficulty of the adventure can be adjusted by changing the level of main antagonist (Black Molly, the sea hag pirate) or by altering the number of her ogre servants. To tailor the encounter to groups of different levels, refer to table 4-1 in Chapter 4 of the DUNGEON MASTER’S GUIDE. The adventure is set off a lightly populated coastline known as Misty Bay, but adapts easily to any coastal region in existing campaigns. The sea hag known as Black Molly is a notorious pirate who has plagued the coastal cities for the better part of a decade. A successful Knowledge (local) check (DC 15) will reveal that Molly and her ogre crew have a filthy reputation as merciless killers who delight not only in plundering vessels for their riches, but also in destroying the ships themselves and sending all hands to the bottom of the sea. Now the villain and her followers have seized control of the Old Lighthouse of Misty Bay located off a lightly populated coastline. For generations the lighthouse beacon has protected the fishermen of this region, warning them of the dangerous rocks that lurk just below the level of the high tides. Recently, the hag has put out the beacon, darkening the lighthouse; misery and destruction are sure to follow as ships start to blunder into the rocks. Blackmail is apparently Black Molly’s aim in this venture: She conveyed a message to the nearest shore community, the fishing village of Poisson, demanding the princely sum of 50,000 gp. Until she receives this ransom, she intends to hold the lighthouse and its beacon hostage. The fate of the human keepers who tend the lighthouse is unknown to the seaside communities at this time, but they fear the worst. The Sea Witch is ostensibly a rescue mission: The PCs are pitted against the evil of Black Molly and the brawn of her savage ogre crew. It is the heroes’ task to retake the lighthouse and, if possible, free its captives from the clutches of their jailer. What neither the PCs nor the shore communities yet realize is that while she 1would be pleased to have the gold, Black Molly is in fact after bigger treasure. Molly has no intention of giving up the lighthouse — at least, not until she finds what her master sent her here for. Lying on the sea floor practically at the base of the rock on which the lighthouse sits is the wreck of the war galley Flying Cloud, which according to popular legend was captained by a cleric who wore around his neck an amulet of the planes. Black Molly wants this prize, but so far she hasn’t been able to find it. She’s scoured the wreck without finding any sign of the magic item. Now she’s trying to determine where to search next, for the item might well be somewhere near the wreck. If she can’t find it, she’ll start torturing her captives to find out if they have any useful knowledge about the amulet.

A Halloween themed adventure for characters levels 3rd to 4th, meant for a single 3-6 hours session. The pumpkin-farmers of Goldgrain are in for terror, as in a rather ironic turn of events, their crops rise to harvest them instead. What's causing the pumpkins to become alive and angry? Is it the curse of a long dead witch? Or is it something even more sinister? Why are they dragging the corpses of their victims away, and to where? Who commands them? Soon enough, they'll find out answers to those questions, or perish under the wrath of the haunted crops.

Every autumn the reclusive goliaths of the Silvertop Mountain Clan hold their Festival of the Hunt, inviting neighbors to join in the partaking of merriment and mead. Your adventuring company finds themselves drafted as monster hunters when a young huntress is slain. The culprit? A lamia, whose lair has discouraged all previous attempts to destroy her. What the party finds inside her cave triggers a different call to action. Pgs. 21-27
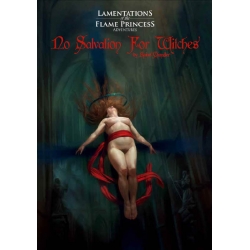
England, 1620. To strike a blow against the Patriarchy, six women perform a dangerous rite in an abandoned priory. Through dance, they commune with Terpsichore, Greek muse and patroness of dancers. Starving demons slither across the moors; monstrous nuns shriek in the infirmary; and within the Attic, a great unraveling awaits. The fate of the world rests in the hands of the players. Will they bring about an egalitarian utopia? Will they skulk away in the night, pockets bulging with treasure? Will they bring about the destruction of all things? Will they find the Tract of Teratology, a randomly-generated creature-summoning ritual with 3.6 quadrillion combinations? After this adventure, nothing will be the same. An adventure for Lamentations of the Flame Princess Weird Fantasy Role-Playing and other traditional role-playing games. Writing by Rafael Chandler Cover Art by Jason Rainville Interior Art by Jason Rainville and Ian MacLean Cartography by Ian MacLean Layout and Design by Sarah Richardson

None know from where the Heresiarch first came, but all remember the night that it did. It rode down from the bleeding stars on a great serpent, hurling bolts of obsidian lightning that shattered the monuments and capitols of every nation. Its infernal army swept aside the defenses of the mortal empires in a single hour, decimating legions once thought to be the invincible fist of humanity's god-kings. Faceless priests - each bearing the symbol of the trident - drifted through the fallen cities and scorched villages on a frigid wind, and when they rose to greet the huddled men and women ringed by their festering, bloated dead, they spoke a single, simple offer: worship the Heresiarch or die. Thousands of crusaders fell tonight so that you might be given this chance. In a last stand that, for the first time, united all of the empires of humanity as brothers and sisters, a way was cleared into an infernal stronghold said to contain a gate to the Heresiarch’s fane. All is silent save for the clangor of distant battle. Surrounded by grim-faced knights and teary-eyed peasants – their hands clasped in desperate hope – you step through the glowing, churning doorway, knowing there will be no help and likely no return. Published by Defy Danger and Save Versus Death
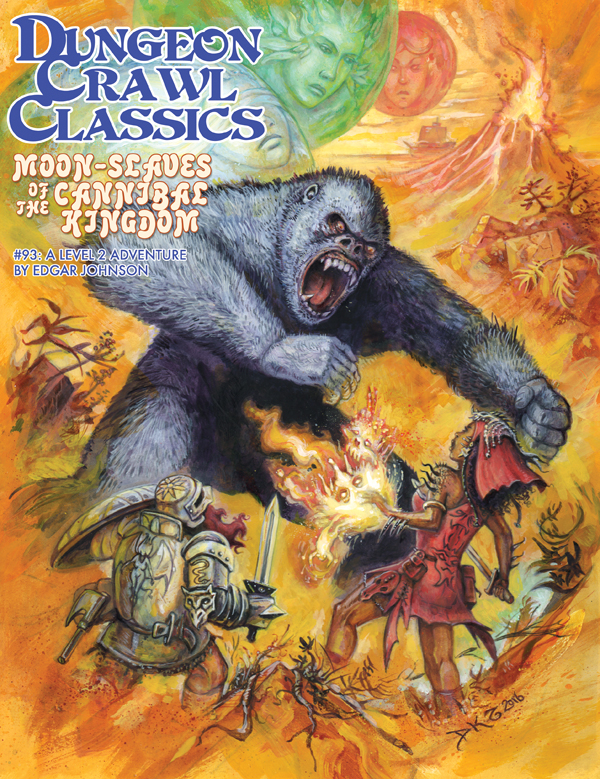
Far to the west, beyond civilized lands, lie the Tolomak Islands— volcanic peaks covered in pestilential jungle and bestriding sunken ruins. The legends say the Tolomaks are home to treacherous witches, ferocious cannibals, moon demons, and worse! Wise are those who steer well away from these accursed jungle isles, but not everyone is wise… For the legends also speak of power unimaginable and treasures beyond the limits of mortal avarice. Now, under the light of the triple moons, a band of intrepid adventurers sails ever nearer the islands. With luck, they will escape with a fortune; without it, they may not keep their souls.

To Hell and Back Again is the perfect adventure for new players and veterans looking to experience Dungeons & Dragons in a new way! It's written as a solo adventure, where choices have gigantic consequences, but it also provides balanced rules to play with a group or a Dungeon Master as well! This 80 page adventure features: - A heart-pounding origins story that fits perfectly as either a prequel to Descent Into Avernus, a stand-alone adventure, or into your ongoing fantasy campaign. - Beloved characters like Lulu the hollyphant, Mad Maggie and her redcap gang, the archdevil Zariel, and many others brand new to this adventure. - Infernal War Machines, and exciting encounters with unique stat blocks. - Innovative Destiny and Traits mechanics that make your choices really matter. - A ton of possible outcomes that will fuel your character's many adventures to come! - Four gorgeous sample characters, with interactive character sheets designed to be new-player friendly so that you can jump right into the story if you'd like. - A community survey when you finish so that you can see how your outcomes and choices compared to other players!
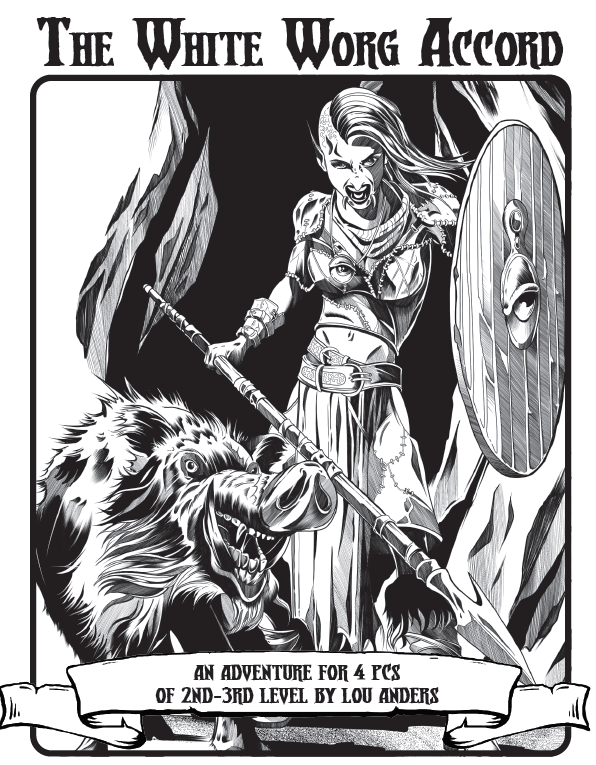
The noble dwarf Wulfstan vom Meer seeks adventurers to travel on his one remaining ship to the clan’s village, and to protect his vessel against any threats at sea. When they meet the White Worg Reavers, he wants the party to negotiate for the loan of two longships and their crew. Vom Meer offers 500 gp to anyone willing to undertake this task. It seems like easy money. However, the Wolfheim clan has troubles of its own—a group of trollkin bandits known as the Mossback Raiders have been competing with the White Worgs for territory west of Wolfheim. Their rivalry is coming to a head. When the PCs arrive at the White Worg homestead, they learn that the reaver dwarves are recovering from a recent attack. Their homestead has been sacked and vom Meer’s kinsman, Knud Stoneson, has been slain. Without a family connection, the clan’s chief will agree to vom Meer’s proposal only if the PCs will help rid them of that troublesome band of trollkin. If the PCs are to succeed in their task and help vom Meer, then a reavin’ they must go! This adventure for the 5th Edition of the world’s first RPG is meant for four 2nd and 3rd-level characters. Designed by Lou Anders, with cartography by Dyson Logos and cover art by Phil Stone.

*THIS IS A D&D NEXT/5E PLAYTEST ADVENTURE* Imani, a Turmishan wizard and former adventurer, seeks the aid of heroes to infiltrate Dretchroyaster’s lair and recover the Diamond Staff of Chomylla—the key to powerful magic and wisdom locked away for thousands of years. In addition to his own sagely interest in the lore of lost Uvaeren, Imani recognizes the dangers of such powerful magic falling into evil hands. The dracolich has secured the staff in his lair’s cen- tral chamber, using ancient wards of protection that can be bypassed only by four artifact-idols once belong- ing to a cult of Bhaal. Each group of adventurers enters the dungeon through a different section of the dun- geon—a forgotten temple of Bhaal, a vast underground lake, a troglodyte village, or Dretchroyaster’s vaults. Dretchroyaster’s lair is no simple set of caverns and ancient ruins. It sits atop a source of great power and energy, which the dracolich and his Cult of the Dragon allies hope to use to unlock the secrets of the staff. Only by undertaking a unified assault against Dretchroyas- ter’s lair can the adventurers hope to recover the Diamond Staff and survive the dracolich’s fury. The adventurers must make their way through the lair and recover the Bhaalite idols that will help unlock the Diamond Staff, all the while dealing with the lair’s creatures and avoiding the dracolich as he pur- sues intruders. Entering the Chamber of the Diamond Staff, the heroes must overcome its magical wards and claim the staff before being slain by the dracolich and his servants.