In the dark days of the Chaos War, a band of heroes sets forth to recover the famed Chaos Reaver - a sword said to possess the power to banish creatures of Chaos from the land. Converted to 3.5e from the original SAGA version published in Polyhedron UK #7 (1999).

A "simple errand" is never what it seems. It's a wizard's privilege - and curse - to change his mind. Pgs. 3-7
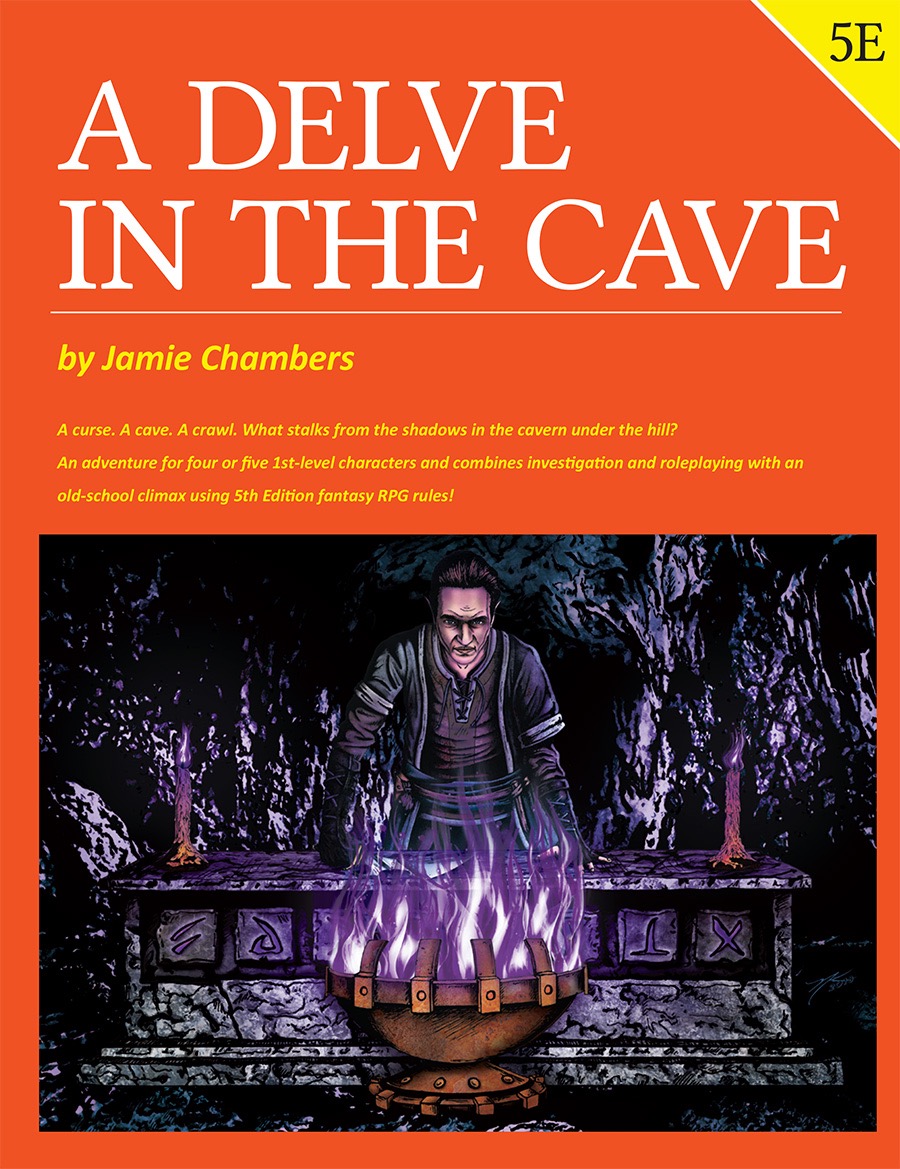
Something lurks in the shadows inside the caverns under the hill called Brin Brenin. Ancient enemies of mankind have returned for revenge, starting with the tomb of a long-forgotten hero. Somewhere inside are answers to forgotten questions, deadly monsters, and hidden treasures.
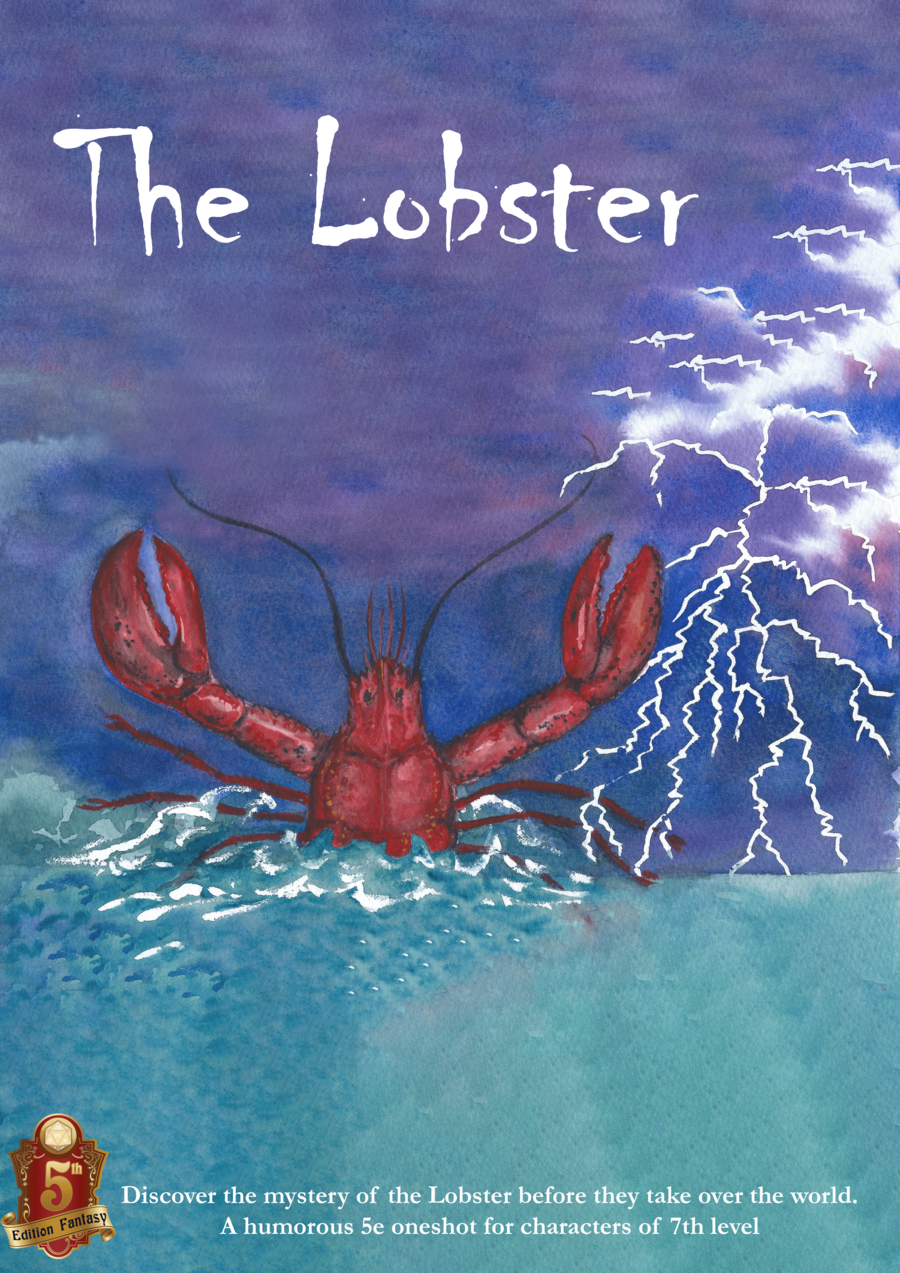
The retired Captain and pirate hunter, Old Man Blood has been finding lobsters appearing dead on his lawn for the last week without any rhyme or reason. Concerned he asks you to look into it for him before his lawn is overrun with lobsters. A one-shot 4-6 hour comedy sea-side adventure designed for characters of 7th level. Upon accepting Blood's mission, you'll explore the town of Saltingrad and meet the eccentric villagers that inhabit the quaint fishing town, unraveling this bizarre mystery. When the answers reveal themselves in an epic, strange and humorous conclusion, your players will be sure to talk about this adventure for weeks to come, or at least question what they experienced.

An escaped duergar slave stumbles into the village of Elventree. With her she brings a malady that grips the small settlement in a bout of madness that seems unshakable. Can you find the source of the madness and save yourself and the village’s inhabitants? A four-hour adventure for 5th-10th level characters.

PL1 – Encounters at Gormell is the initial adventure for the campaign in the Principality of Lockerbie. This series of adventures are set in the land known for the large city of Kettlespit and the capital of Xado Keep. The land resides to the south of the mountain range called the Spines, home to a devastating series of magic wars years ago. This land was the site of many battles and skirmishes and the western reaches are still very dangerous. This offering provides information on the village of Gormell and a variety of different scenarios to get your first level players up to second level and beyond!

Along the windswept sea coast are several natural stone columns, sacred to the Sea Goddess Pelagia. One of these pillars is the tower of a reclusive wizard, a devout follower of Pelagia. But the wizard has gone missing, and the locals suspect foul play. Surely a powerful wizard must have many enemies! A band of fledgling heroes is tasked with entering one of the Pillars of Pelagia to contend with all manner of magical defenses, while uncovering cryptic clues to the wizard’s disappearance planted by an unknown benefactor. The insidious evil plot they uncover could spell eventual doom for the surface world. But the Pillars are sacred to Pelagia, and the Sea Goddess herself might just play a minor role, aiding the heroes as they attempt to thwart a nefarious plot.

The Proving Glade is a one-shot adventure meant for parties or duets. Your characters arrive in a small settlement that has a big problem. The forest, its lifeblood, has seemingly withdrawn its bounty. Others have gone in, only to return hours later confused about how they got out. Will your party have the wherewithal to navigate the treacherous forest, pass its surprising tests, and uncover what’s truly going on? I wanted a forest adventure that felt alive and busy. I also didn’t want every encounter to be solved with the swing of a sword. The Proving Glade is about questioning value, morality, judgement, and redemption. This adventure was written as part of the Summer 2019 RPG Writer's Workshop. We also submitted In the Heart of the Forest. While these two adventures are not necessarily connected, they both involve navigating difficult and dangerous scenarios in a forest and could naturally be strung together. This Product Includes -A 3 to 4 hour one-shot designed for parties or 1-1 play. -A new Sidekick stat block: Daelin Hoofbane, ranger extraordinaire. -A new custom creature: the mysterious and powerful Alseiad, a glade nymph of incredible beauty. -2 new maps: One region map for the forest around Quaervarr near Silverymoon and one battle map for The Hydra's Mire.

This adventure can be used as stand-alone or continuing the arc started by Death in Freeport. Terror in Freeport leads the PCs deeper into the intrigue they began to glimpse in Death in Freeport. The investigation takes them from the corridors of power to the bowels of the underworld, with terrifying insights into who really controls the city. They discover that the Brotherhood of the Yellow Sign has its claws in the town's power elite, but thanks to some clever camouflage by Sea Lord Drac. they may not find out just whom the serpents control until it's too late. As the adventure begins, the PCs are contacted once more by a very nervous Brother Egil. He tells them that while staying with Lucius one evening, he awoke to find a burglar in the roomstealing a scroll. Egil is certain that the Brotherhood have penetrated further into Freeport than anyone imagines. He wants the PCs to investigate Milos's other ties to the city and find out what's being done about the temple of the Unspeakable One. The PCs search the cultist's lodgings and discover it has been carefully gone over, and several possibly incriminating books are missing. But the burglars overlooked one thing: a Tome with a diagram of the Lighthouse of Drac sketched onto the back page, marked with the letter V. Upon leaving Milos's lodgings, the PCs come upon a gang of orcs beating up a hapless messenger. They lend a hand, only to discover they've been tricked - the messenger makes off with Milos's book! A chase through the back streets leads them to the boarded-up building the y discovered in Death What they find isn't encouraging. There is a guard posted out front, courtesy of "V"- -Verlaine. head of the Captains' Council. Meanwhile, down below, the cultists continue to have the run of the caverns-— in fact, they have been shipping their unholy relics to Verlaine's own home!

The Lotus Blossom Steppes have long been a land of disjointed tribes, squabbling with one another for central rulership. In the past, great rulers laid claim to the Steppes, bringing the tribes under a single banner for a great purpose—be it under the terrible dictatorship of a half-rakshasa khan or an enlightened visionary khan that leads the tribes beyond the borders of the Steppes. Yet there is great power tucked away behind the tribes’ individual banners. All it takes is an individual with enough ambition and enough power to change the destiny of the Lotus Blossom Steppes... and one ambitious man is on the hunt for the fragmented powers of the NewGod war. Can the PCs put an end to a rising warlord's ambitions, or will the Lotus Blossom Steppes fall again into tribal conflict?

Characters explore a dangerous, but sparsely populated temple in search of the Staff of the Dragon. They will encounter traps, environmental hazards, and a nest of lizardfolk. The characters are rewarded for a 'look but don't touch' approach to the temple's features. The real highlight, though, is the closing encounter. Once the staff of the dragon is retrieved, it can transform the characters into dragons for a set period of time. As they exit the temple, they are beset by an ancient dragon and the stage is set for an epic brawl as the characters take to the sky in dragon form. Can be completed as a one-shot.
The adventurer awakens buried in a coffin only to be inadvertently rescued by a goblin grave-robber. With no recollection of how they came to be buried alive, the adventurer is thrust into an encounter with the goblin and his party who have stolen a precious heirloom off their unconscious body. Before starting this adventure the GM and player should discuss what heirloom item the adventurer possesses. Though having immense sentimental value, the heirloom shouldn’t be magical, and it should be of minor monetary value. It should be a worn item that can easily be removed such as a ring, bracer or necklace.

Imprisoned in the first layer of Hell a group of unfortunate adventurers must find their way out amidst the chaos of the Blood War. Will they escape before the Lord of the Keep finds them? Well, only time will tell...

Silently, ponderously, they float through the Astral Plane, mammoth isles of rock adrift in an endless sea of silver. Once they were gods. Now they're little more than debris, petrified husks of fading belief and forgotten prayer. Yet for many, their memories linger, their dreams live on - and for some, those dreams are terrifying nightmares of vengeance, and conquest, and death. n the first, the heroes are drawn into an epic quest to uncover the secrest behind the retuns of an infamous AD&D villain long thought dead. In the second, the city of Sigil threatens to explode in a faction war for control of an old church and a mysterious force lurking within it. Dead Gods also features a Monstrous Compendium entry for a brand new fiend, full color illustrations to bring scenes alive for players, and a poster sheet of maps for the Dungeon Master. Dead Gods builds on story elements first explored in the Planescape adventure anthology The Great Modron March, though that product is not required to use this one.

When a Thayan research expedition returns from the Glacier of the White Wyrm with only two survivors that are reduced to whispering about an ancient pyramid under the ice, perhaps it is time to discover just what scares the life out of a nation of necromancers. The events of DDEP2 Mulmaster Undone resulted in terrible geographic upheaval all around the southeastern region of the Moonsea. Massive landslides, earthquakes, tidal waves, and gnashing tornados devastated the land and the city of Mulmaster was nearly scrubbed from the face of Faerun. Fortunately, these events also revealed previously hidden artifacts—trinkets, mostly—from the ancient Netherese all around the city. The Thayans have long held an interest in the port city and wasted no time in assisting in the rebuilding efforts. They simply asked that a blind eye be turned to their archaeological interests, and in return they would continue to spend their own resources (at no expense to the Mulmasterites or even the High Blade) to rebuild the city, bigger and better than before. It wasn’t long before their interests paid off with the discovery of a research laboratory beneath the Glacier of the White Worm, far to the east of Mulmaster and nestled in the mountains. The Thayans sent a sizable expeditionary force but only two acolytes returned. The visiting Zulkir has found this particularly troublesome, and with the assistance of Rastol Shan, the head of the Cloaks, has arranged for a mercenary force to perform a more pointed investigation of the area. In return the Thayan noble has promised significant compensation. Upon arrival at the dig site, the characters are quick to discover that the laboratory hides ancient and palpable evil. The purpose of the facility can be discerned with careful investigation, and the effect of the still-active fragment of the Dark Obelisk has empowered (some may say attracted) servants of the Worm that Walks. Danger and death await, certainly, though the characters always have the option of running away and living to fight another day…

Avast me hearties! FT33 – Port Plunder is our first offering of March and, as always, free! This pirate haven is one of two home bases for the Pirate Lords. The community is everything you would expect from corsairs complete with an active tavern district! If your campaign is in need of an island retreat, look no further…grab it, rename it, use it, and enjoy it!
"Come on," they said, "It won't be so tough, just stopping a slavery ring," they said. "I don't know," you said. "Those slaves aren't even entirely human! How do we know they won't try to kill us?" But you went, and now you're having second thoughts. There were the thieves in the lost crypts of Empyrea, raising hundreds of - no, that's too disturbing to think about. There were the three daughters who - no, that's too painful to remember. Now there's this Egg of the Phoenix. What does that have to do with anything? This was supposed to be a cut-and-dried stop-the-slavers job. Who said anything about retrieving lost artifacts? Trudging through forests, traipsing through castles, trotting throug dungeons, traveling through other planes: this has turned into more than your run-of-the-mill adventure. The compensation had better be worth it! Provided, of course, you're around at the end to collect your share. TSR 9201

When you read the posting for this job, you knew what you were getting yourself into. "Lady of means requires the assistance of a stalwart group of adventurers willing to undertake a mission of the utmost importance. Discretion is required." Words like that never mean that the woman in question is looking for someone to weed her Garden - unless, of course, it's full of man-eating plants. Those are the kinds of words you only post if you are really in a bind. If it's a matter of life and death. If you're desperate for help and willing to pay for it through the nose. It just so happens that you've made yourself quite a reputation lending just that kind of aid to people in just that kind of need. And the money hasn't hurt you any either. So when Lady Elena Zadrian tells you that her father - the near legendary alchemist Sir Timoth Zadrian - has gone missing, well, you're not all that surprised. Lady Elena looks upon you once again, brushing the long blonde hair from her bright blue, tears soaked eyes. "My father lives outside of a village only four days ride from here, a sleepy, little place called Cuthder," she says. "He comes to see me every 4 months. He's a forgetful, old man, but I could set my clock by his visits." She chokes back a sob. "It's been eight months since I last saw him. I fear something has gone horribly awry. Either brigands have robbed his tiny castle, or one of his experiments may have left him dead - or worse." The lady stares you straight in the eye, and you can almost taste her desperation." My father is a good man, wise and Noble, but if word of this disappearance were to get out, it would hurl my household into a shambles. I need you to travel to his castle and learn for me what has happened to him, quickly and quietly." "Please," she begs of you, her Ruby painted lower lip beginning to quiver. "I need your help. And I'm willing to pay - handsomely." She has your attention.

Strange things are happening at War Tortle Brewery. Not only is the magically automated, multi-level stone tower brewery under the influence of corrupting magic, but a bodacious party of hipsters has taken over the grounds. Management needs help! Prove your worth to partying hipsters by playing games and earning VIP points. Earn enough points and earn a Supreme Party Animal Badge – your key to entering the tower. Once inside, navigate the automated brewery, infested with all-new creatures and threats manifested from the brewery’s equipment and brewing ingredients. Do you have what it takes to gain entrance, brave the tower, and put an end to the corrupting magic? Will you survive the challenges within, or fall trying? Content Warning: Alcohol, Drinking Games, Crude Humor, Intoxication
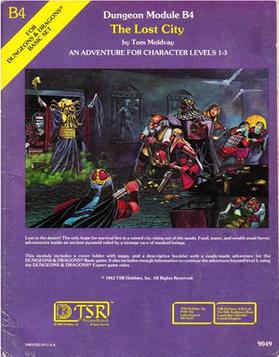
The Lost City is a low-level adventure, in which the only hope of the PCs' survival can be found in a ruined city slowly rising out of the sands. The adventure is set inside a huge step pyramid, with the lower pyramid only sketched out and the city itself described with a list of the major areas and a map. The adventure’s main villain is Zargon, a giant one-eyed monster and his minions. The entire double pyramid, not including the city, contains over 100 rooms. The module is designed to give novice Dungeon Masters experience fleshing out adventures and is only partially complete. Later TSR material hints that this adventure possibly takes place in Mystara, but the material is largely setting-neutral. TSR #9049